Last night my husband was setting up in the lounge room for our stay-at-home date night. A table for two, tablecloth, ploughman’s platter, candles and more. As I stood there chatting I suddenly felt a sensation of heat on my back and realised that I was in fact on fire! Luckily my jumper was open at the front and I could simply slip it off and let it drop onto the nearby bricks without any harm to myself or the house, other than a small black charred section on the carpet. But it could have been worse and it happened so quickly.
As I talked about it with the kids today we reviewed our fire safety knowledge. Some time ago I realised that although I thought the older kids would be able to make sensible decisions if our house caught on fire, when we decided to do some role-playing it turned out quite differently. It bought home to me the need to discuss safety and emergency procedures with them, plan exit points and what to do if there was a fire and actually go through the whole thing more than once. Issues like younger children not being able to get locked doors open could become fatal in a real emergency.
We now have several little games that we play occasionally to remind the children what to do and keep the plan fresh in their mind.
Stop, drop, cover, roll
If your clothing catches on fire, this is the immediate and recommended response:
- stop (stay still, don’t run or it will feed the fire)
- drop (lay down on the ground)
- cover (two hands over your face and eyes)
- roll (roll back and forth to extinguish the flames)
Every now and then when we are out for a walk I randomly call out stop, drop, cover, roll and the children drop to the floor and practise rolling back and forth. We also add ‘come to Mummy’, ‘get out quick’, ‘sit down’ and ‘freeze’. We never know when obedience to these simple commands will be the difference between life and death.
The house is on fire.
On random occasions we deliberately set off one of our smoke alarms. We make a pile of our wooden blocks in different places in the house and the kids know that this is the “fire.” They have to practise yelling to alert us, “get down low and go, go, go!” (crawling under the imaginary smoke) and get their brothers and sisters safely our of the house to our designated meeting point. Sometimes we make the fire right at their bedroom doors so every child must exit their own room through the window. Sometimes it is at the end of the hallway and they can rehearse collecting everyone including the baby of the family and getting out the laundry door safely together. We add complications like setting the “fire” at each bedroom door to block the exit and turning the power off so that the roller shutters on their bedroom windows won’t open, leaving them no exit options. (Don’t hide, lay down on the floor, yell and wait for help.)
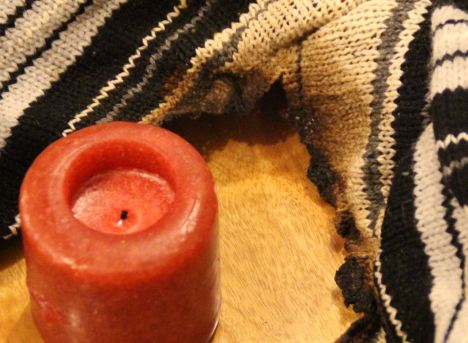
We also talk about never playing with matches, practice making emergency phone calls, learn their address and phone number, basic first aid responses and anything else that comes up along the way. We remember the time we accidentally left a Christmas candle burning for the whole night and came out in the morning to find that it did not appear to have burned down at all in the 12 or so hours it had been lit. Slow burning candle? Maybe. God’s miraculous protection? We gave Him the credit.
Running these pretend scenarios helped us to talk through the what ifs that we otherwise may not have thought of. The child who would have stayed stuck in their room because they didn’t realise it would be ok to break through the fly wire window. (We take these off from the outside when we practice so we don’t really break them.) The child who can’t reach the windowsill and didn’t think to drag over something to stand on. The little ones who know how to open our sliding glass doors and security doors in theory but couldn’t actually do it in practice. The kids who got outside but couldn’t reach the meeting place which was out the front – through the LOCKED back gate.
I’ve heard stories about children who hide in fear, making it difficult for fire-fighters to find them and other children who are accidentally forgotten in the rush to get out to safety. The possibilities are endless and we pray that we will never actually face any of these situations but hopefully the kids will know what to do if the worst ever does happen.
Filed under: Child training & behaviours | Tagged: discipline and training, safety | 5 Comments »


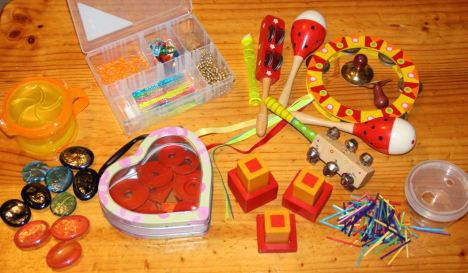
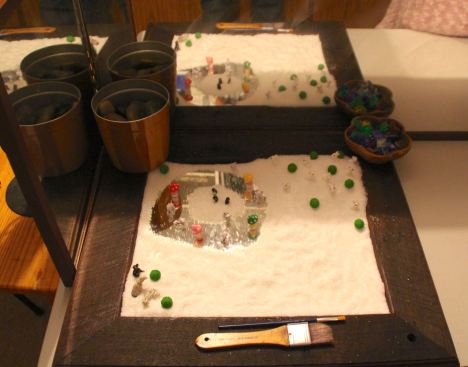 Epsom salts spread onto a mirror gives the impression of snow and the mirror showing through appears to be ice. I purchased a selection of miniatures that are actually terrarium decorations very cheaply on eBay and added brushes and some jewels and rocks. I later added a small sweeping brush to keep the salt off the edges of the mirror.
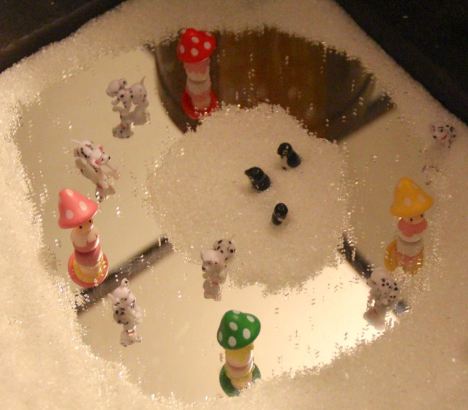

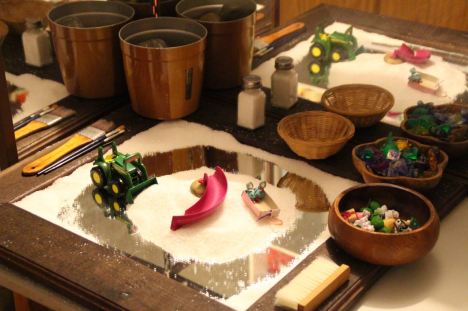

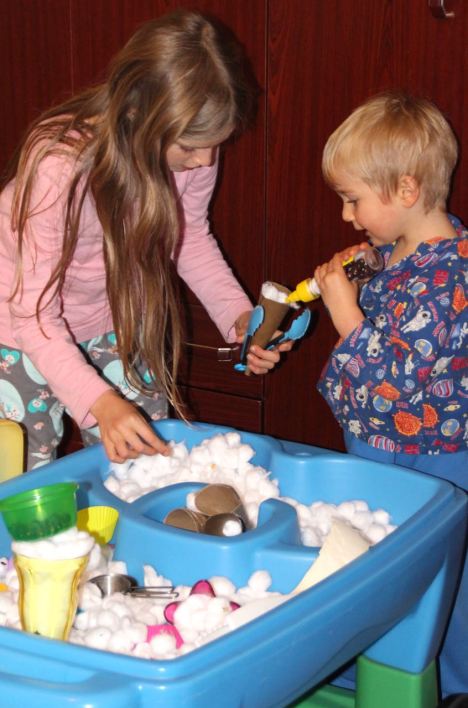
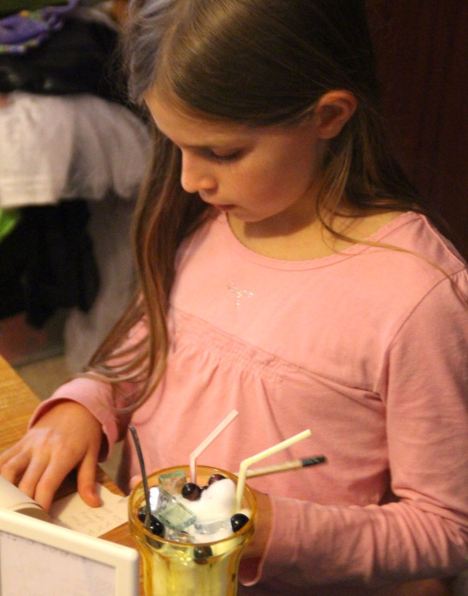
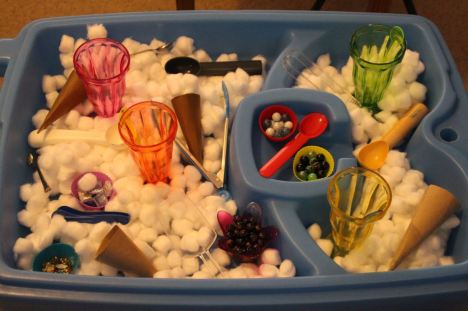
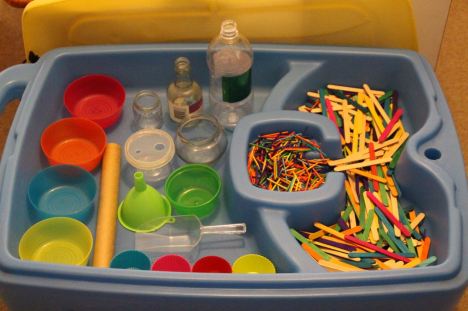
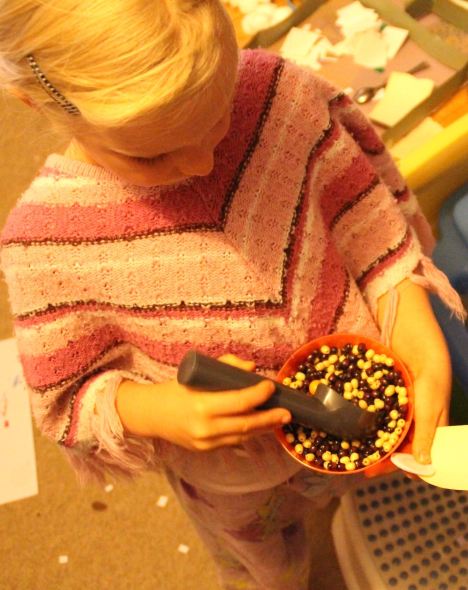 Cotton wool balls are a cheap base for a sensory tub and lend themselves well to being transferred by tongs, scoops or little fingers and the addition of some marbles, jewels and beads for toppings gave it a fun aspect. A few plastic Sundae cups, swizzle sticks, icecream scoops and sequins allowed for some interesting creations.
 Having the sensory tub right next to the pretend play home corner area meant that the children could expand into dramatic play and they soon opened an ice-cream shop. There aren’t many play activities that can keep everyone from the 13 year old to the 2 year old happily occupied together, but this did the trick.