Empathy is a character quality that we would love to see in our children. A willingness to see things through another’s eyes and put the other person first is so important, but it can be difficult to teach. Some children are naturally empathetic, thoughtful of others and eager to serve another for the joy of doing so. Others seem to be missing the empathy gene and need to work at learning empathy until it becomes something they choose because it is good and right to do so.
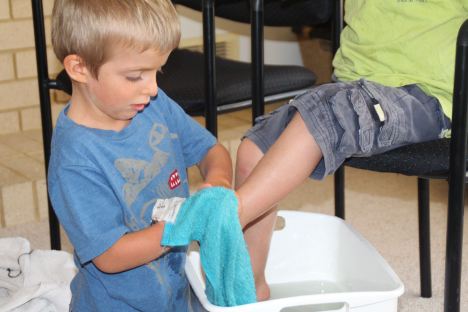
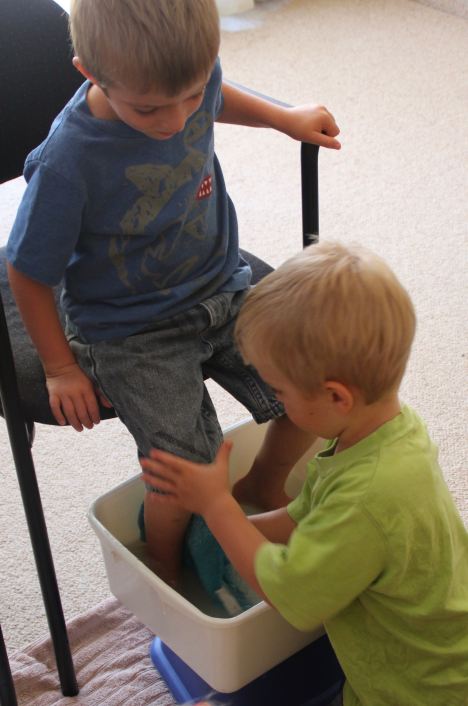
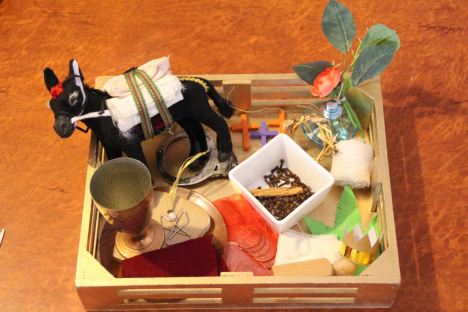
We seek to provide our children with many opportunities to develop empathy. As we participated in our count-down to Easter with Jesus tree symbols, readings and activities this week, we arrived at the story of Jesus washing the disciple’s feet. We discussed Jesus’ act of service and then participated in it by washing and drying one another’s feet.
 We talked about stinky, dirty feet that would have been dusty and perhaps have walked in camel dung along the way! We discussed how washing another’s feet required pride to be put aside as we put them higher than ourselves. Afterwards we brainstormed ways we could serve each other throughout the day and put each other first. Tonight we will ask the children to tell everyone how someone else served them today and how it made them feel.
 There are other ways to work on empathy – the following are just a few. Some of them cross over into love languages and building each other up but they are all closely related to the character of empathy.
Praying for each other. Lifting up the sick, hurting or those who are otherwise needful of our prayers is one way to help the children focus on the needs of others. Sometimes we pair the children up and ask them to pray for each other, or go around the circle and have everyone pray for the person on their right.
When a child is hurt, have a volunteer (or the responsible party if it was deliberate) look after the hurt child, providing them with tangible ways to serve and show empathy such as getting ice packs, cold towels, drinks of water, bandaids, teddy…..
When a child is sick, other children bring teddy, books, read a story, wipe their forehead with a cool cloth, sit with them, make them a lemon and honey drink….
When one child attends a special event that the others are not invited to,encourage them to bring something home for their siblings; save their piece of birthday cake, share a treat from their party bag, keep an eye out while op shopping for something their brother or sister will love…..
Being happy when something good happens to someone else. Birthdays are a great way to do this. There are so many opportunities to serve and think of the birthday child; volunteering to take over one of their chores, finding extra ways to bless them throughout the day, NOT expecting to get something on their birthday, using the star plate for the birthday child during their special birthday dinner and speaking words of blessing over them; perhaps taking turns to tell them why they are special.
Brainstorming ways they can make their sibling happy, choosing one and planning to do it today.
Teach children to use “When you ……… I feel …….. “ statements. Ask children how they would feel if they were in the other person’s place.
Give children $2 to spend on a sibling rather than themselves at a discount variety store or op shop.
Hold family secret service missions. Make a pile of “You have been served” cards to leave at the scene of an act of service. For example, make someone else’s bed and place the card on their pillow. It must be done in secret with nobody else finding out who has done the serving.
Choose one child to love bomb. Perhaps someone is feeling down for some reason. Everybody else gets together to write a stack of encouraging post-it notes and secretly sticks them all over a place that child will find them. Or if their love language is physical touch, every time a family member passes by that person they give them a kiss, hug, pat, hair stroke, wrestle or stacks-on (for boys usually!) or some other form of physical affection. If their love language is gifts, then children can bless them by making them a card, cooking a treat, purchasing a small gift etc. If they love quality time, then you may organise the day so that they are with others, doing something they would enjoy. Perhaps siblings could go on a “cheering up” roster all day so that the down child is never without company. The acts of service love tank is easy for the family to fill together as they look for ways throughout the day to help out.
Introduce praise plates.
Study empathy in the bible, in character stories or with other materials that will teach children exactly what it looks like. The Character First programme is useful for this and includes empathy under the character quality of compassion. It teaches children that “compassion begins with sympathy, which is seeing someone’s pain or being alert to a weary co-worker or a stranger who needs assistance. Once you notice an injury, empathy means you imagine how much it hurts. This creates a feeling of duty, responsibility, and sometimes urgency to help find a remedy.”
Character First resources always include 5 “I will” statements that explain what the character looks like in action, making it doable for children. The “I wills” for Compassion, as explained in Character First are:
I WILL:
- Notice when others are hurting.
- Stop to help.
- Take time to listen.
- Do what I can.
- Be kind, regardless of differences.
What other ideas do you have for teaching empathy in your family?
Filed under: Uncategorized | 5 Comments »


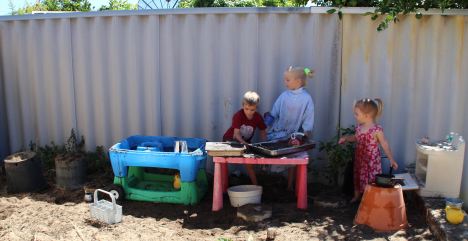
 Everything we set out we have had for a long time. Simply moving it all to a new location and adding dirt and water resulted in a whole new activity which was received with great excitement. The plastic oven above hasn’t been touched for months but was immediately put to use. 10 minutes to set up, a zero dollar outlay and the mud kitchen was ready for action.
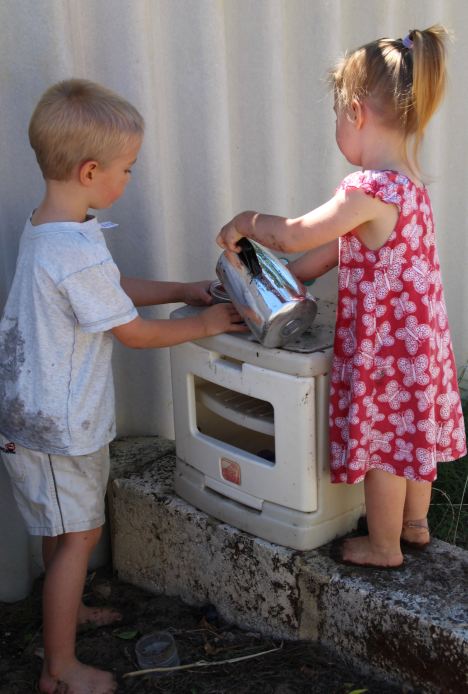
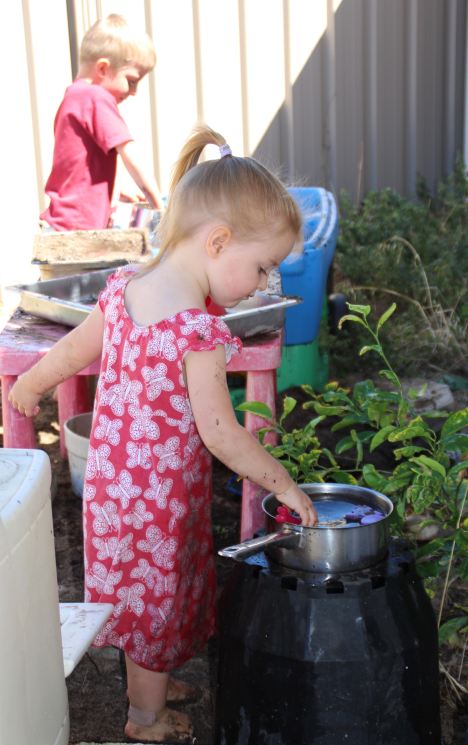 It would have been a good idea to get all the children to put on painting shirts (Dad’s old work shirts) before they had at it but I naively thought they wouldn’t get quite so dirty as they did! Much fun was had and some (mostly) harmonious play was a nice change to the recent conflict we have been experiencing.
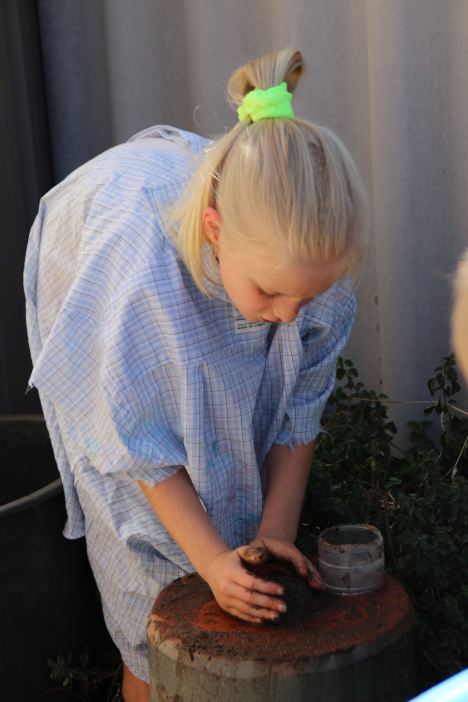


")
")

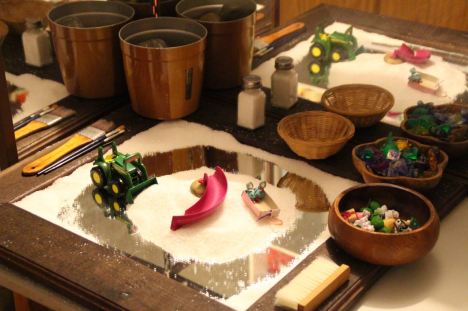
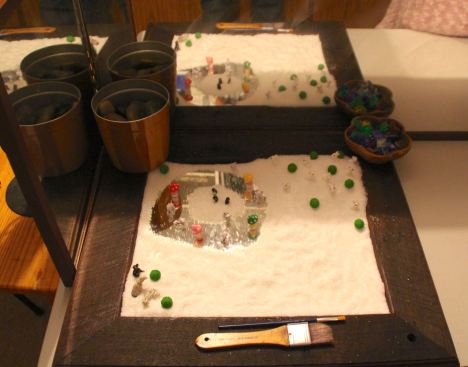 Epsom salts spread onto a mirror gives the impression of snow and the mirror showing through appears to be ice. I purchased a selection of miniatures that are actually terrarium decorations very cheaply on eBay and added brushes and some jewels and rocks. I later added a small sweeping brush to keep the salt off the edges of the mirror.
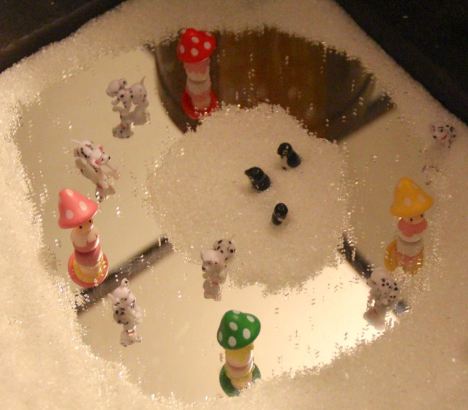


 In the early years we use Math-U-See because it does include manipulatives, has a DVD lesson format which means the children are not dependent on me to give them one-on-one teaching to explain each lesson and has a clean and simple set-out with a good progression from skill to skill. Early writers are given enough space to write large numbers and opportunities to use their manipulatives throughout. When more practise is required, I provide Montessori style hands-on activity trays until the concept is thoroughly grasped before the child continues on in the book.

