Highchair time for two-year-olds

IMG_1410.jpg

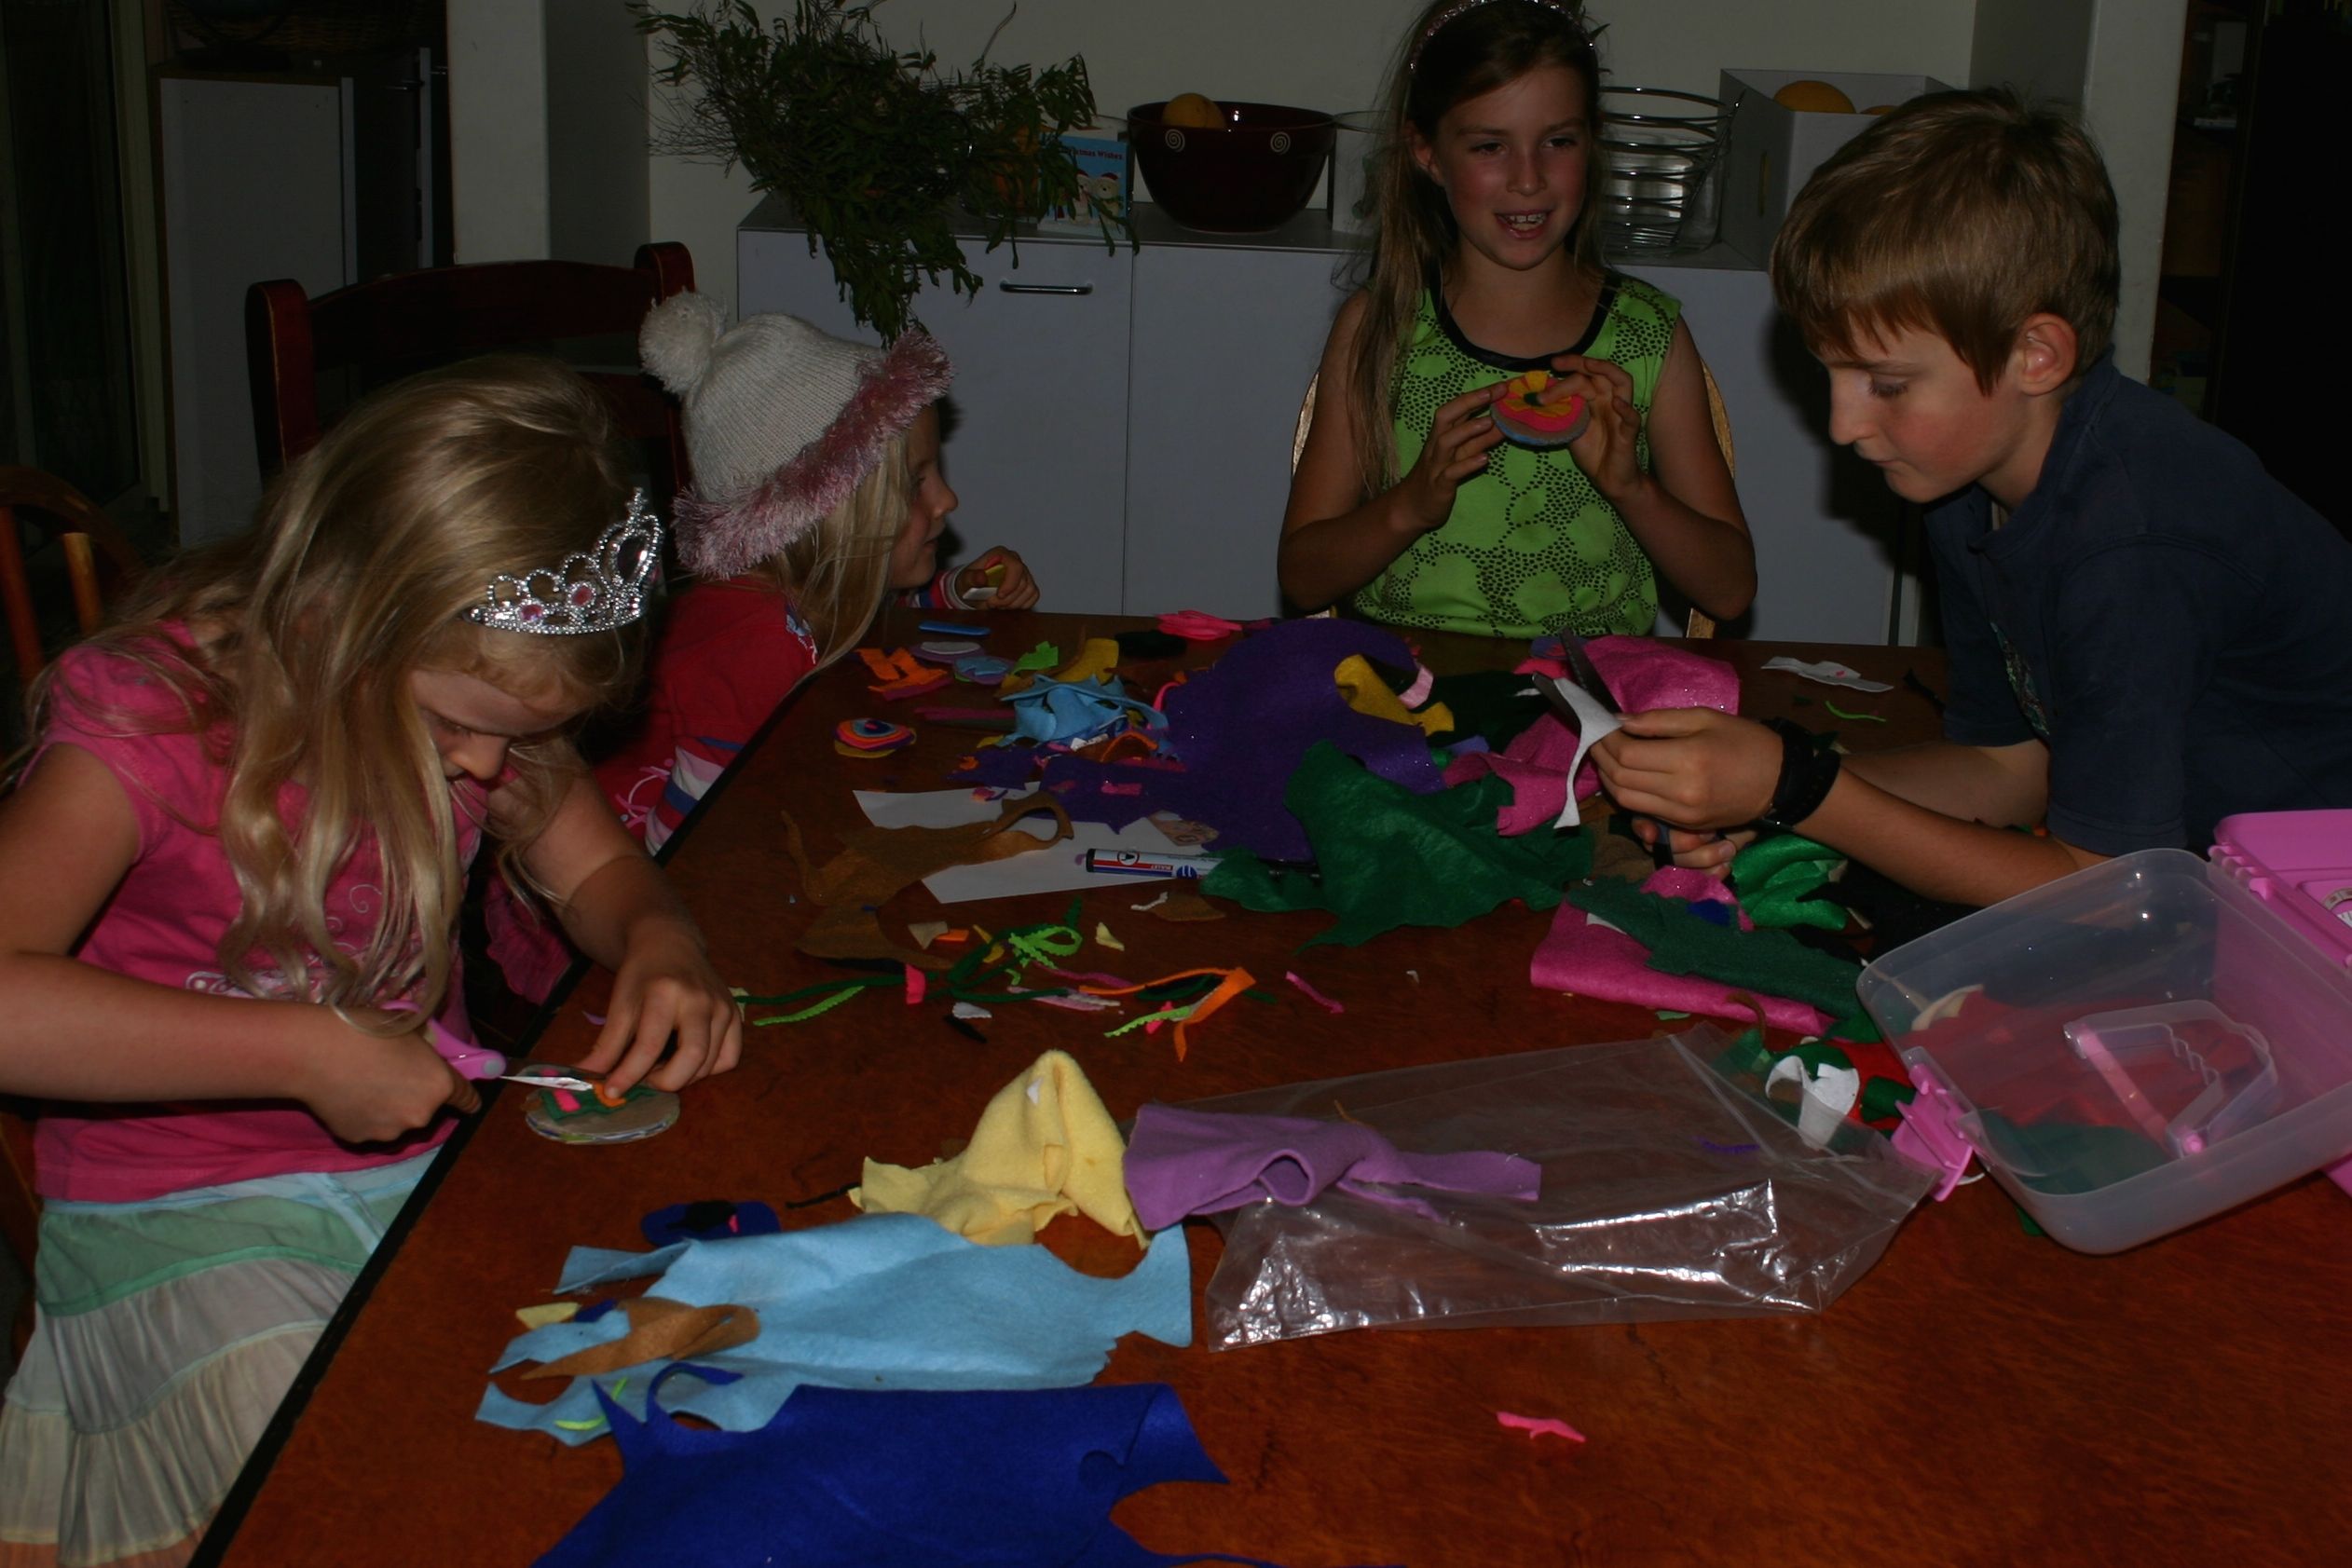
Our cute little toddler has just turned 2 and needed some new highchair activities to keep her occupied for the 30 minutes she sits at the table after breakfast each morning. The reality of this age is that their attention span is limited and they will need a new activity fairly frequently. The more open-ended the task is, the longer it will keep a toddler engaged, but 15 minutes would be a really good long stretch for my little one. When she is loosing interest in something that I have had out for a while, 5 minutes would not be unusual. The reality is that to get through the half hour period I need to have a selection of 3 to 6 trays ready to plop out on the table for her to use.

I have an oversized egg-timer that I use to avoid her demanding a new activity whenever she feels like it – i.e. after 3 minutes! It gives a physical and visual understanding of time passing and a little child can quickly grasp the fact that they will not be given something new until the sand has all run through so they may as well play with what they’ve got until it does. Egg timers also have the added bonus of not being audible, so if she is well engaged when the time runs out, there is no interruption to pull her attention away.

Timers also work well for those little ones who throw everything on the floor when they are done after 2 minutes – I simply place the timer in front of them and tell them that they will not get anything else to play with until it is done. Once they understand that Mum is in charge and the timer dictates the change of activity they will not be so quick to dump their entertainment. Some take longer to learn this concept than others I might add!

IMG_1383

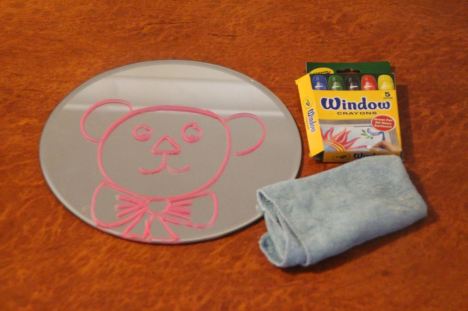
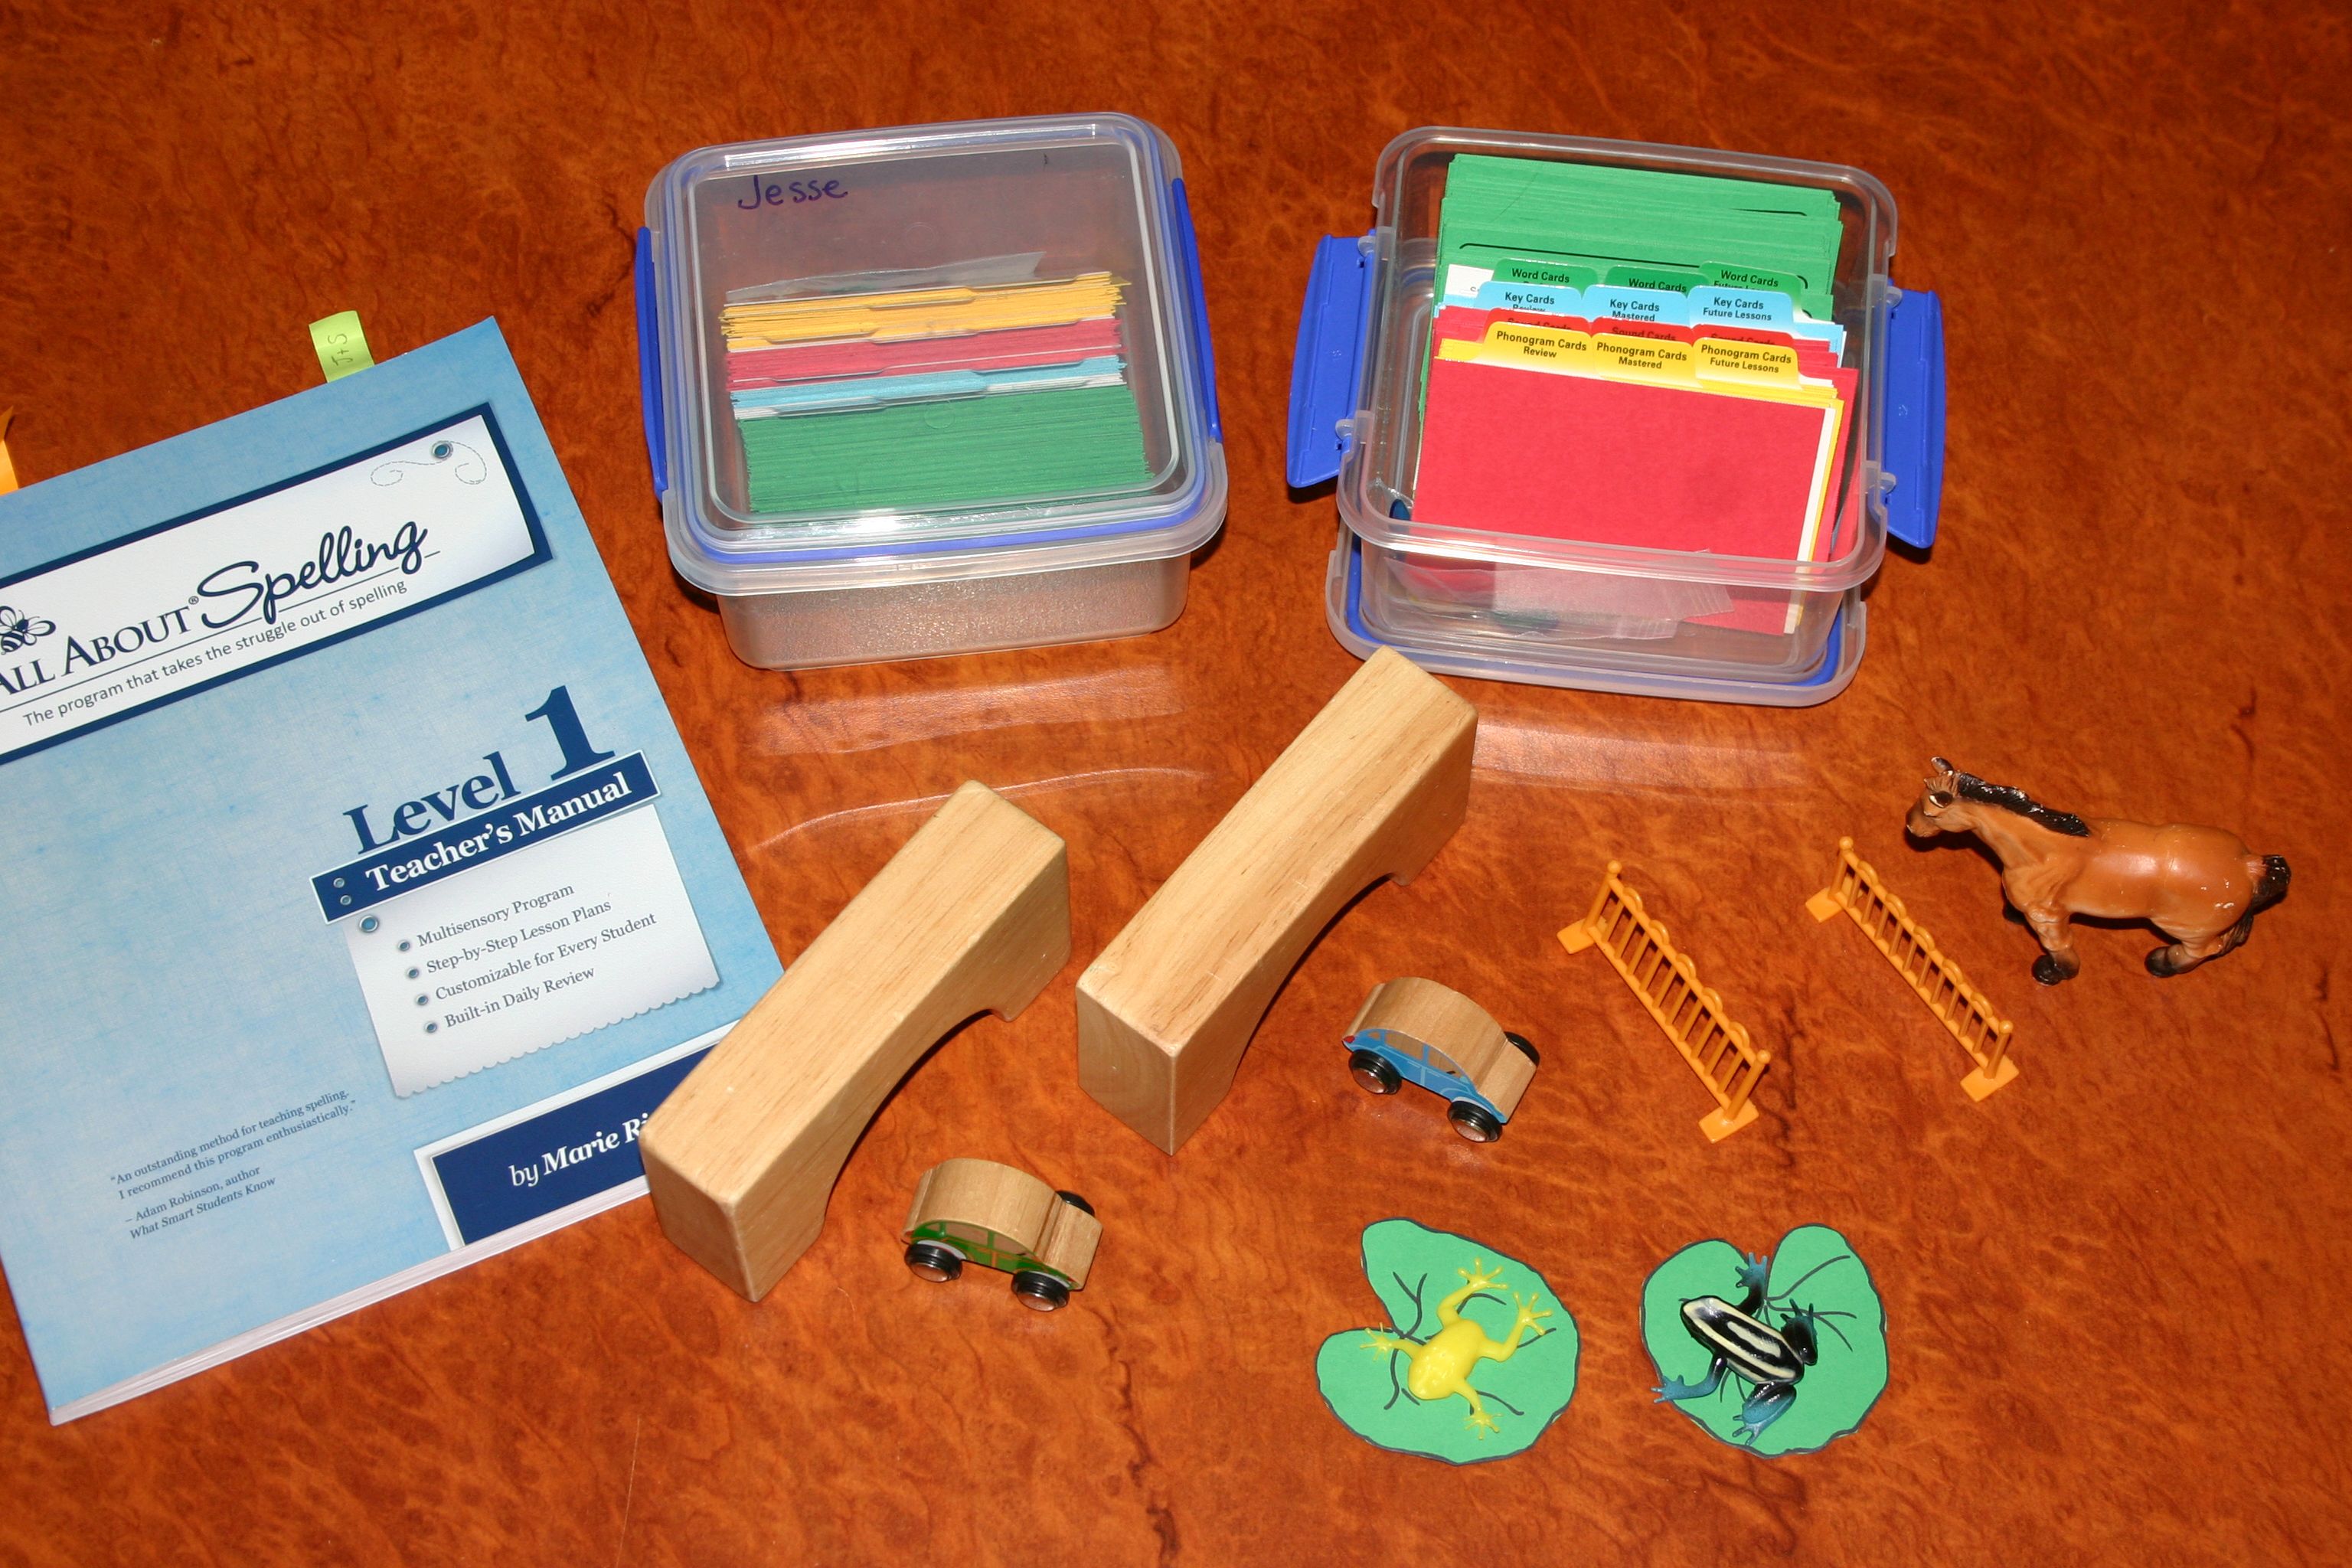
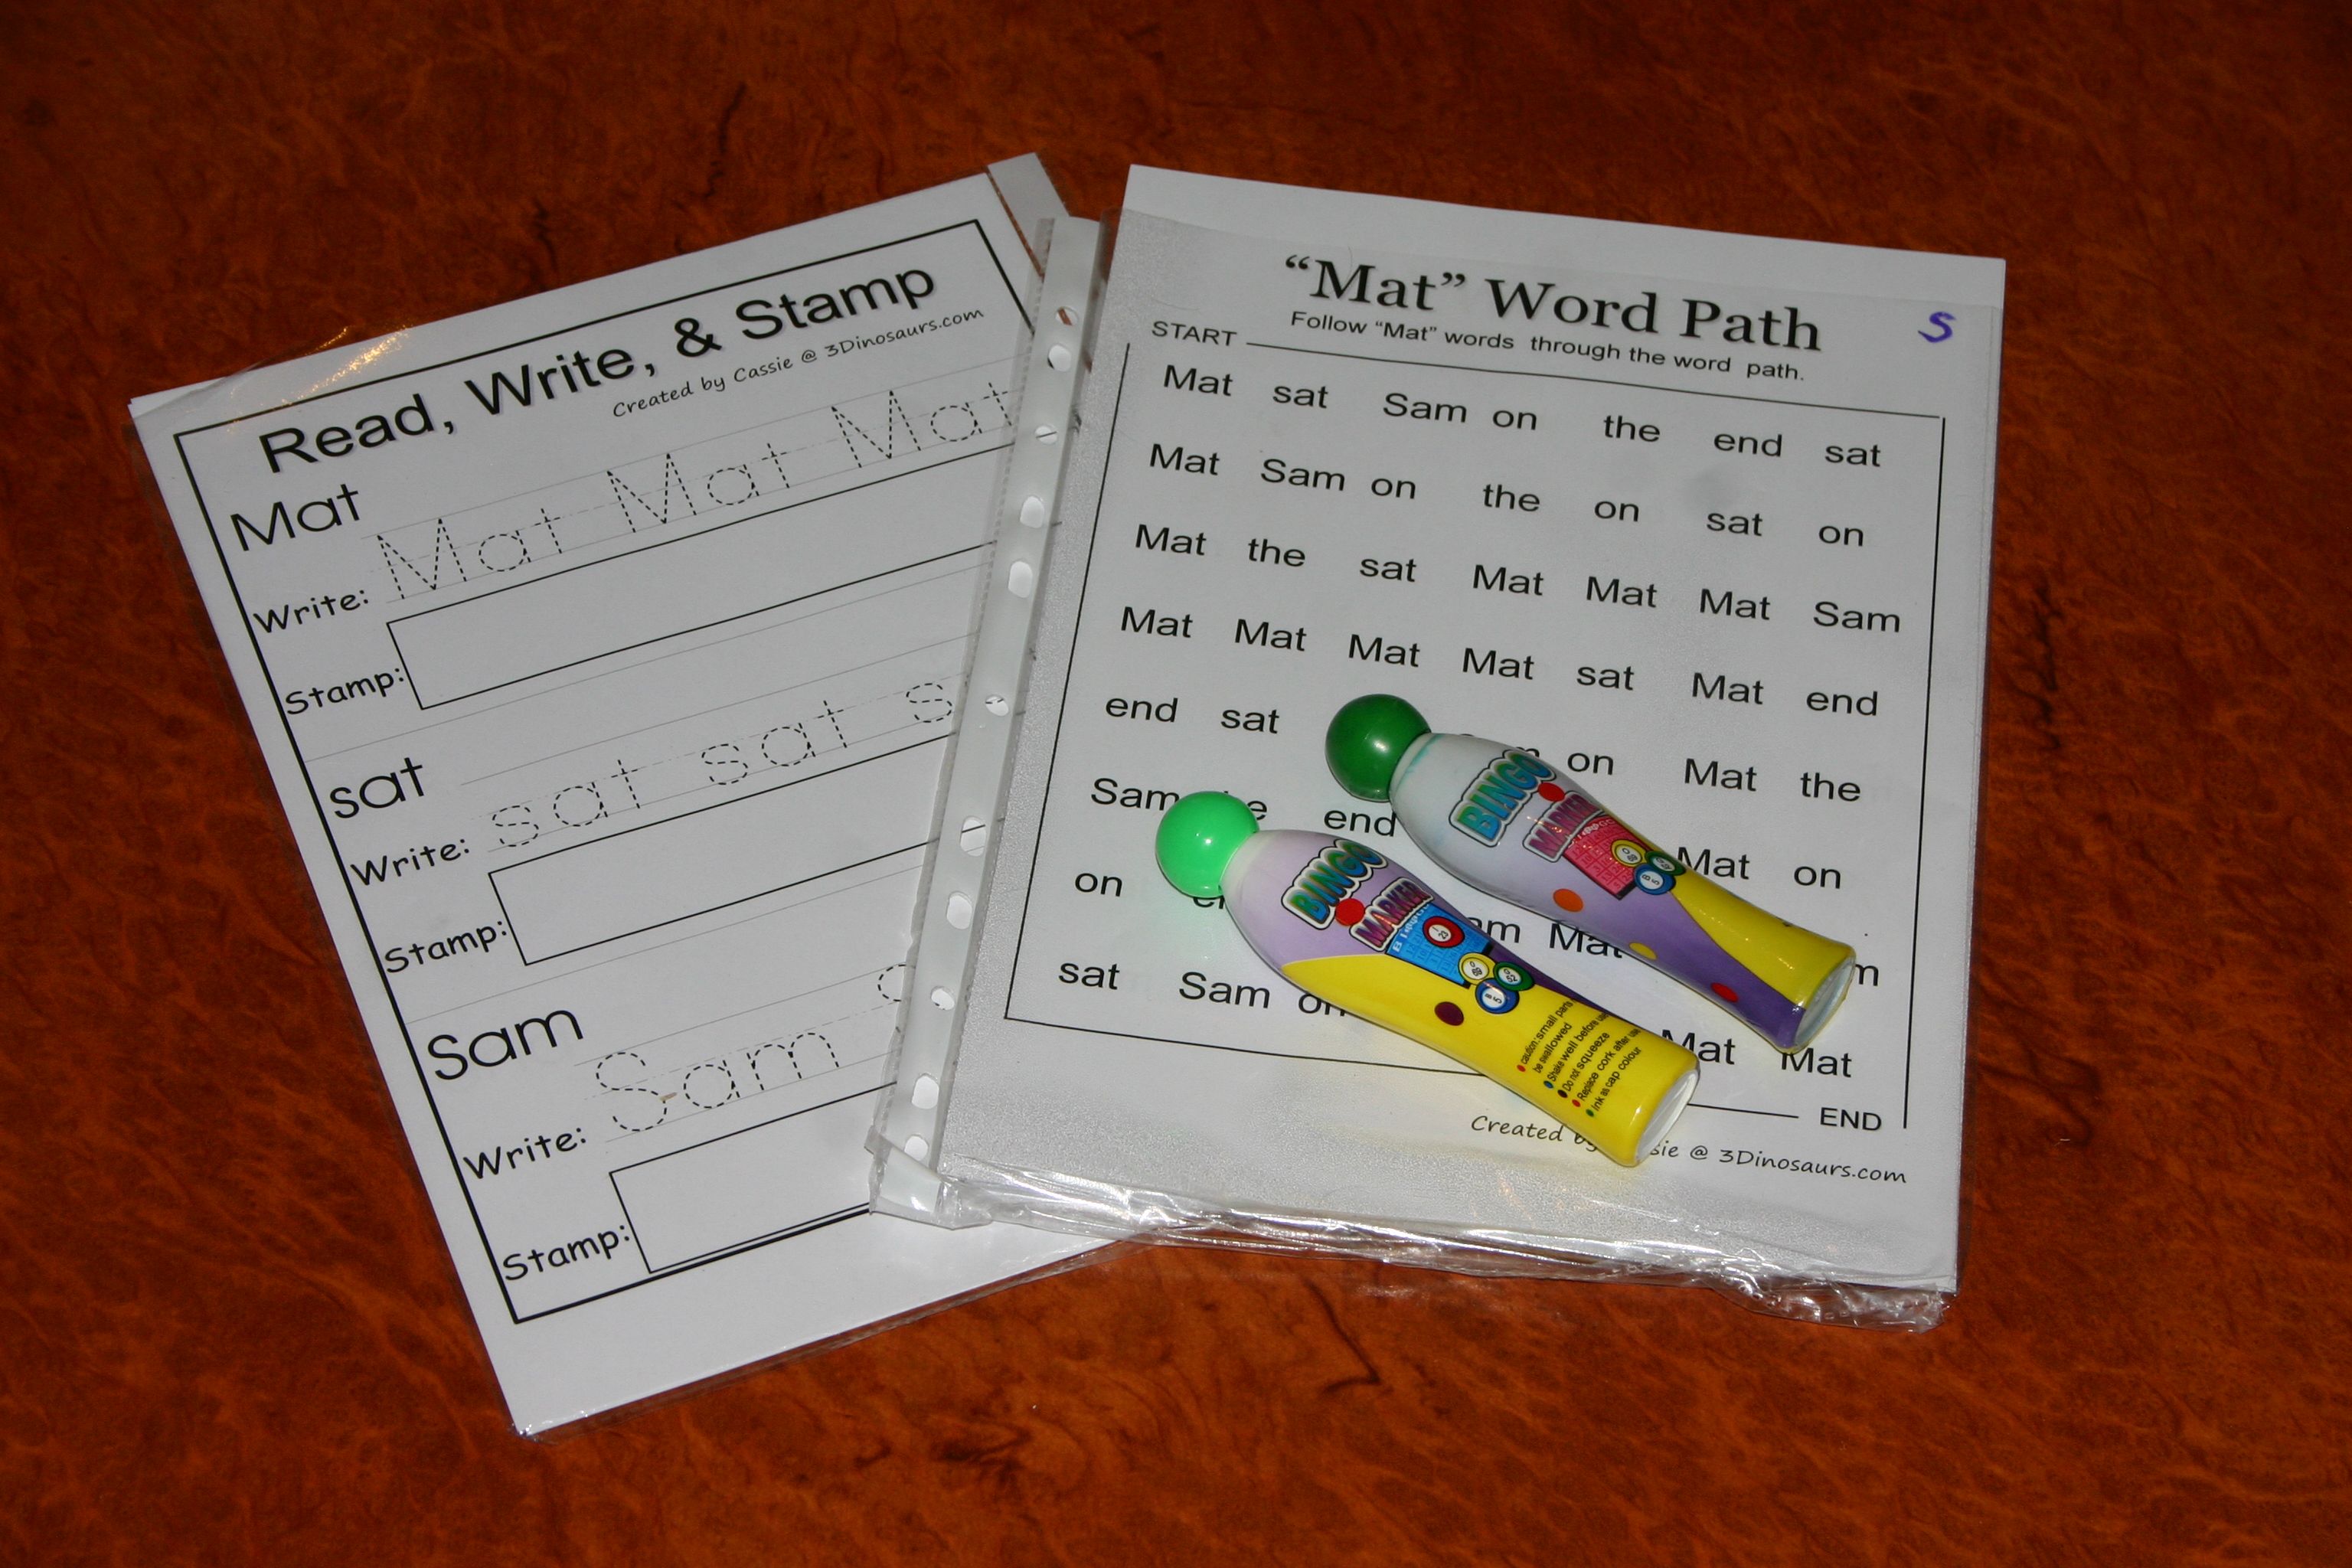
She is always asking us to draw her teddy so I think she will really enjoy cleaning off the window crayon teddy picture from this small mirror. I do not intend to let her draw with the crayons however as they are very soft (and expensive) and would be wrecked for sure. There will be plenty of willing volunteers to draw another picture for her to erase.

IMG_1393

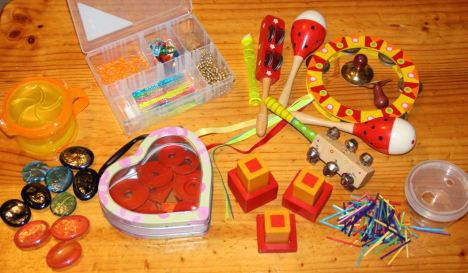
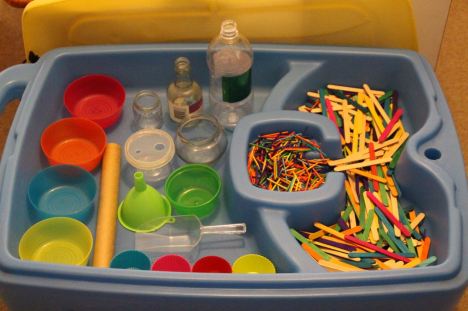
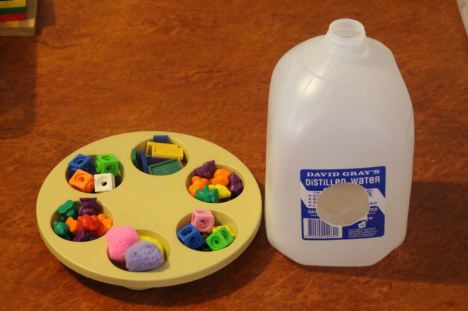
Opening and closing containers and spooning, sorting, filling, tipping and pouring are still interesting tasks for her. A bunch of scoops, tongs and vessels to fill should keep her going for a while.

IMG_1391

Posting bottles still hold some interest although I expect this one will not keep her attention for long. 6 to 12 months ago this would have been perfect. With all of these activities the developmental stage is important. Too easy and they will master and put it aside after just moments. Too hard and they will be frustrated. If something is too difficult, pop it away and try again in a few months. Todays “no interest” activity will be next month’s favourite.

IMG_1389

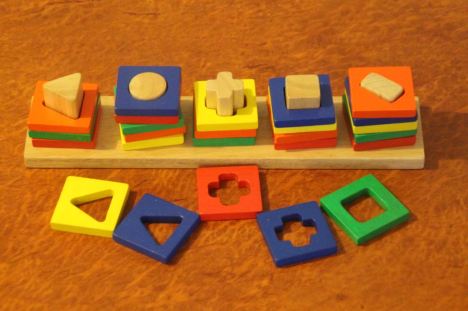
In the past this wooden puzzle has been too difficult but I think it will be about right now.

IMG_1390Oversized threading beads with one anchor bead tied on the bottom to hold all the others in place. I’ve not given her threading before so it will be interesting to see how this goes.

IMG_1388

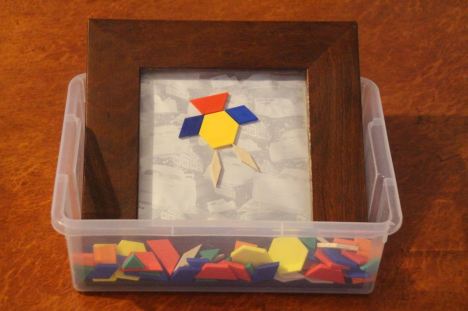
I have placed a piece of contact paper on the underside of this empty photo frame so that the sticky side is facing up. The pattern blocks can be stuck on and peeled off repeatedly. I had hoped to stand it up but it was too heavy so laying down will have to do. I can see the contact paper will need replacing after a few days but it should be interesting for a while.

IMG_1375

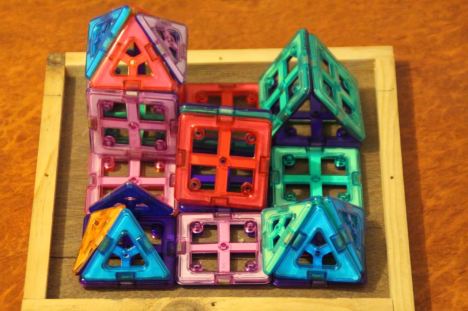
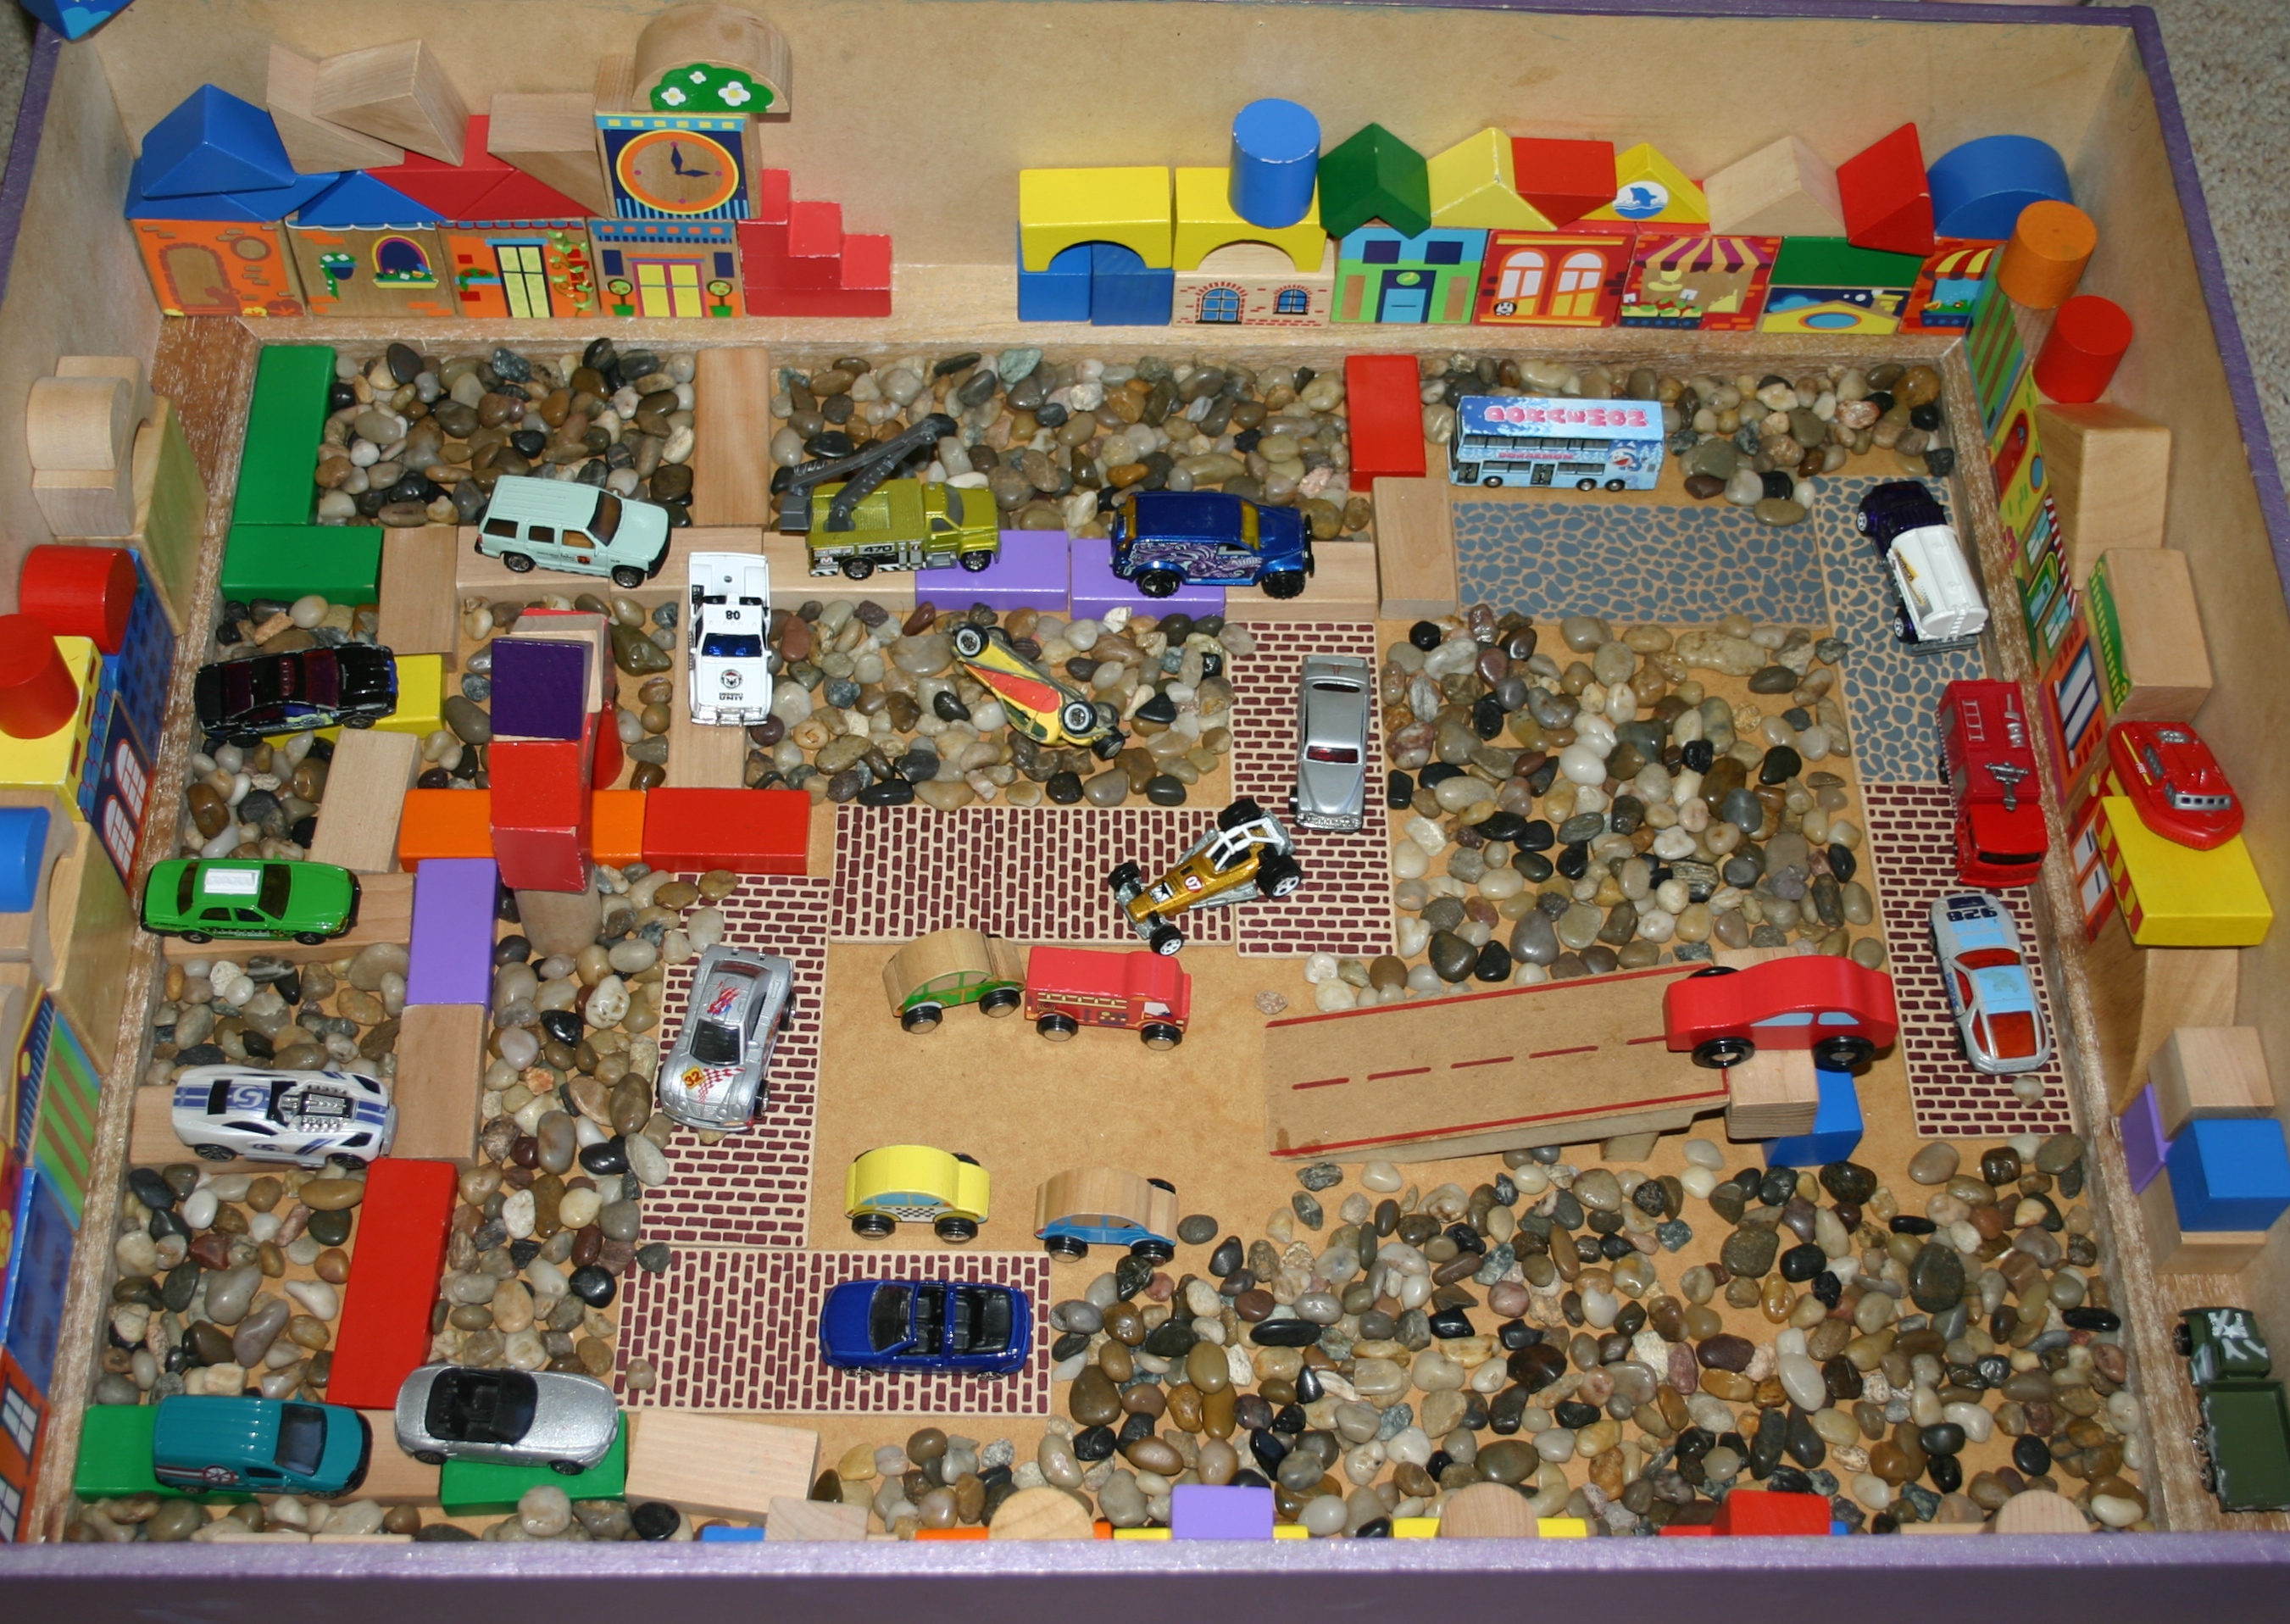
Just a different way to present magnetic construction blocks that she is already familiar with.

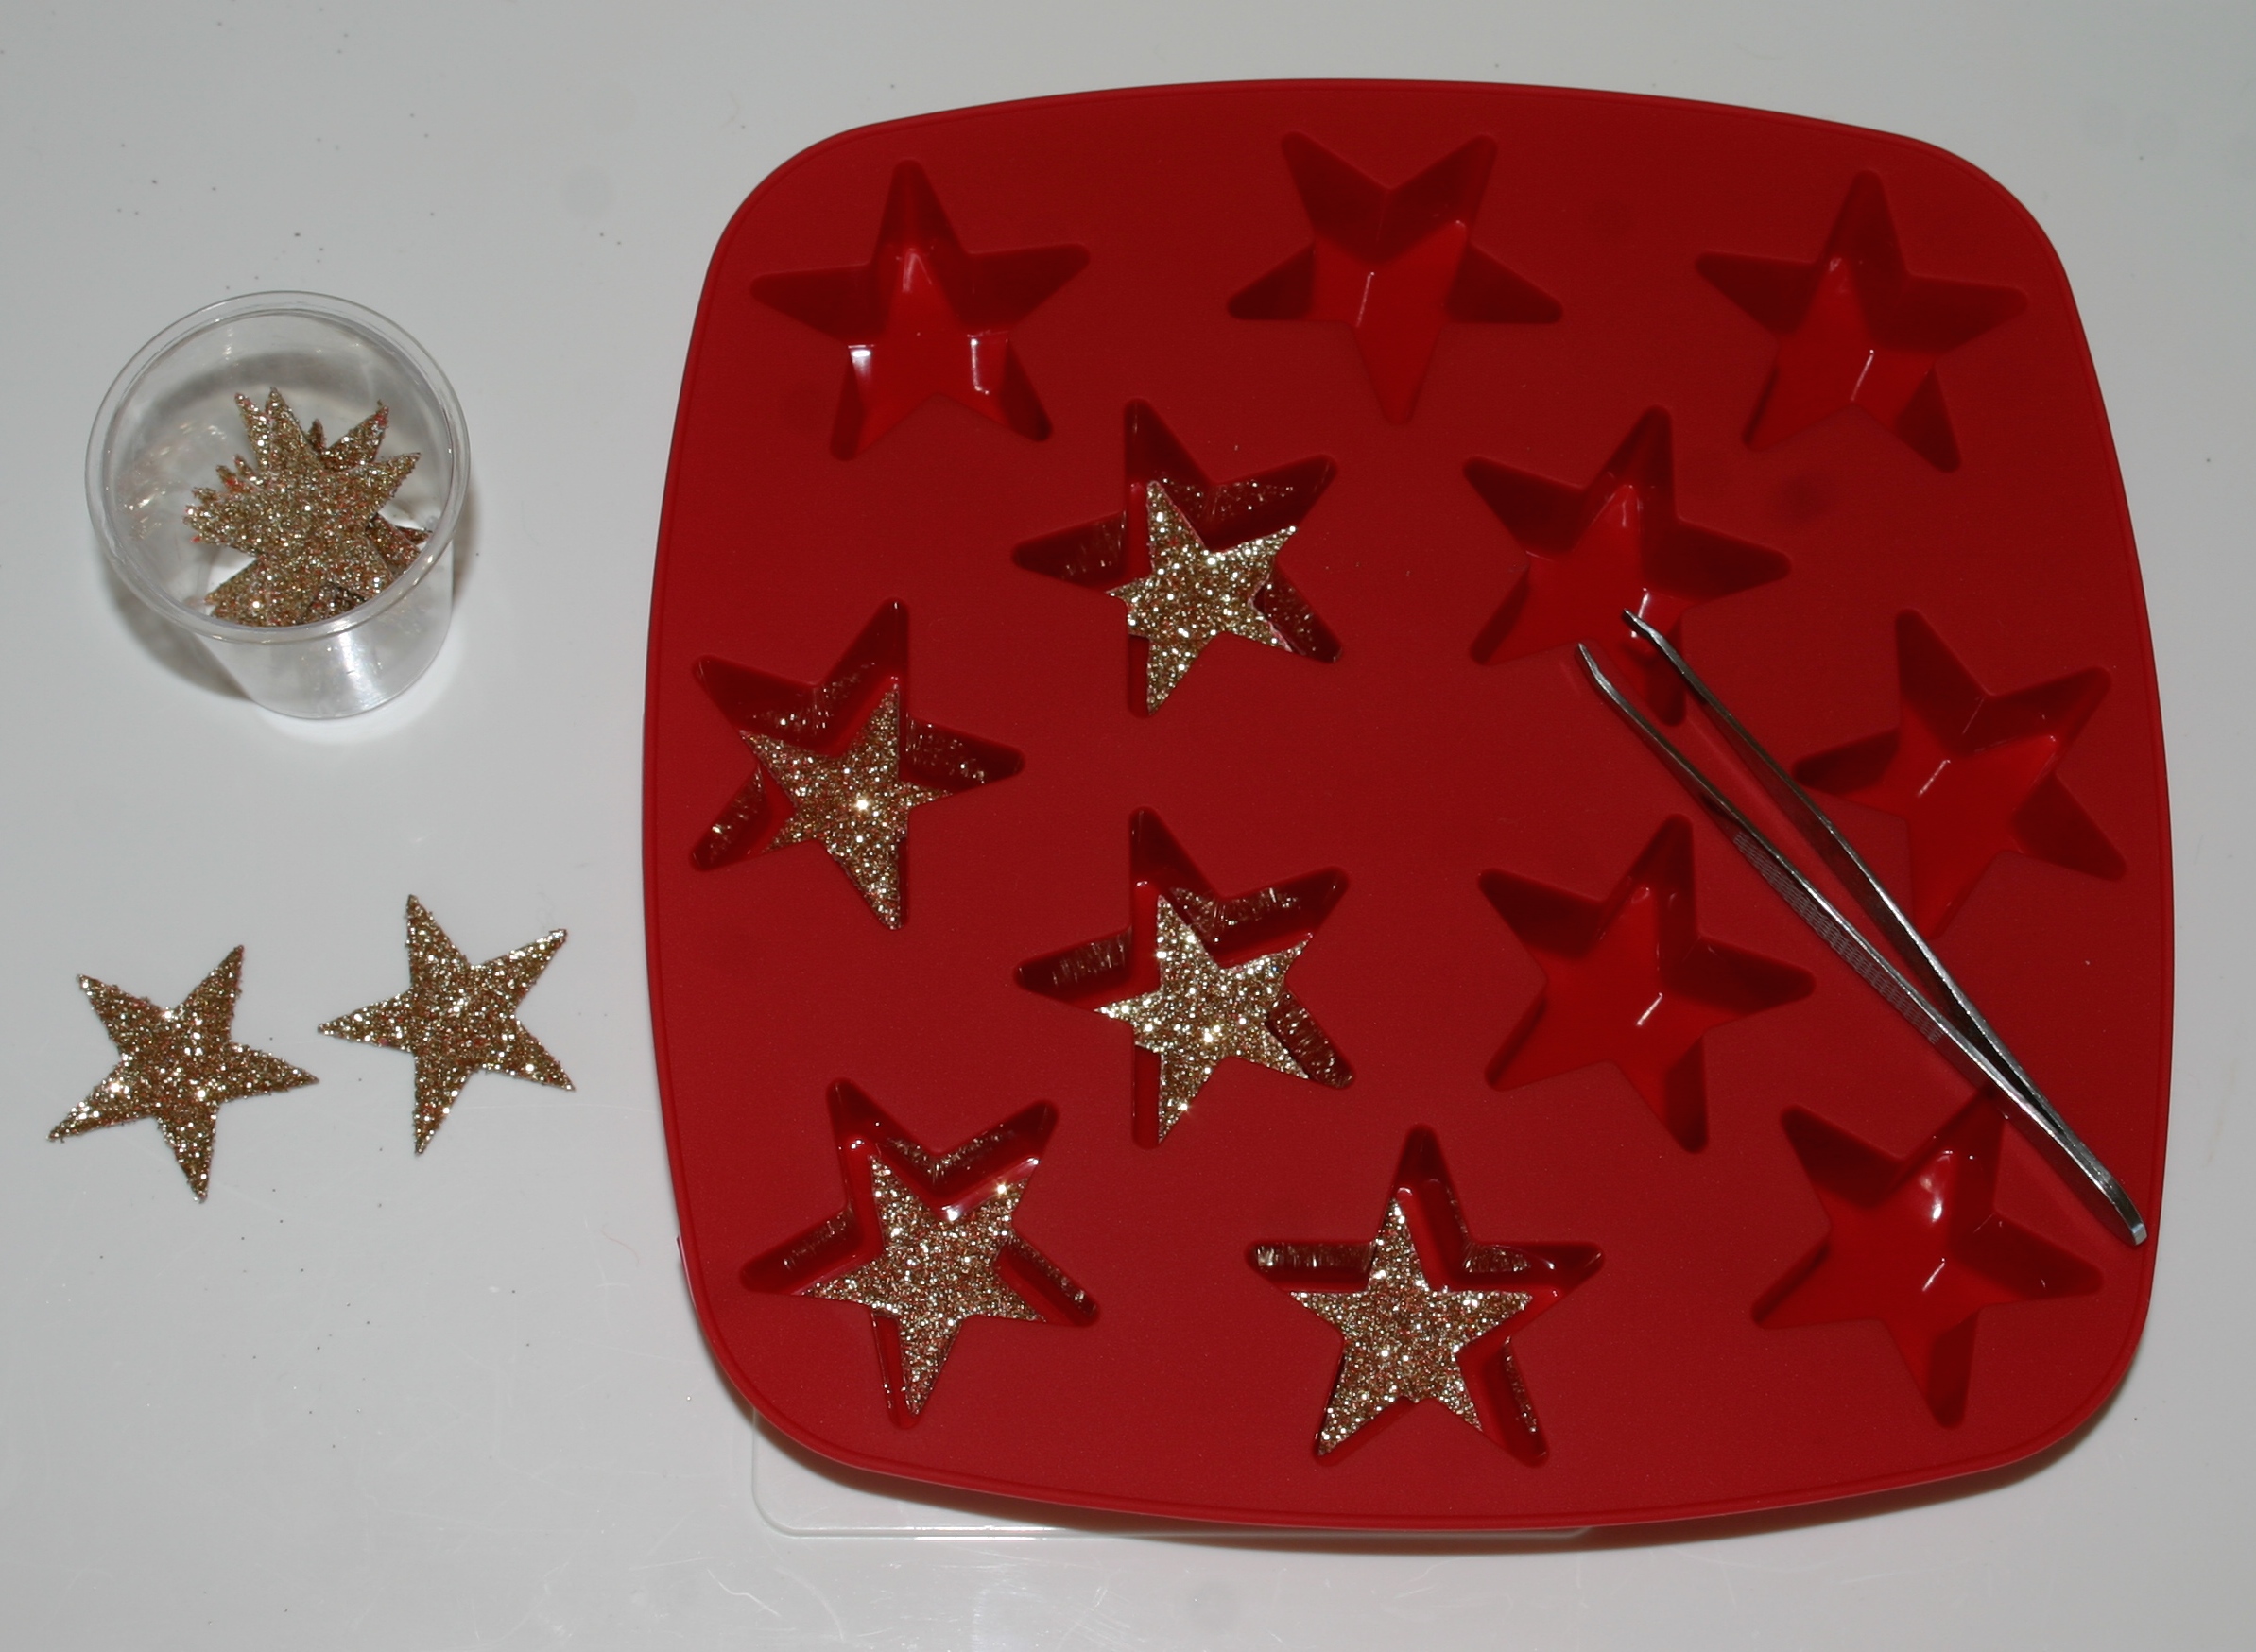
A bunch of interesting rocks and jewels with a large ice block container for transferring and sorting. You’ll notice the small wooden tongs abandoned on the side. I have not yet succeeded in getting her to try tongs despite the fact that I’m sure this easy to squeeze pair would be fine for her little hands. She didn’t bother to use the mini spaghetti spoon either – fingers all the way. In fact, the first pile she made was on the table rather than in the ice block tray.

Advertisement

Mat time on the go

IMG_0888

Do you have occasions when you need to take a toddler along and keep them quietly playing in one place for an extended length of time? Whether you keep your children in church with you, need to go to an appointment where there is likely to be a long wait, need to take a homeschool class with other children or want to get through a meal in a restaurant in peace, mat time is invaluable.

The toys need not be fancy or expensive, but it helps if they are new to the child. Things to fill and spill, tip and pour, shake and rattle (not for quiet times!), stack and read, open and shut, will all be a hit. When I pack my take-along toddler toy bag I just walk around the house looking for a bunch of interesting containers and a selection of bits and bobs to put in them. A pile of brightly painted metal washers from the shed in a hinged tin, matchsticks and a container with a hole to poke them in, large stones and a munchie mug for posting, nesting blocks from a wooden puzzle, musical instruments and a tackle box filled up with odds and ends gave us around an hour of peace on a couple of different occasions before the novelty began to wear off.

Training children does take time and is not easy, but a young child who will contentedly play with their activities within a set boundary is a joy to take out.


Sensory tub: popsticks and matchsticks

IMG_0873

During the winter months many of us have a water trolley that is stored away unused until the warmer weather returns. Time to get it out and set it up with your favourite sensory materials! Ours has storage underneath for extra equipment and a lid so that I can keep it covered up to prevent little fingers getting into it and spreading the materials around the house after we have tidied up for the day.

Coloured popsicle sticks and matchsticks were the first material of choice. Along with them I set out coloured bowls and silicone muffin cups for sorting by colour, funnels and tubes and a couple of jars for posting, pouring, tipping and filling. No matter how large the container I find that the children ALWAYS want to put things onto the nearest surface, so this time the water trolley is next to our pretend play home corner set-up which includes a low table. Within minutes there were bowls and containers full of popsticks decorating this surface.

Sensory tubs are an open-ended play experience that will keep young children busy for ages. It provides many opportunities for fine-motor development and social interaction (those arms are my 13 year old boy’s!) and allows the rest of the family to get some uninterrupted homeschooling done.

Home-made Montessori style toddler toy

IMG_0838

Wooden toys are expensive, especially if they are classified as educational or “Montessori” in nature, but there are so many items that you can easily and inexpensively make yourself at home. I found this wooden toy at an op shop recently and in 5 minutes had a new bead activity for my almost 2 year old toddler. All I did was cut off one of the wooden ends, gave it a quick sand and that was it.

I tipped the beads off into a little bowl and showed her how to look for the hole in each bead as she placed them onto the sticks. This was a challenge for her but she got the hang of it eventually. When she has finished with this fine motor activity, the beads can be used for colour sorting, lacing, loose parts play, scooping, transfer and a multitude of other ideas. Great for highchair play, table time, mat time or playpen time, it ticks all the boxes for me.


Preschool at our house: Workbox system for 5 year olds

IMG_1612

Here is the latest workbox style arrangement for our 5 year old preschoolers which will allow them to get the direct instruction from me that they need as they learn basic reading and writing skills, while at the same time having some degree of independence in their other work. I have always invested some time in one-on-one teaching at this age because helping each child to become a proficient reader is one of the keys to independent learning and self-educating later on (one of my goals for all my children.) The children have access to plenty of creative play opportunities and lots of great hands-on learning tools at other times in the day but this morning period is slightly more “bookish” as we step into more formalised learning.

pp schedule

My older girls (7 and 9) both work from a written schedule for several reasons; they know exactly what to do, when to do it and how much they need to do before they are done for the day. My 11 year old son also works from a schedule, but is free to decide the “when” for himself, having shown responsibility in managing his time in the past. The twins (5 years) have a pictorial schedule to gently ease them into a more independent role in the future but don’t really need it because their boxes are numbered and they are under my direction anyway. (It’s more so that I can keep track of what they are supposed to be doing!)

I researched workbox homeschooling several years ago and most of the examples I found on the web involved nightly or at least weekly changing of the contents. I knew that wasn’t going to work for me so I devised a simple system that only needed to be changed out about once a month. (See details here.) There will be some items in the boxes that needs to be updated more regularly (Sight words as they are learnt for example) but this will require minimal effort as the sets of words etc. that I need are all ready to go.

Some advice that I always give beginner homeschoolers, especially those with a large family, is to set their homeschool up so that  it will continue to run without them as much as is possible. Life intrudes; an unexpected visitor, an unscheduled phone call, the baby is sick and on and on. Set things up so that you are not required to be “teaching” directly all the time or the pace may be too hard to keep up. With only one or two children you may be able to do it but not with the number of blessings we have!

So.. what’s in the boxes?

IMG_1614

Daily diary writing (See full explanation here.)

IMG_1616

Bob Books and a file folder game to practise sight words. As the child chooses a word it is read and fed to Mugs the dog through the hole in his mouth. (See this post for how to teach children to read and this one for some info on beginner readers.)

IMG_1617

Segmenting words game based on All About Spelling level 1. I am using this programme as a rough guide at this stage. We will get into it more next year but for now our activities are loosely base around the progression in this book which is very thorough. We are using the flip boxes to review the single sounds we already know before moving on to more complex phonograms.

IMG_1618

Montessori style counting activity tray. Developing one-to-one correspondence is crucial before any real maths skills can be developed and these simple counting activities give heaps of practise while also working on fine motor skills. In the top activity the expresso cups are set out with the numbers in order from 6 to 10 and the child uses the tongs to add the correct number of sugar lumps to each cup. In the second activity the small tongs are used to transfer the correct number of marbles to the suckers on these soap holding shapes – the kind that suction onto your sink to stop the soap slipping away.

IMG_1619

We use Math-u-see for the first couple of years and Primer is the first book in the series. I cover all of the concepts with  hands-on tray activities first and once they are well mastered the children can work through the book as a bridge to the bookwork they will be doing the following year. We also have the Dive CD’s which have videos for each lesson in the student books so some added “teacher” instruction is given as well to help fill any small gaps that may still be there.

IMG_1620

Tracing letters and numbers. I try to supervise handwriting practise to ensure that the correct letter formations are being made. There are heaps of free worksheets on the net. Look for some in your preferred font and laminate them if you choose for repeat practise. For children who find fine motor control difficult, the channel writing (bubble letter style) are the best because it allows more leeway than dotted letters for wobbly pencil paths. It can be very discouraging for children who try so hard and yet cannot stay on that dotted line. The “fat” letters to keep inside are somewhat more forgiving.

IMG_1621

The last workbox contains a selection from some free printable worksheets to go with the Bob Books that I have found online, mainly for my daughter who finishes all her school work in nanoseconds and wants to know what else there is to do. She loves to do “real” school work like her older siblings so the more books and worksheets I supply her with the happier she is. My son will do them if he wants to which will translate to not doing any at all except possibly using the bingo dotters to follow the word paths simply because he wants to randomly dot paint everywhere 🙂


Teaching preschoolers to write

IMG_1614

Today I will be sharing how to teach writing using a daily diary with some general tips and a quick “how to.” I have started this post 3 times now because there is just so much I could say and it keeps turning into a thesis, so back to dot points 🙂

Tips for turning out great writers:

  • Provide many experiences that develop fine motor skills – playdough, threading, building etc.
  • Make sure your child is using the correct pencil grip – get a moulded pencil grip if necessary.
  • Teach the correct letter formation – bad habits are hard to undo.
  • Teach phonics. A strong grasp of the phonemes (sounds) and how they join together to form words is vital
  • Read examples of good writing every day
  • Avoid have-a-go methods where the child is internalising incorrect letter combinations that will need to re-learnt later. Do not be afraid to tell children how to spell a word. It is better to copy from a good model than to write the word the wrong way over and over again. You can encourage them to use their phonetic knowledge and spelling rules as you work with them to write the word correctly the first time.

Daily diary writing for preschoolers – how to:

  • The child chooses their topic for the day and spends a few minutes drawing a picture.
  • Have them dictate a sentence about the picture for you to write down, leaving every second line blank. Ask questions as you do this; What does the word start with? How do I write the letter “s”? Show me in the air. What sound can you hear in the middle of the word? How do I write a “ch” sound? This is one of your sight words – can you remember which letters go together to say “the”?
  • For beginners, re-write the sentence onto a separate strip of paper. Cut it into individual words (or have them do that) then ask them to match these words underneath the ones you have written in their book and glue them in.
  • When this is easy, have the child trace some of the words you have written. For one of my preschoolers I choose a couple of words each day to write in dots so that he can trace them to write the word.
  • When this is easy, start copy work – where the child copies what you have written underneath. (Don’t be too pedantic about letter formation here – just keep practising with handwriting lessons every day so that the correct strokes are quickly learnt.)
  • Read back the writing together, pointing to each word as you do so. Ask them to find a word for you – Can you see the word that says “house”?
  • Move on to having the child write their own sentence once they have a large enough bank of words to do so. Brainstorm words they may need before starting and write them along the bottom of the page so that they can see the correct spelling as they write the word for themselves. Correct any errors as soon as possible.

Obviously there is a lot more to learning to write than I have covered here but for the sake of clarity I have tried to keep it brief. I have used diary writing with several classes of students and now my own children and it is encouraging for them to watch their skills develop over time, as well as proving a lovely keepsake for later. A few years ago my Mum pulled out a school diary I had written in year one and it was so cool to read through and see what was important in my life at the time. It began with the teacher writing everything and by the end of the book I was writing everything – all in the space of one year. Preschoolers will of course move more slowly than this but you will be surprised at their progress. Reading though my diary bought back some wonderful memories of events that I had totally forgotten about and made us all laugh to see what Mum did when she was in school.


Teaching preschoolers to read

Homeschool has started for the year at our house and with it our routine. As always, there is some tweaking and re-arranging to make the new schedule work for us and I am reminded that flexibility is important, but am also enjoying the more peaceful atmosphere that being back on a schedule has bought.

As we continue the journey to reading proficiency I have also been reminded that learning to read is a process with several steps that need to be mastered before children will become strong readers. Ear training is so important in the early stages and while they have both memorised their letter sounds without any trouble, they are not yet proficient in the skill of segmenting words into their individual sounds so that is the next step for us. (See this post for an explanation of the steps to successful reading with ideas for teaching each stage along the reading ladder.)

So here are a couple of ways to practise segmenting words; breaking them down into their component sounds or phonograms. These are for words which have two phonograms, but can be easily adapted to 3 letter words by moving 3 objects rather than 2.

IMG_5761

Parking the car into the garage. For example, the word “at” has two sounds or programs; “a” and “t.” Say the word slowly out loud, breaking it into 2 parts as each car is moved to represent the sounds heard.


IMG_5778

Sliding the sounds together; bears on a Lego slide.

IMG_5773

The horse jumps the gates as each sound is heard.

These ideas can also be used for learning how many syllables are in words. The word “candle” has 2 syllables; “can” and “dle” so the horse would jump 2 gates also. Don’t use the same game though interchangeably between syllables and sounding out phonograms as it may be very confusing to children. Candle has 5 sounds/phonograms; “c” “a” “n” “d” “l” (silent e), but only 2 syllables.

IMG_5771

Jump the frogs onto the lilipad.

IMG_5764

Jump the grasshoppers onto the leaves.

IMG_5772

Put the food onto the spoons.

After a 5 minute wander through the house I had a bag full of little objects that would do the trick. Even moving counters up and down the desk will do but I thought these were more fun.


What’s in the box? Christmas activities for preschoolers – part 4

Today is the fourth instalment of our “What’s in the box?” Christmas activities for toddlers and preschoolers. My 2 1/2 year old searches each morning to find his sparkly Christmas box filled with a new Christmas themed activity. He works on these after breakfast while his older siblings are preparing their Blessing Buddy acts of kindness for the day. Combined with room time, this highchair time gives me 1 1/2 to 2 hours of time to either homeschool the older children or in this case, complete some more complicated crafts that need me to be available. As each box is opened it is added to his “school” shelves and can be rotated with the other Christmas activities to extend the time.

If you have trouble getting your little one to sit and concentrate, have a read through this post for some tips on the practicalities of getting started. While some children are naturally better at sitting for longer lengths of time and focussing on a given task, all children can be taught to do this and will improve with consistency and training. I now have 6 children who are (or have been) old enough for highchair activities and I can assure you that they were not all on board with the idea of highchair time from the beginning!

IMG_1483

Day 16

Tweezer star transfer. Practising pincer grip is important for young children who will need the finger strength and dexterity this develops later as they begin to write and draw. The card stars will be presented in a small container that holds them upright to make it easier to grasp the edges with the tweezers as they are transferred into the ice block tray segments.

 IMG_1502

Day 17

These oversized popsicle sticks, pompoms and stars have magnets on the back so that they will stick to the baking tray.

IMG_1490

Day 18

All the children have quiet time books filled with dot-to-dots, colouring pages, puzzles and assorted activities. This is a toddler version of the same with stickers, stamps and texts for free creating.

IMG_1501

Day 19 

Even though this is day 19 of my activities, I actually introduced it right at the beginning of December when we decorated our large Christmas tree. Little children love to decorate without having to do it a certain way so we have this little tree set aside with a bunch of assorted decorations for the children to add on and take off as often as they like.

IMG_1494

Day 20

Poking toothpicks into the foam tree and adding large beads to decorate the tree will allow latitude for fine motor skills, colour sorting and matching and one-to-one correspondence.


What’s in the box? Christmas activities for preschoolers – part 3

Our first “What’s in the box?” Christmas highchair time activity was revealed today to our 2 1/2 year old who was excited to search for his hidden sparkly Christmas box. He enjoyed his Christmas sensory tub activity and will be keen to see what tomorrow’s box reveals. He played with his new activity while his older siblings worked on their act of kindness for the day, which came with the much anticipated arrival of our Blessing Buddies.

Here are 5 more of the Christmas activity trays for toddlers and preschoolers that I have prepared, ready to be revealed one at a time each morning in the special sparkly Christmas box.

IMG_1488

Day 11

These cookies are simply 2 circles of cardboard from a nappy box glued together (picture side in) with a variety of felt shapes to add as icing.

IMG_1486

The older children saw what I was doing and begged pestered asked me to let them have a go. They did such a good job that I handed the project over to them and went on to prep some other activities. Other than the flowers and a couple of bits and pieces, the designs in the photo above are all theirs. They can’t wait to play with them!

IMG_1442

 Day 12

A sensory tub filled with macaroni pasta and a variety of interesting bits and pieces to sort, scoop, tong, tip, pour and transfer.

IMG_1459

Day 13

One of our Christmas traditions is to purchase a new nativity set each year. This one we purchased a few years ago and has been well used. I will be putting a different new wooden set into the sparkly box but as the older kids are about while I am photographing I didn’t want to spoil the surprise!

IMG_1469

Day 14

Do-a-dot printables with stickers to place inside each circle. Great for fine motor skills and one-to-one correspondence. I will need to get some larger stickers though as these are too small for very little fingers to manipulate easily. You could add some stamps and drawing items to this box.

IMG_1474

Day 15

Pretend food play and colour sort tonging activity. A muffin tray filled with coloured silicone pattipan wrappers with pompoms and jewels etc. to manipulate and “cook.”


Sensory tub: fun with cars, roads and rocks

IMG_1030

Our latest sensory tub was put together in 5 minutes flat using a bunch of cars, our rocks from the last tub and a basket of blocks that rarely sees the light of day. I replaced the oats sensory activity with cars with the two youngest boys in mind but was surprised to see that the girls also couldn’t keep out of it.

IMG_1028

I just tipped it all in but this is what it looked like after  my 4 1/2 and 9-year-old girls spent 20 minutes setting it up to their liking – I couldn’t have done it better myself!

IMG_1041

Everyone from the 2-year-old to the 11-year-old got in there!

Now, I would like to leave you with the false impression that everyone played together in perfect harmony while I sipped a hot cup of tea and smiled on my angelic brood. Unfortunately the sound track to the seemingly peaceful picture above went something like this:

He’s knocking down my building! Drive on the road! DRIVE ON THE ROADS! MUUUUUUUUM THEY”RE NOT DRIVING ON THE ROADS!!!! Don’t touch my rocks! He’s touching MY rocks! MUUUM, He’s wrecking EVERYTHING! – You get the picture. Pairs seems to be the ideal arrangement for our sensory tubs. Any more than that and the conflict starts.

The previous paragraph has been included for the benefit of some of my friends who operate under the delusion that our family is approaching perfection! 🙂

IMG_1044

This is what it looked liked a couple of hours later.