Homeschooling 6 year olds – maths

It is fairly well understood in the preschool years that children need many hands-on experiences as the best grounding for mathematical understanding. However, it is too easy to fall into the trap of thinking that as soon as a child starts school he or she must “hit the books.” There is still a need to manipulate, play and explore concrete materials in the early years and rushing too fast into abstract concepts (ie. “on paper” solutions) to mathematical concepts can hinder a child developing true understanding.

So, with this in mind, do I use a maths programme for my 6 year olds? Yes, but as a spine from which other maths experiences flow. It helps me to know that I am not missing any skills along the way. Those children who have a good grasp of number concepts can skip through very quickly and often will plead to just write out their answers in the book rather than use manipulatives. If I can see that they truly grasp the skills (understanding the why and how of each problem) then they go ahead. Learning styles do differ after all and not everyone needs the manipulatives. However, other children will need to go through basic concepts such as one-to-one correspondence with manipulatives over and over and over and over again!

IMG_9625
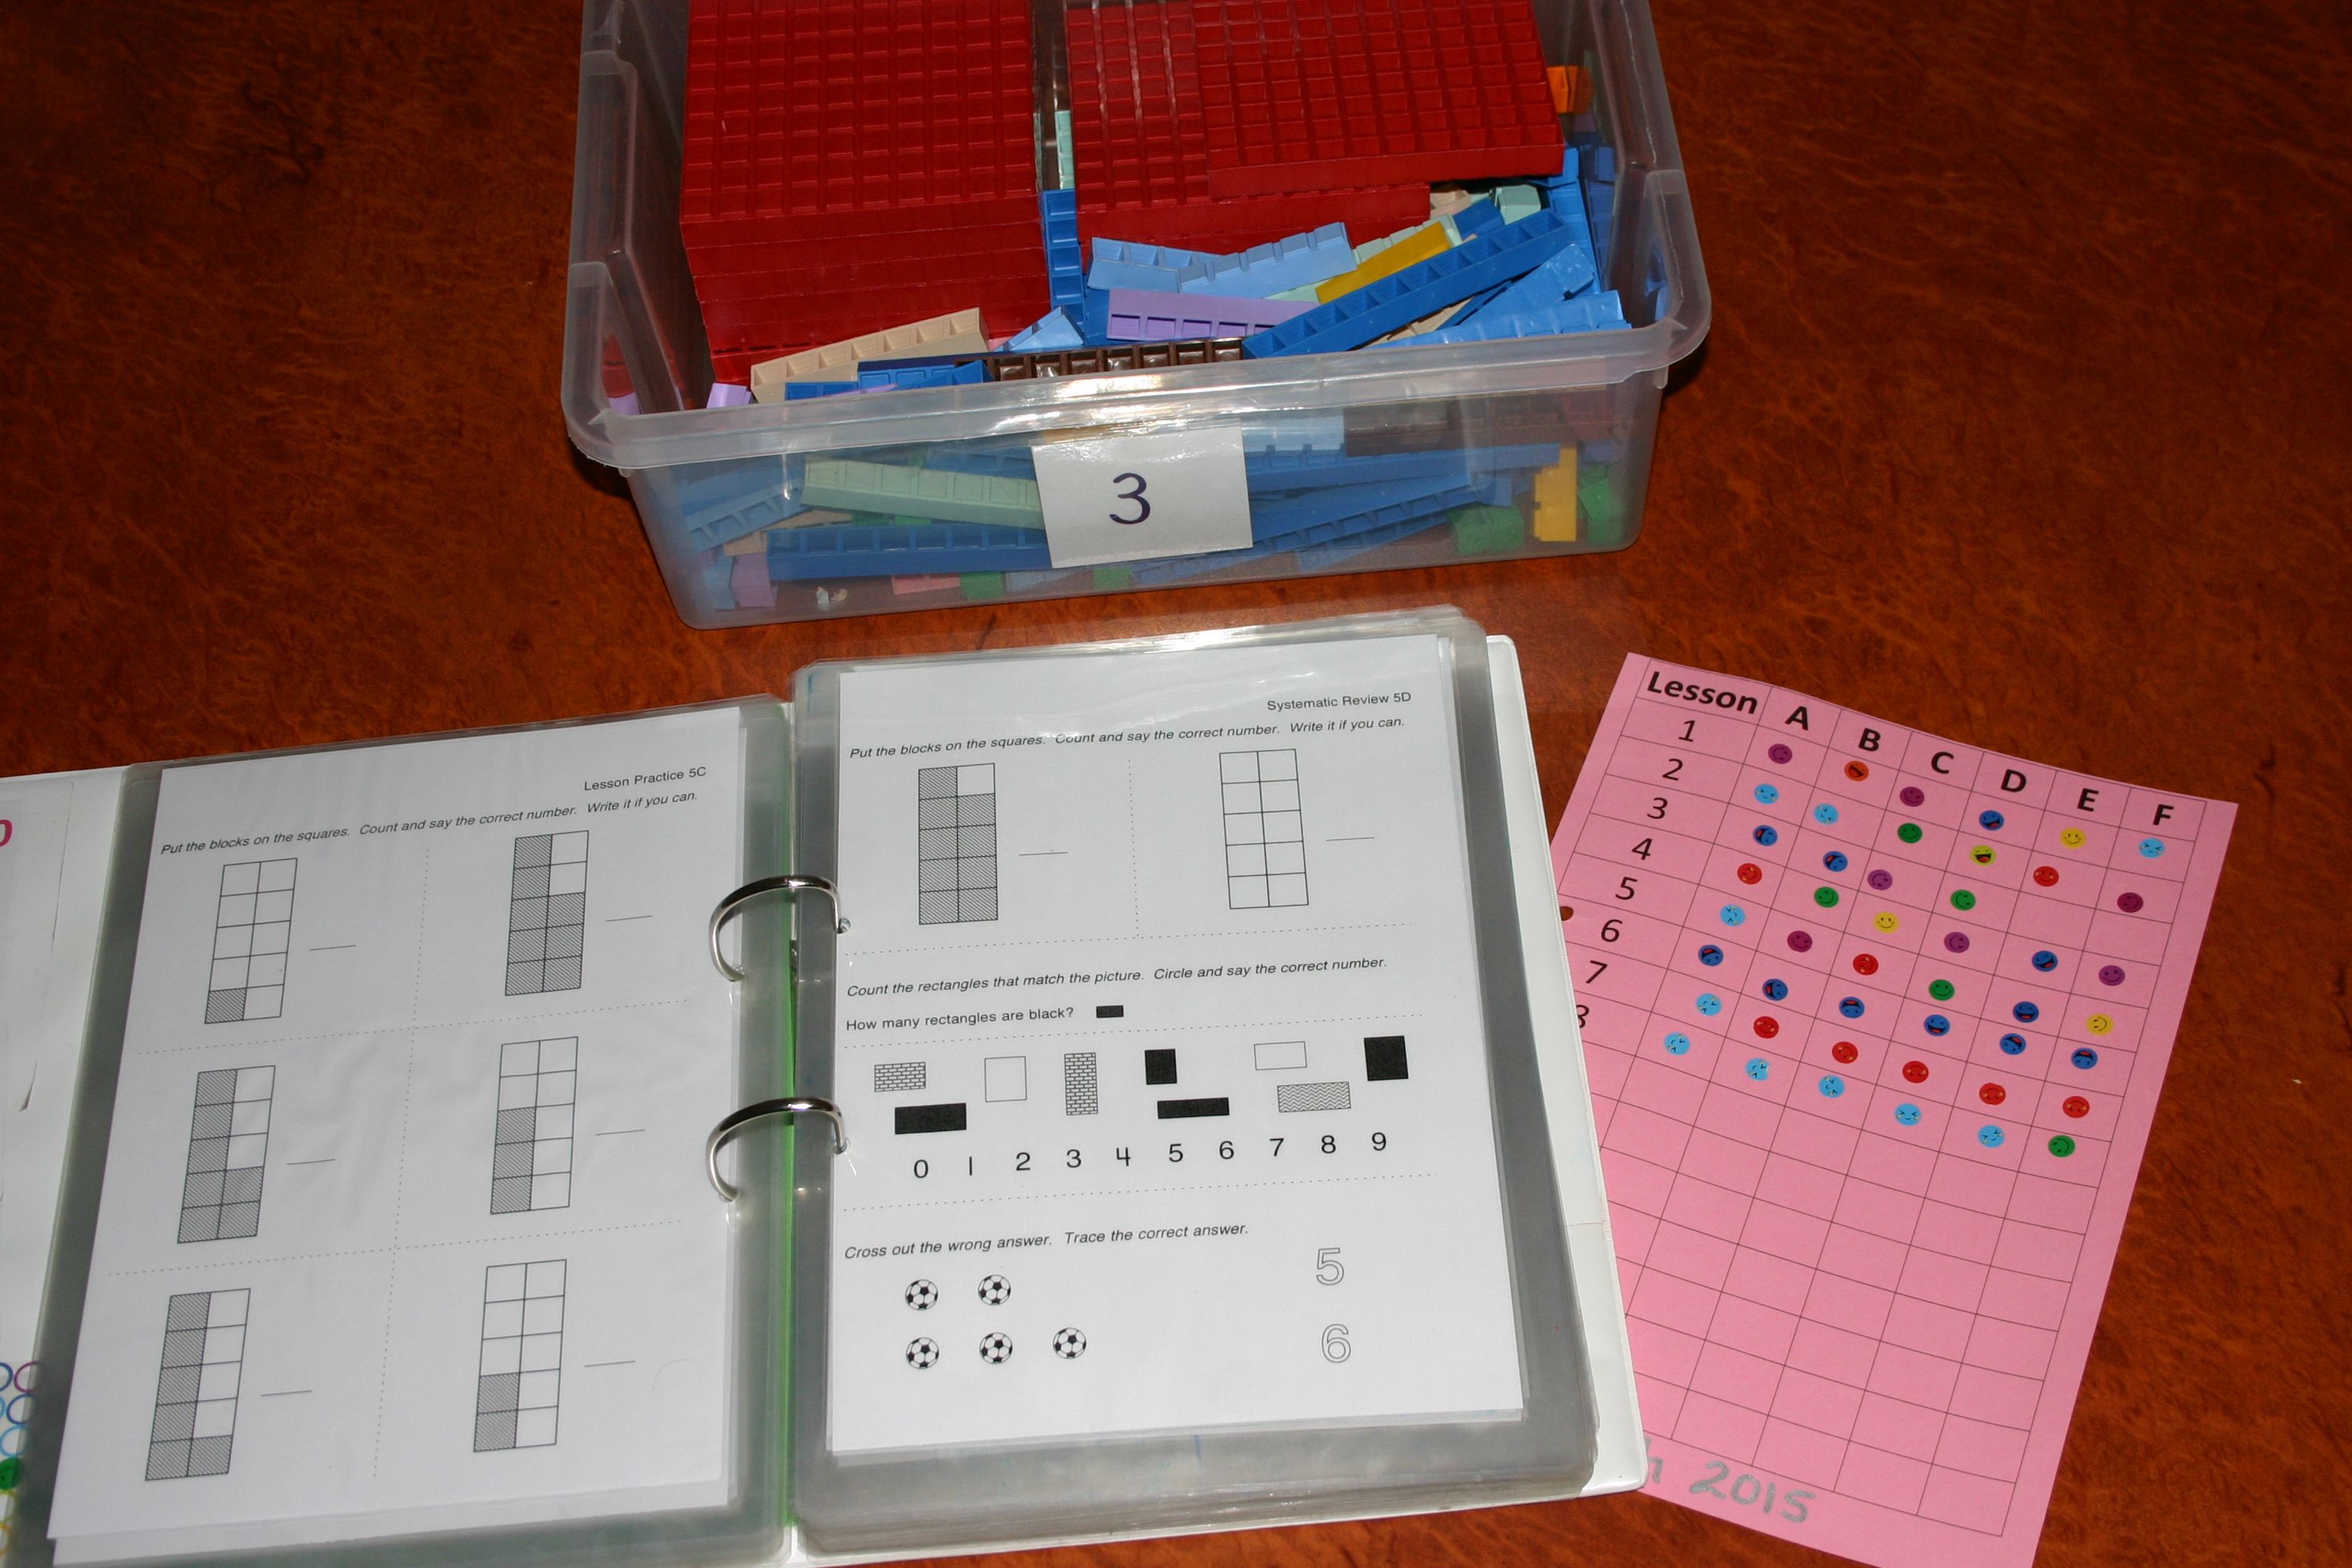
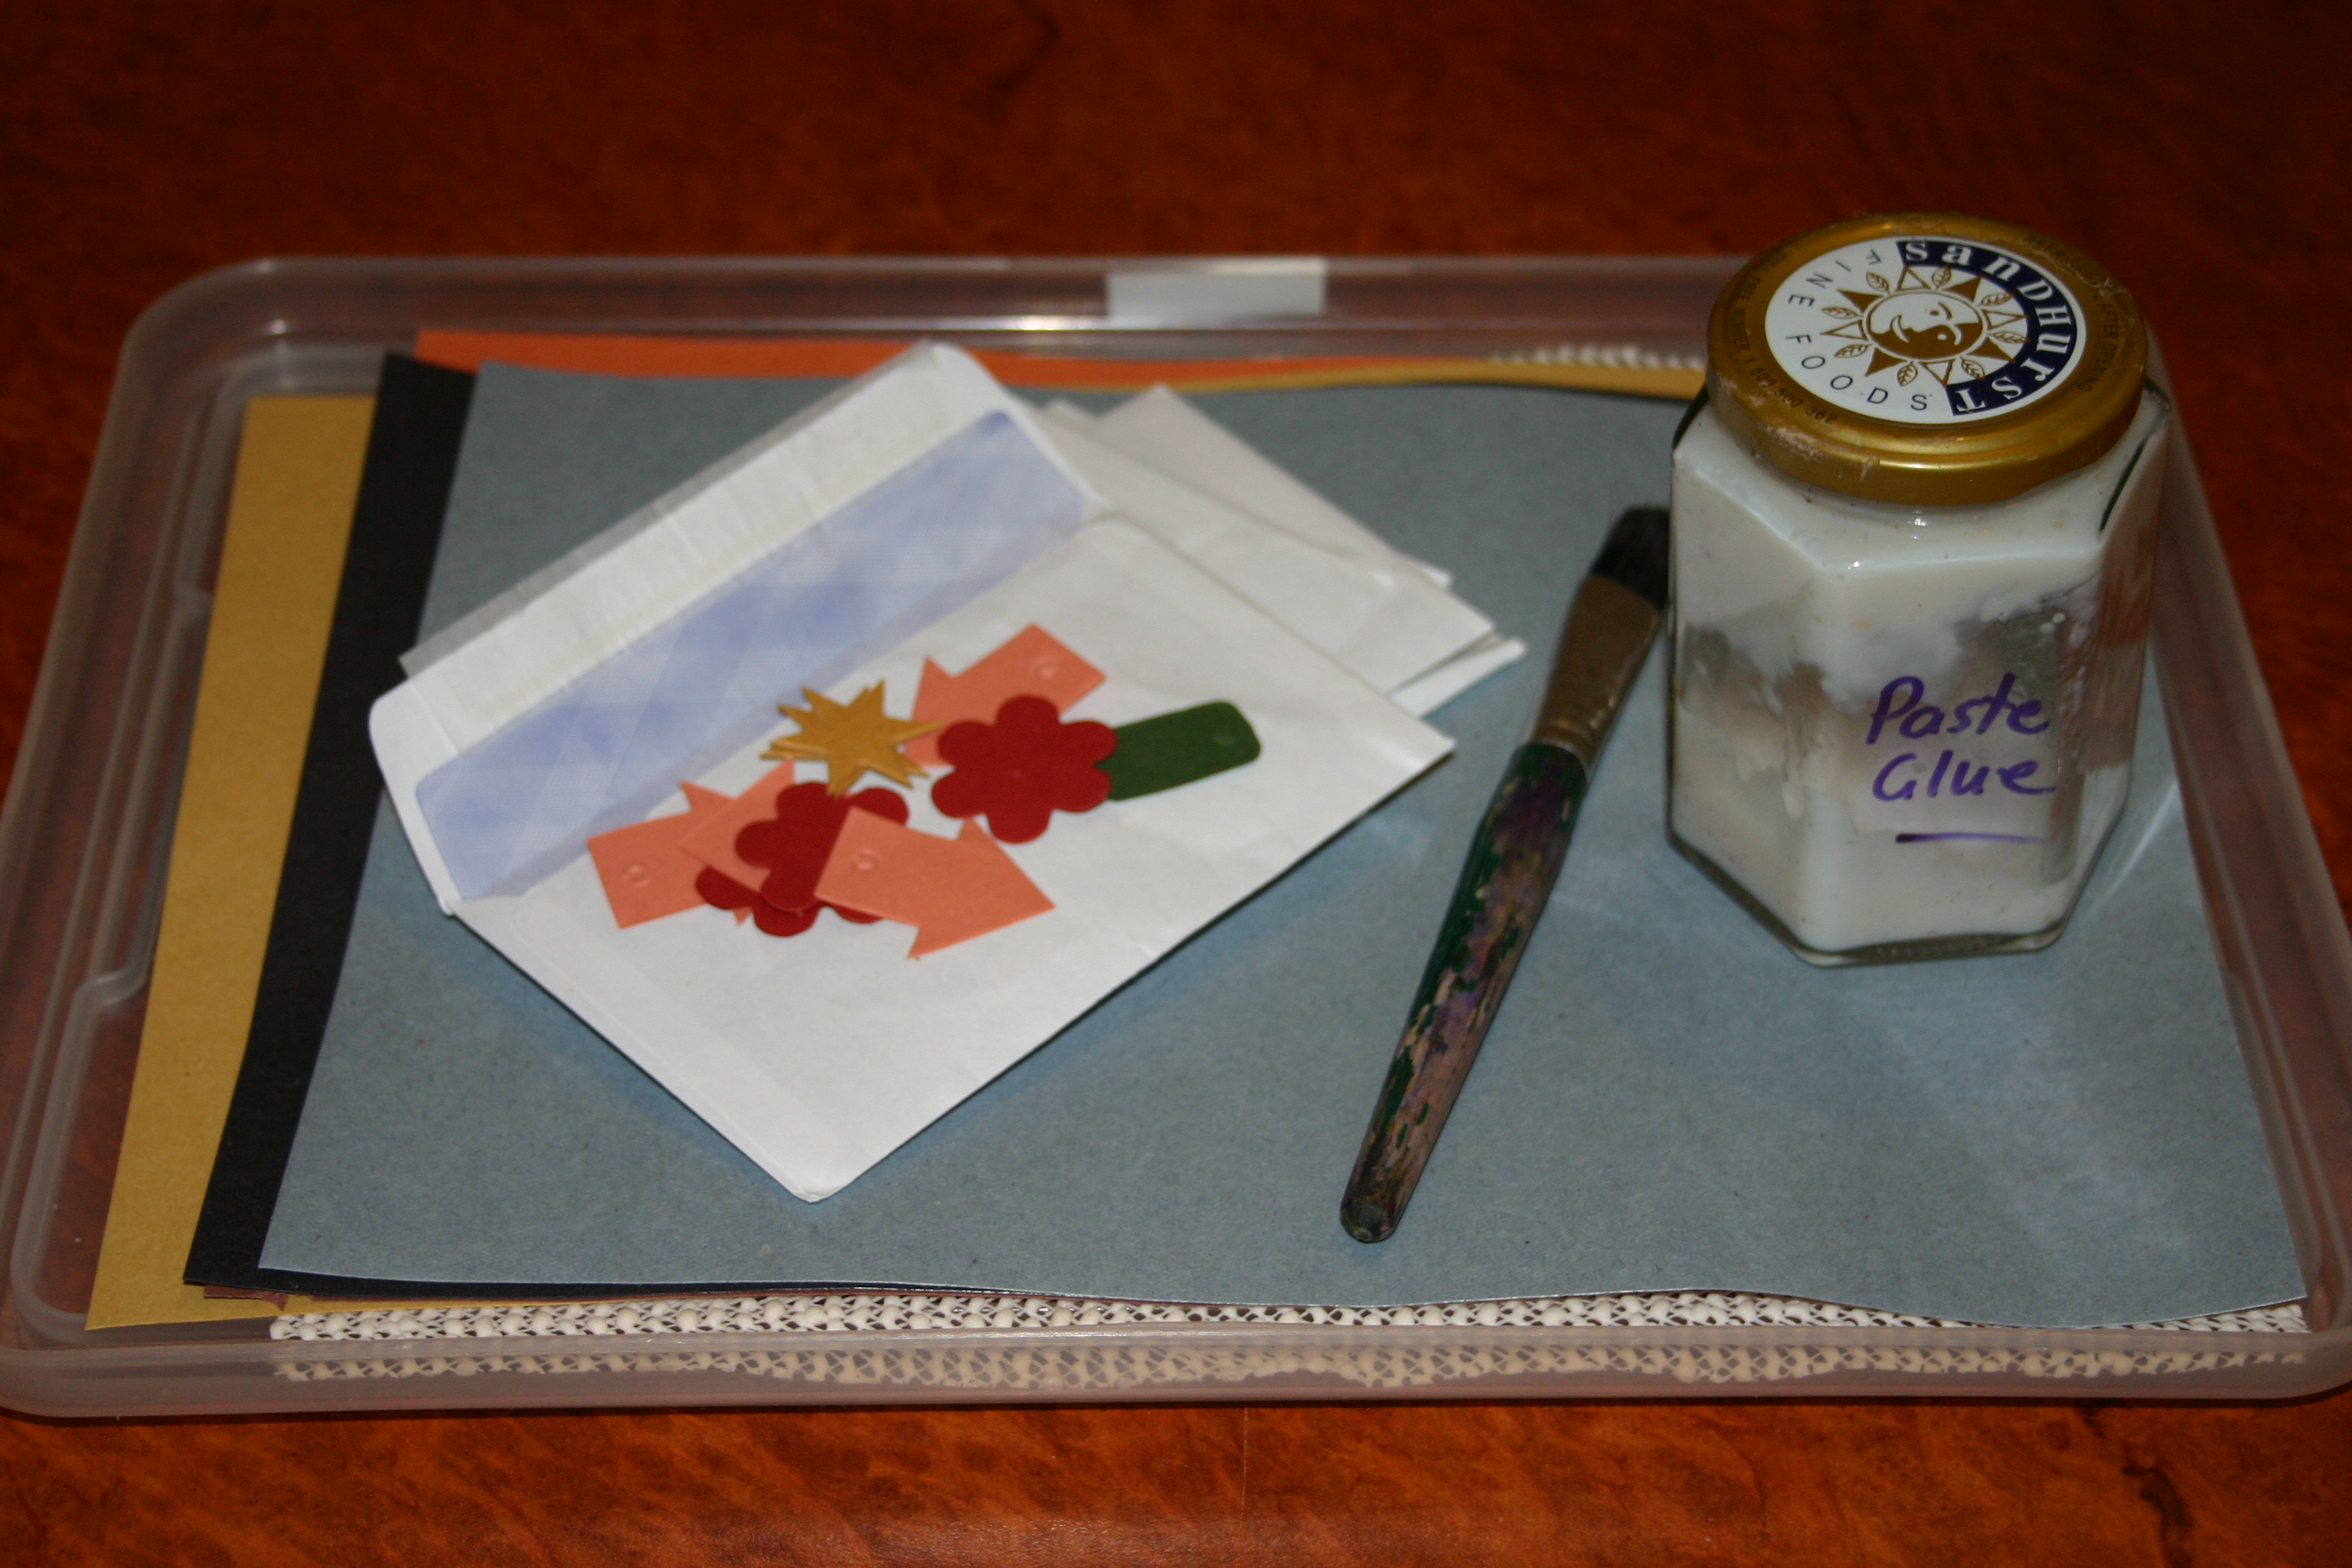
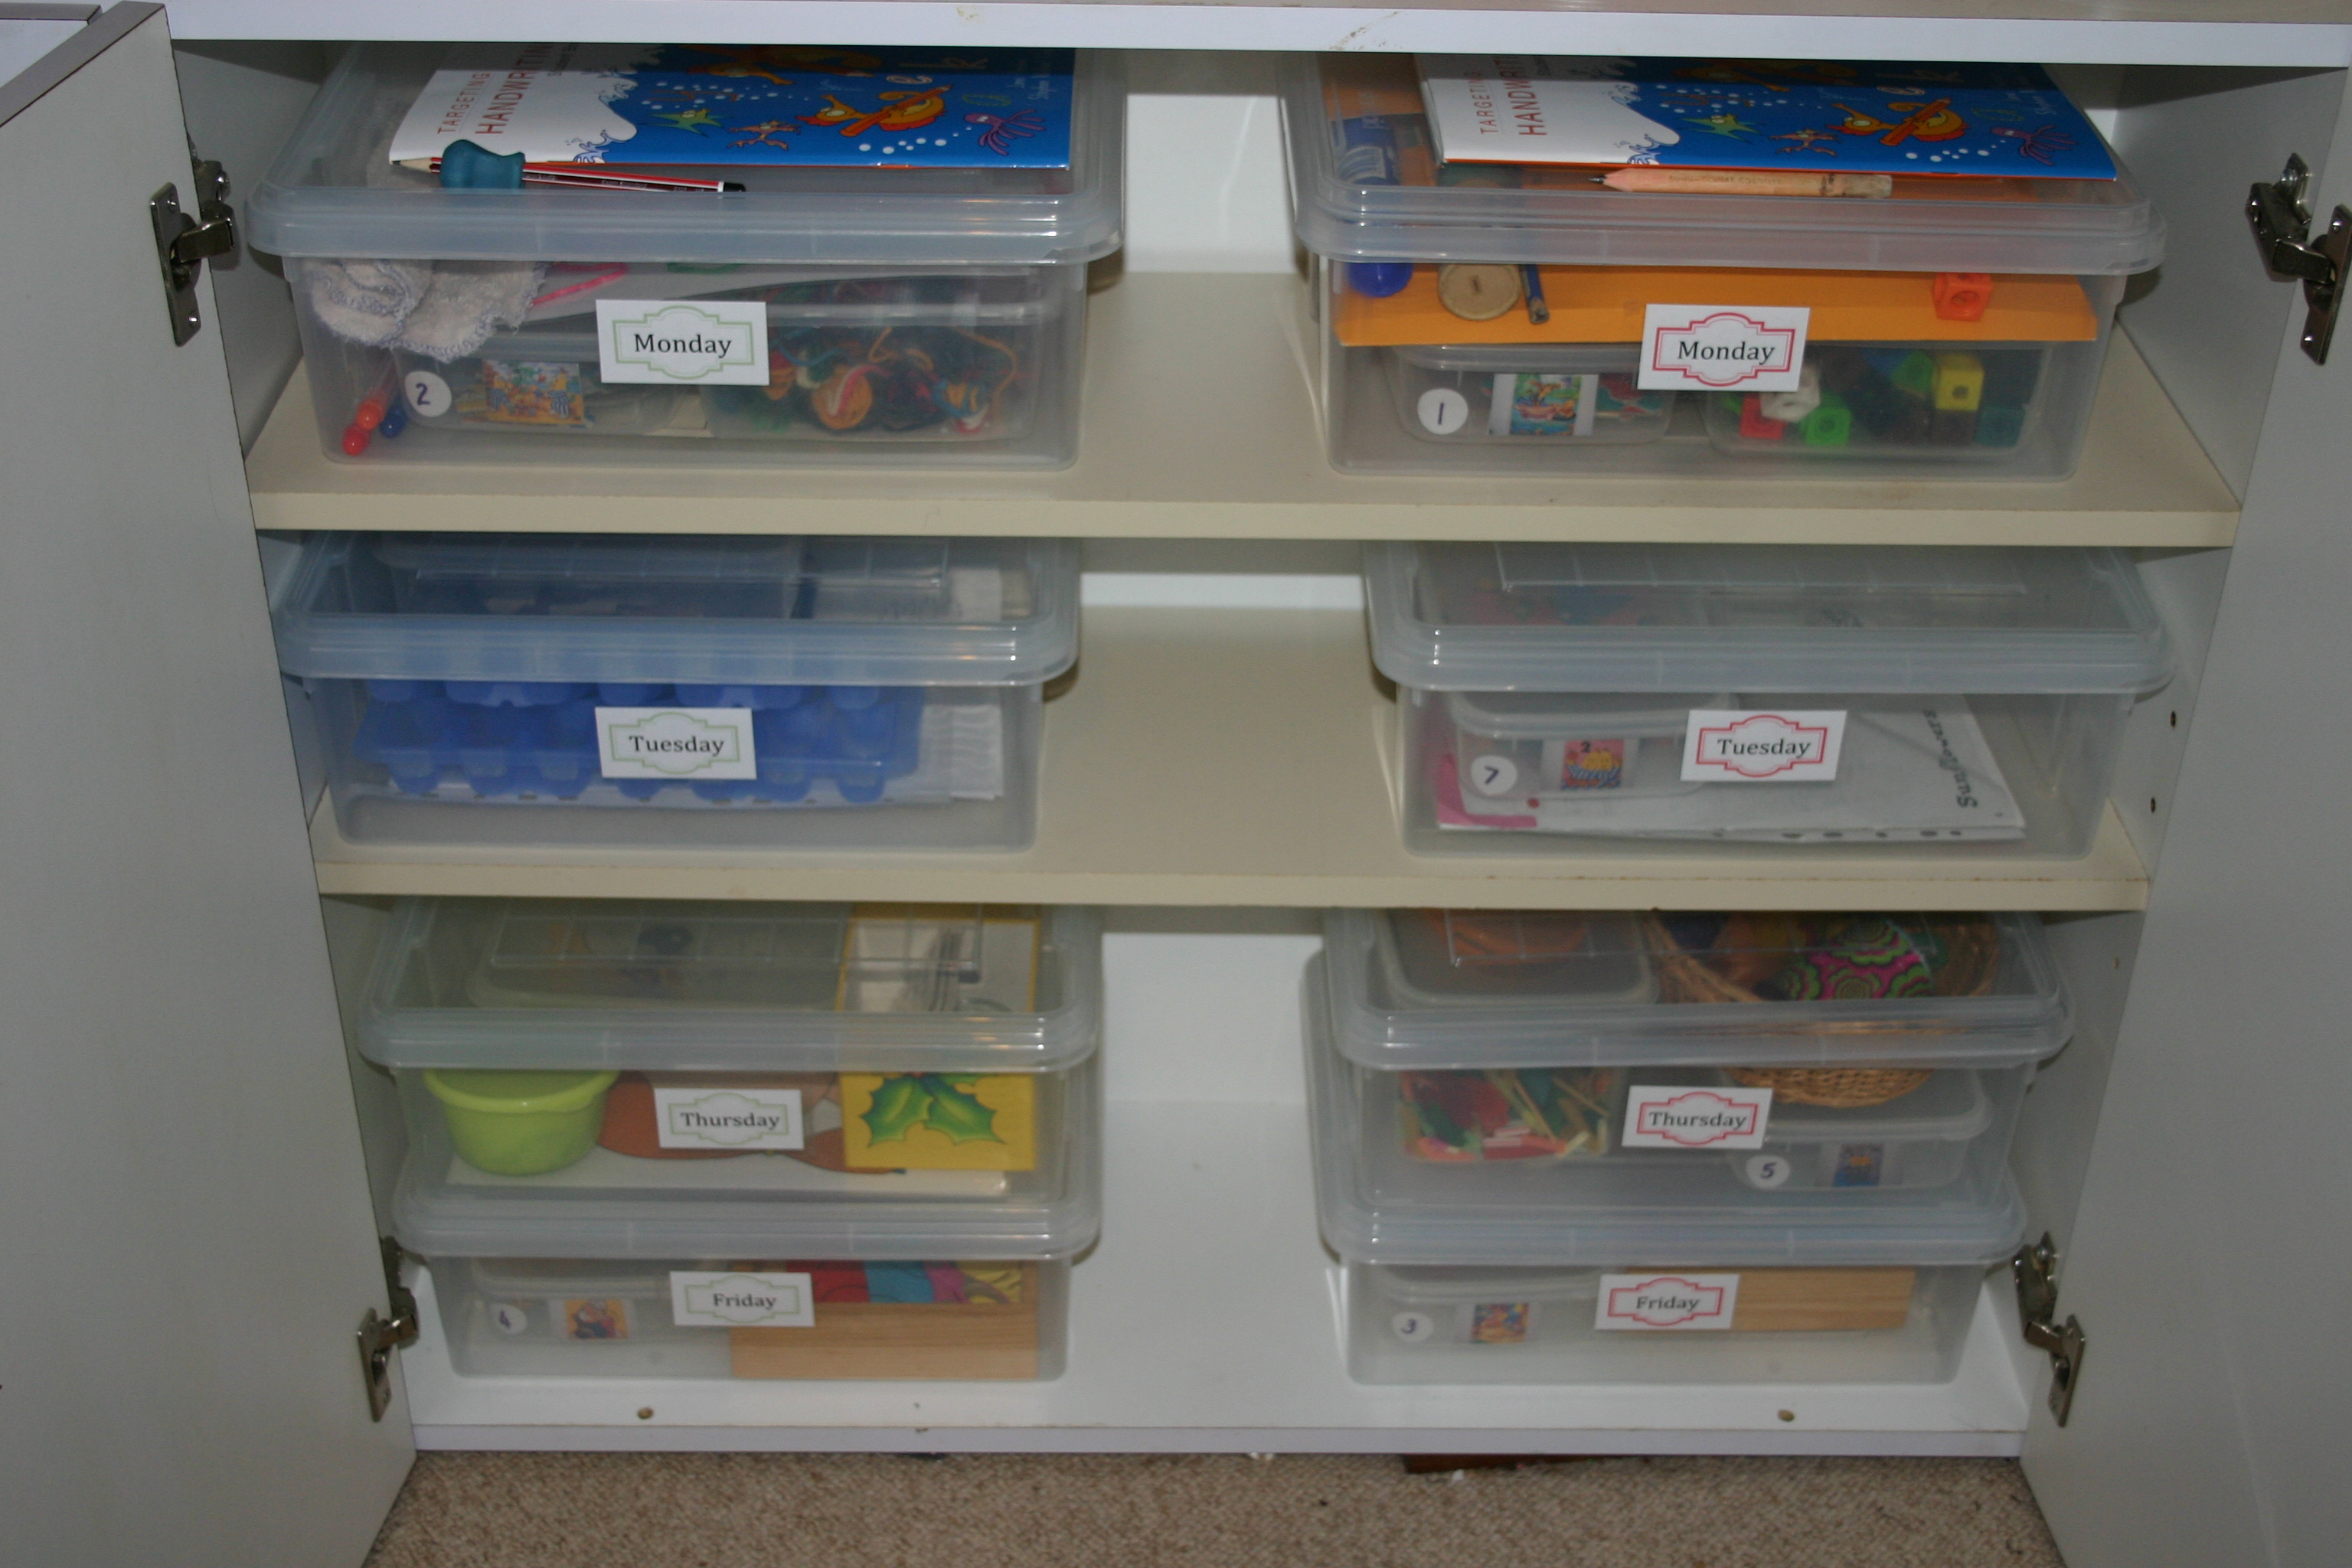
In the early years we use Math-U-See because it does include manipulatives, has a DVD lesson format which means the children are not dependent on me to give them one-on-one teaching to explain each lesson and has a clean and simple set-out with a good progression from skill to skill. Early writers are given enough space to write large numbers and opportunities to use their manipulatives throughout. When more practise is required, I provide Montessori style hands-on activity trays until the concept is thoroughly grasped before the child continues on in the book.

IMG_9629

Reluctant writers and maths:

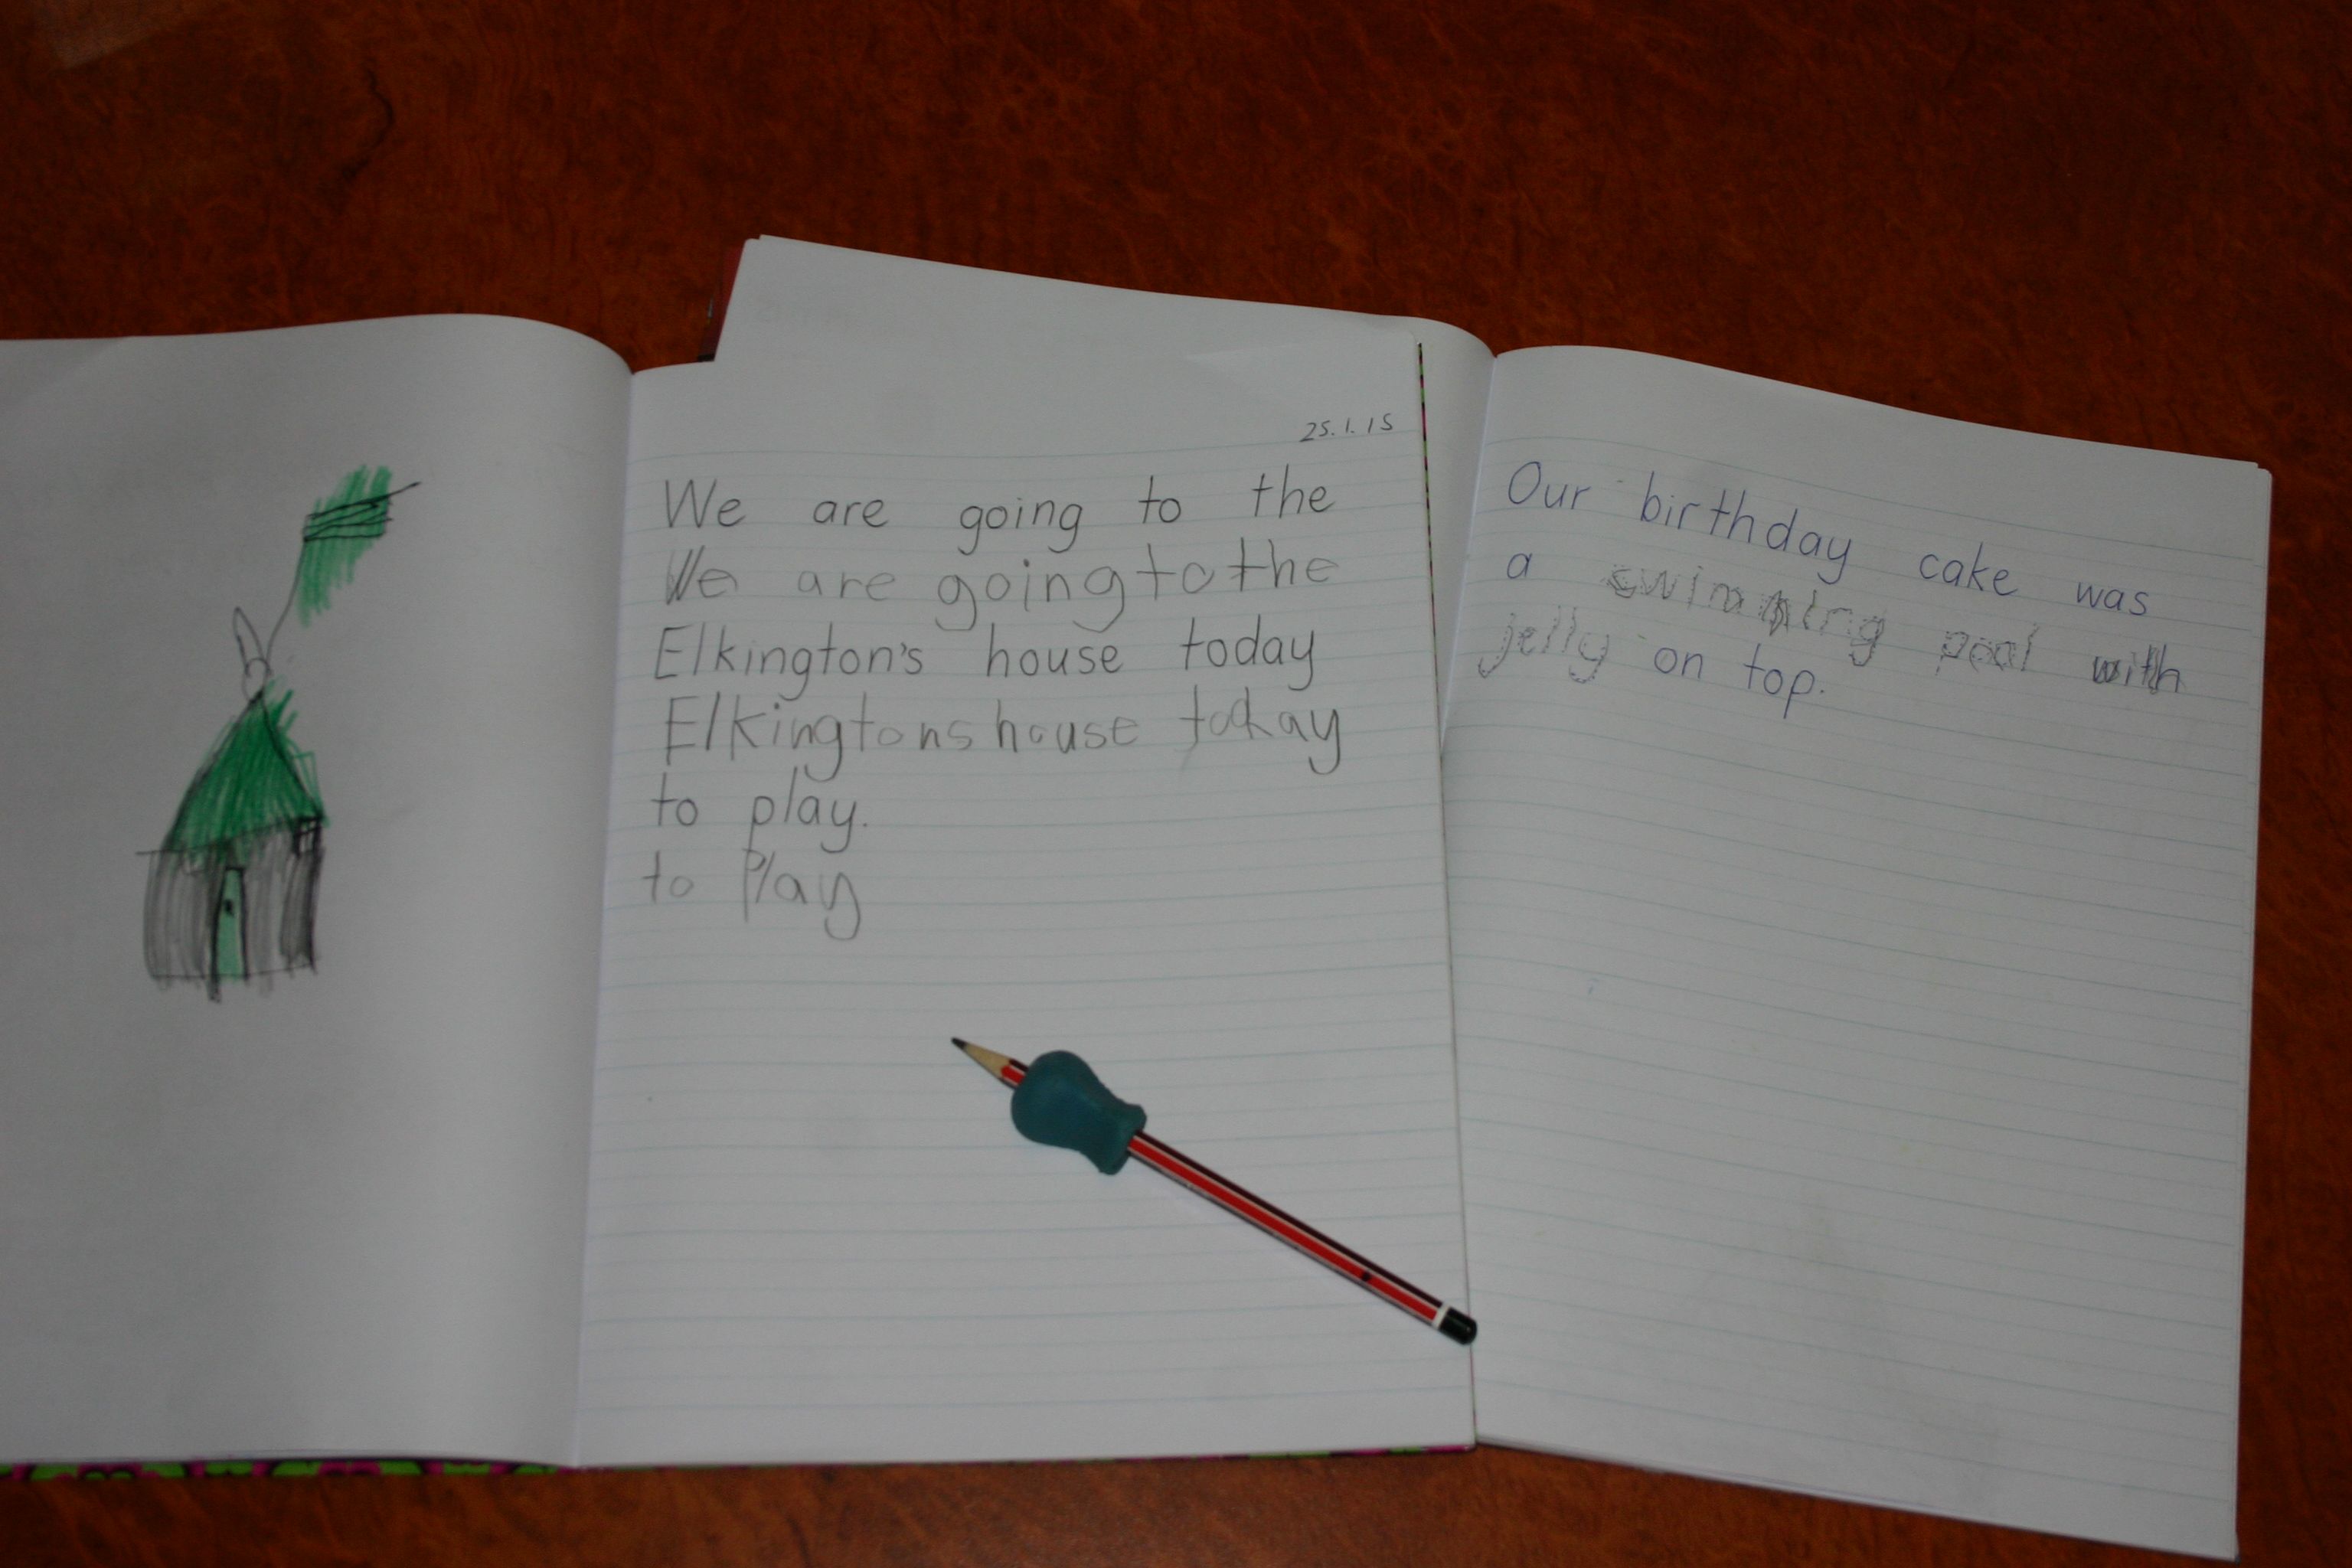
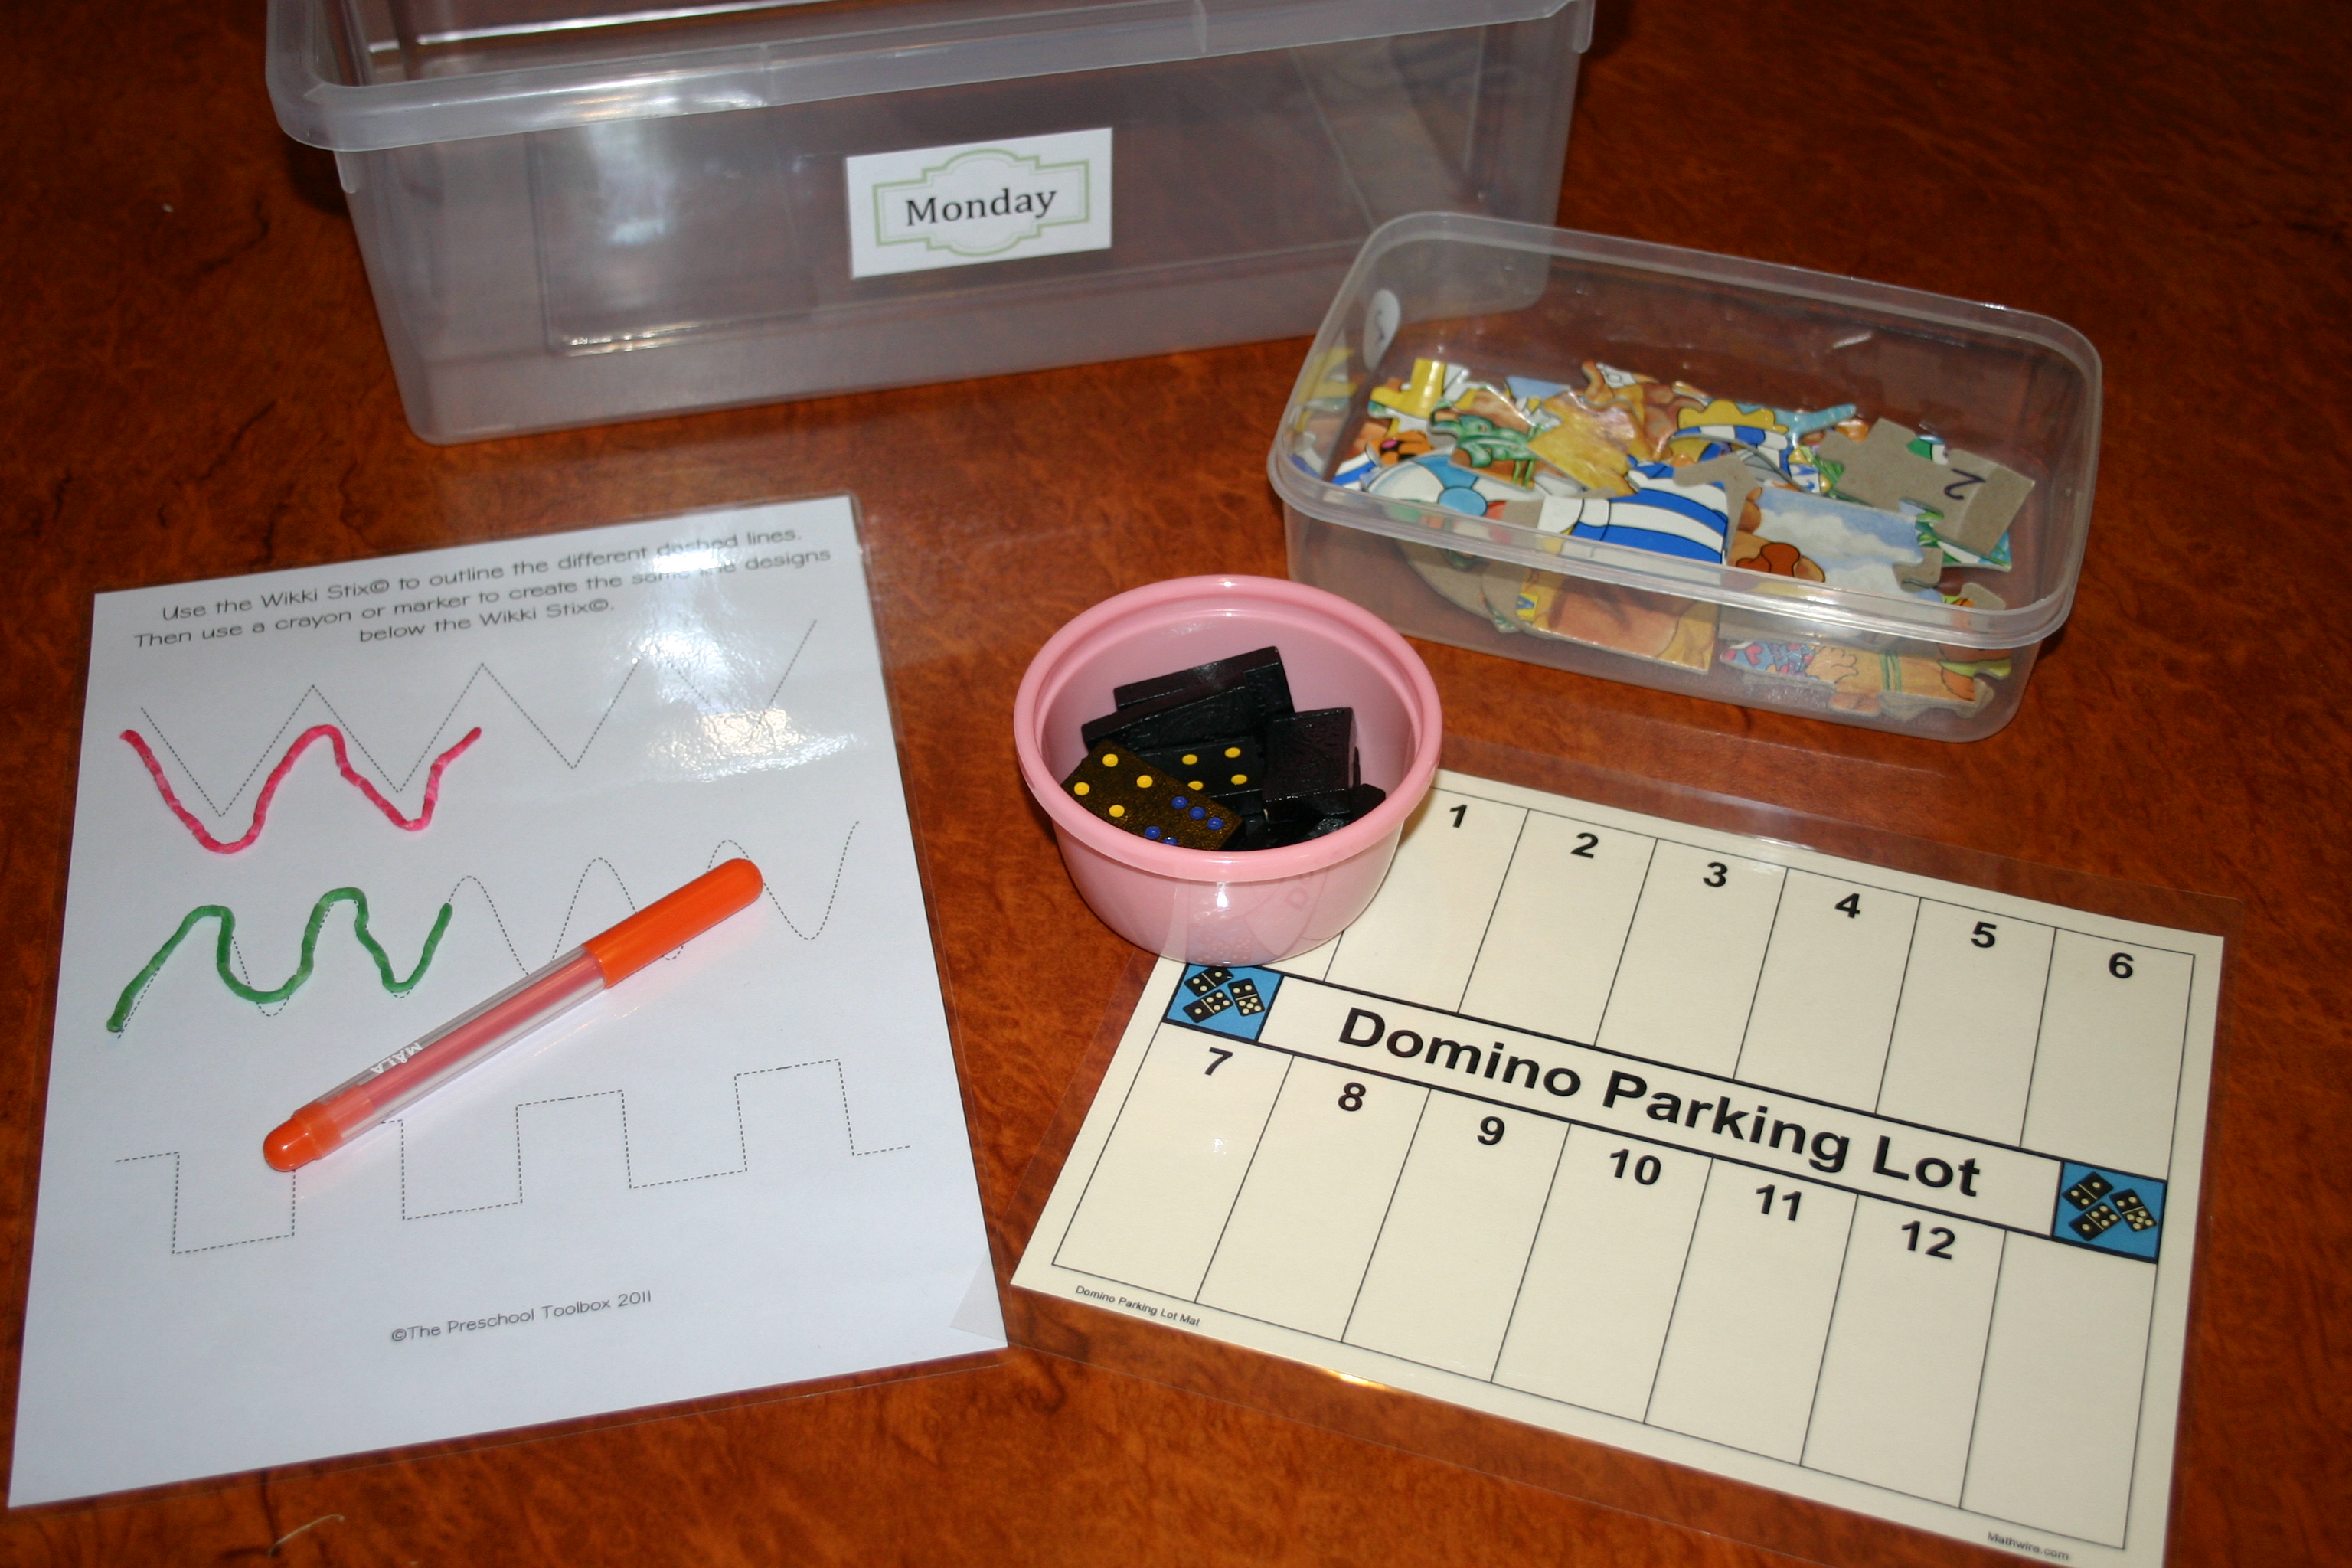
When a child has difficulty with fine motor control and writing skills it can slow them down in all their subject areas. Maths however is one area that can be easy modified to eliminate this problem. Ask yourself – “Am I teaching handwriting or maths?” Do you want your child to progress in maths or hate every minute of it because they have to sit there laboriously writing numbers in their painfully slow style?

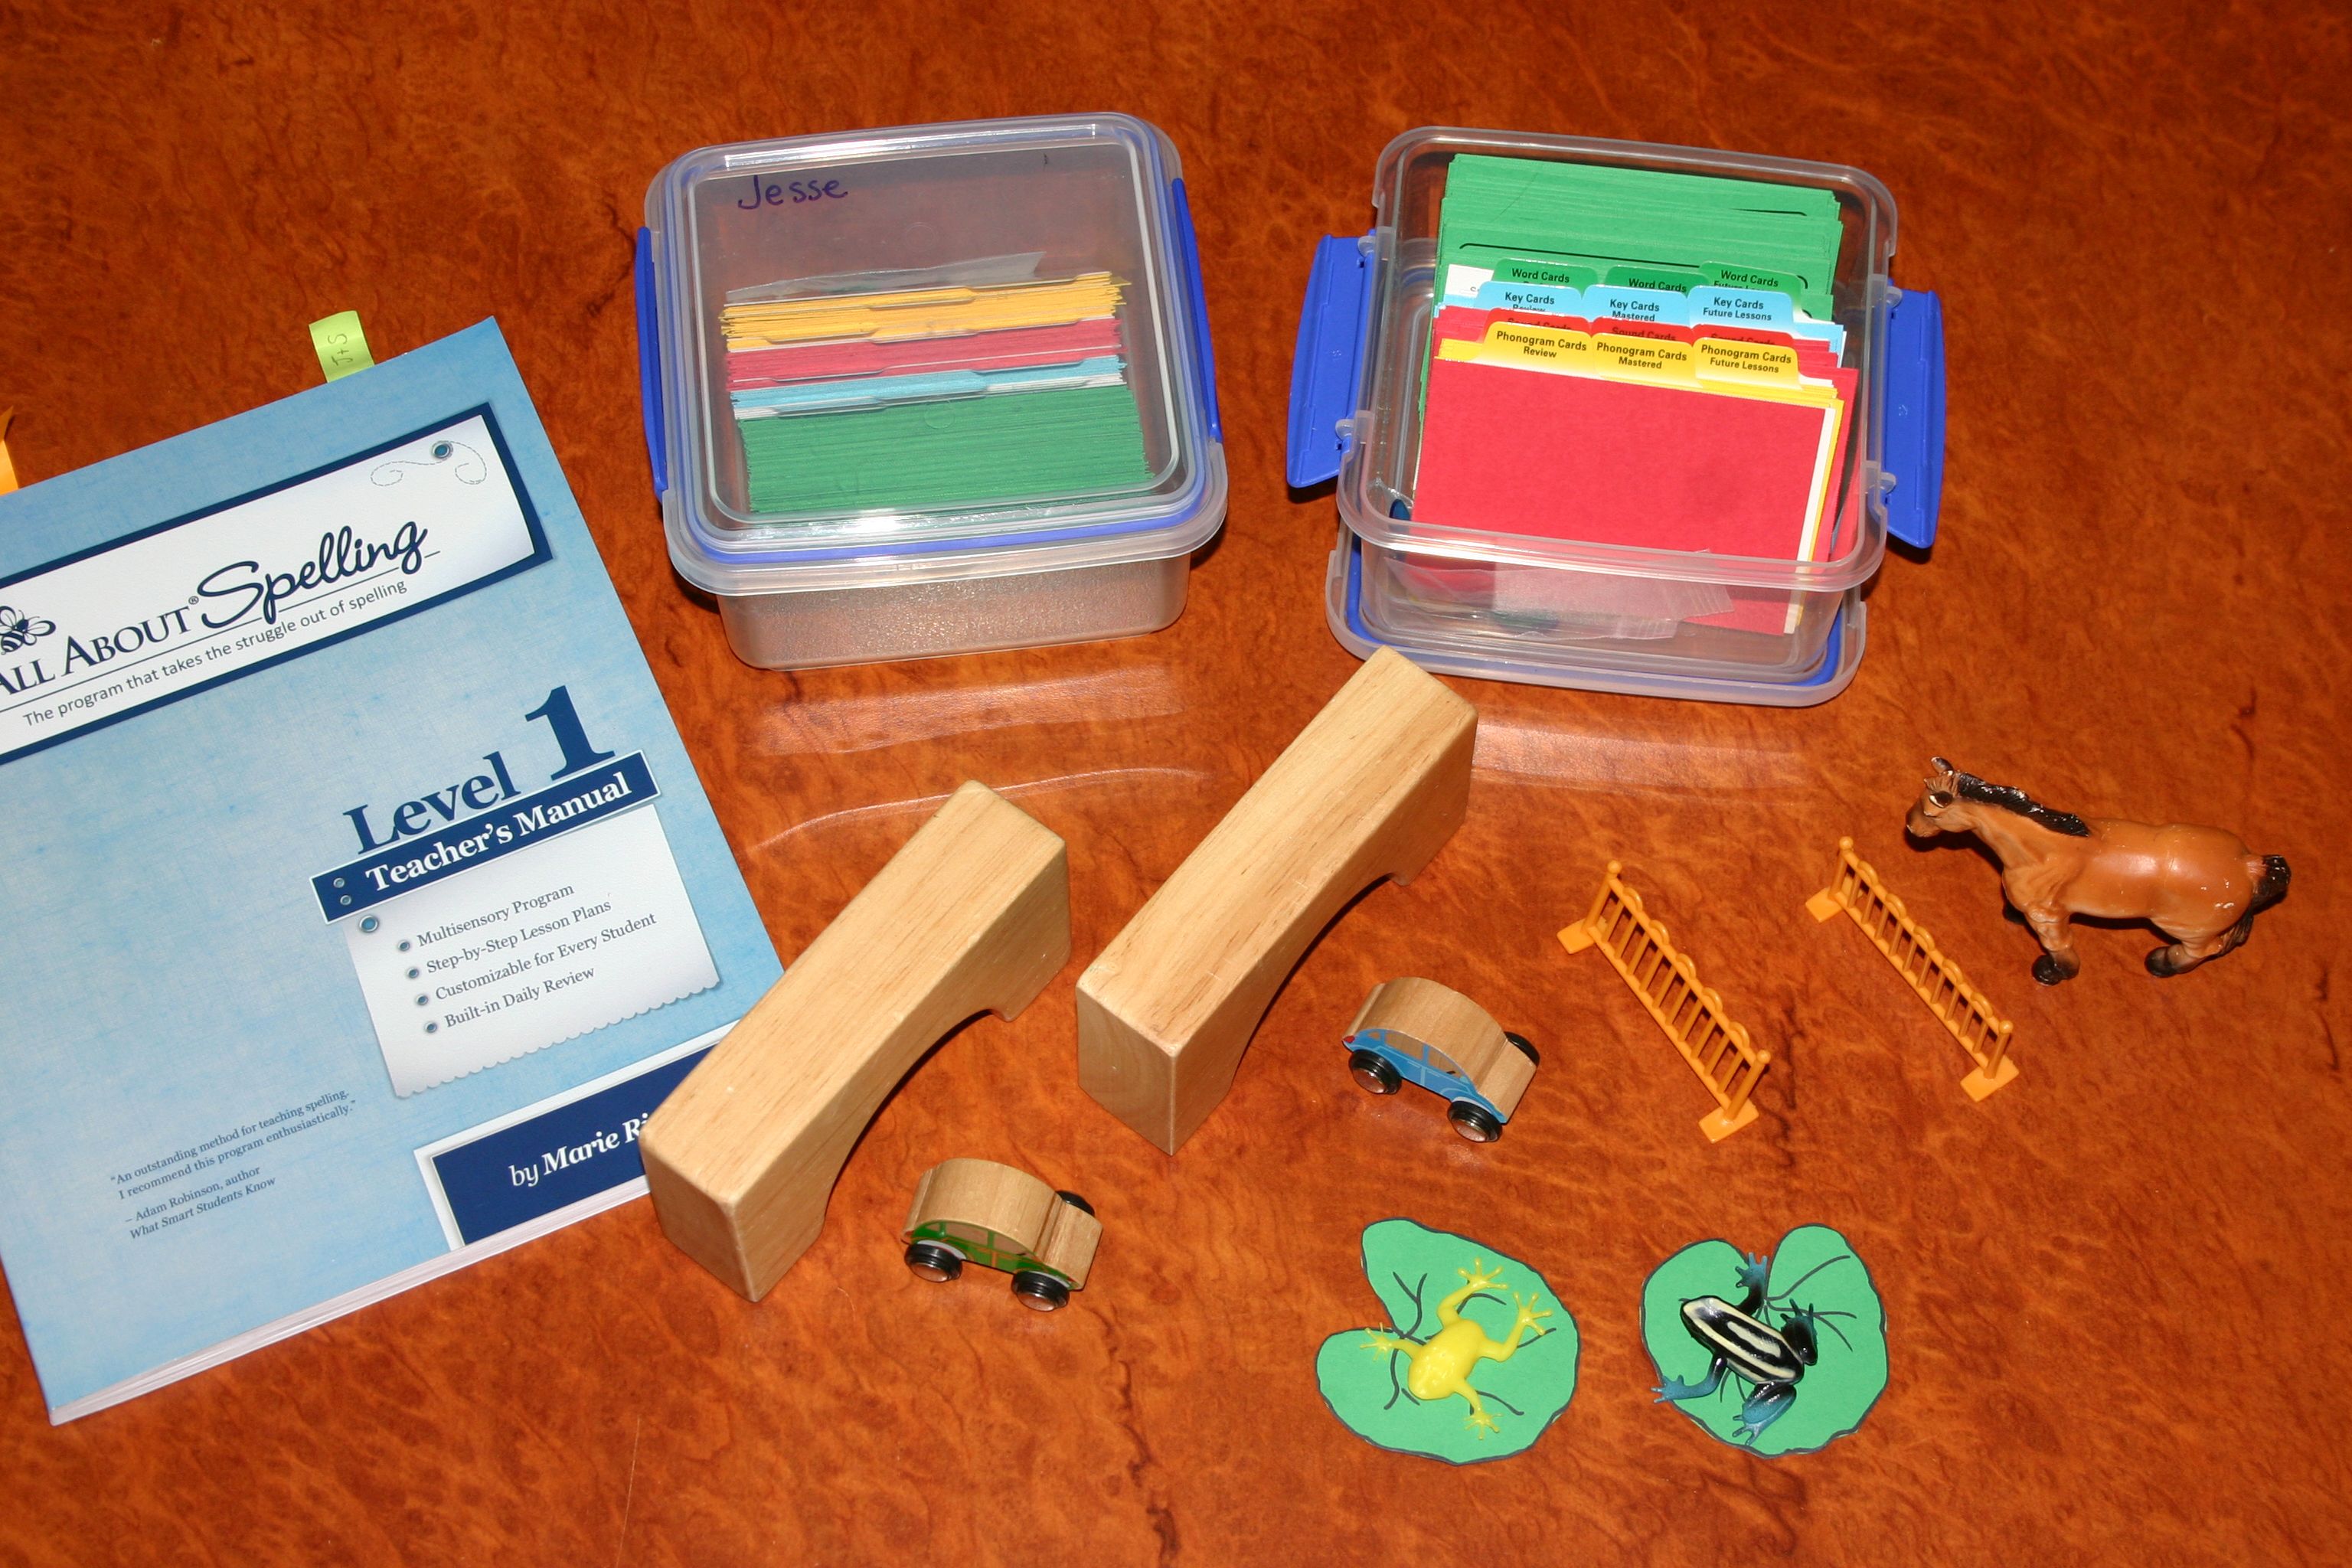
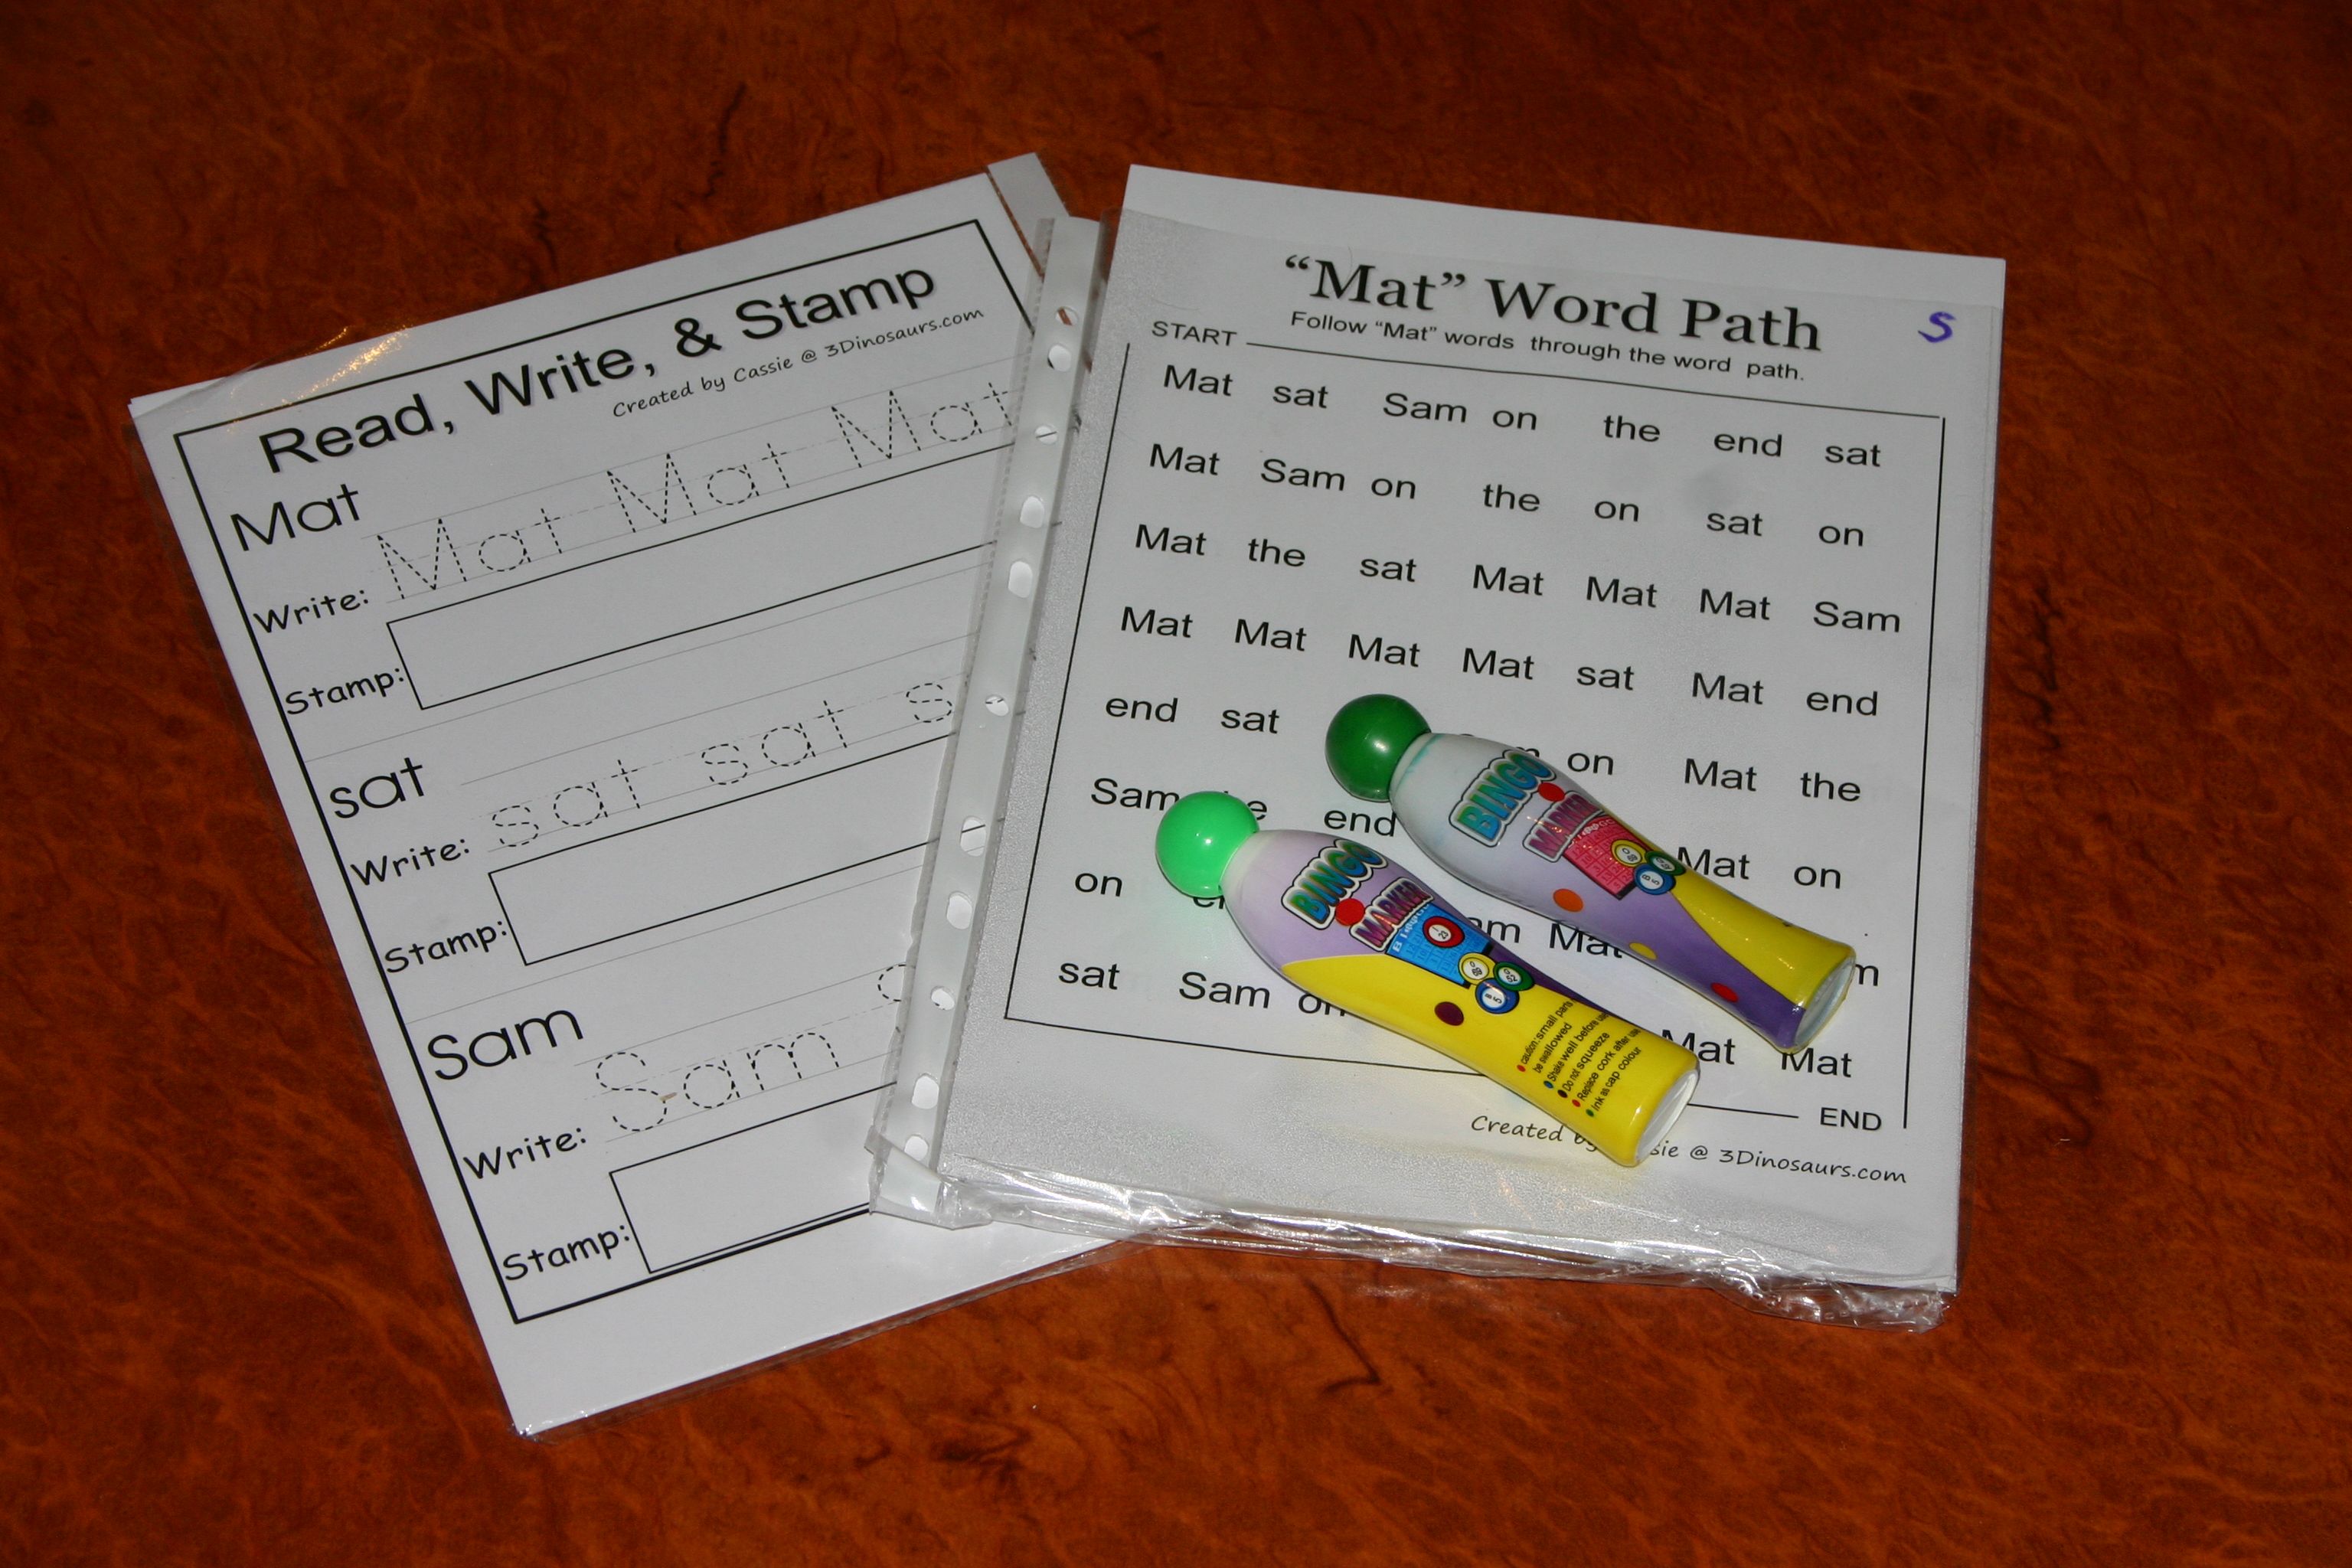
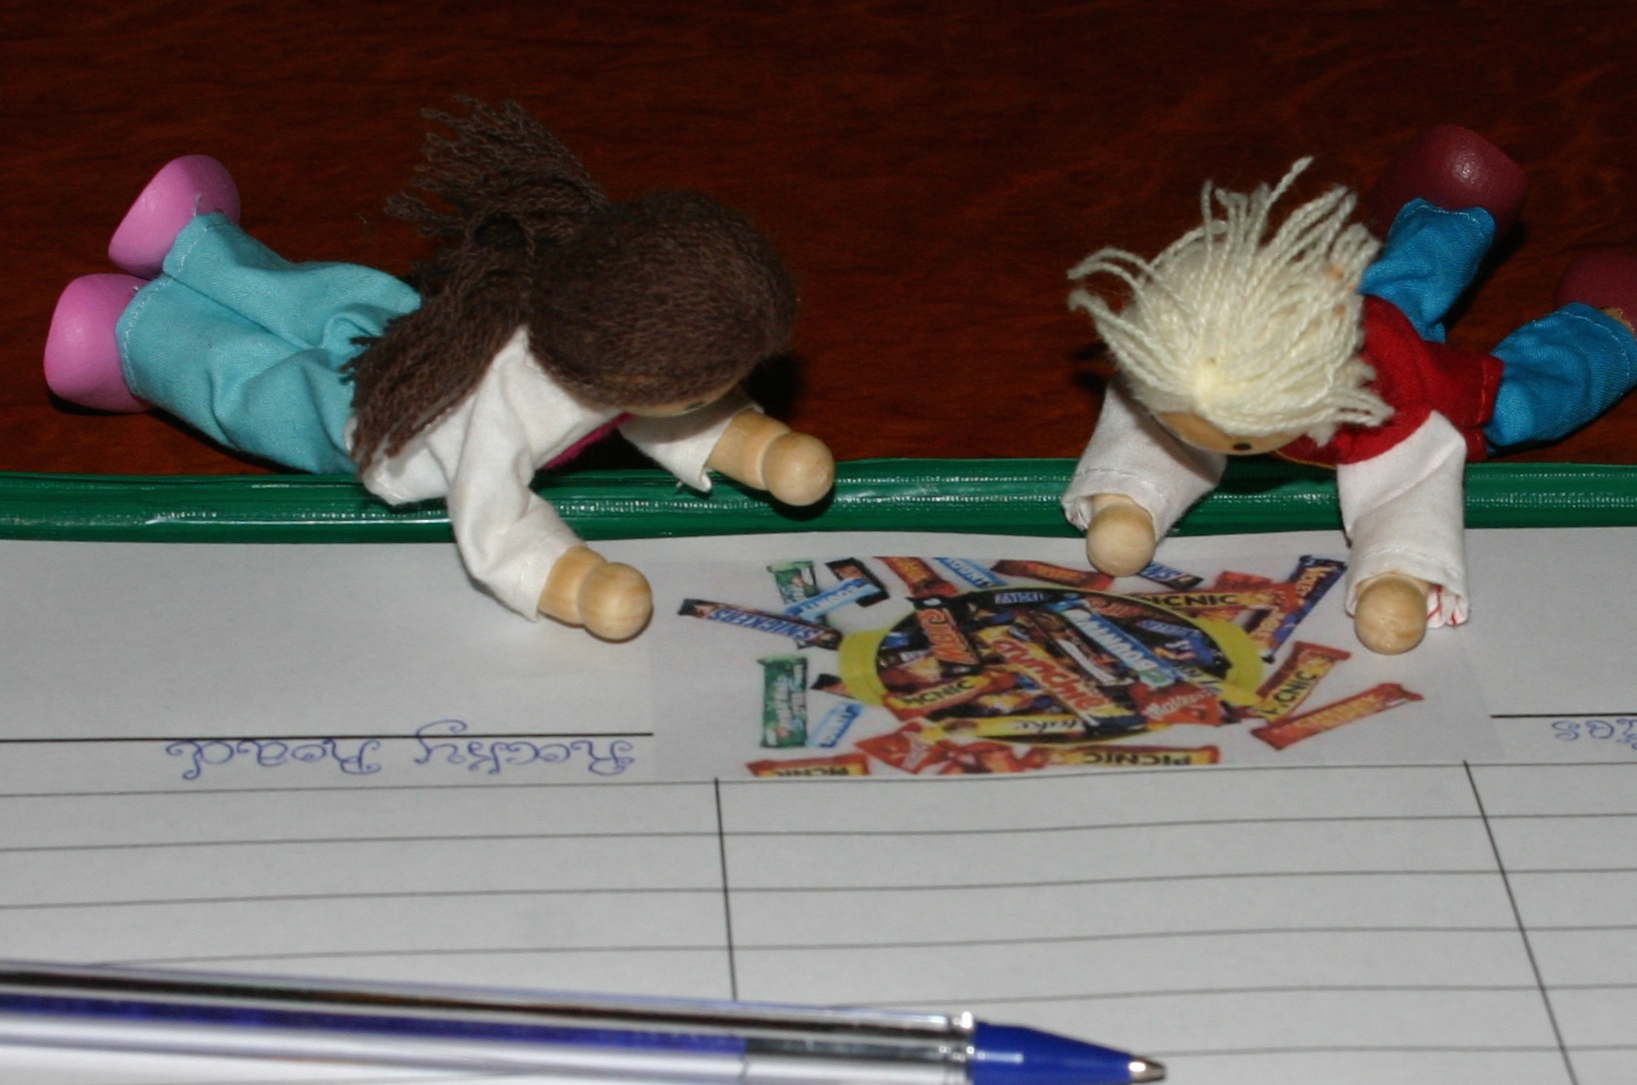
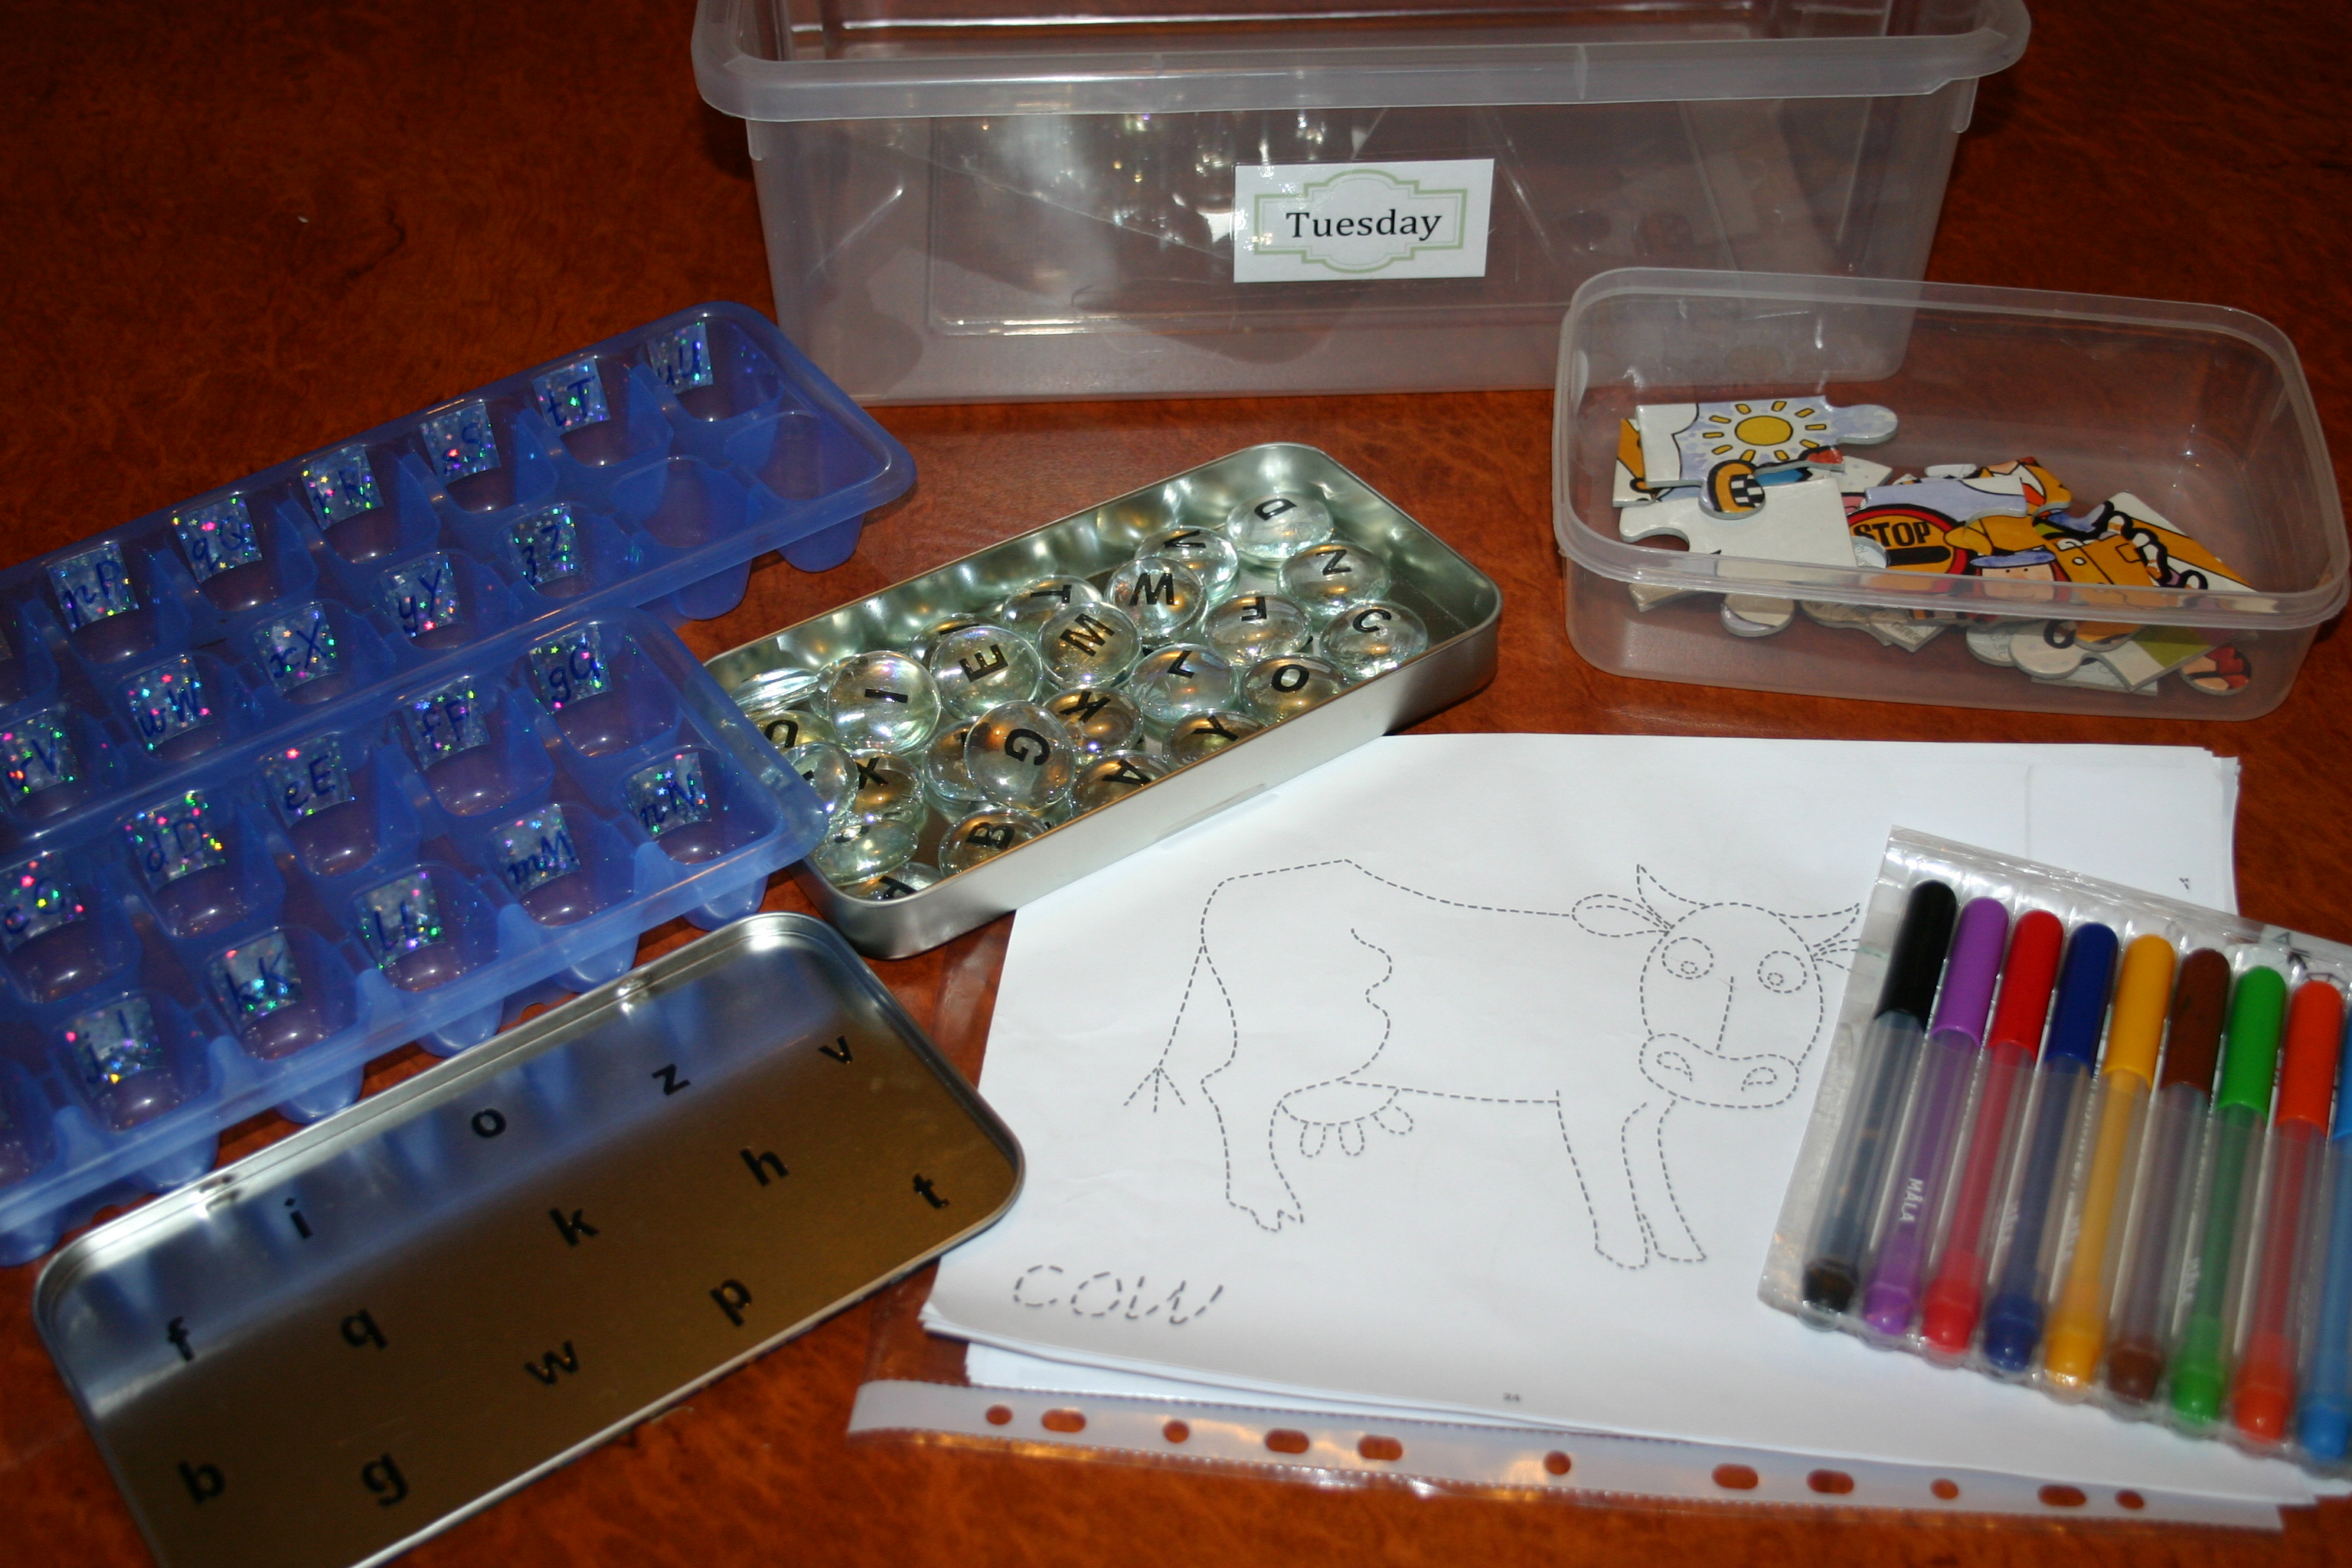
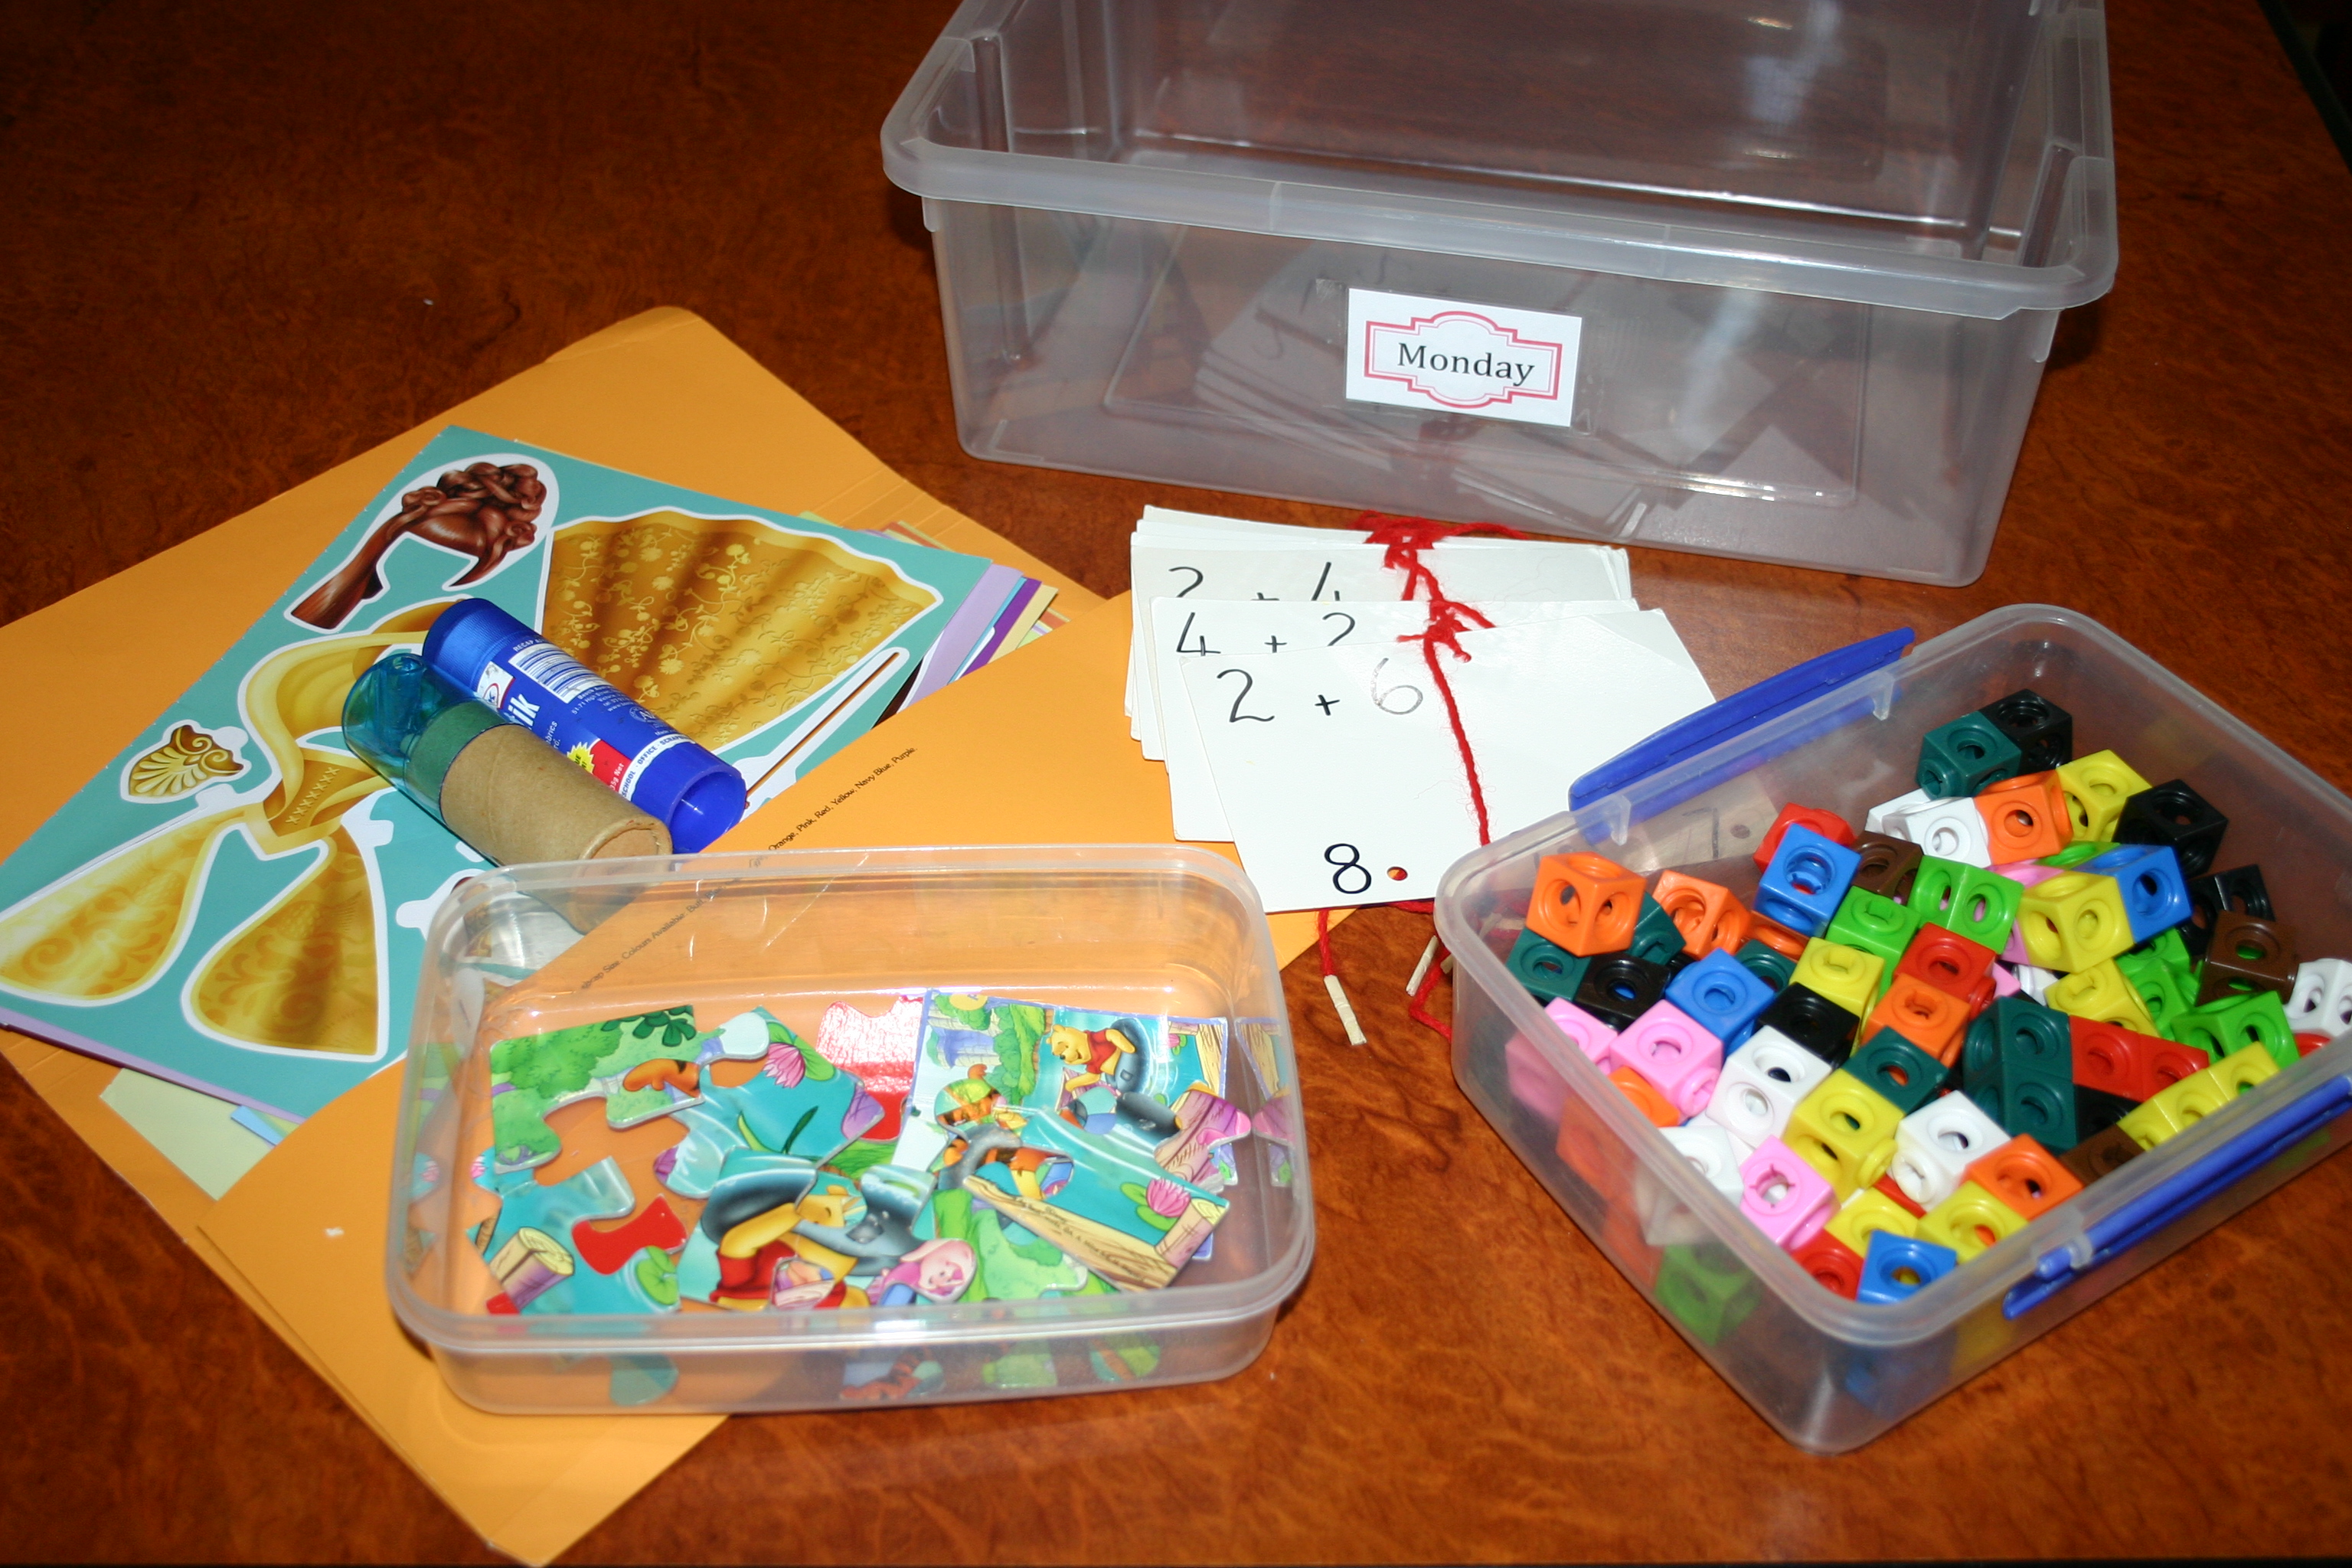
My son would take ages to complete this page if he had to write the answers down, plus I would struggle to read them anyway! Given this inexpensive box of wooden letters, he can work through the problems, calculating some in his head, putting out manipulatives for others and using the wooden numbers to “write” the answers. Quick and easy and demonstrating his understanding of the subject at hand, rather than his handwriting ability.

IMG_9610

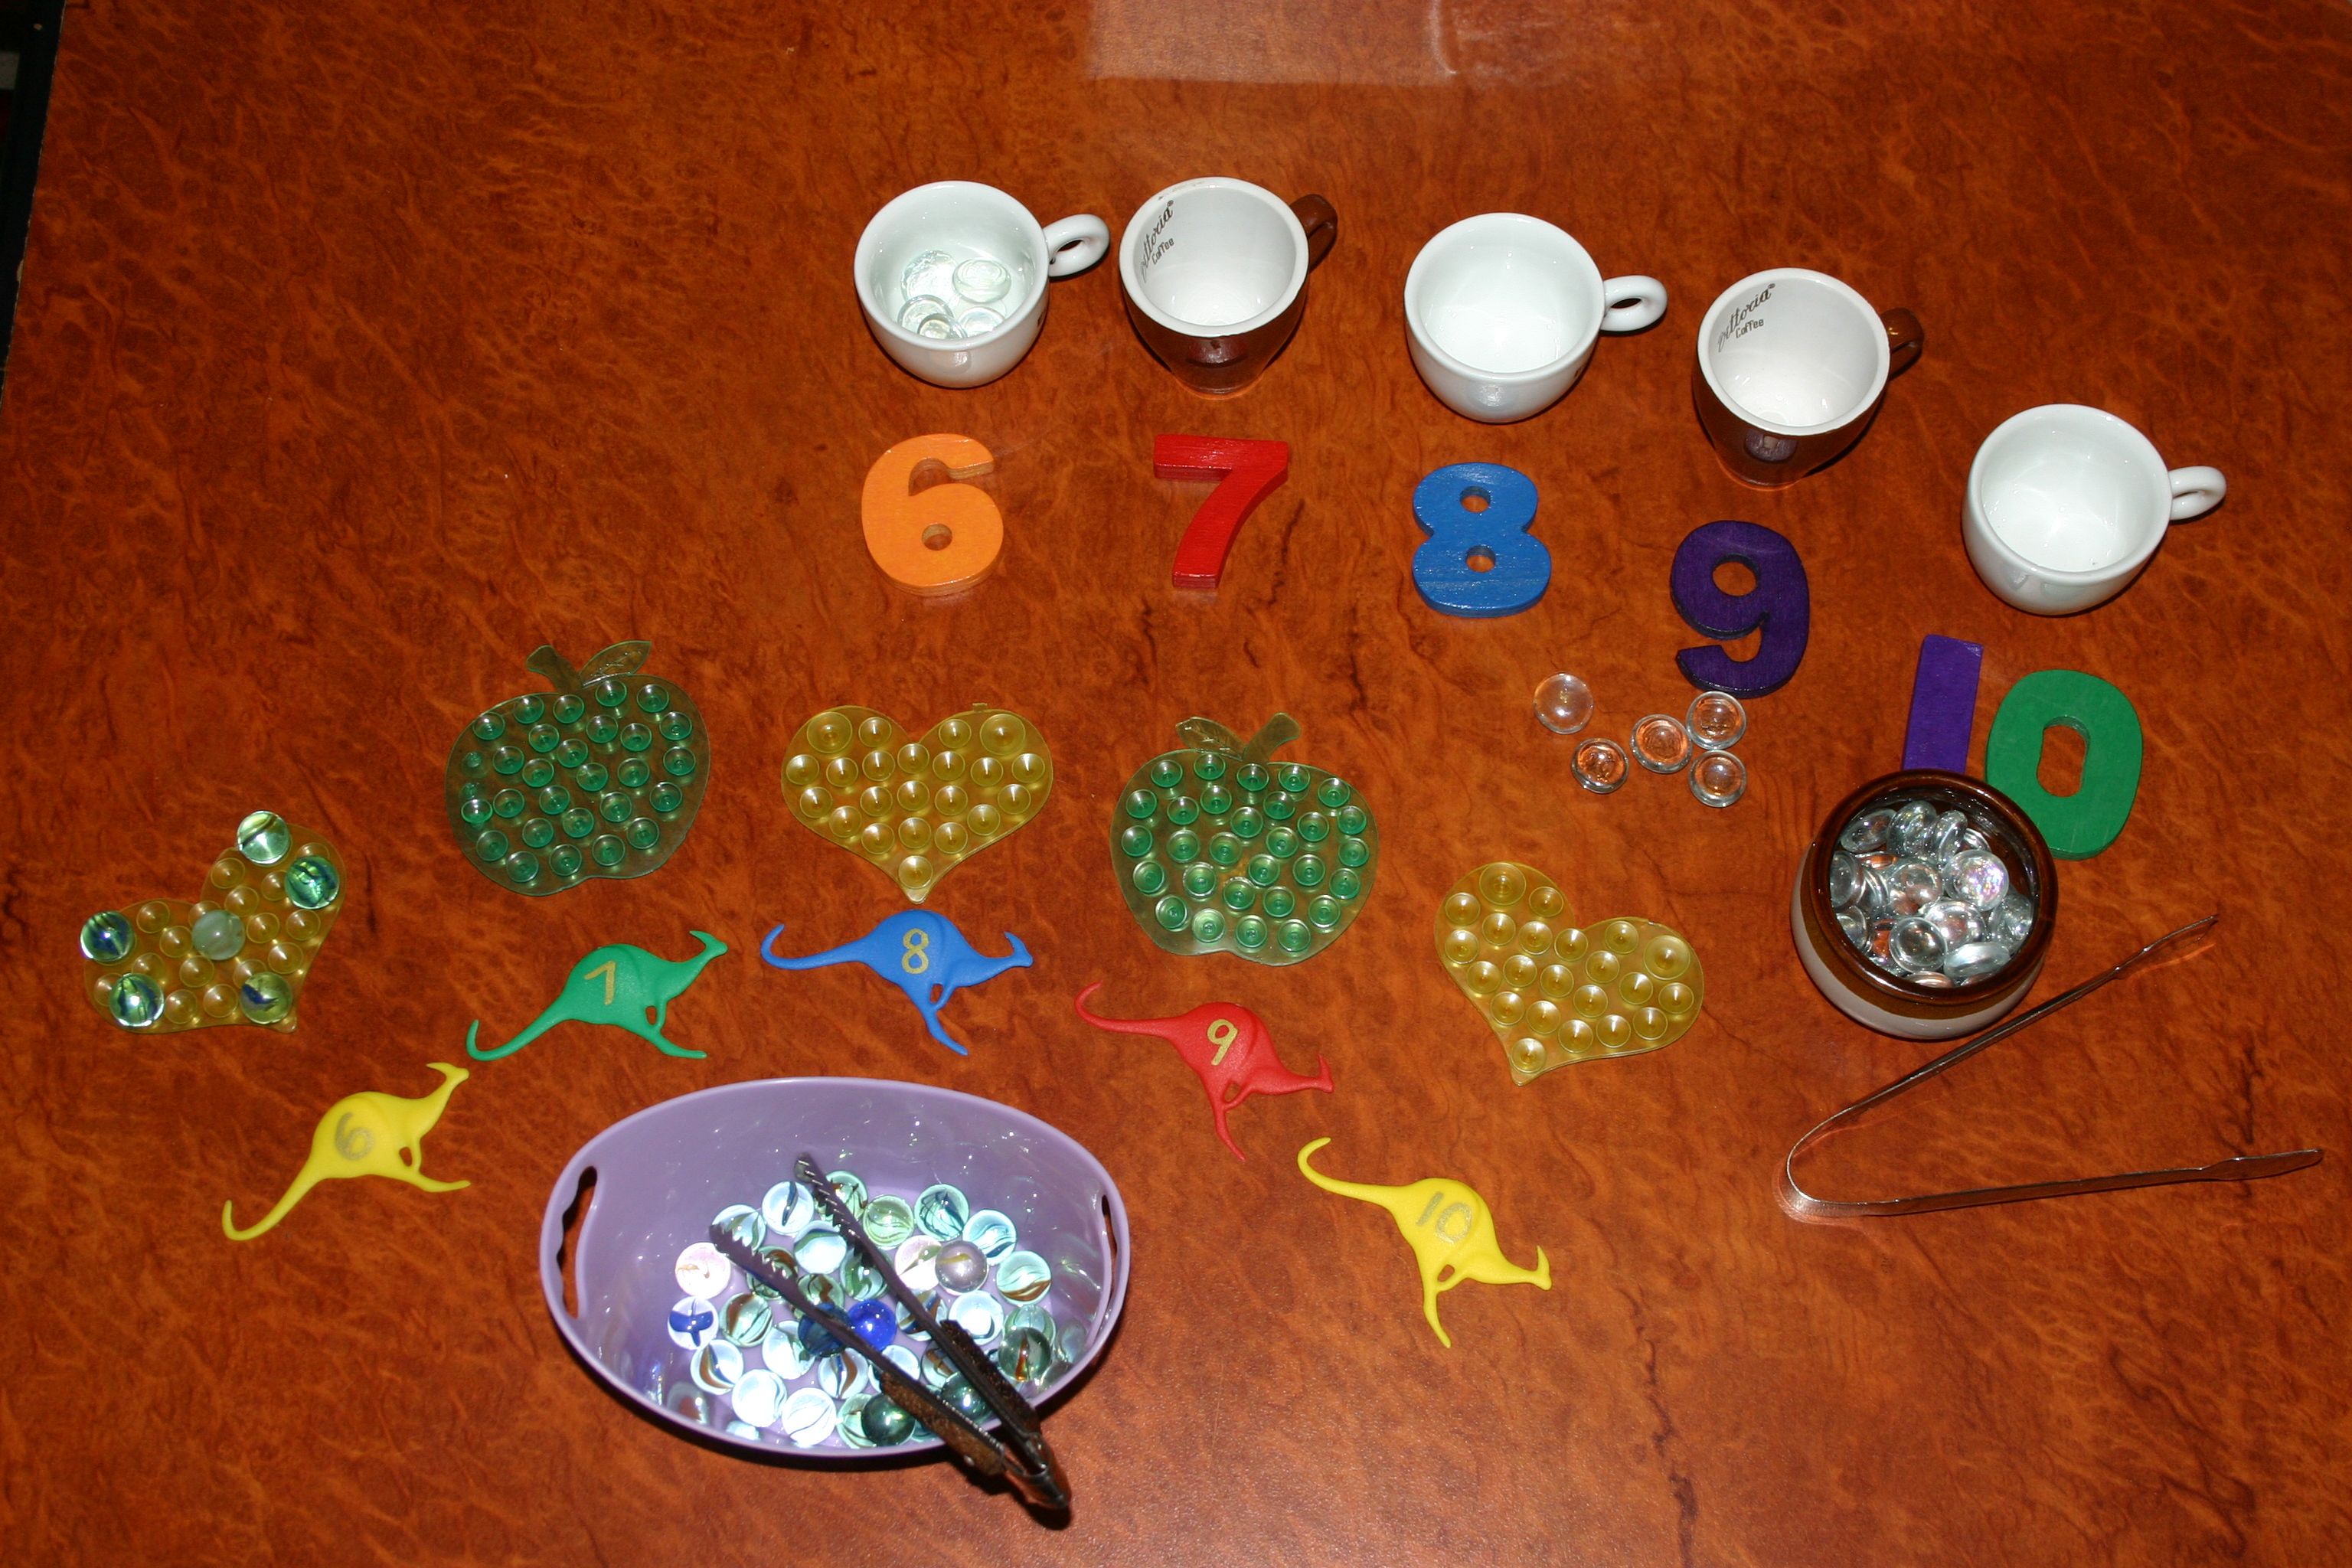
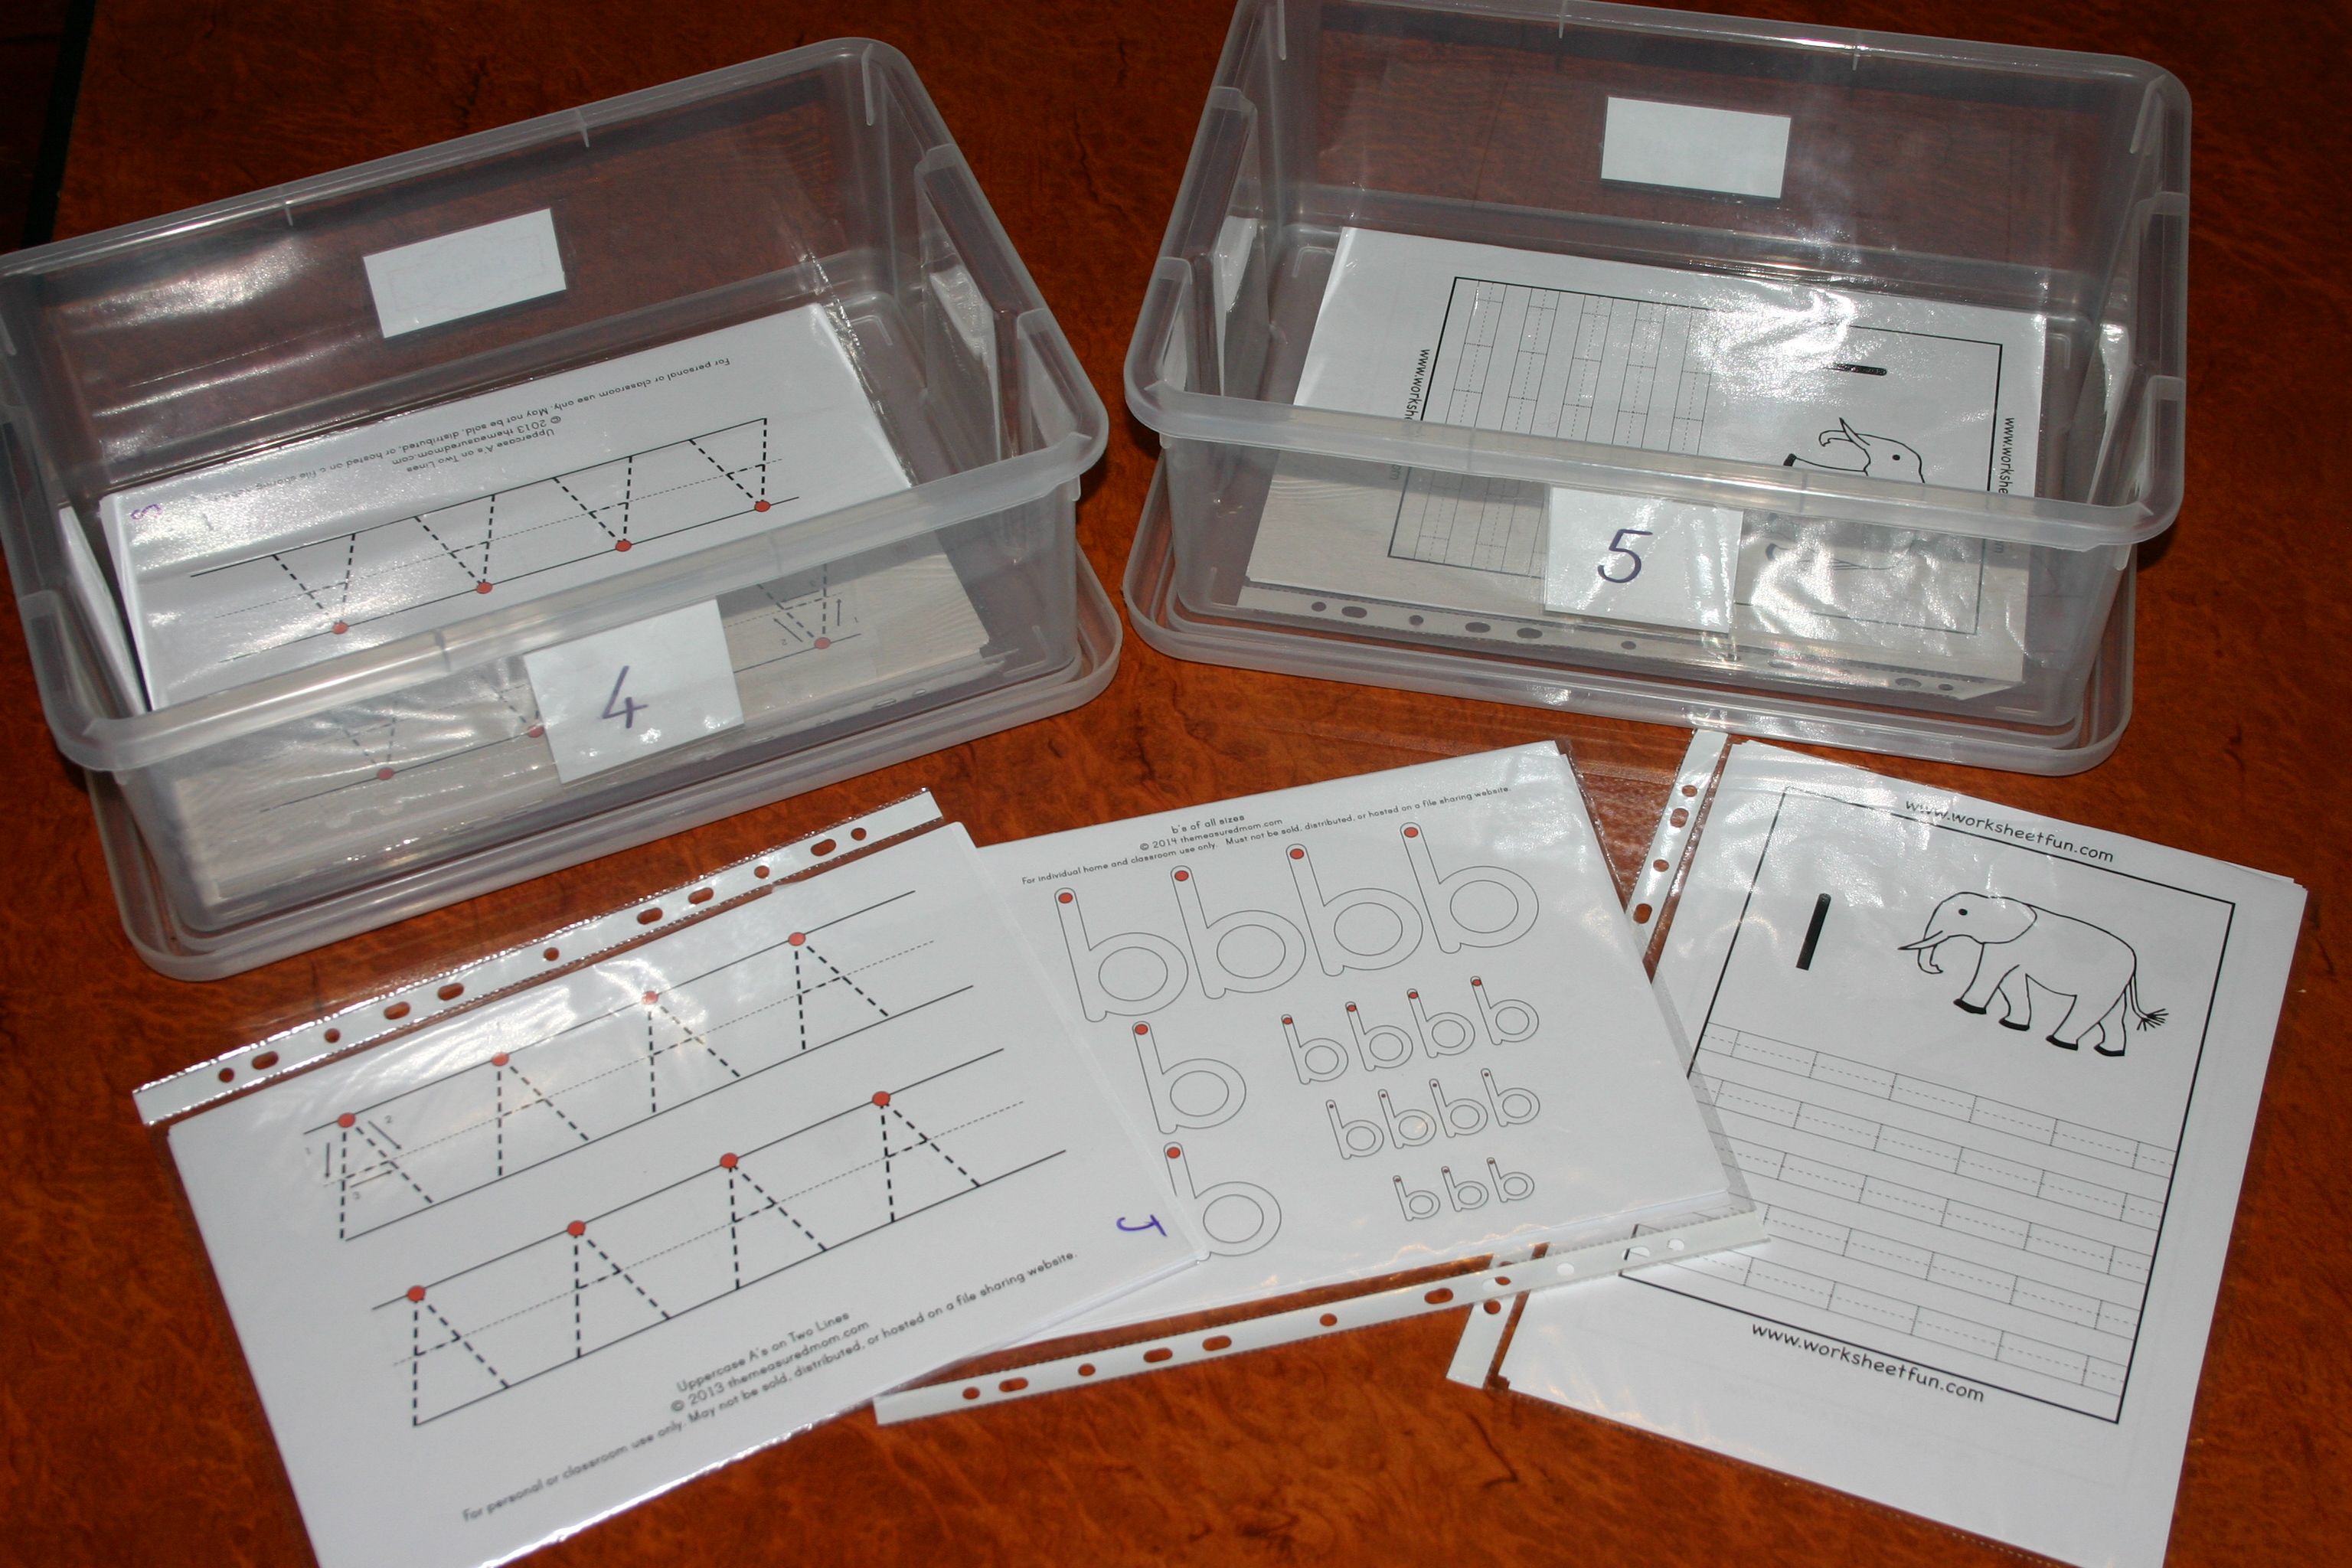
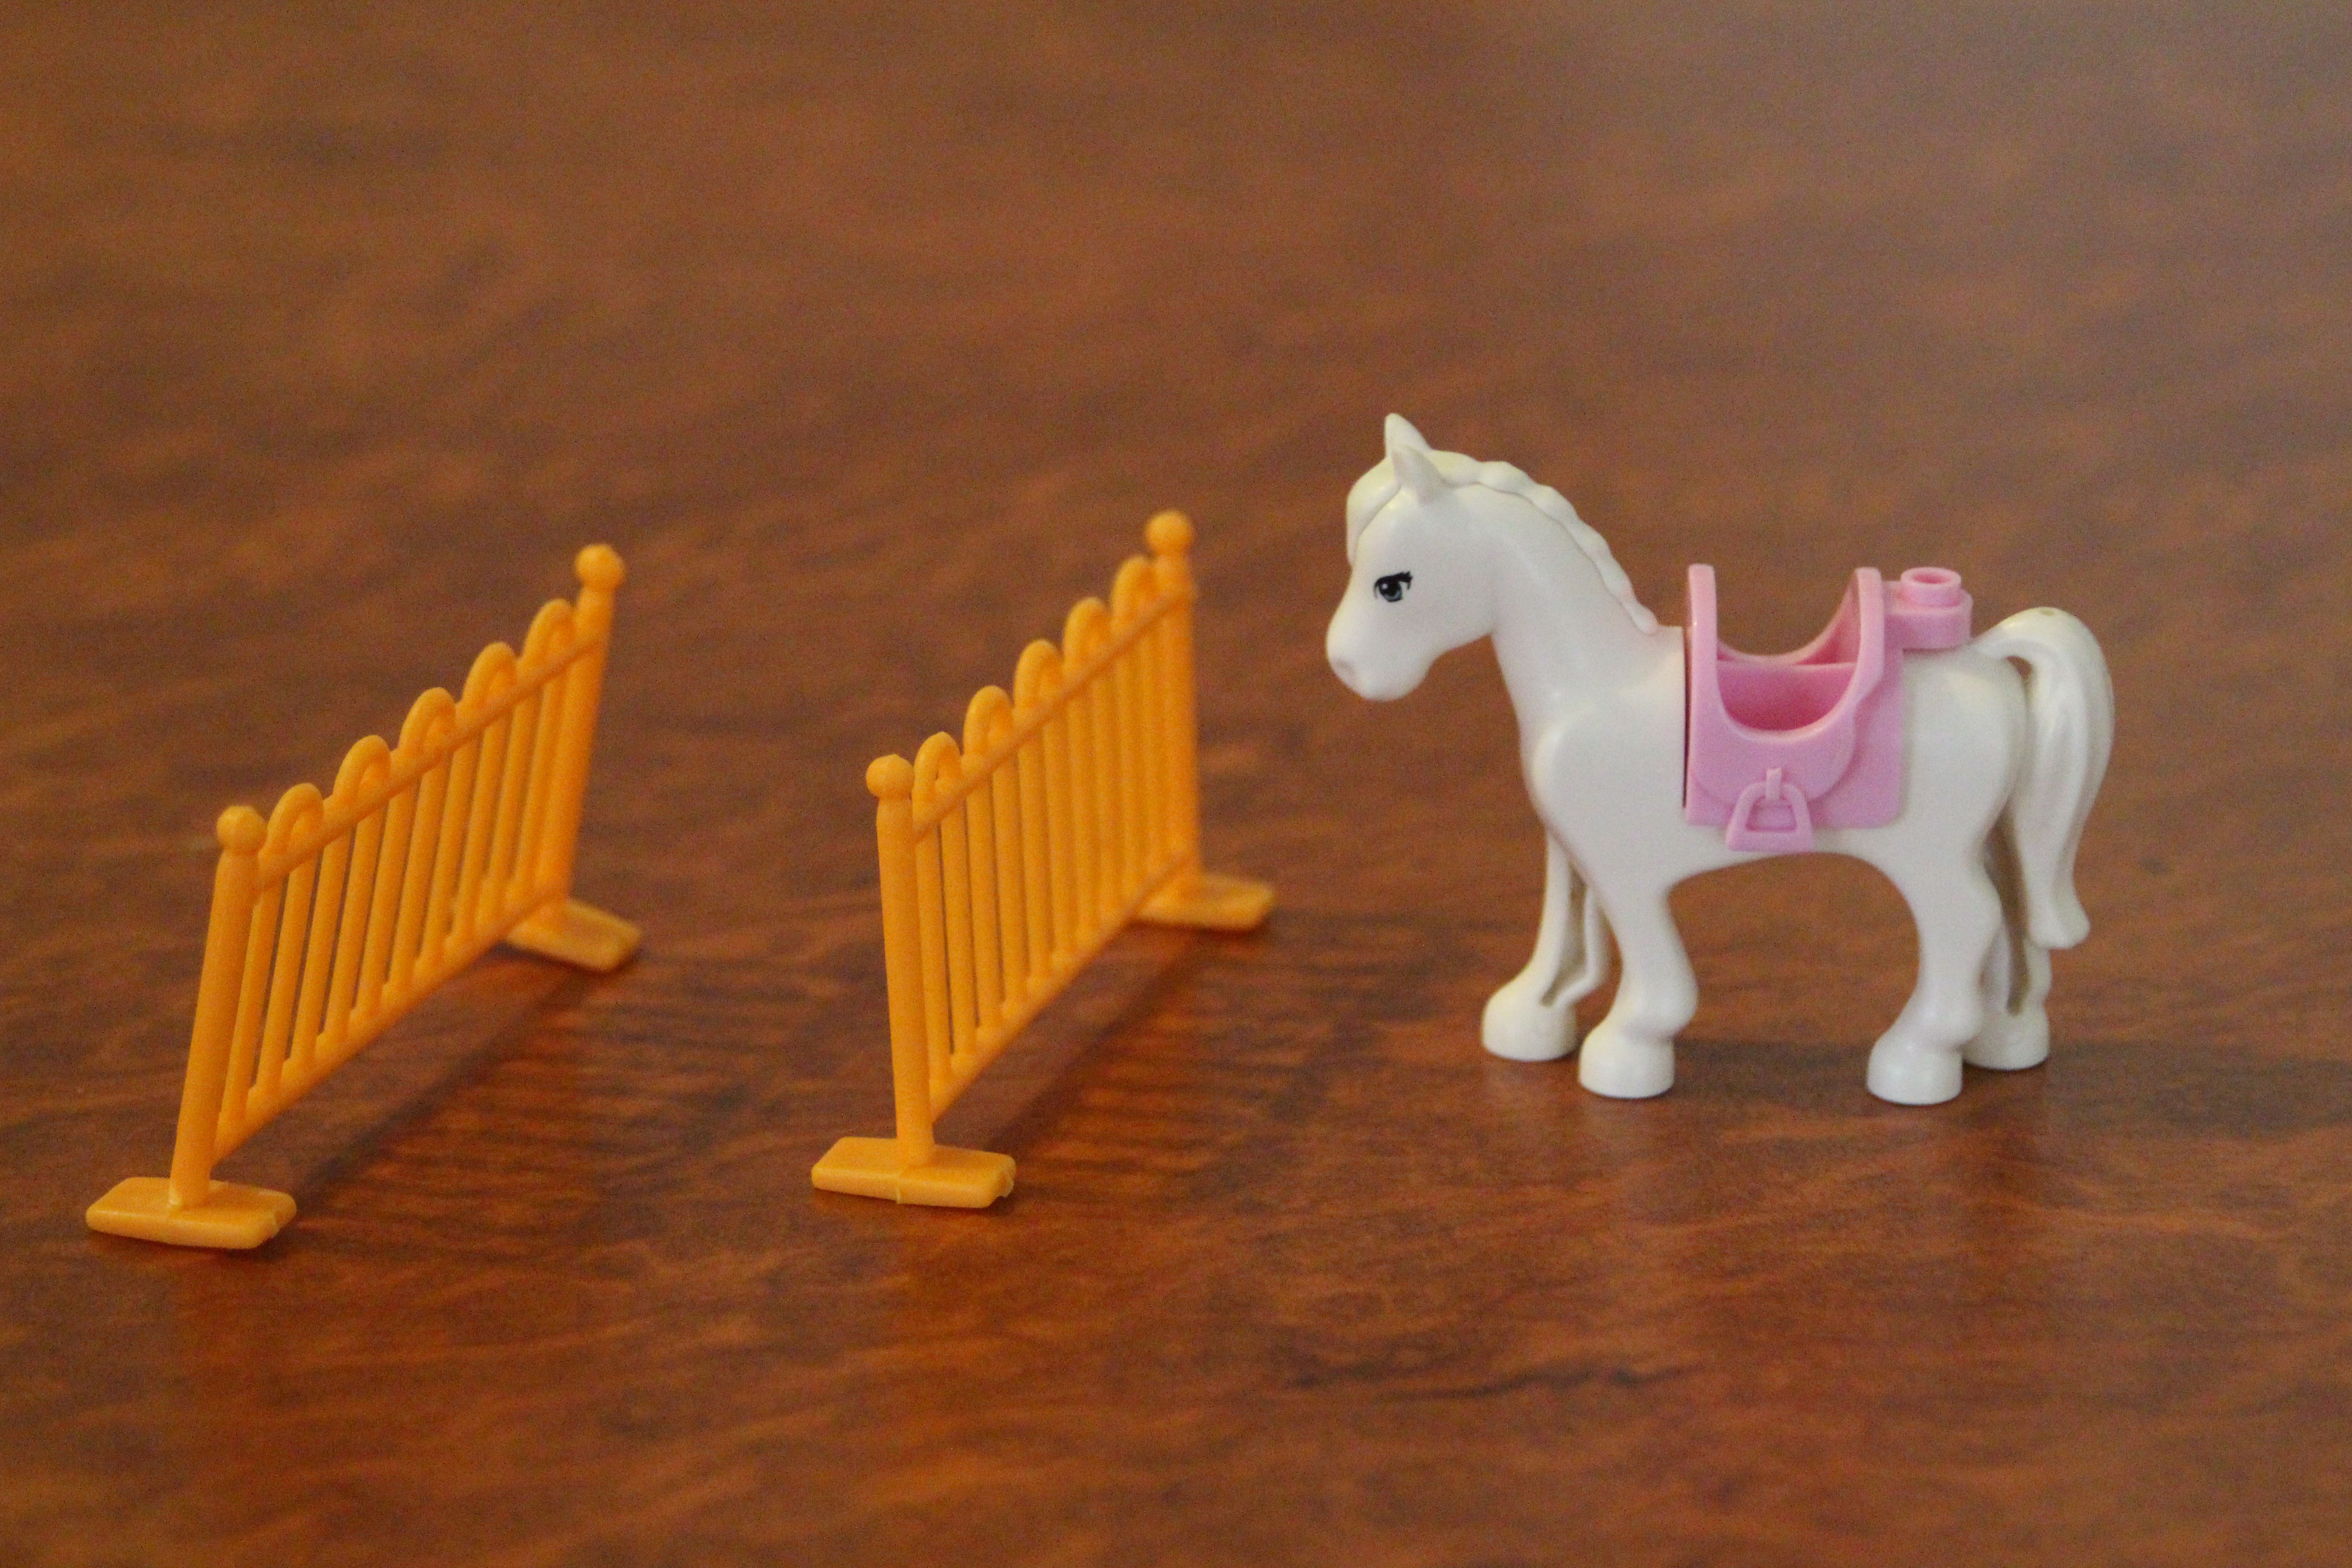
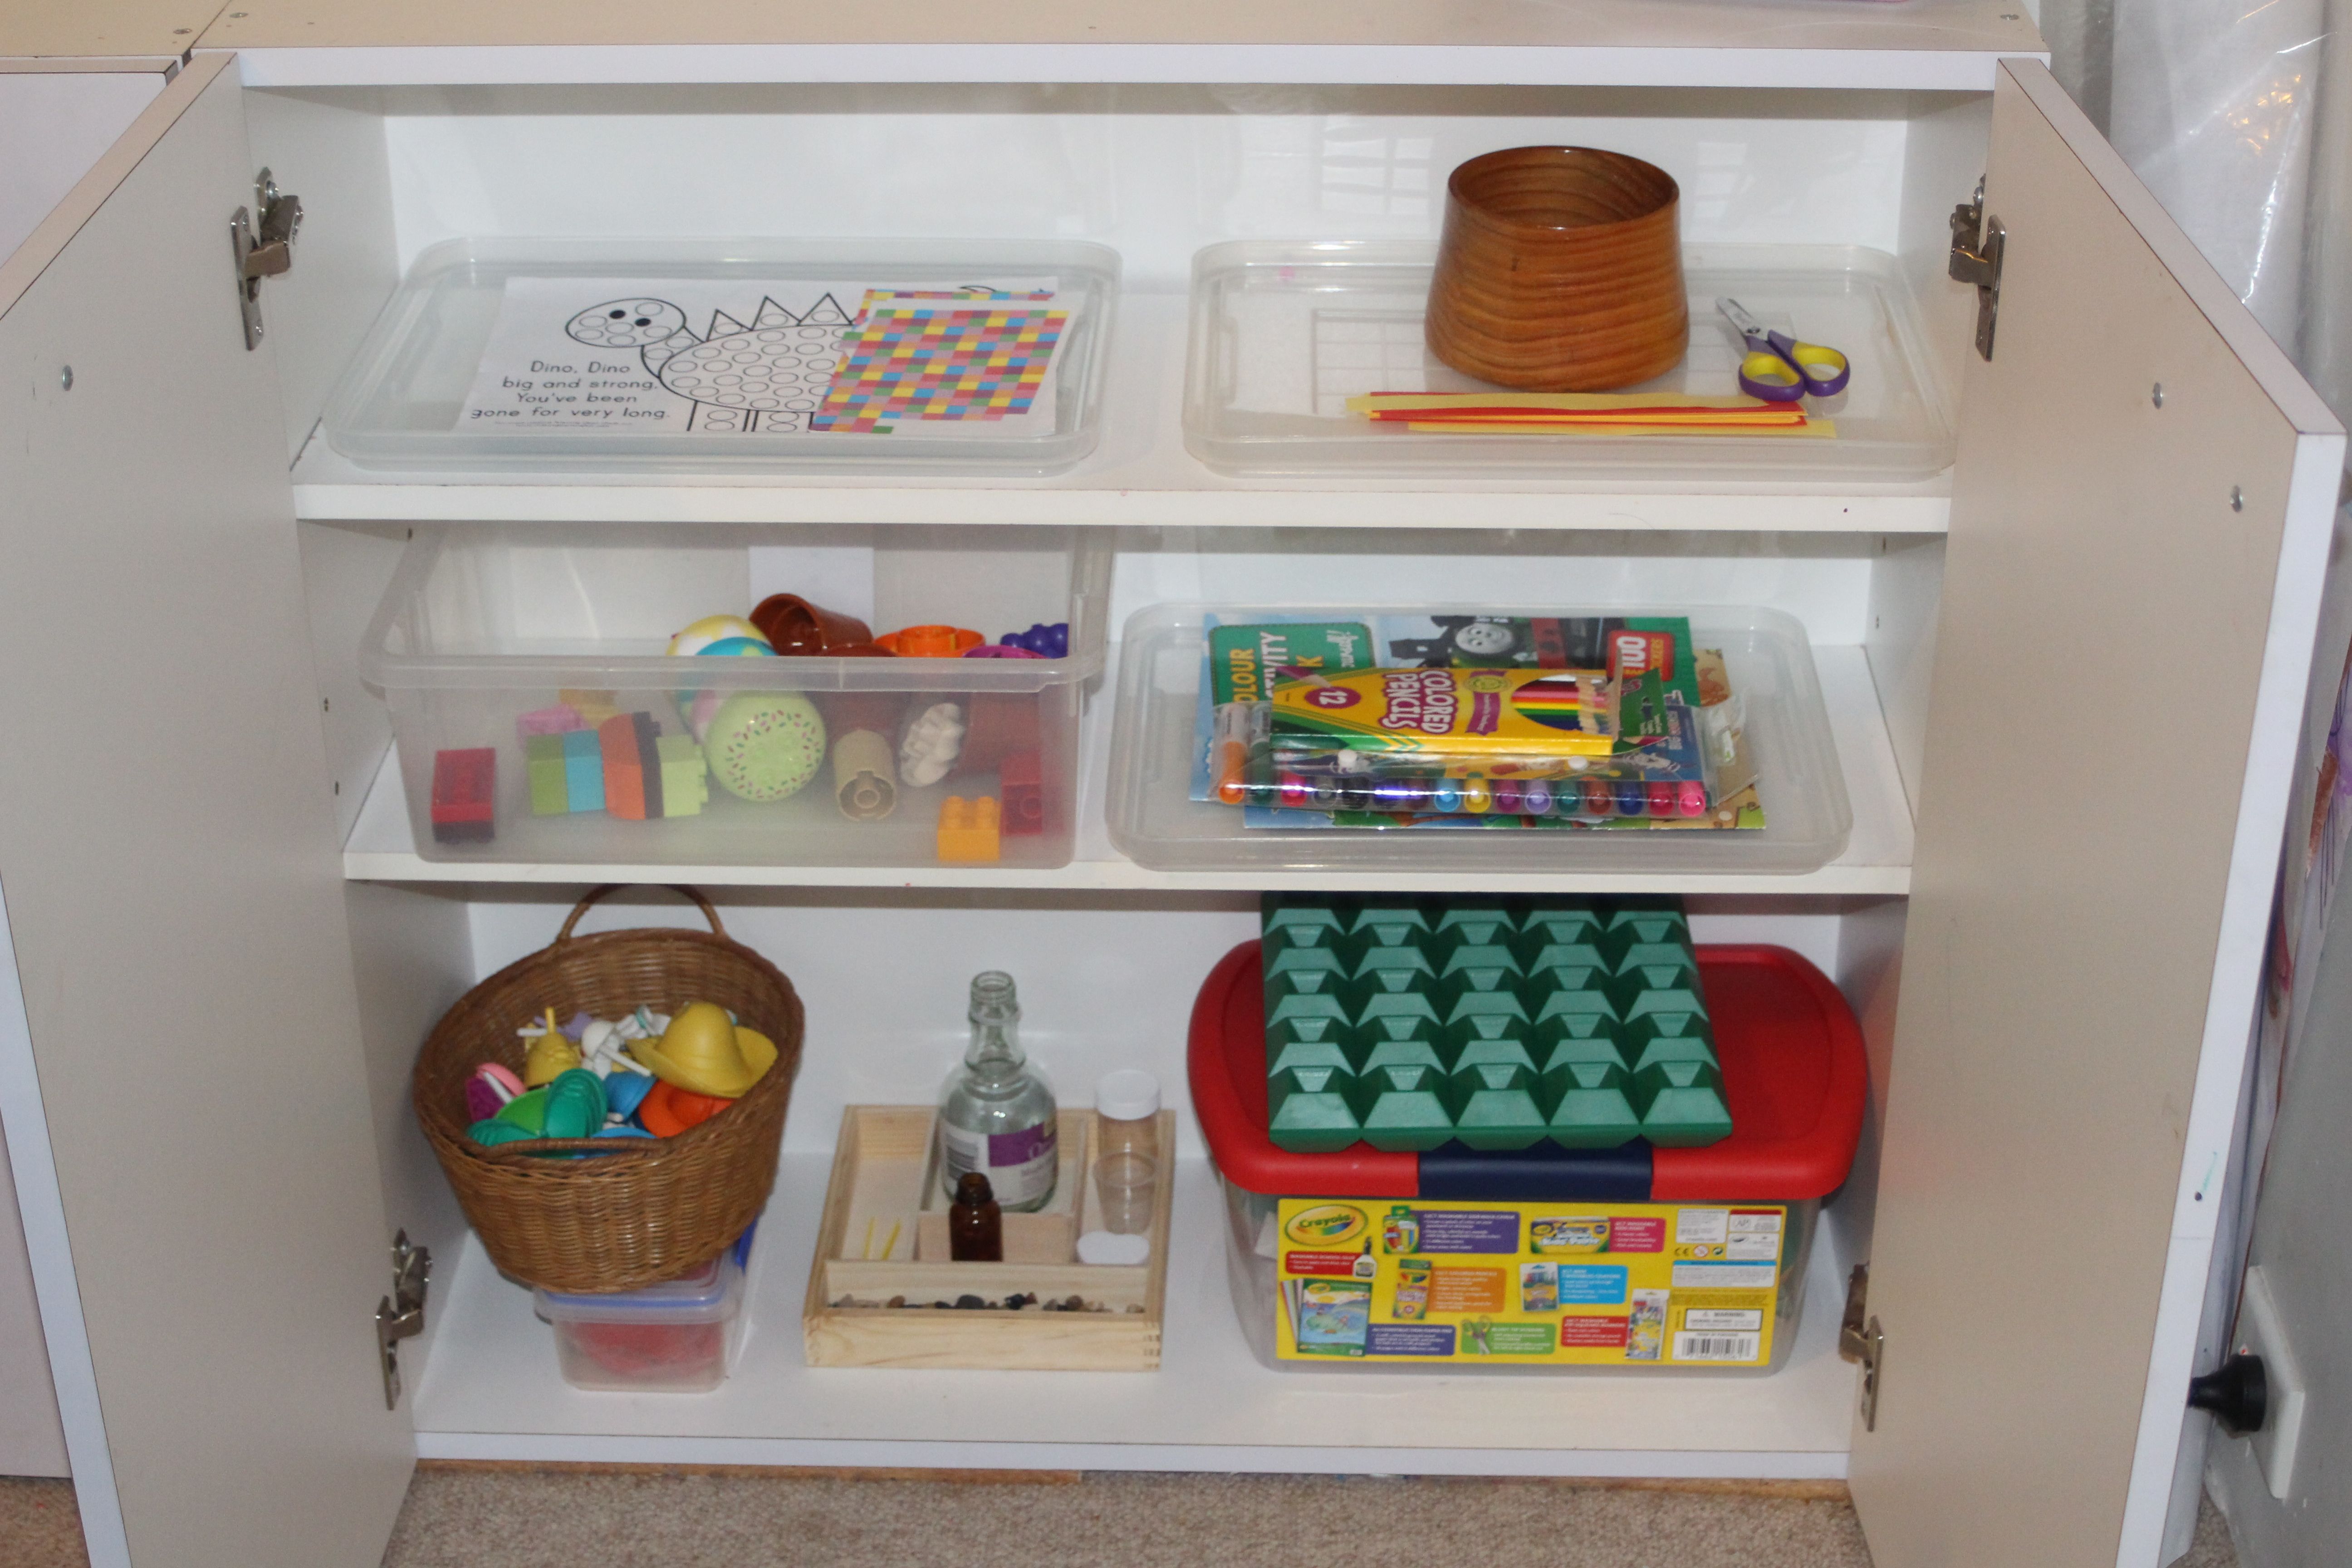
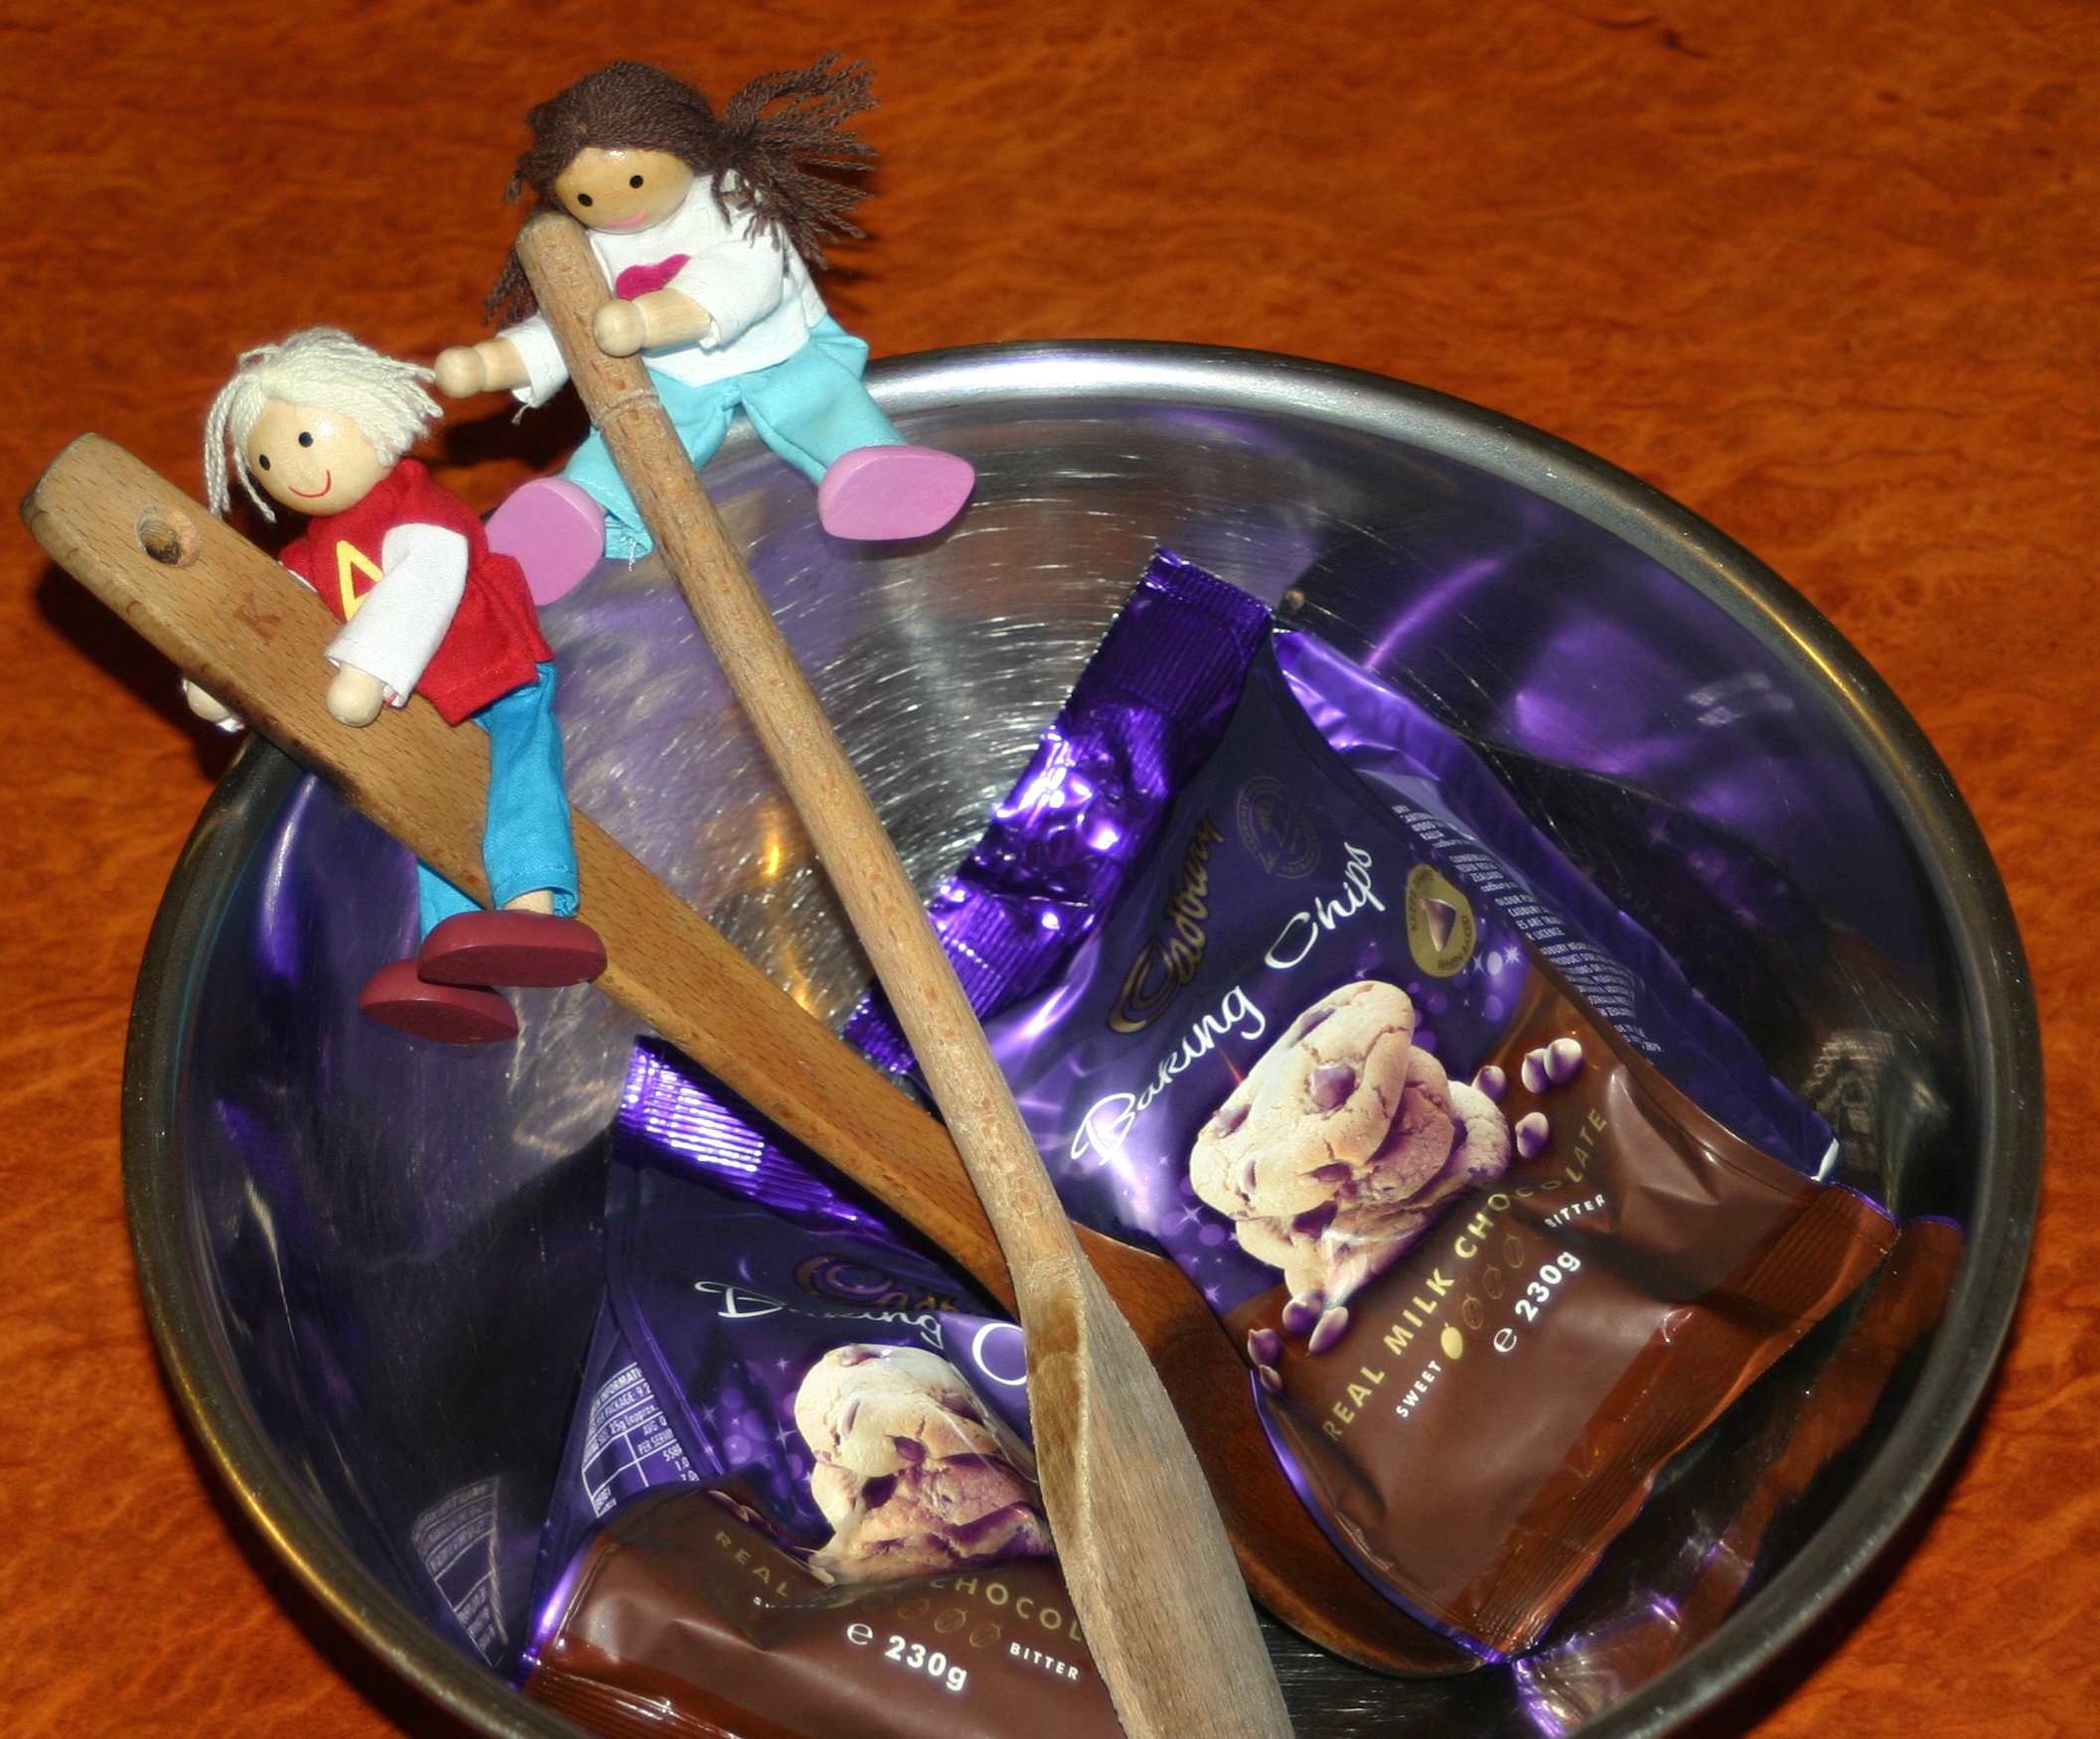
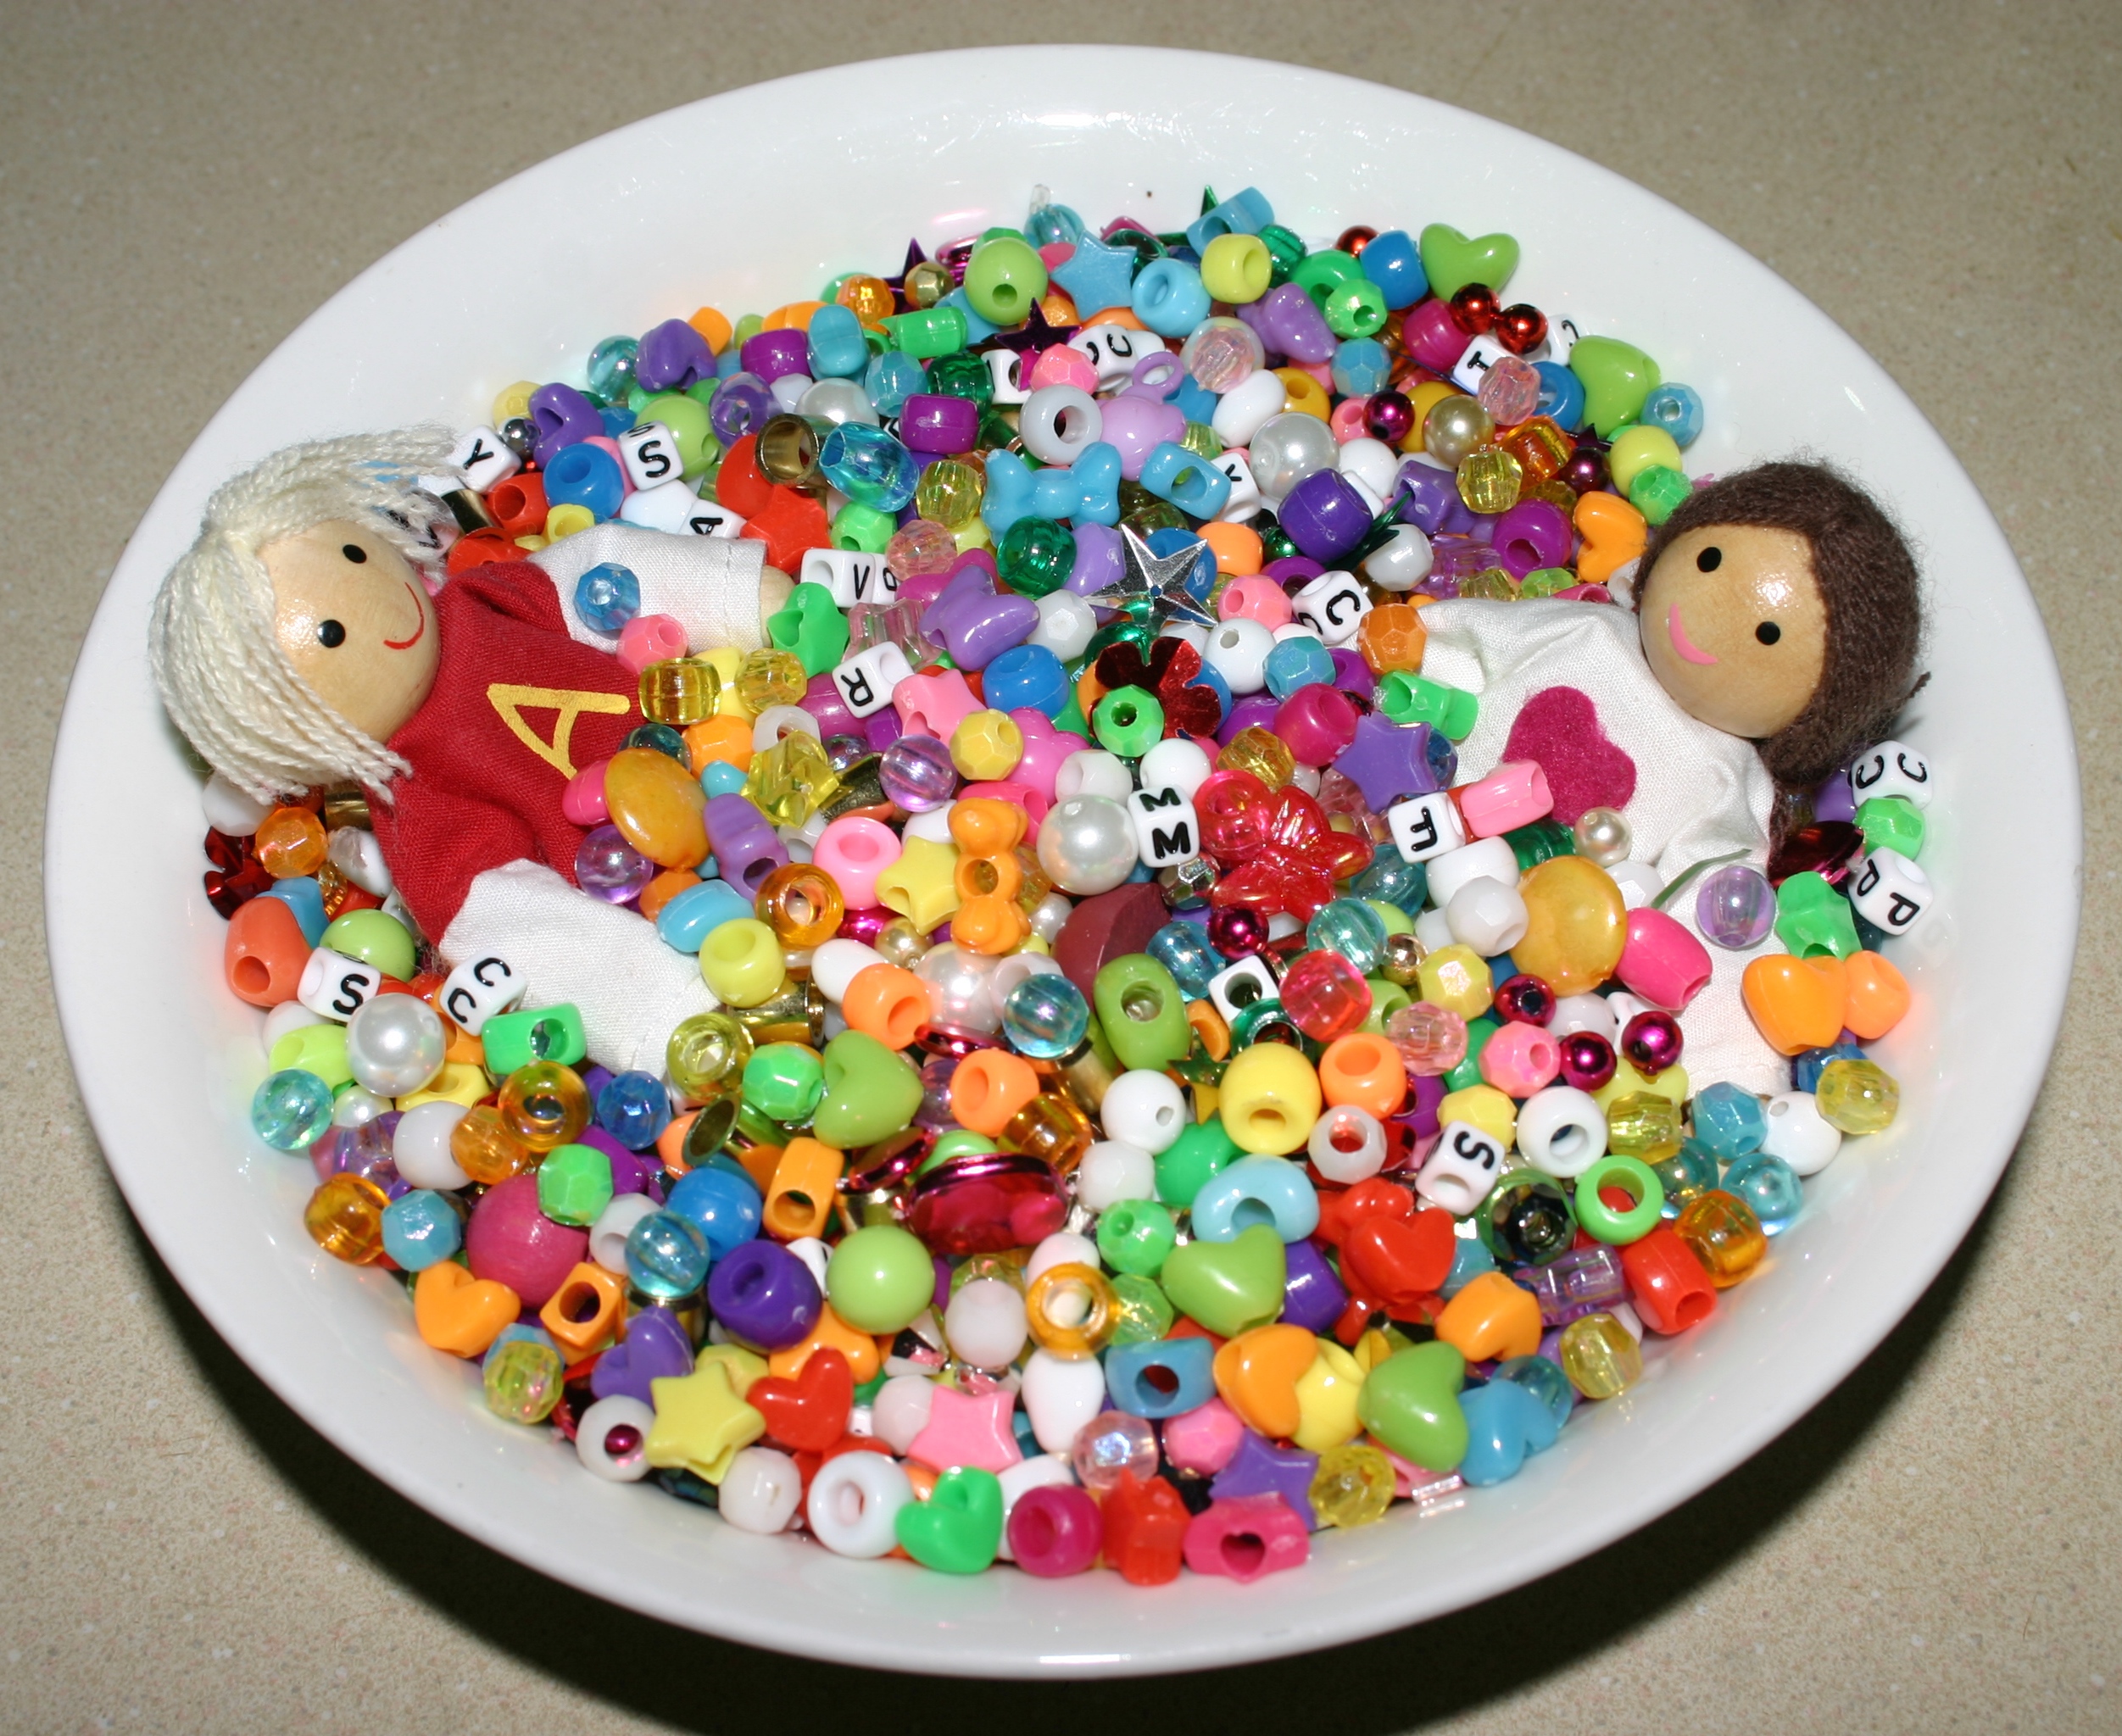
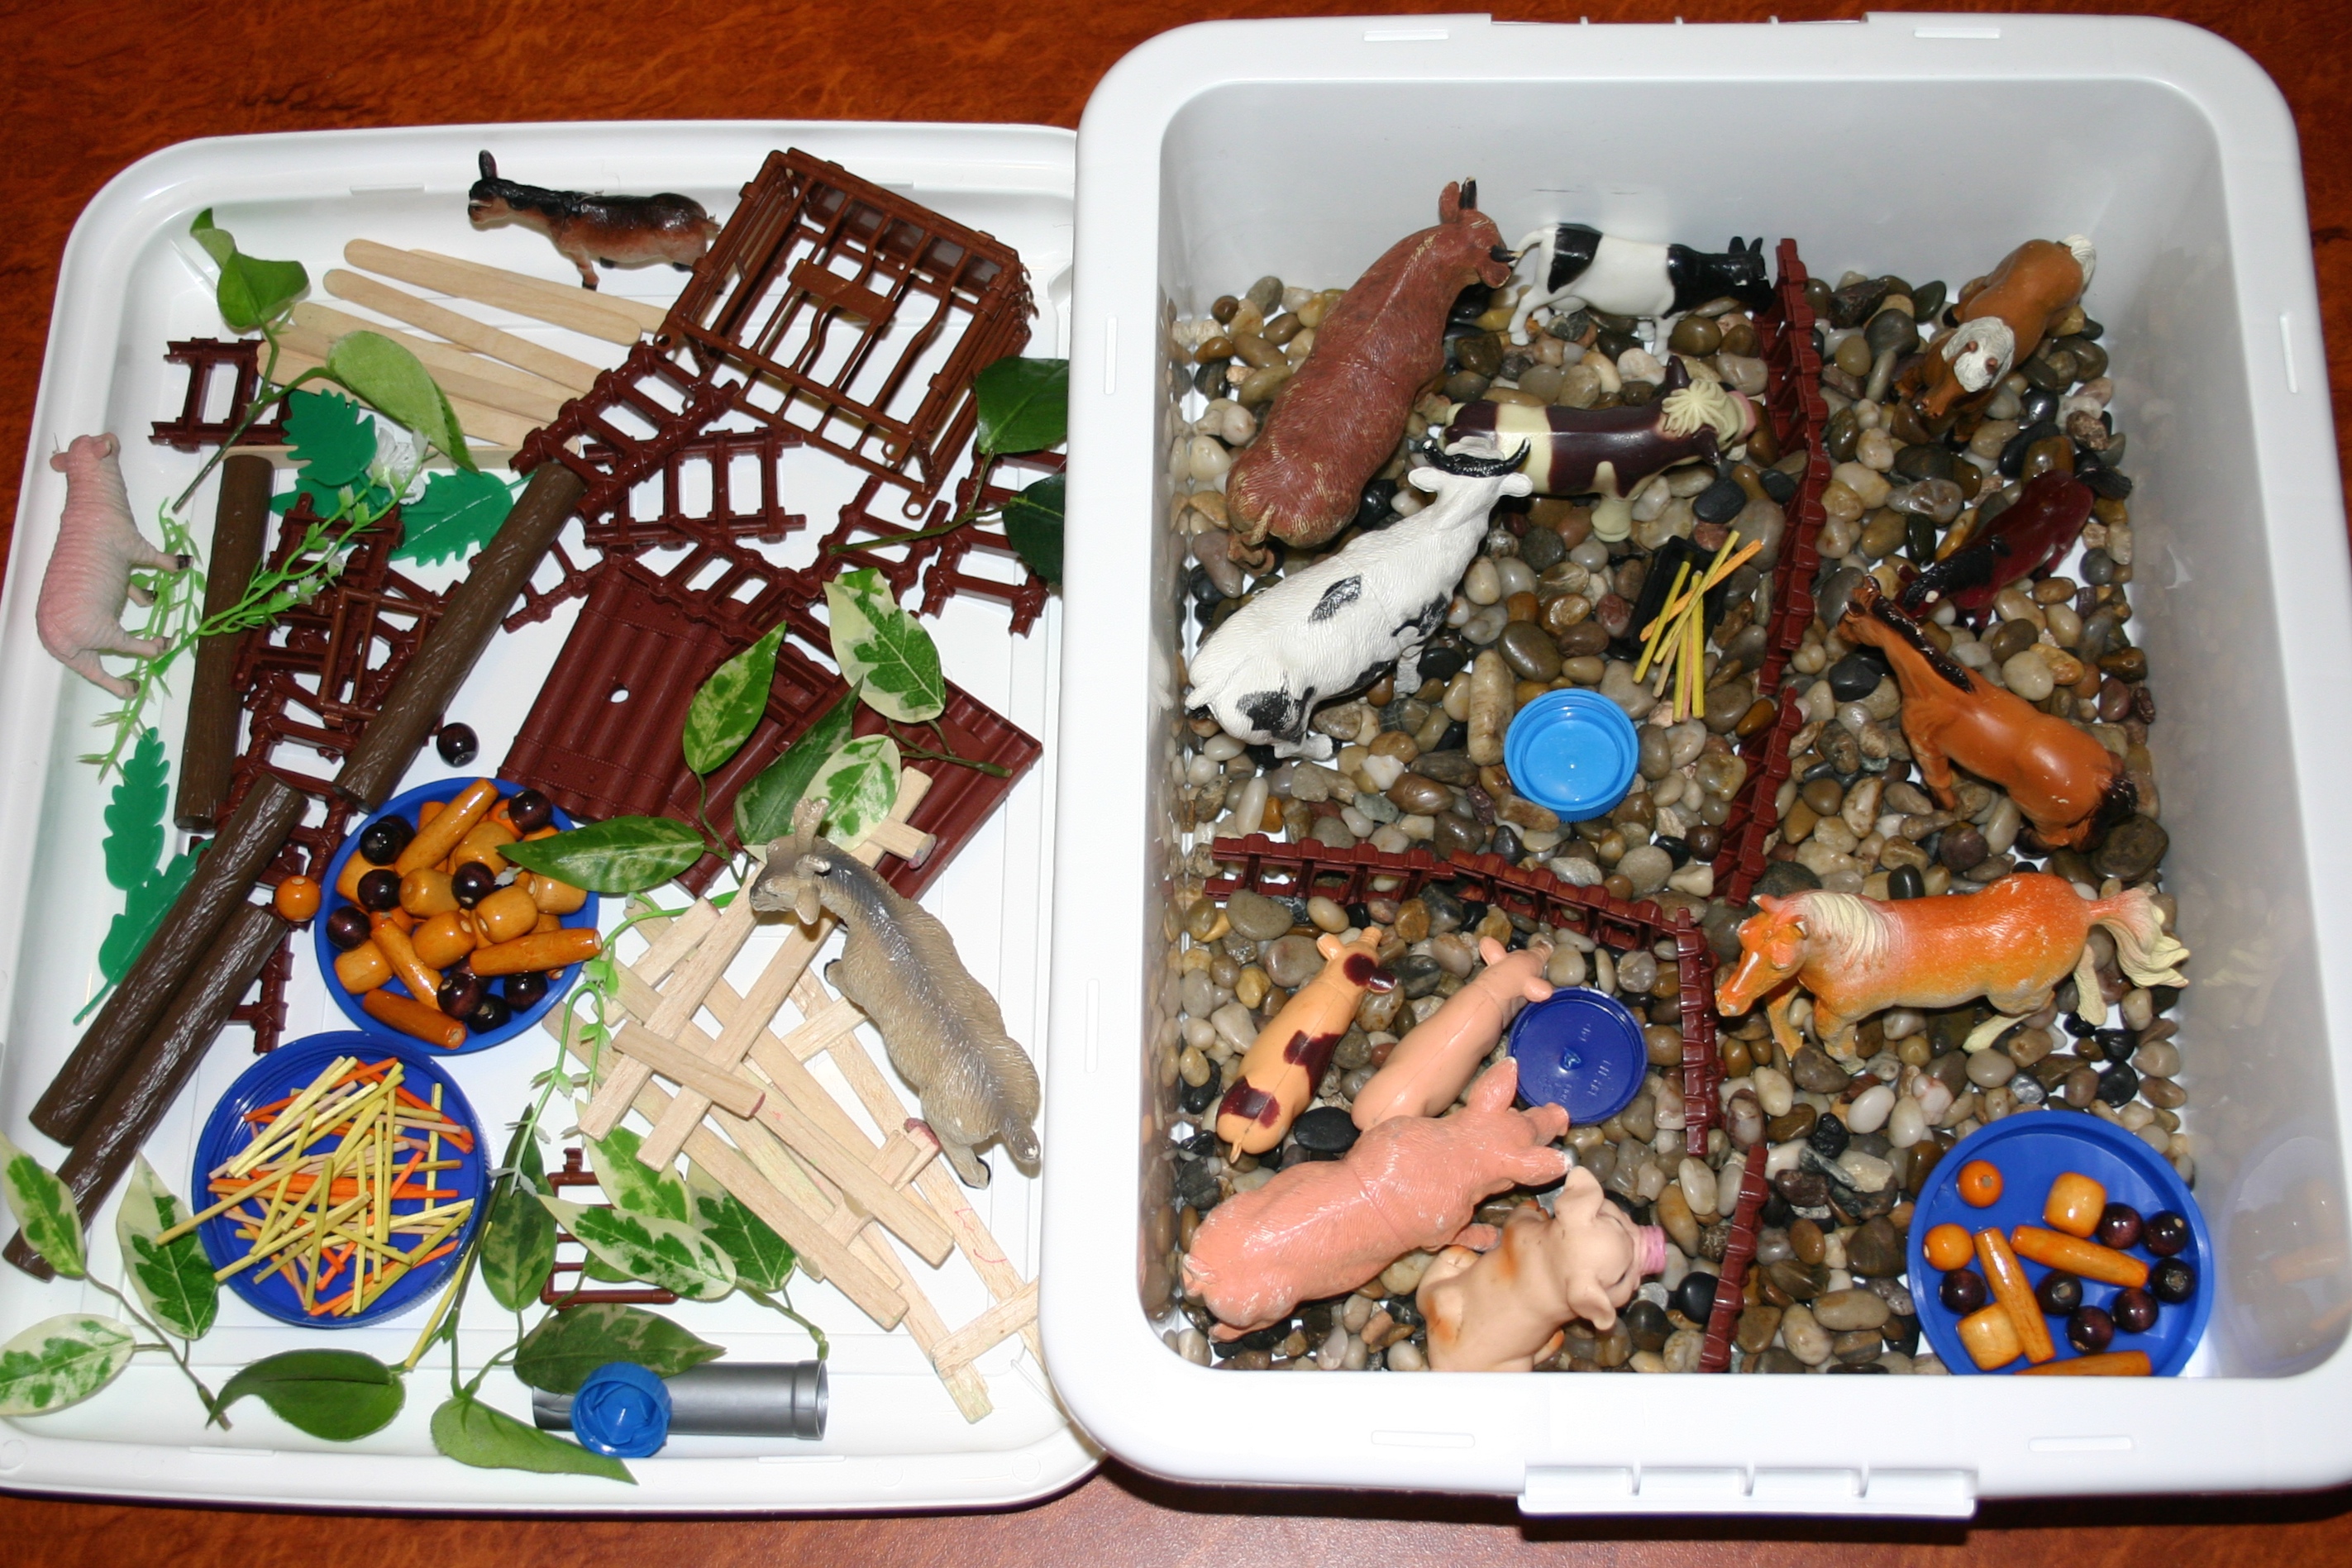
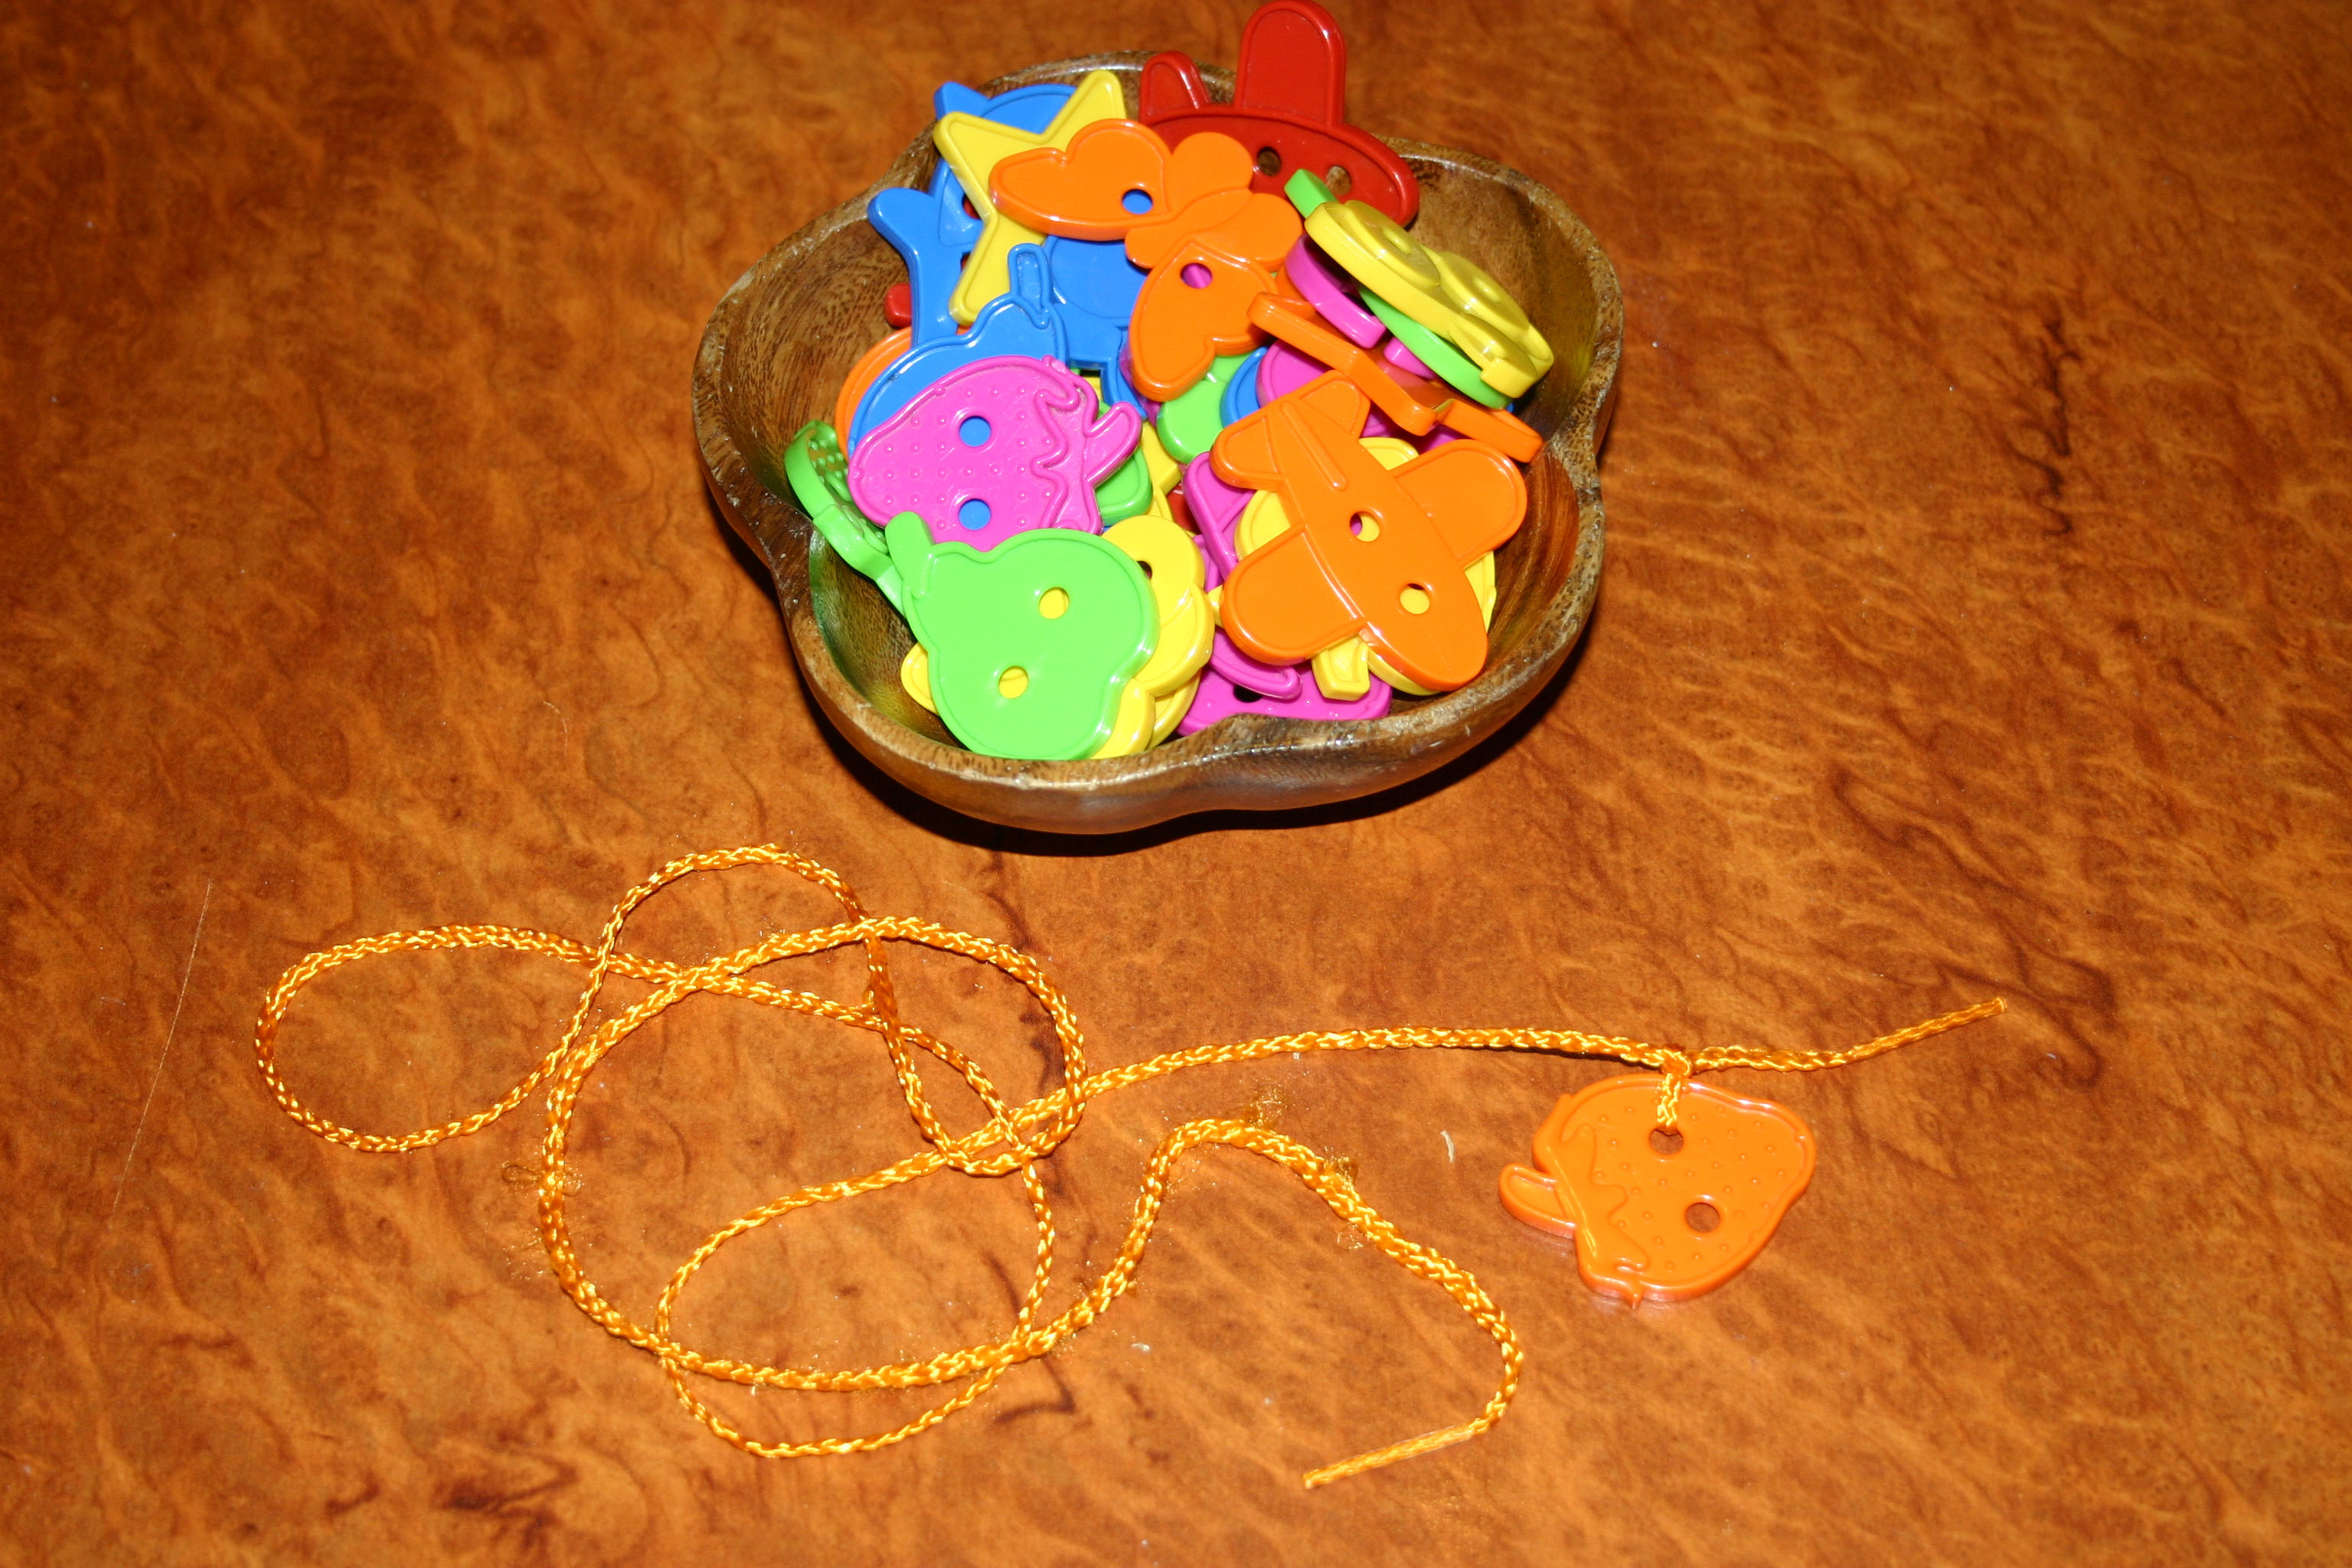
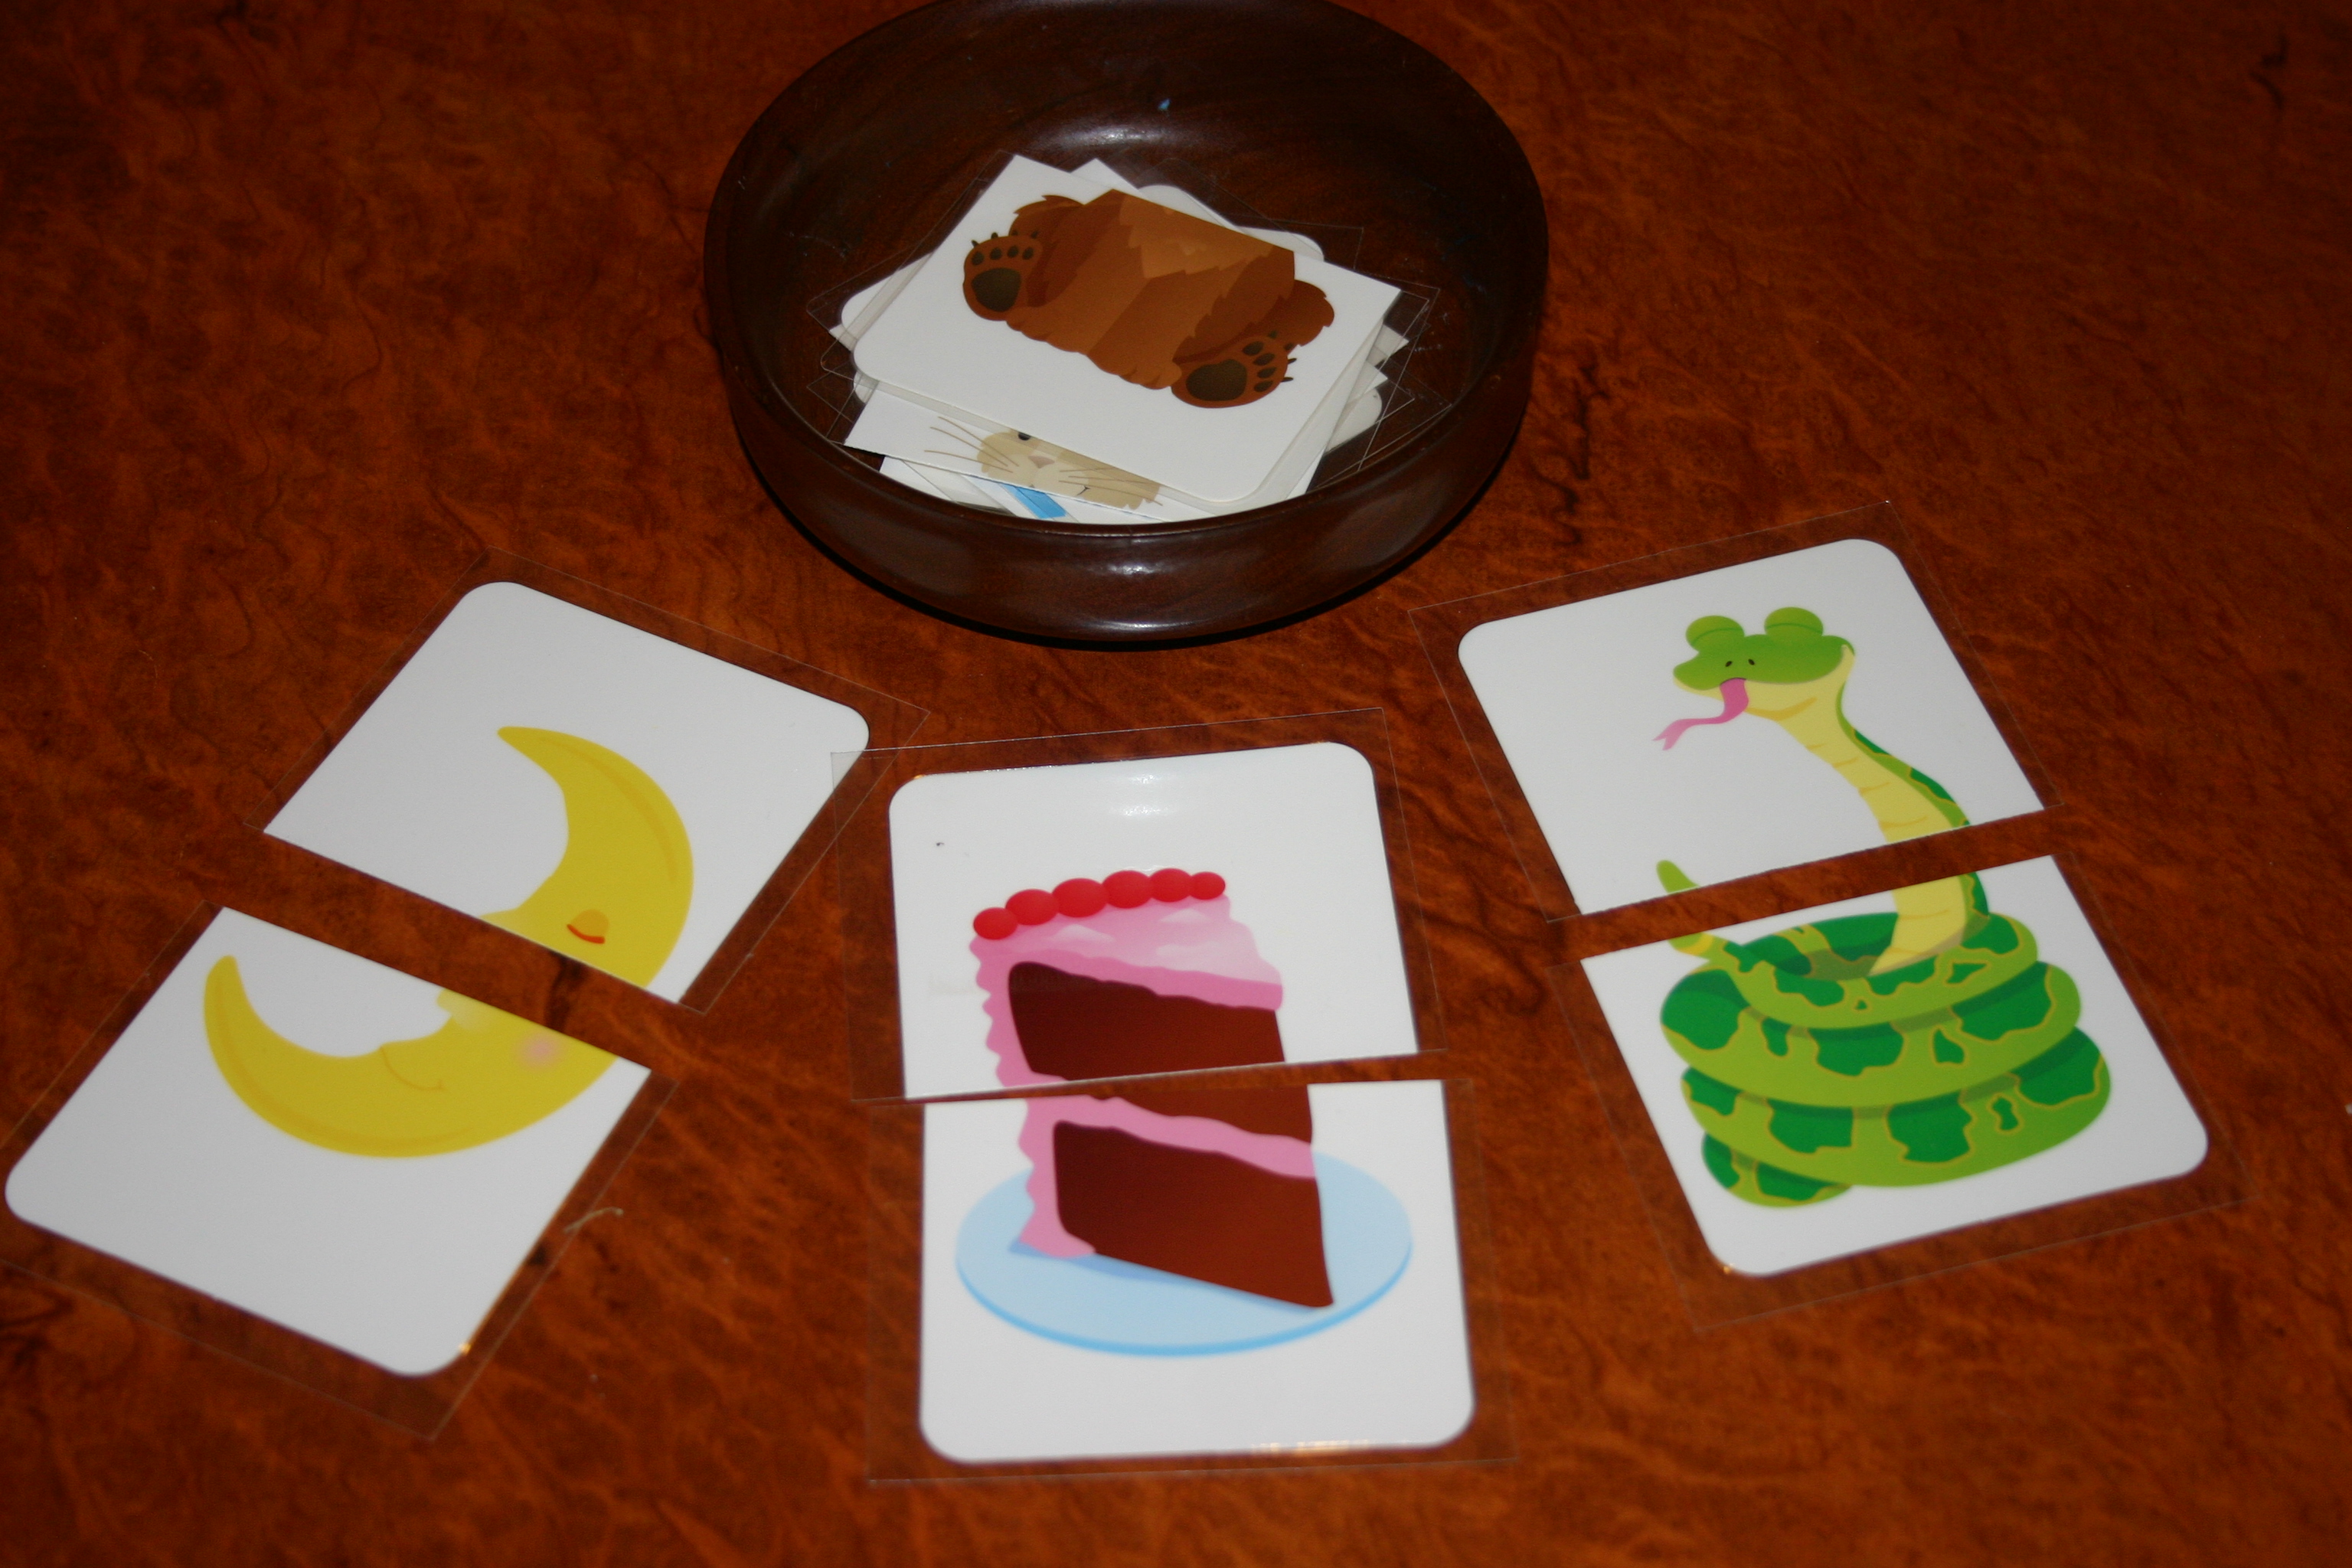
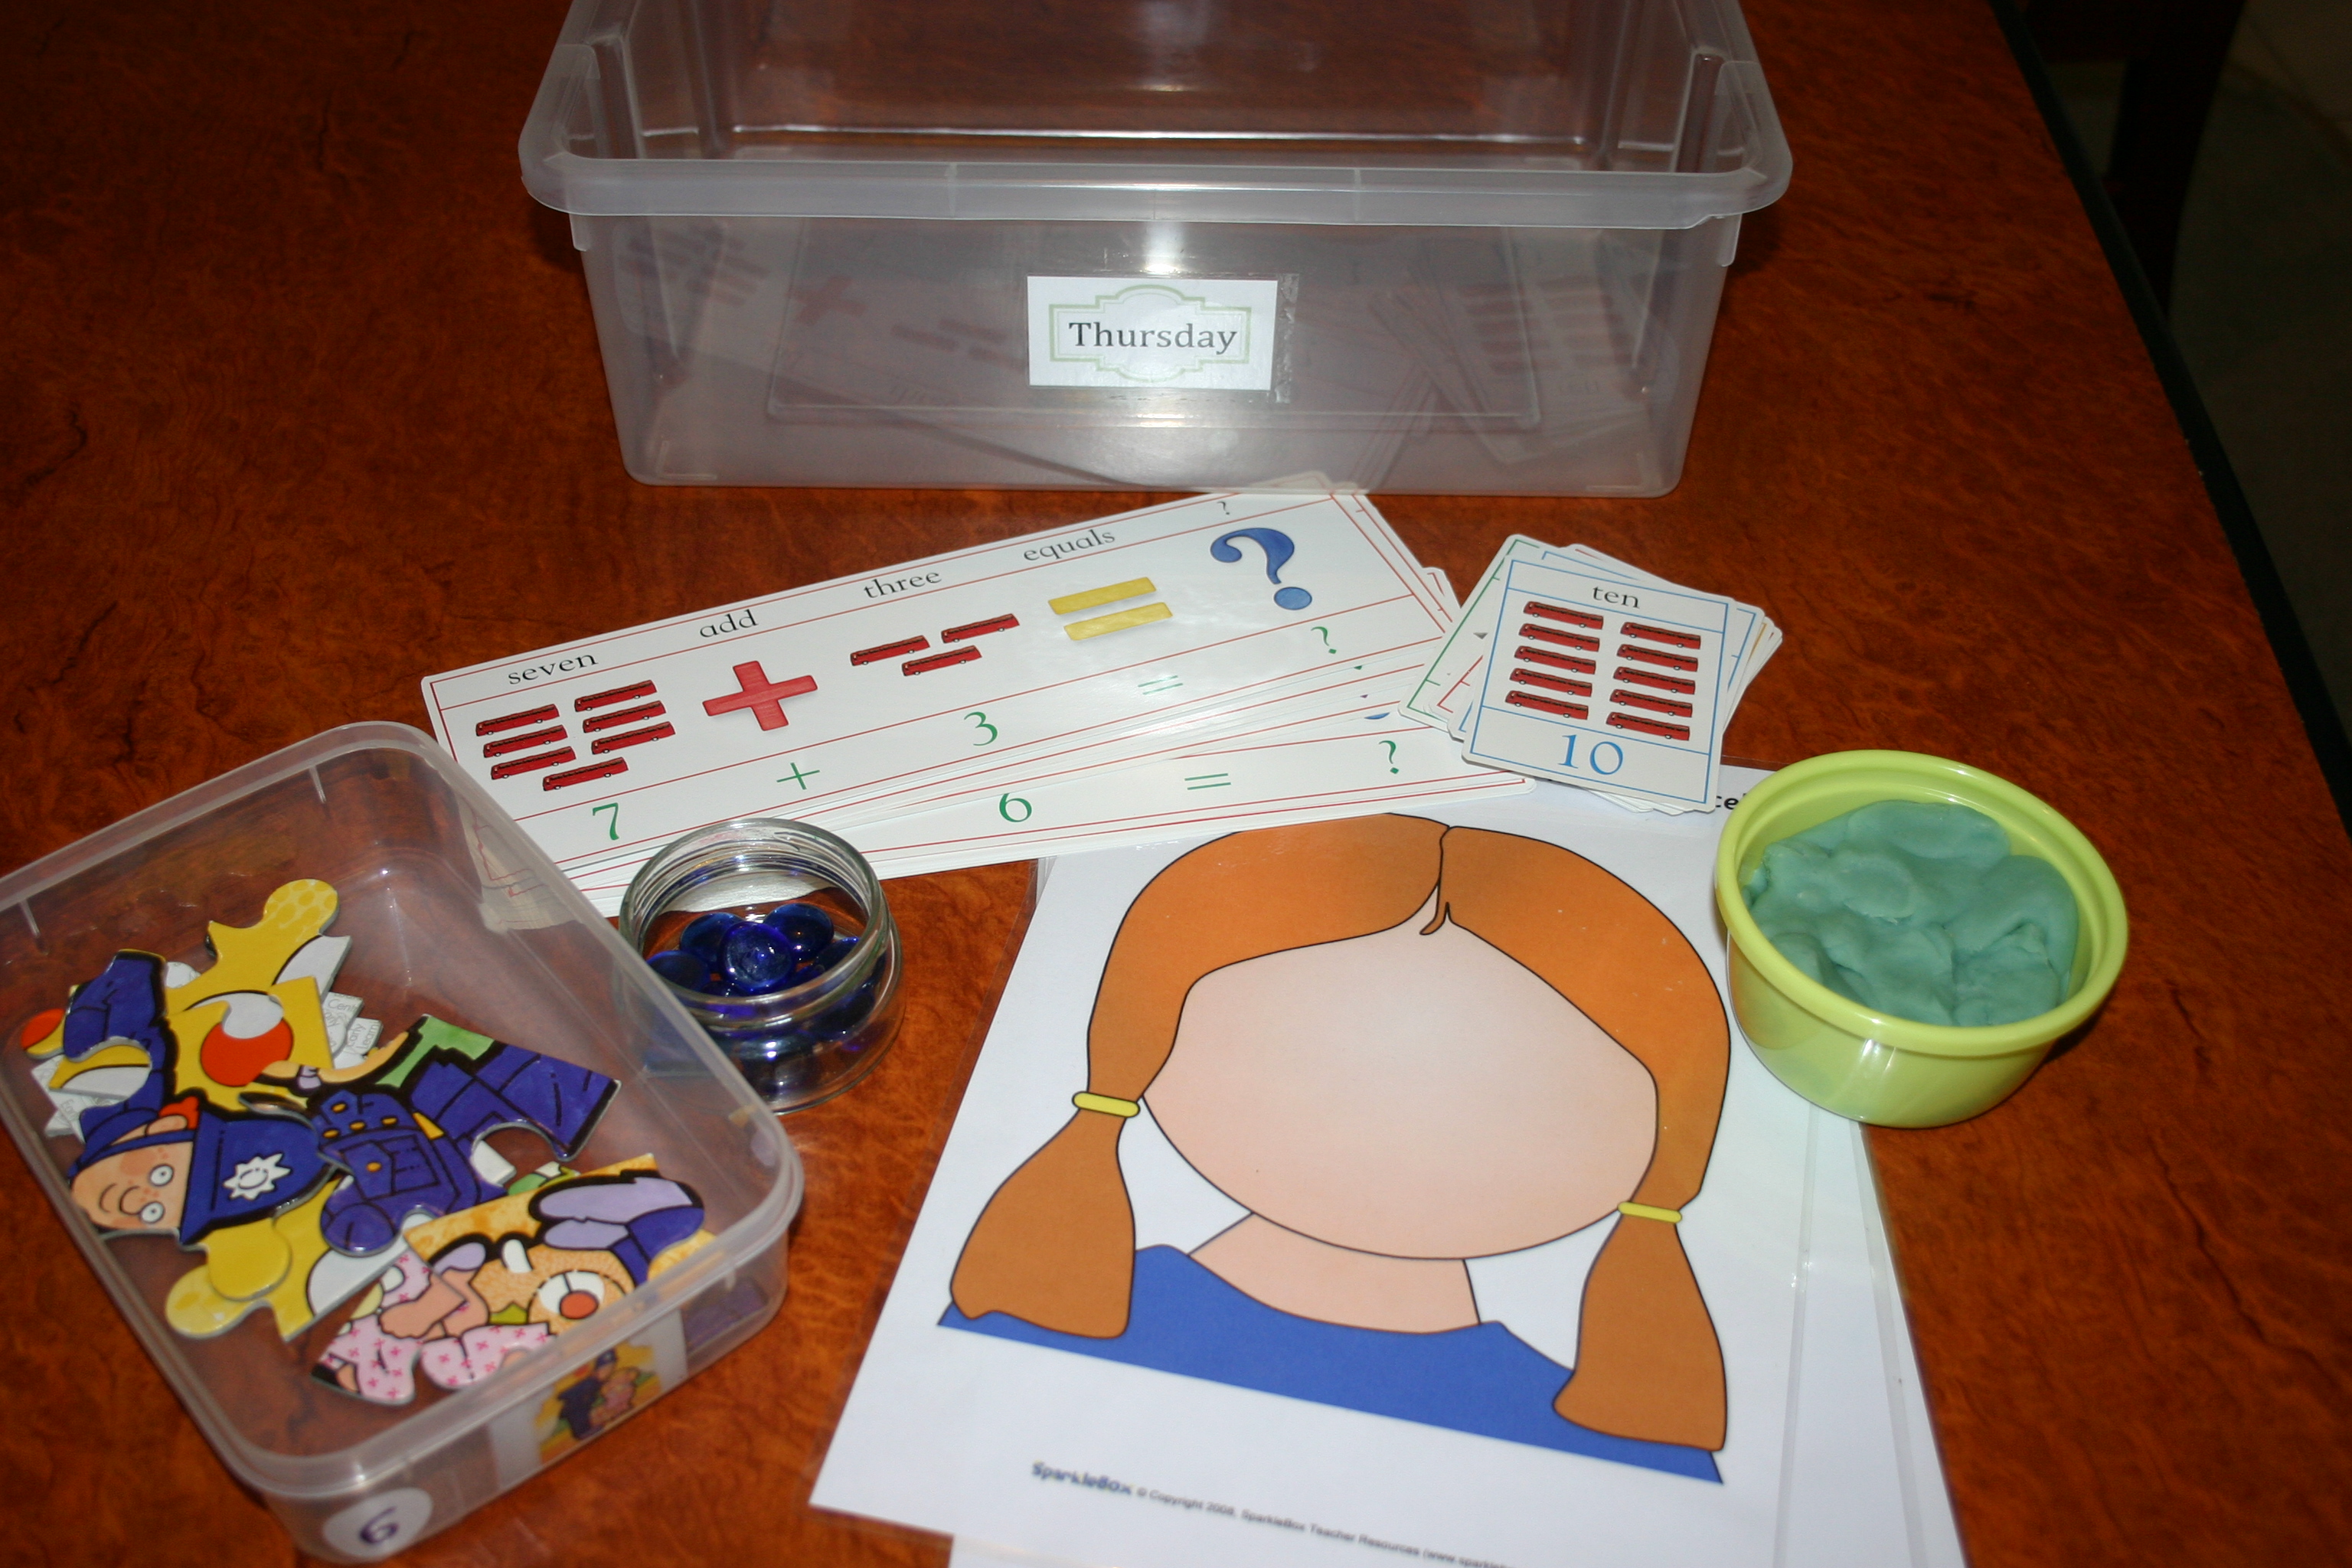
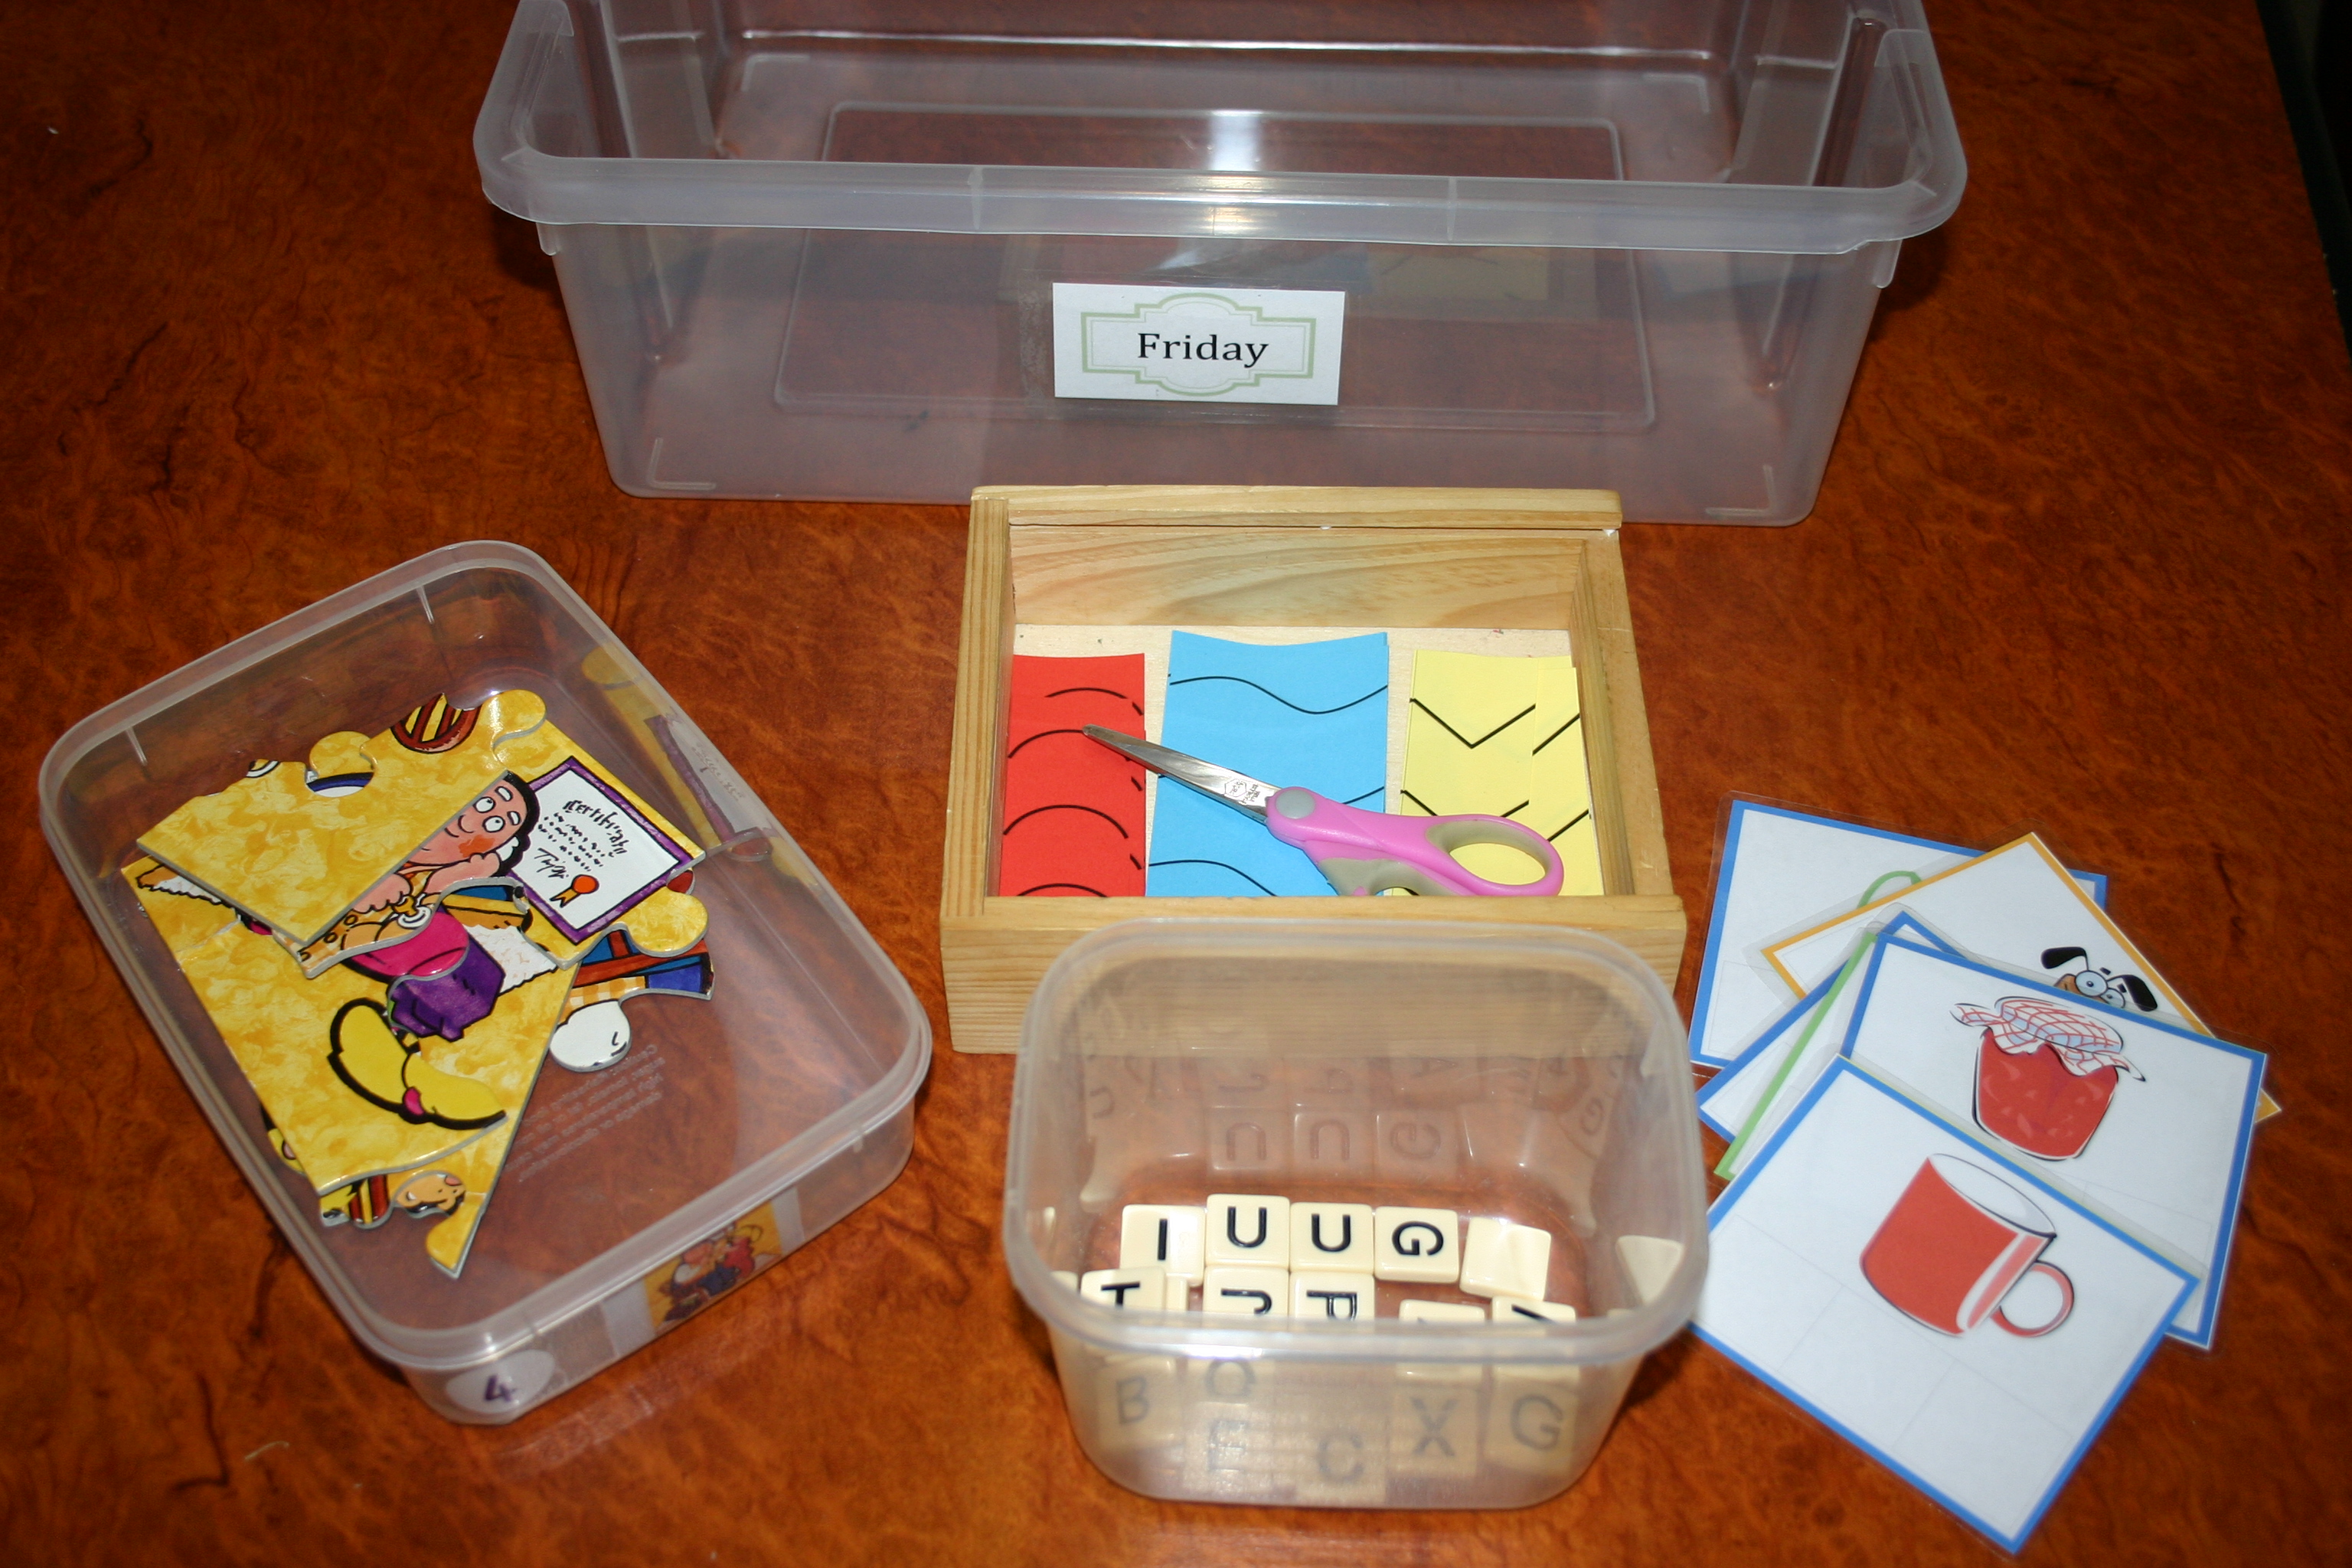
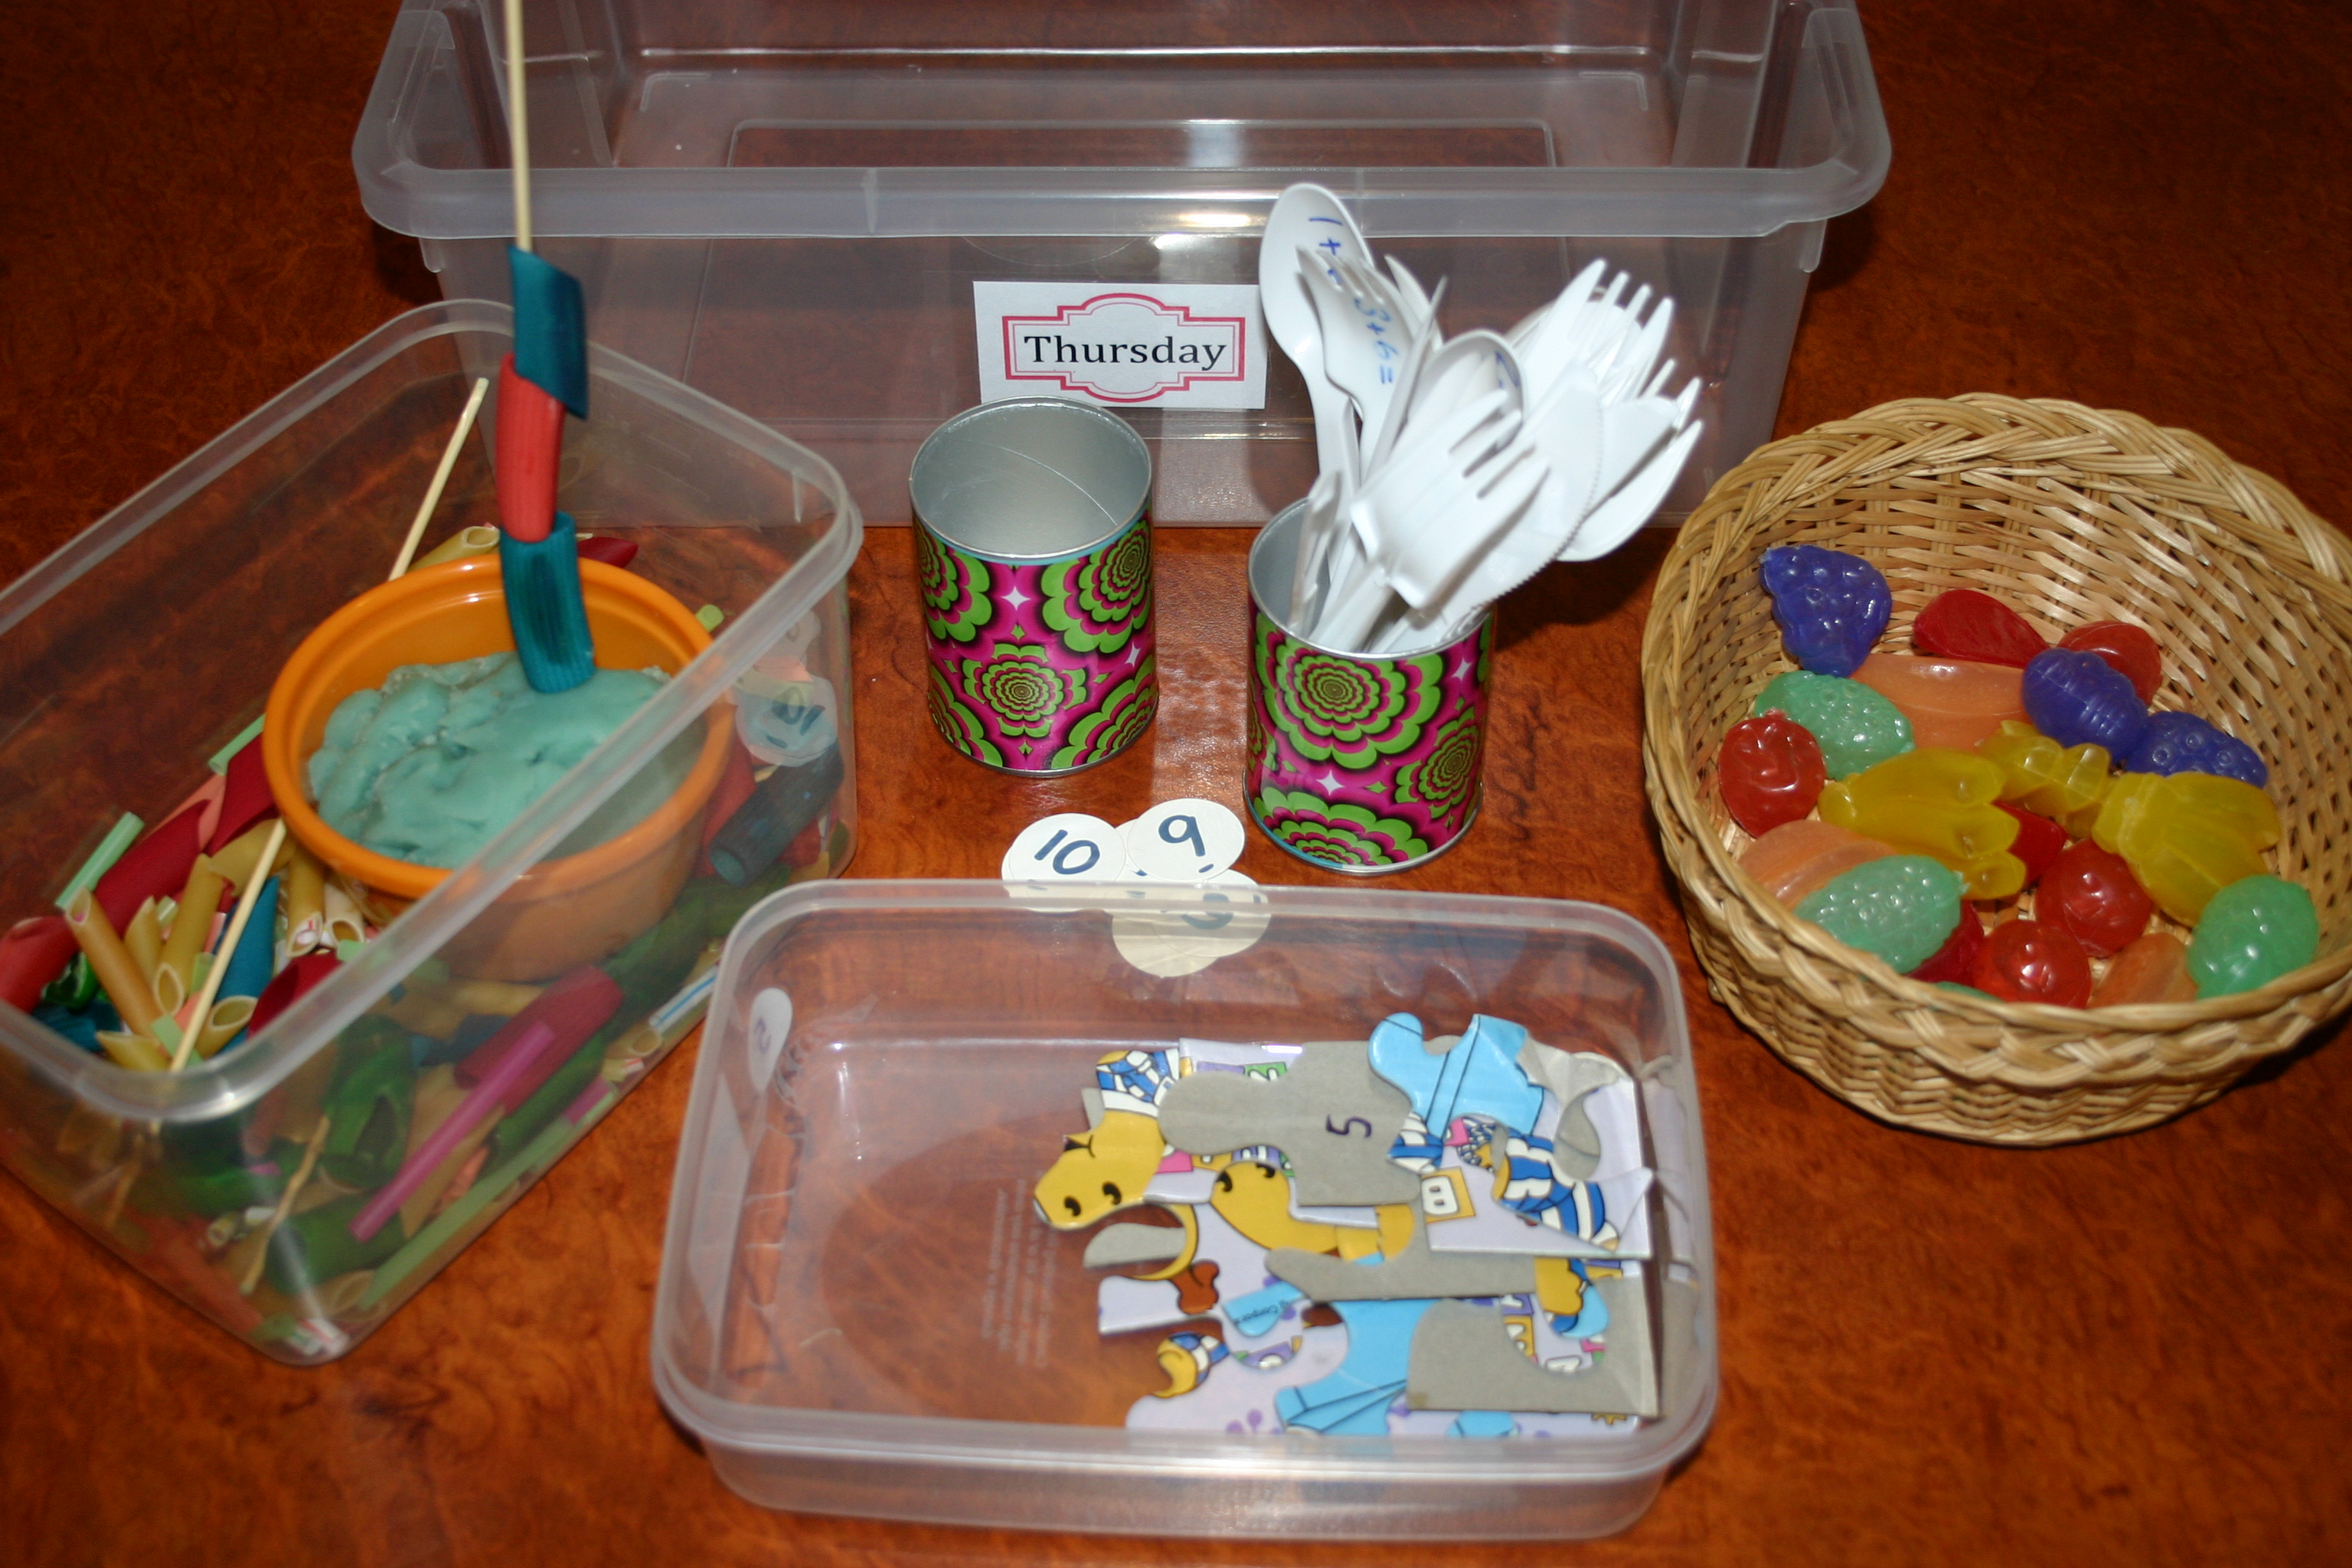
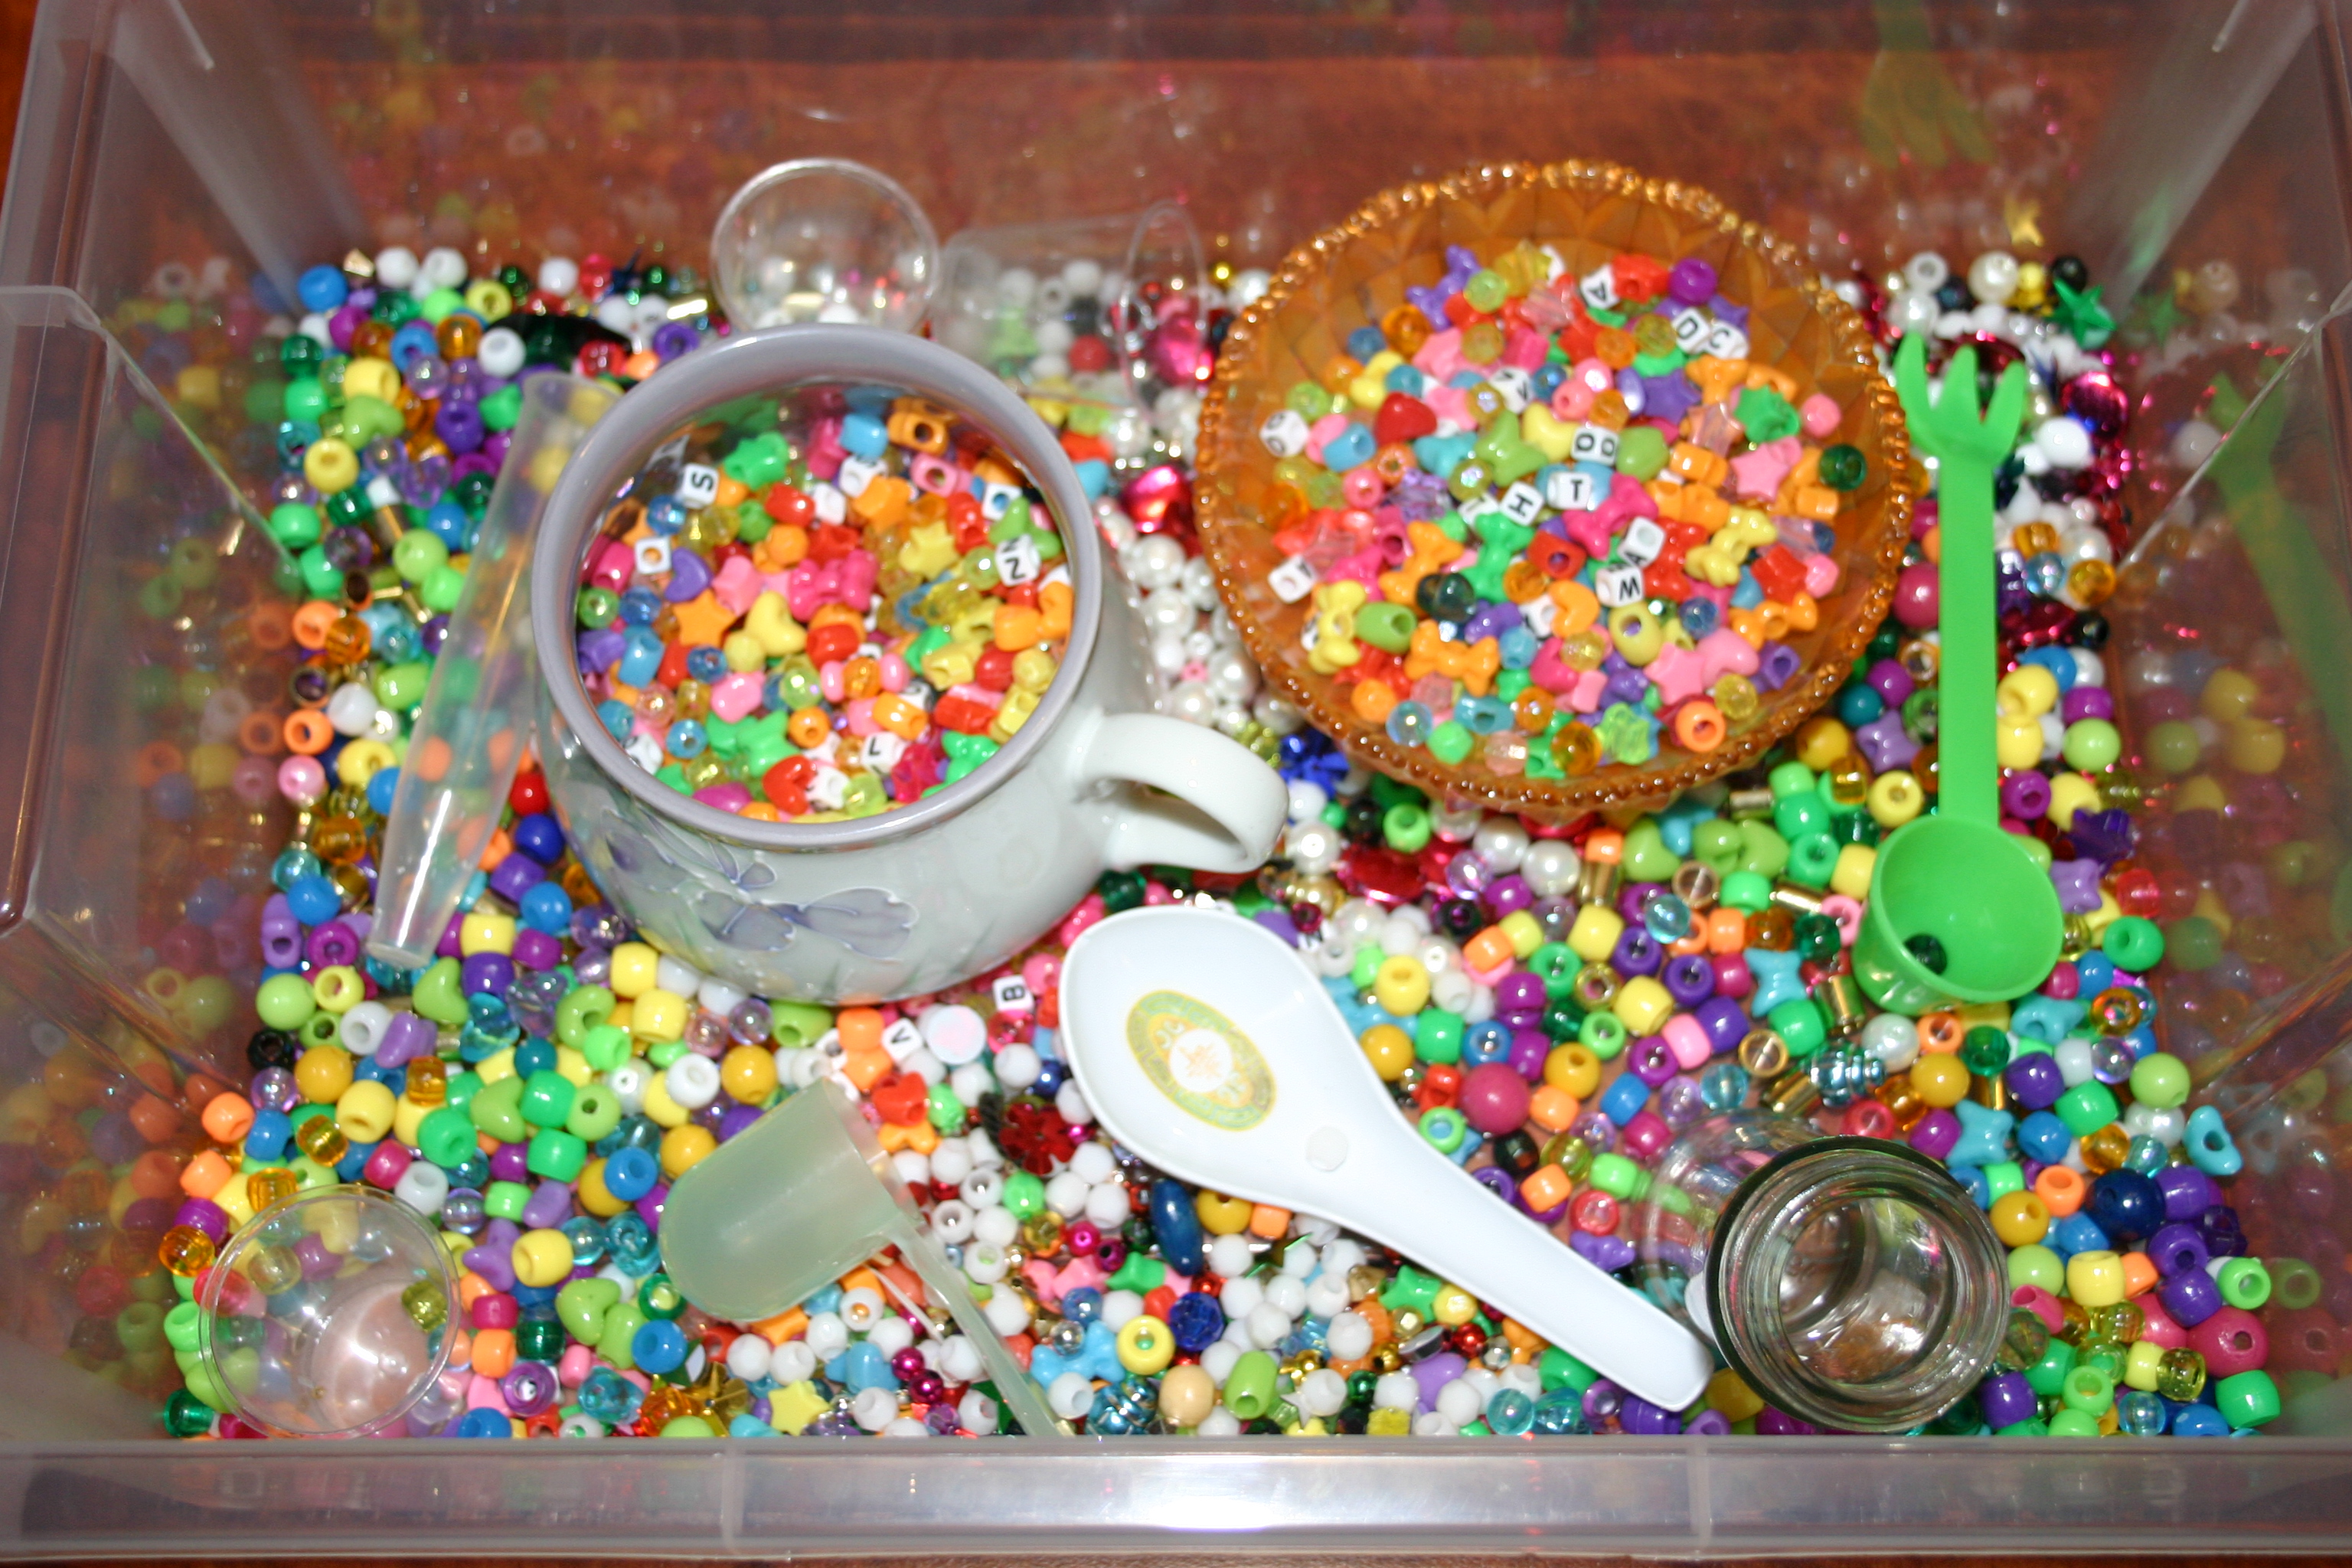
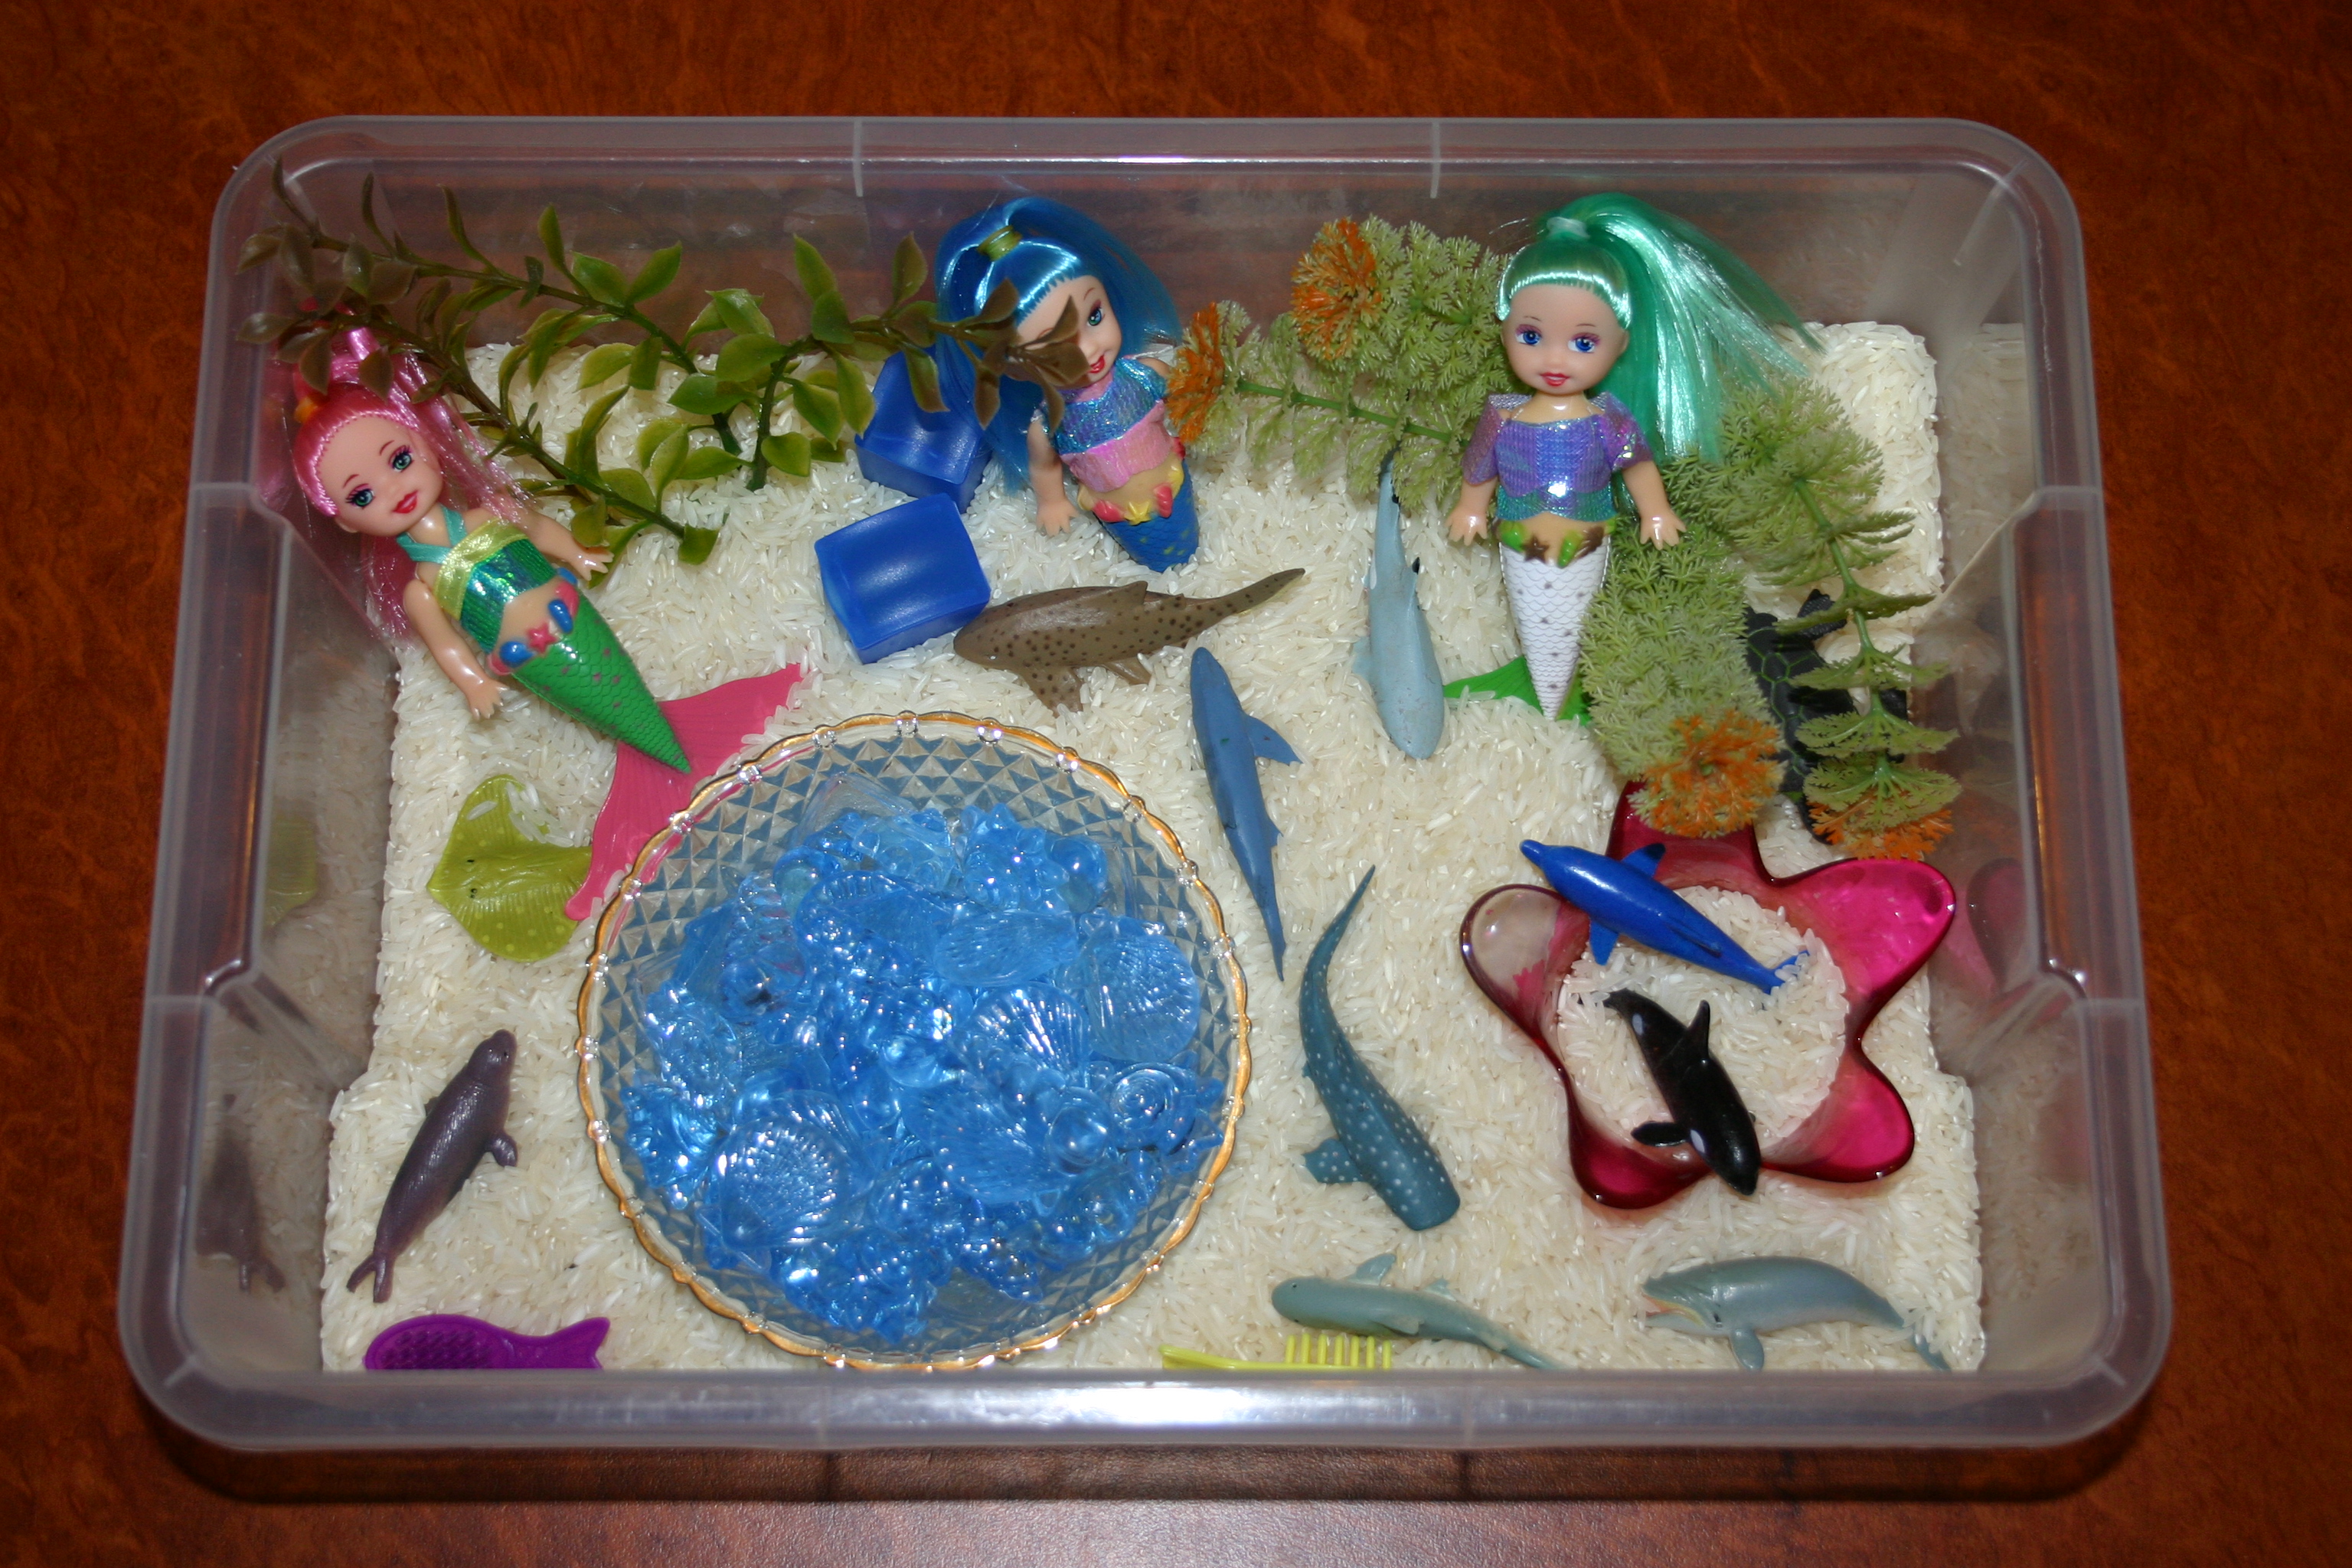
When more experience is needed with a concept, he works on Montessori style trays such as the one above, giving him lots and lots of repeated practise of the same skill over and over again until it becomes second nature. We made up little stories about customers in restaurants who were sometimes greedy (according to the numbers on the spoons) and he enjoyed choosing the food (jewels) to serve.

With the combination of bookwork plus hands-on trays, my 6 years olds feel that they are doing real “school” like their older brothers and sisters and all ability levels are being catered for. One is zipping through the book at a great rate (she LOVES book work!) and the other is taking a more leisurely course with lots of hands-on experiences along the way. Individual children,  individual abilities, individual learning styles. This is one of the reasons why we homeschool after all isn’t it?

Next up: Homeschooling 6 year olds – reading and writing


Advertisement

Preschool at our house: Workbox system for 5 year olds

IMG_1612

Here is the latest workbox style arrangement for our 5 year old preschoolers which will allow them to get the direct instruction from me that they need as they learn basic reading and writing skills, while at the same time having some degree of independence in their other work. I have always invested some time in one-on-one teaching at this age because helping each child to become a proficient reader is one of the keys to independent learning and self-educating later on (one of my goals for all my children.) The children have access to plenty of creative play opportunities and lots of great hands-on learning tools at other times in the day but this morning period is slightly more “bookish” as we step into more formalised learning.

pp schedule

My older girls (7 and 9) both work from a written schedule for several reasons; they know exactly what to do, when to do it and how much they need to do before they are done for the day. My 11 year old son also works from a schedule, but is free to decide the “when” for himself, having shown responsibility in managing his time in the past. The twins (5 years) have a pictorial schedule to gently ease them into a more independent role in the future but don’t really need it because their boxes are numbered and they are under my direction anyway. (It’s more so that I can keep track of what they are supposed to be doing!)

I researched workbox homeschooling several years ago and most of the examples I found on the web involved nightly or at least weekly changing of the contents. I knew that wasn’t going to work for me so I devised a simple system that only needed to be changed out about once a month. (See details here.) There will be some items in the boxes that needs to be updated more regularly (Sight words as they are learnt for example) but this will require minimal effort as the sets of words etc. that I need are all ready to go.

Some advice that I always give beginner homeschoolers, especially those with a large family, is to set their homeschool up so that  it will continue to run without them as much as is possible. Life intrudes; an unexpected visitor, an unscheduled phone call, the baby is sick and on and on. Set things up so that you are not required to be “teaching” directly all the time or the pace may be too hard to keep up. With only one or two children you may be able to do it but not with the number of blessings we have!

So.. what’s in the boxes?

IMG_1614

Daily diary writing (See full explanation here.)

IMG_1616

Bob Books and a file folder game to practise sight words. As the child chooses a word it is read and fed to Mugs the dog through the hole in his mouth. (See this post for how to teach children to read and this one for some info on beginner readers.)

IMG_1617

Segmenting words game based on All About Spelling level 1. I am using this programme as a rough guide at this stage. We will get into it more next year but for now our activities are loosely base around the progression in this book which is very thorough. We are using the flip boxes to review the single sounds we already know before moving on to more complex phonograms.

IMG_1618

Montessori style counting activity tray. Developing one-to-one correspondence is crucial before any real maths skills can be developed and these simple counting activities give heaps of practise while also working on fine motor skills. In the top activity the expresso cups are set out with the numbers in order from 6 to 10 and the child uses the tongs to add the correct number of sugar lumps to each cup. In the second activity the small tongs are used to transfer the correct number of marbles to the suckers on these soap holding shapes – the kind that suction onto your sink to stop the soap slipping away.

IMG_1619

We use Math-u-see for the first couple of years and Primer is the first book in the series. I cover all of the concepts with  hands-on tray activities first and once they are well mastered the children can work through the book as a bridge to the bookwork they will be doing the following year. We also have the Dive CD’s which have videos for each lesson in the student books so some added “teacher” instruction is given as well to help fill any small gaps that may still be there.

IMG_1620

Tracing letters and numbers. I try to supervise handwriting practise to ensure that the correct letter formations are being made. There are heaps of free worksheets on the net. Look for some in your preferred font and laminate them if you choose for repeat practise. For children who find fine motor control difficult, the channel writing (bubble letter style) are the best because it allows more leeway than dotted letters for wobbly pencil paths. It can be very discouraging for children who try so hard and yet cannot stay on that dotted line. The “fat” letters to keep inside are somewhat more forgiving.

IMG_1621

The last workbox contains a selection from some free printable worksheets to go with the Bob Books that I have found online, mainly for my daughter who finishes all her school work in nanoseconds and wants to know what else there is to do. She loves to do “real” school work like her older siblings so the more books and worksheets I supply her with the happier she is. My son will do them if he wants to which will translate to not doing any at all except possibly using the bingo dotters to follow the word paths simply because he wants to randomly dot paint everywhere 🙂


Teaching preschoolers to write

IMG_1614

Today I will be sharing how to teach writing using a daily diary with some general tips and a quick “how to.” I have started this post 3 times now because there is just so much I could say and it keeps turning into a thesis, so back to dot points 🙂

Tips for turning out great writers:

  • Provide many experiences that develop fine motor skills – playdough, threading, building etc.
  • Make sure your child is using the correct pencil grip – get a moulded pencil grip if necessary.
  • Teach the correct letter formation – bad habits are hard to undo.
  • Teach phonics. A strong grasp of the phonemes (sounds) and how they join together to form words is vital
  • Read examples of good writing every day
  • Avoid have-a-go methods where the child is internalising incorrect letter combinations that will need to re-learnt later. Do not be afraid to tell children how to spell a word. It is better to copy from a good model than to write the word the wrong way over and over again. You can encourage them to use their phonetic knowledge and spelling rules as you work with them to write the word correctly the first time.

Daily diary writing for preschoolers – how to:

  • The child chooses their topic for the day and spends a few minutes drawing a picture.
  • Have them dictate a sentence about the picture for you to write down, leaving every second line blank. Ask questions as you do this; What does the word start with? How do I write the letter “s”? Show me in the air. What sound can you hear in the middle of the word? How do I write a “ch” sound? This is one of your sight words – can you remember which letters go together to say “the”?
  • For beginners, re-write the sentence onto a separate strip of paper. Cut it into individual words (or have them do that) then ask them to match these words underneath the ones you have written in their book and glue them in.
  • When this is easy, have the child trace some of the words you have written. For one of my preschoolers I choose a couple of words each day to write in dots so that he can trace them to write the word.
  • When this is easy, start copy work – where the child copies what you have written underneath. (Don’t be too pedantic about letter formation here – just keep practising with handwriting lessons every day so that the correct strokes are quickly learnt.)
  • Read back the writing together, pointing to each word as you do so. Ask them to find a word for you – Can you see the word that says “house”?
  • Move on to having the child write their own sentence once they have a large enough bank of words to do so. Brainstorm words they may need before starting and write them along the bottom of the page so that they can see the correct spelling as they write the word for themselves. Correct any errors as soon as possible.

Obviously there is a lot more to learning to write than I have covered here but for the sake of clarity I have tried to keep it brief. I have used diary writing with several classes of students and now my own children and it is encouraging for them to watch their skills develop over time, as well as proving a lovely keepsake for later. A few years ago my Mum pulled out a school diary I had written in year one and it was so cool to read through and see what was important in my life at the time. It began with the teacher writing everything and by the end of the book I was writing everything – all in the space of one year. Preschoolers will of course move more slowly than this but you will be surprised at their progress. Reading though my diary bought back some wonderful memories of events that I had totally forgotten about and made us all laugh to see what Mum did when she was in school.


Teaching preschoolers to read

Homeschool has started for the year at our house and with it our routine. As always, there is some tweaking and re-arranging to make the new schedule work for us and I am reminded that flexibility is important, but am also enjoying the more peaceful atmosphere that being back on a schedule has bought.

As we continue the journey to reading proficiency I have also been reminded that learning to read is a process with several steps that need to be mastered before children will become strong readers. Ear training is so important in the early stages and while they have both memorised their letter sounds without any trouble, they are not yet proficient in the skill of segmenting words into their individual sounds so that is the next step for us. (See this post for an explanation of the steps to successful reading with ideas for teaching each stage along the reading ladder.)

So here are a couple of ways to practise segmenting words; breaking them down into their component sounds or phonograms. These are for words which have two phonograms, but can be easily adapted to 3 letter words by moving 3 objects rather than 2.

IMG_5761

Parking the car into the garage. For example, the word “at” has two sounds or programs; “a” and “t.” Say the word slowly out loud, breaking it into 2 parts as each car is moved to represent the sounds heard.


IMG_5778

Sliding the sounds together; bears on a Lego slide.

IMG_5773

The horse jumps the gates as each sound is heard.

These ideas can also be used for learning how many syllables are in words. The word “candle” has 2 syllables; “can” and “dle” so the horse would jump 2 gates also. Don’t use the same game though interchangeably between syllables and sounding out phonograms as it may be very confusing to children. Candle has 5 sounds/phonograms; “c” “a” “n” “d” “l” (silent e), but only 2 syllables.

IMG_5771

Jump the frogs onto the lilipad.

IMG_5764

Jump the grasshoppers onto the leaves.

IMG_5772

Put the food onto the spoons.

After a 5 minute wander through the house I had a bag full of little objects that would do the trick. Even moving counters up and down the desk will do but I thought these were more fun.


A new year with 7 children

IMG_5588 Wedgits

Christmas is a time that I look forward to – making memories, continuing with traditions from previous years, special outings, celebrations, events and family times.  As I have found every year though, this special time comes with it’s own negatives. The freedom of unstructured days, lack of routine, too many choices, plenty of special events, junk food and late nights (this year coupled with sickness) has predictably resulted in tired, cranky children who are not getting along so well and are not using their free time wisely. What to do??

A new year begins, the celebration cycle eases off and ta da – enter ROUTINE!

I know from experience that the start of our homeschool year will solve many of these problems very quickly. The children’s days are filled with a balance of structured and unstructured times, responsibilities appropriate for their ages (chores) and a predictable flow of daily activities that allows me to get everything I need to do done in a timely manner as well. Less time together means that the children start to appreciate each other again and everything starts to run so much more smoothly. Life feels easier, the days are happier and we all benefit.


toddler school cupboard

Here is a peek into the newly sorted out activity cupboard for our 2 1/2 year old. We use these activities for table time straight after breakfast for around 30-45 minutes. In that time he will use 3 or 4 of the trays before heading off to room time for around an hour. It takes time, consistency and commitment on your behalf to teach a little boy (or girl) to sit and concentrate but it absolutely can be done. I do not have babies and toddlers who are/were just “naturally” able to sit and concentrate, it took work!

I have posted heaps of ideas for activities that work well for young children who are learning to sit and concentrate. Those pictured above are:

1. Do-a-dot printables with stickers to place inside the dots (or wherever!)

2. Beginner cutting tray (See my free Montessori style printable cutting patterns and how to teach a toddler to cut.)

3. Duplo ice-cream making set – a new Christmas gift

4. Textas, pencils and colouring books and paper

5. Potato head parts and playdough

6. A fine motor transferring activity tray (Small rocks, tweezers and a variety of bottles and containers to open, shut and fill)

7. Wedgits – another Christmas gift that I have had on my wish list for a while now. (See photo at top.)


Blessing Buddies; What have they been up to?

IMG_1521

Making flour footprints with an invitation to cook something tasty for the ladies who meet in our house once a month.

Since their arrival on the first of December, the children have been enjoying searching for the Blessing Buddies each morning and finding out what their act of kindness for the day is going to be. Our 2 1/2 year old is also loving searching for his special Christmas activity box each day.

IMG_1509

The Blessing Buddies were found on the front doorstep on Dec 1, along with the special sparkly box with the day’s toddler Christmas activity and supplies for the first act of kindness.

IMG_1562

Baking biscuits was messy but fun – 6 children in pairs baking 120 biscuits was a bit crazy but we did it!

IMG_1551

My favourite blessing so far. We went down to the local shops and surveyed the shopkeepers of the smaller stores, asking them to name their favourite chocolate bars. We then went into Coles and purchased their choices and delivered them back with a note from the Blessiing Buddies explaining the real reason for the Christmas season. Lots of fun seeing their faces when they received their chocolate. We deliberately waited until they were busy to stealthily (not so much!) place the bags on the counters and dash out again before any reward other than their smile could be forthcoming.

IMG_1525

The children were outraged that the boy Blessing Buddy was being mean! I thought it was funny but they could only focus on the injustice! They don’t seem so concerned when they are doing similar things to their own siblings!

IMG_1528

The end result of the previous blessing craft. These felt trees were very easy to do (hot glue gun the bits together for the young ones and sew them on for the older kids) and the end result was really stunning. They look a lot nicer in real life than the photograph shows. They will make lovely Grandparent gifts this year.

IMG_1523

The Blessing Buddy bead ball-pit! The kids thought it meant we were going to an indoor playground! Had to disappoint them there and make beaded animals and other creatures to give away instead.

IMG_1515

Our church is collecting food for Christmas hampers so we added to the collection.

IMG_1513

One of our Christmas traditions is to buy a new nativity scene each year. The Blessing Buddies bought this one and were found worshiping Jesus.

IMG_1511

We made Christmas tree cross ornaments to give to the ladies who attend our yearly Christmas high tea so the Buddies were found swinging from the Christmas tree. The odd decorations they are on are our Jesse tree symbols.

IMG_1529

One of our children has a December birthday so the blessing for the day was all about them. The Buddies were found hanging out of her birthday gift.


Farm sensory tub – toddler and preschooler fun

IMG_0885

Our rocks sensory tub has been available for a month or so now and interest has waned, so it was time for a change. Within a matter of 10 minutes I had thrown together the farming bits and pieces we have around the place, (most of which were in our playdough toys) resulting in a new and exciting activity to keep my little ones interested and playing quietly during one of the many breastfeeding sessions that now take up much of my day.

Sensory tubs are great for a wide variety of ages (my 2 to 9 year olds LOVE them and even the 11-year-old boy will sit down and have a fiddle) and they are an excellent activity to assign an older child to do with a younger sibling for some brother and sister time. I find pairing the older and younger children means that the youngest learns how to play with the materials and I will often see them imitating the play of their older sibling when using the materials independently later on. I remember being quite surprised to find that my first child didn’t know how to play with some of the activities I gave him. I actually had to sit down and model pretend play with him to teach him what to do. Now, with so many older siblings, I no longer have this role – it is well and truly filled with the modelling of the older children for the younger ones.

A quick trawl of the web or an online site like Pinterest will give you an abundance of ideas and with a few tucked in the back of your mind you can keep an eye out for suitable materials whenever you happen to be out at the local discount store, op shop or supermarket. At the most, these tubs cost me $10 or so in loose materials to fill them (the rocks, pasta, oats, rice base etc.) and I then store these to be re-used in the future, with a different play accessory to keep it fresh. It is well worth the small investment for the peaceful play that results, allowing me to get the dinner cooked or feed our baby without interruption.

Our farming sensory tub includes plastic farm animals, plastic and popstick fences, milk bottle and yoghurt container lids for water holes and food dishes, craft matchsticks (hay), wooden beads (as corn cobs etc.)  plastic logs, wall panels, artificial leaves and the rocks themselves.

Homeschooling with toddlers – independent learners

Monday is crunch time for me – my husband heads back to work and I am managing 7 children on my own, one of whom is a newborn. We have stayed with our usual homeschooling routine and daily rhythm while he has taken holidays and our newest arrival is slowly getting into a steady routine, so the transition shouldn’t be too drastic . Here is a glimpse into my toddler’s activity cupboard to show you what will be keeping him occupied in his highchair after breakfast each day while I feed our baby.

IMG_0883

Colour sorting. One of the many benefits of homeschooling is that the younger children pick up so much from their older siblings just by being around to hear and see them doing their schoolwork. Basic skills like colour identification, counting and reciting the alphabet almost don’t have to be taught – they are “caught” from the constant exposure. Our two year old is a good case in point. He loves to count, constantly asks me if the squiggle he has just drawn is “an A that says a?” and holds up crayons while checking to see if it is indeed orange? This sorting tray was almost too easy for him but he quite enjoyed fiddling around with it and sorting and resorting the pieces.

IMG_0882

Gluing. We also find that the toddlers want to do the same kind of activities that they see their siblings working on so gluing is always in demand. I give him one piece of paper and 1 envelope filled with an assortment of paper shapes to glue. More often than not he uses the glue more like paint and sticks and peels off the paper pieces over and over again, leaving nothing but a soggy page at the end, but it keeps him going for ages.

IMG_0881

Threading beads. Good for fine motor development and also for sorting and colour matching activities. Make sure the string that you provide has a nice long stiff end to make it easier for little hands to poke it through the holes.

IMG_0880

Drawing with vibrant textas is a satisfying experience. While I don’t encourage heaps of colouring in book type drawing (I’d rather they free created) the little ones love the idea of drawing on a picture they recognise.

IMG_0879

Montessori style dry transfer with tongs. Pincer grip is important for writing later on. These golden rings are wedding favours from the local discount store.

IMG_0878

Basic puzzles. Matching two picture halves is an easy way to start with puzzle skills.

IMG_0877

Good quality wooden puzzles will last for years.

IMG_0875

Duplo is a versatile construction toy and one that our whole family enjoys. Even the older children will still sit down and build together. This little set was a birthday gift recently so it is of special interest to our two-year old because it is his own set. As the big kids all have their own Lego sets in separate crates it makes him feel like one of the gang to have his own crate of building blocks, separate to the family collection.

Preschool at our house – work box homeschooling

IMG_0864

The twins (4 1/2) are now using a modified version of preschool workboxes. The way most people use workboxes requires them to change the contents every night in preparation for the next day. The way I use them means that the contents are changed approximately once a month. See this post for an explanation of how it works.

Workboxes allow the twins to work independently if I am caught up breastfeeding during the time when I would normally work with them. Having two sets of workboxes for two children working at the same level means that at the end of the month (or a couple of weeks) I can swap them over with each other’s boxes without having to refill and be set for another couple of weeks.

IMG_0871

We complete one page per day of a basic handwriting book as the twins are very interested in learning to write their letters at the moment and I would rather they learnt the correct shape and pencil grip first off than need to re-learn later.

IMG_0865

There is one workbox per day and in combination with the handwriting books that we work on first, there is enough to keep them going for around an hour. If they finish early, they pull out their Lego or a sensory tub to complete their school time. The older children attend a homeschool group on Wednesdays so we don’t use workboxes on that day.

Monday’s box:

  • Domino Parking Lot game (Free printable available here.)
  • Wikki sticks fine motor page (Free printable here)
  • Simple puzzle

IMG_0866

Tuesday’s box:

  • Dotted line tracing pictures (I pulled apart some pre-writing activity books)
  • Upper and lowercase alphabet letter match (Explanation here)
  • Simple puzzle

IMG_0867

Thursday’s box:

  • Addition cards (Count the pictures or use jewels to solve the sum then find the answer card.)
  • Playdough face mats (Free printables here)
  • Simple puzzle

IMG_0868

Friday’s box:

  • Cutting practise strips (Free printable here)
  • 3 letter word spelling cards (Explanation and link to printable here)
  • Simple puzzle

IMG_0869

Monday’s box:

  • Addition cards (3 possible answers are given underneath the sum with a hole punched through the card. The child uses the blocks to solve the addition sum and threads the string through the hole next to the correct answer.)
  • Simple puzzle
  • Cutting and gluing pages. (I pulled apart an activity book so that they can choose one page to push out the pictures from and then create their own drawing by gluing them onto a page.)

IMG_0872

Tuesday’s box:

  • 3 letter CVC (consonant vowel consonant) word and picture match. (Heaps of free CVC word printables on the web)
  • Dotted picture tracing (Another pre-writing book pulled apart.)
  • Simple puzzle

IMG_0873

Thursday’s box:

  • Plastic cutlery addition (The cutlery have basic addition sums written on them. The child uses the plastic fruits to solve the sum and finds the correct answer circle to place with the item of cutlery.)
  • Playdough skewer threading (Full explanation here.)
  • Simple puzzle

IMG_0874

Friday’s box:

  • 3 letter CVC word and picture card match (Link here)
  • Cutting practise strips (Free printable here)
  • Simple puzzle


Sensory tubs – mermaids and beautiful beads

IMG_0876

Assorted beads, scoops, spoons, jars, bowls, and cups make an attractive Montessori style dry transfer sensory tub.

Now that our long-awaited baby has arrived, planning for uninterrupted breast-feeding times has moved up in priority. We have chosen to keep our flexible routine going throughout these early weeks, rather than taking holidays as we find the children get along so much better with the structure in their day. With Daddy home for a few weeks and a new sister, there is enough change without taking away their daily structure at the same time.

With that in mind, I have overhauled the school cupboards with new preschool activities (photos coming soon) in preparation for Daddy heading back to work next week and created a couple of new sensory tubs for quiet afternoon table or mat play.

Training my little ones to sit in one place and play with what I give them has paid dividends on many occasions, but especially in times such as these. Knowing that I can sit down and feed with everyone happily occupied means no mess to clean up later and no bickering to deal with.

IMG_0863

Rice, mermaids, fish tank plants, blue plastic shells, bowls and sea creatures allows much scope for pretend play and imagination. My girls have been drooling over this since they saw me putting it together!