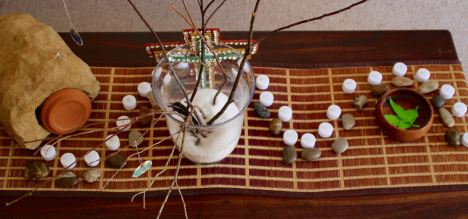
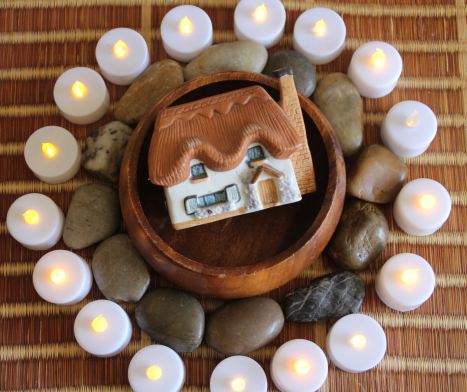
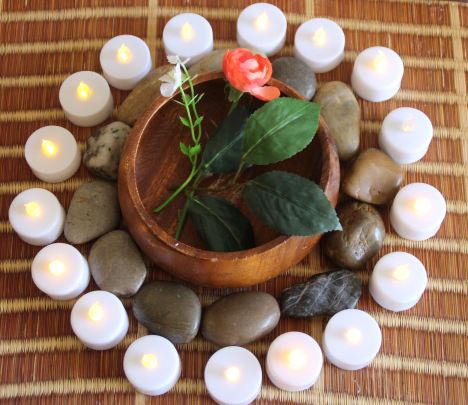
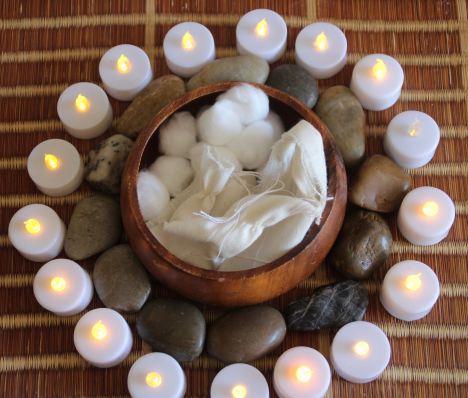
We missed the start of Lent again this year, however we randomly started our count-down to Easter last weekend with this simple daily plan. The stones and candles represent the days until Easter, with the candles being lit to correspond with the number of days remaining until Good Friday. The candles go out one by one as each day passes, leading up to Jesus’ death on the cross – as the light of the world dies. (A large white pillar candle will be lit on Easter Sunday to represent Jesus’ resurrection.)
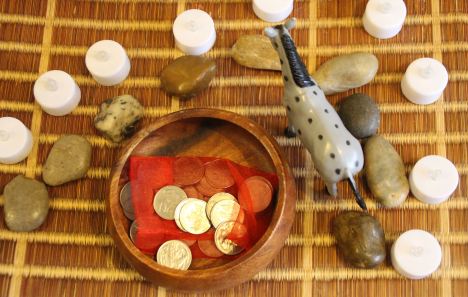
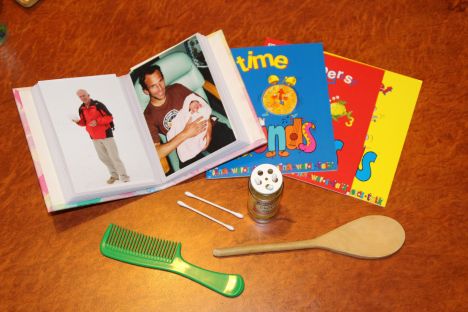
Each day in the little wooden bowl there will be a new object that represents the section of the Easter bible story that we will be reading and focussing on for that day. On day one it held palm branches and a donkey as we read about Jesus’ entry to Jerusalem. Day two was a small red bag of silver coins for the 30 pieces of silver paid to Judas to betray Jesus – red because it was “blood money.”The symbols will be added to the base of the large vase, building up into a collection that reminds the children of all the events we have learnt about.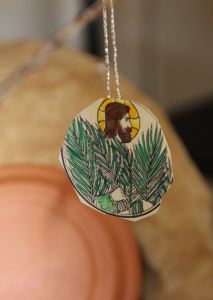
I have printed out some pictures from the web to go with each day’s event for the little children to cut and colour and hang on the bare branches of our Jesus tree.
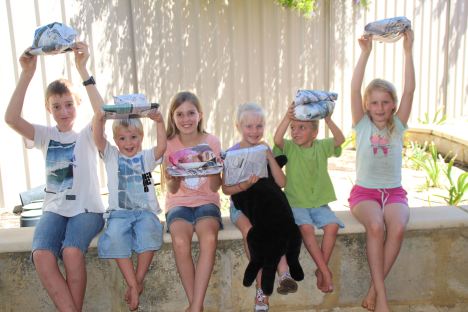
We will also be reading or listening to a book each night about Easter, exactly as we do at Christmas time in our book-a-night advent count-down. These books are wrapped and the children take turns to choose and unwrap one to read each evening. I am interspersing these with a free downloadable audio recording of “The 12 Voices of Easter” as we don’t have enough books to get us all the way to Good Friday just yet. This tradition is one that they love at Christmas time and are very pleased to repeat for Easter. They are also excited to see what the new object will be each day. These are the simple traditions that we hope will give our children memories that last a lifetime.
If I get the chance, I will come back and add photographs of the symbols as I use them, but for now, here is a list of the ones we plan to do. I am reading from “The Children’s Bible” because it is simple enough for my young children to follow, yet has enough detail to cover all the main events of the Easter story and hold the attention of the older children as well.
 Triumphal entrance Palm branches, donkey
 I go to prepare a place in heaven for you
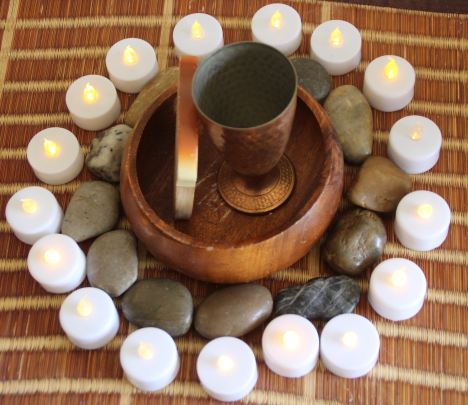 Last Supper Goblet, bread
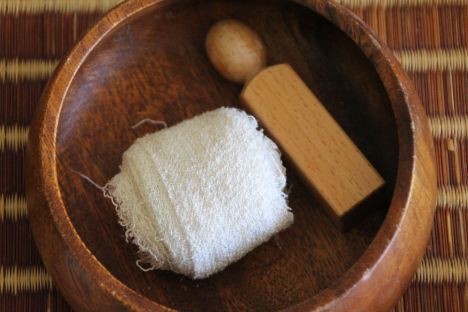
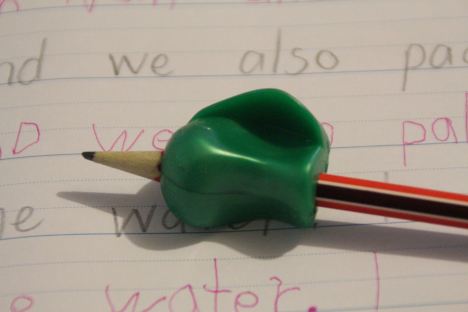
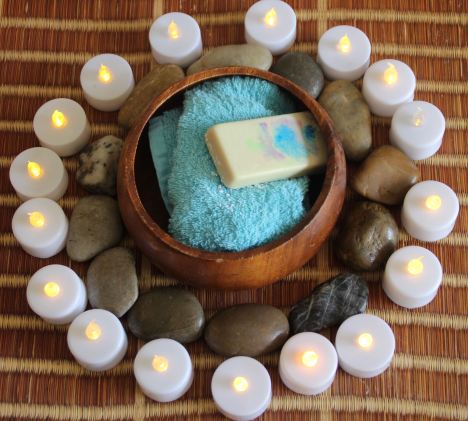 Servant King Bowl of water, washcloth, soap – wash each others’ feet
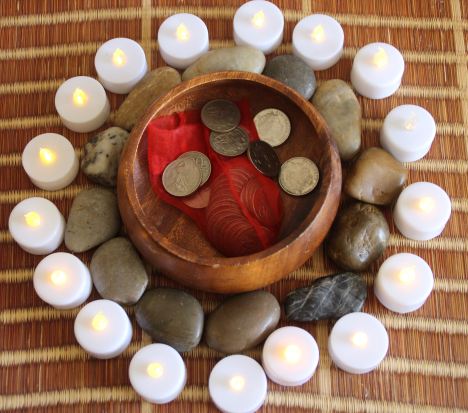 Judas 30 silver coins
 Garden of Gethsemane
 Caiaphas torn cloth for his torn robe, cotton wool ball clouds of heaven
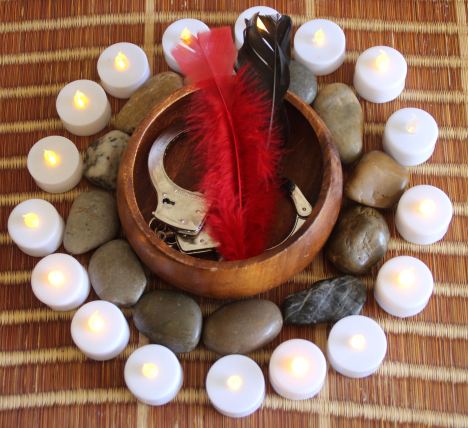 Simon Peter Rooster feathers, handcuffs (arrested)
King Herod Crown, purple cloth, jewels
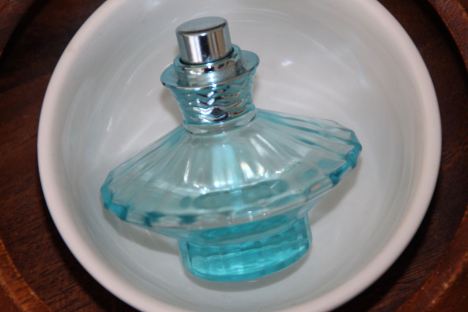
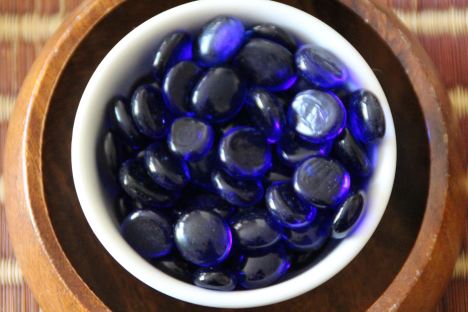 Pontius Pilot Bowl of water and jug, shimmering blue stones for water
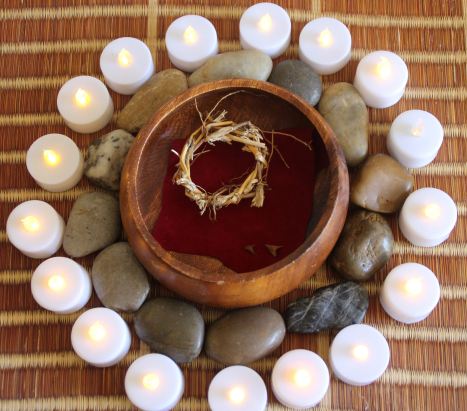 The soldiers Dice, spears, crown of thorns, red cloth, scarlet cloak, nails
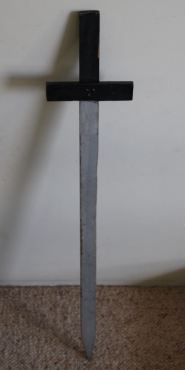
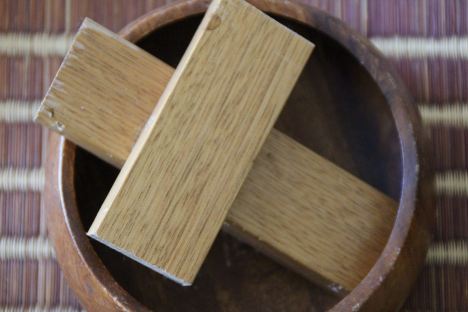 Simon of Cyrene Wooden cross
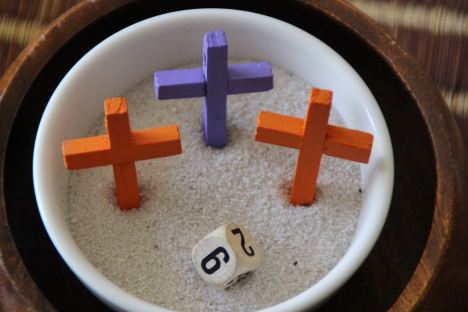 The thieves 3 crosses standing in bowl of sand
Mary Hearts – Mother’s love and sorrow
The person with the sponge Sponge with vinegar on a stick
Jesus’ Death on the Cross black cloth – darkness covered the land, piles of blocks – earthquake
The Roman soldier Skewer spear (pierces Jesus’ side), little bowl of water and another with wine for blood – water and blood came out from Jesus’ side.
The Centurion Pile of tumbled blocks and heavy cloth (torn temple curtain) Jewelled cross symbolising Centurian’s belief
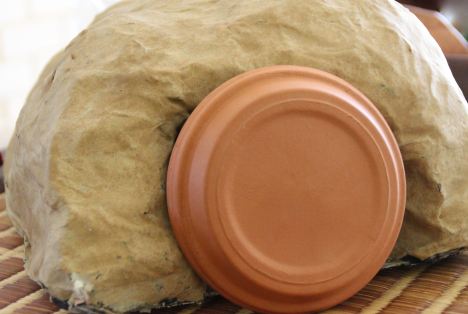
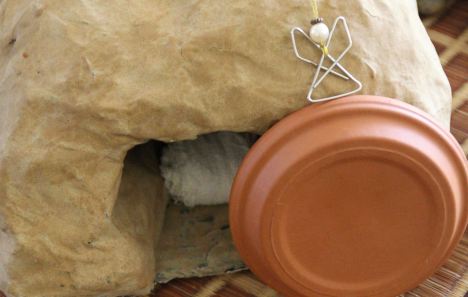
Joseph of Aramathea Stone and tomb
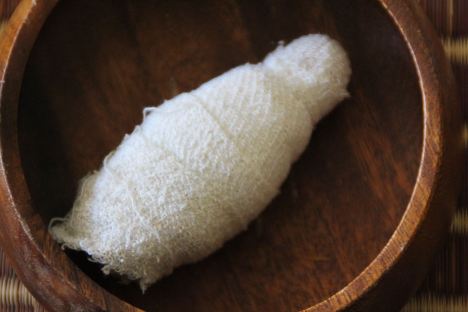 Nicodemus White shroud
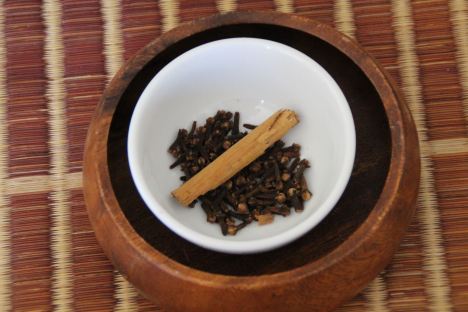
 The women spices; cloves, cinnamon, jar of ointment
 The Tomb Empty eggs, empty tomb, butterfly (risen and changed)
 Jesus appears – various; Fish & camp fire, sheep (feed my sheep)
us – the people of God Tray of sand for children to “write” their sins, confess then wipe away. A pile of rock “burdens” imagine Jesus lifting all of your burdens off your shoulders and place at the cross. Playdough – sculpt things in our life that may become idols then crush them.
Ascension Cotton wool “clouds”
Holy Spirit Descends Candle, matches, oil lamp?
For more Christian Easter ideas see these posts;
Christian Easter activities for children (minus the bunny.)
“Grandpa’s Box” book review – a great book for any time but excellent as an Easter or Christmas count-down. The same bible stories told from a completely different viewpoint; as if we are engaged in a battle, which of course we are. Children who have grown up on the story surrounding Easter and are perhaps a little too familiar with it will be enthralled.
Jesus trees, Lent and Christian Easter ideas for children
Amon’s Adventure – another excellent daily reading book that is designed to be used as a count-down to Easter. There are several more in the series that we have used at Christmas time and the children love them. Each section ends on a cliff-hanger that has them begging for more as they have to wait for the next instalment the following evening. A fictional story set at the time of Jesus’ death on the cross. Good for 6-year-olds plus, although we read it to our whole family including the younger children as well.
Creating Christian Easter traditions
Jesse tree symbols for advent (can be used for Easter as well)
Christian Easter ideas for 2015
Creating Christian Easter traditions for children
Filed under: Celebrations, events & festivals (Christmas, birthdays etc.) | Tagged: Christian Easter traditions, Easter Jesus tree, free 12 voices of easter | Leave a comment »


 Family nights (or mornings, afternoons or whenever!) with our children are important to us and we try to do something special at least once a week. It need not be fancy or expensive, as long as the family enjoys some time together as we seek to build a strong family identity and close relationships.


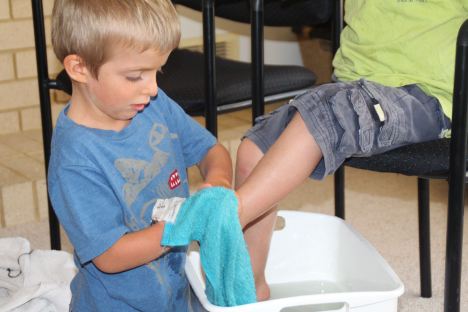
 We talked about stinky, dirty feet that would have been dusty and perhaps have walked in camel dung along the way! We discussed how washing another’s feet required pride to be put aside as we put them higher than ourselves. Afterwards we brainstormed ways we could serve each other throughout the day and put each other first. Tonight we will ask the children to tell everyone how someone else served them today and how it made them feel.
 There are other ways to work on empathy – the following are just a few. Some of them cross over into
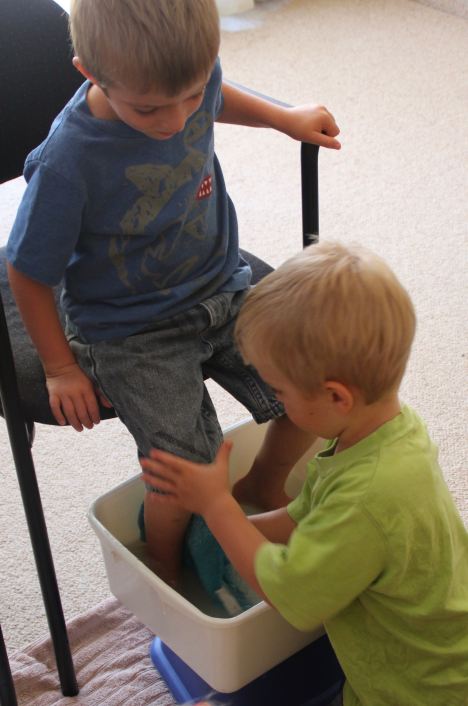


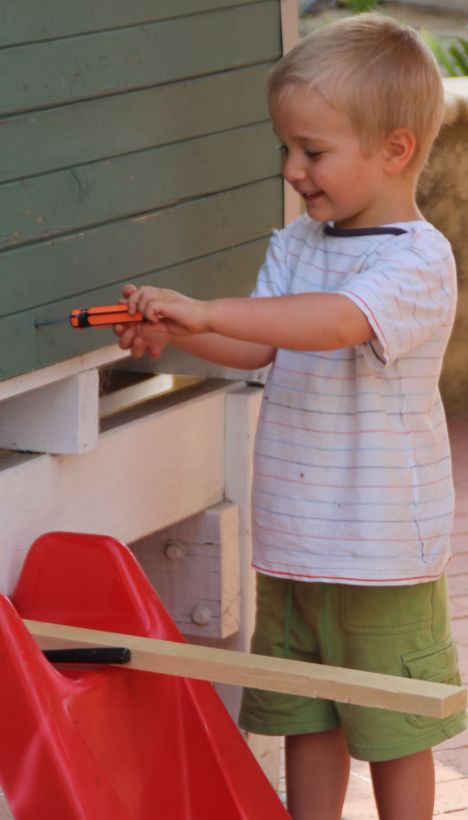
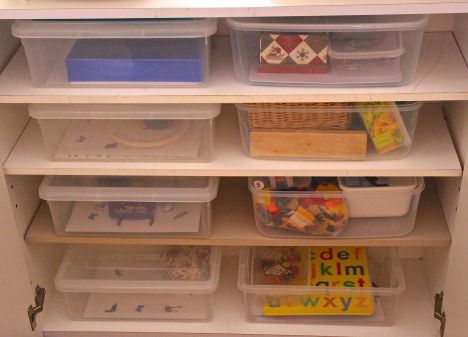
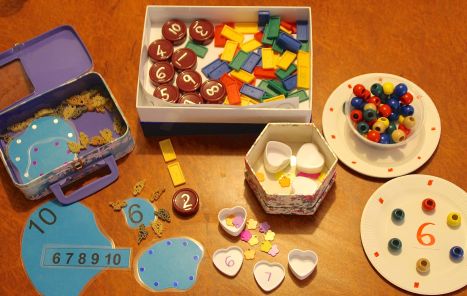
 In the early years we use Math-U-See because it does include manipulatives, has a DVD lesson format which means the children are not dependent on me to give them one-on-one teaching to explain each lesson and has a clean and simple set-out with a good progression from skill to skill. Early writers are given enough space to write large numbers and opportunities to use their manipulatives throughout. When more practise is required, I provide Montessori style hands-on activity trays until the concept is thoroughly grasped before the child continues on in the book.


 We have been searching out our Blessing Buddies each day to find out how we will be blessing someone else rather than ourselves this Christmas. Rather than a new blessing every day we have chosen a few bigger blessings to work towards this time.
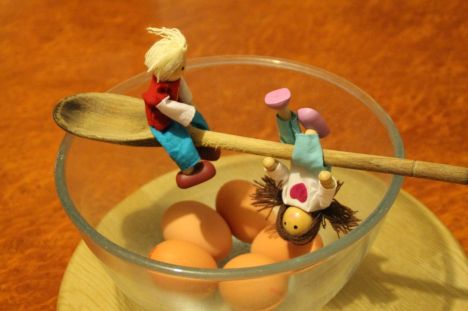 We cooked up a storm for a ladies high tea at our home which was a blast as we served 22 hard working women from our church as a way to thank and bless them for all they do throughout the year.
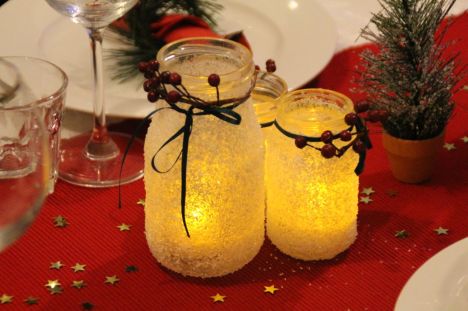 The children made take home gifts for the ladies. These snow covered luminaries were very effective and so easy. Jars painted with PVA glue and sprinkled with epsom salts sparkled and the electric tea lights gave a lovely glow to the tables. We found an old Christmas tree on the side of the road during verge collection and cut off all the branches and berries to make the napkin rings and jar decorations, as well as mini Christmas trees is pots.
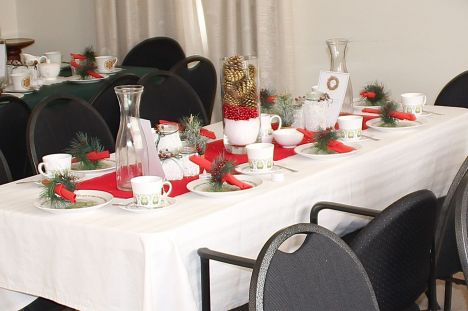
 We will be dropping off biscuits to the pastoral team and workers in the church office today as a thank you to them. The children have created hand-made thank you cards to go with them. The Blessing Buddies did get into the choc-chips first though!
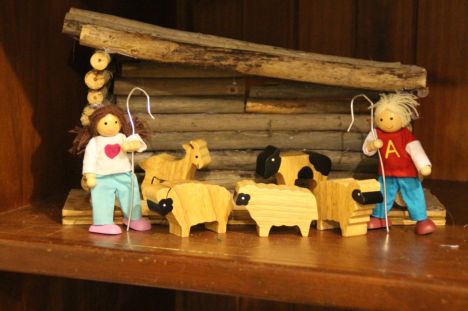 My eldest son used branches from the park to put together the stable we used for our new nativity this year and the separate parts have been arriving daily with the Blessing Buddies.
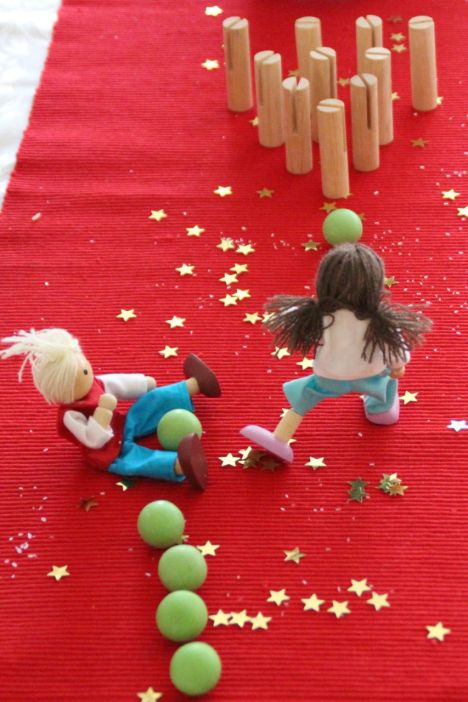 Occasionally the blessing of the day includes the children and they were lucky enough to be able to eat the Blessing Buddies’ bowling balls.
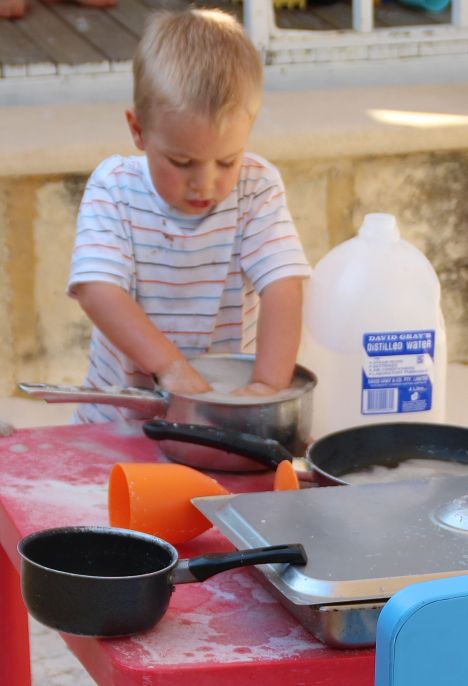
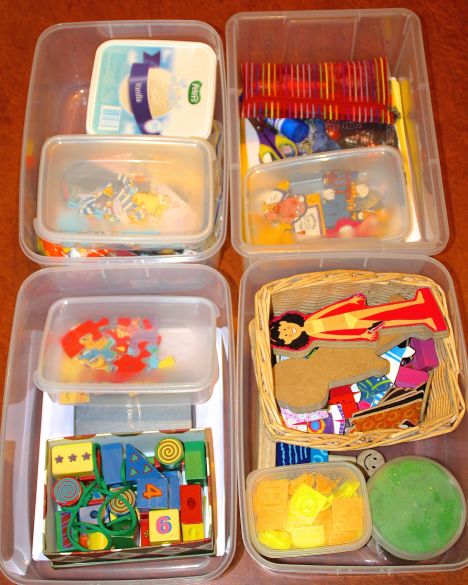
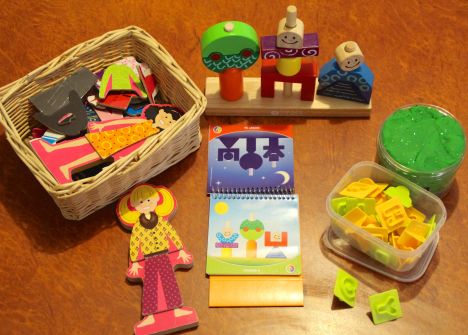
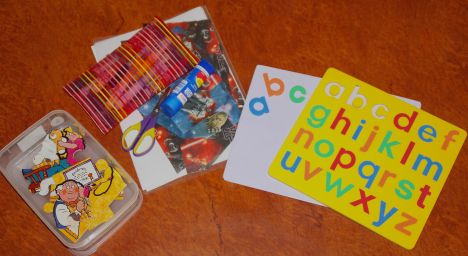
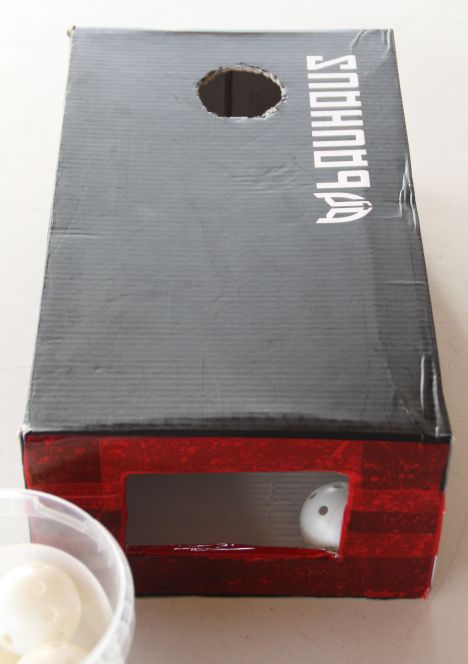
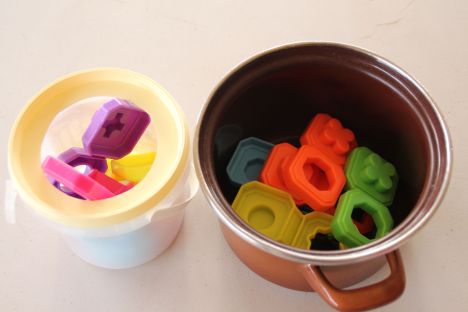
 “What’s in the box?” hasn’t been that much of a hit this year. The purpose of this in the past has been to give the youngest child (usually 18 months to 2 1/2 or 3) something new and interesting to play with while the older children work on the craft or blessing of the day. This year though the youngest is too young for it and has her own table activities and the next youngest (3 1/2) would rather do the same activities as the other children. Next year it will be back in full force as our little one will be the perfect age but I have let it slide for now in favour of our craft of the day. The pretend play cooking activity above would have been loved last year but just hasn’t hit the mark with the in-between ages this time.