Homeschooling 6 year olds – reading

Teaching a child to read in the early years is not as daunting as it at first seems. There are so many different methods out there and honestly, a child that does not have any developmental issues will learn using any of them – just pick one and go for it! Some will need a little more time with the same materials but will get there in the end and others may need you to find them something that addresses their particular needs. Of course, reading excellent literature to children on a daily basis is so important for their development in this area.

The methods I use work for me and have adapted easily for the little ones in my house who needed a little more time. I have already discussed how to lay the foundations for teaching reading in teaching children to read – where to begin so I’ll leave that for now.

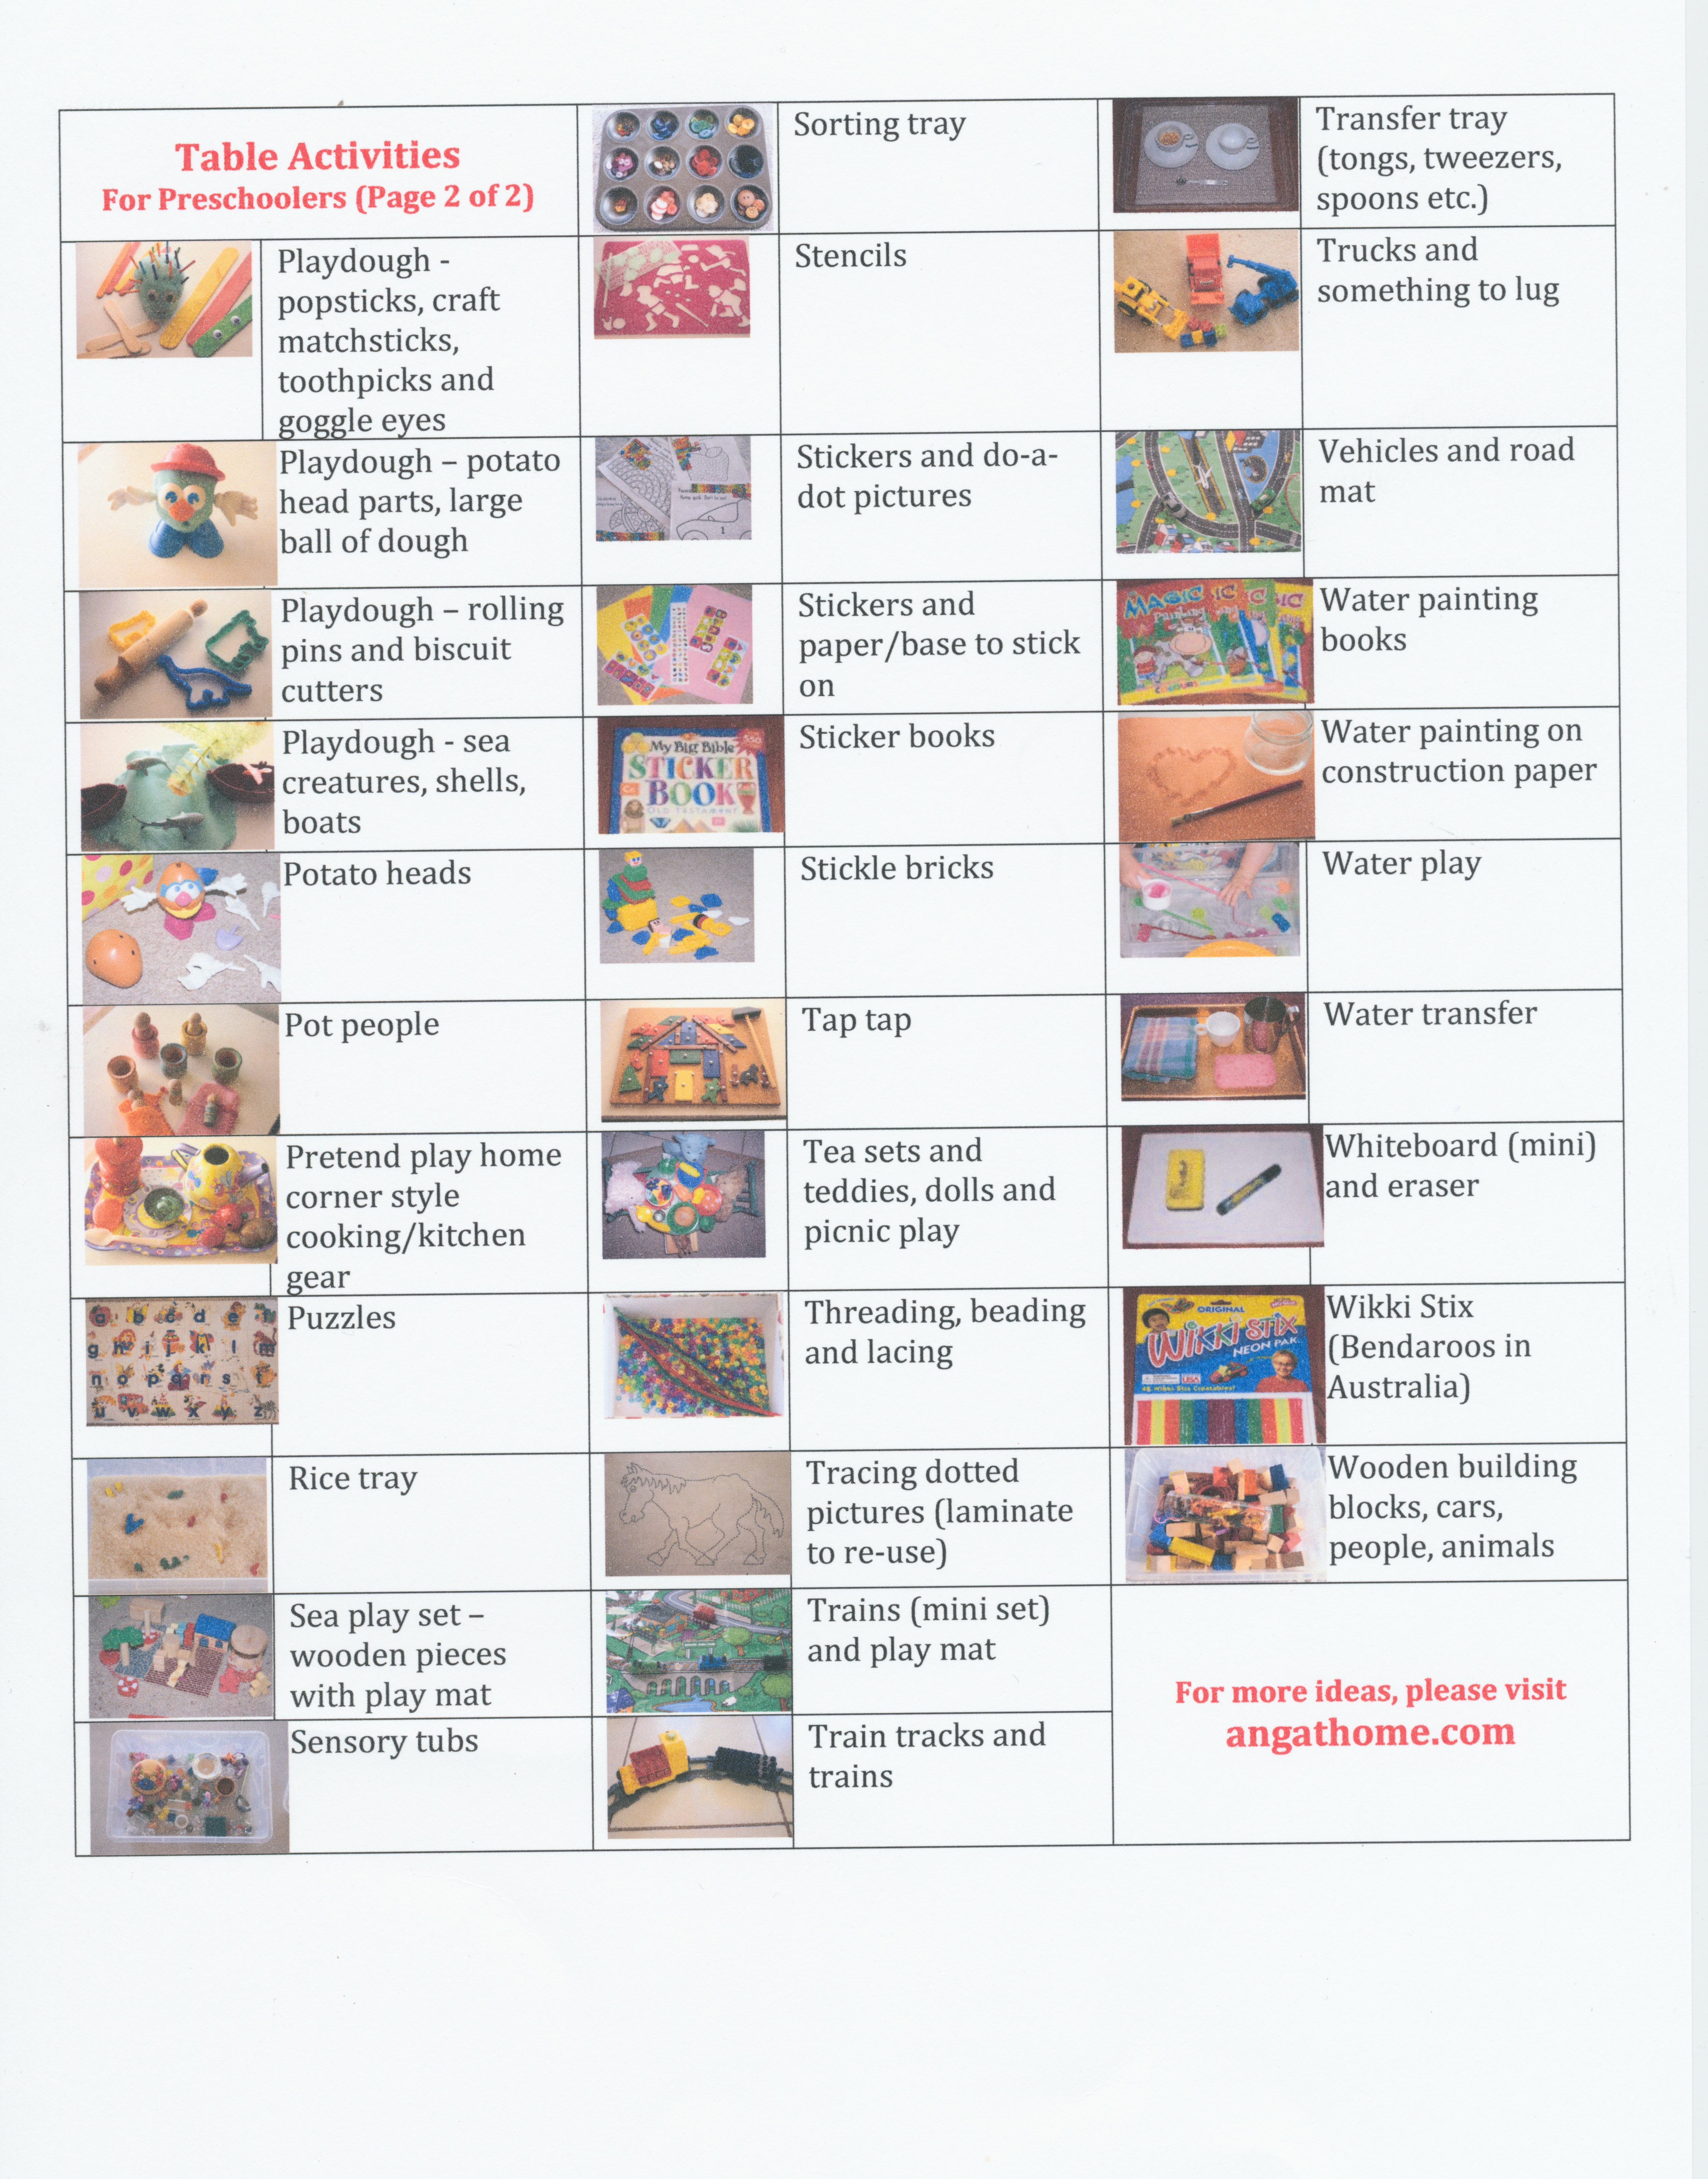
Moving on from ear training, a good phonics programme is a must, some sight word practise is helpful and a good quality set of early readers is useful.

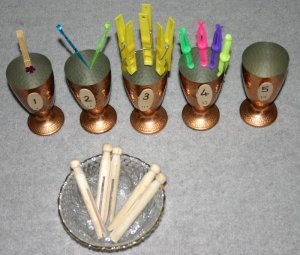
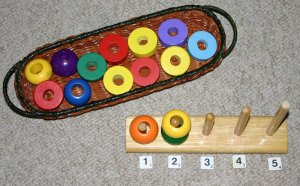
I use Letterland for phonics. It was developed to help children who were struggling and was so successful it came into mainstream education. Initially I introduce 1 new letter a day using the abc book, with both its alphabet name and sound, and we spend 5 minutes reading the little story and finding a bunch of items starting with that sound. On the following day we review the sounds and letter names previous learnt before introducing a new letter. At the end of 26 days, with daily reviews of sounds already covered, our 3 year olds will usually know around 20 of the 26 sounds, many of the letter names and be able to work out the rest of the sounds using the Letterland character’s names to prompt them. Not bad for 10 minutes a day.

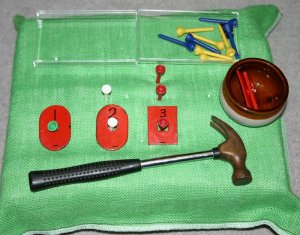
The 4 and 5 year olds go on to initial sounds experiences, alphabet activities and 3 letter words. (Put “preschool” in the search bar to find my many posts for preschool activities that include alphabet charts, spinny spellers, Duplo 3 letter words, Montessori trays etc.) Our focus this year is now sight words and more advanced digraphs – the sounds that letters make when they get together. Letterland has the cleverest stories to explain these changes.

For example, “H” is Hairy Hat Man who hates noise and whispers his soft “h” sound and the letter “S” is Sammy Snake who hisses his “s” sound. When Sammy stands behind Harry in words his hissing is so loud that Harry turns and says “sh” which is why you can hear a “sh” sound when you see “sh” in words such as shop and ship. Easy isn’t it! Once the children have heard these stories they rarely forget them and they provide very easy prompts when working on decoding words for reading. Even my older children can sometimes be prompted in their reading or spelling of a difficult word with the reminder of one of the more advanced Letterland stories.

IMG_9633

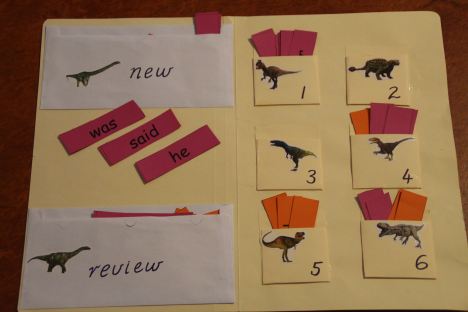
For beginner readers who find reading akin to pulling teeth, putting the readers aside and focussing on building a bank of sight words may be helpful. I type out all the words necessary to read their first Bob Book and we use those for sight word games, flash card drills and other simple activities until they are known by sight. That way, when the child attempts to read the actual book, they are able to breeze through and wonderingly say at the end “I read it!” rather than feel like pulling out their hair (or is that just me?) as they laboriously sound out 1 word after another.

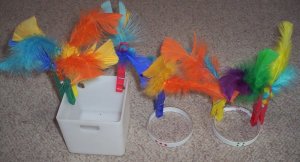
In the sight word mastery file above, the words are moved from pocket to pocket as the child reads them successfully. If they forget the word it goes back to pocket 1 and starts again. That way, by the time words make it into the review envelope they have been read correctly 6 days in a row and are probably quite well known by then – enough to be recognised in the book later.

IMG_9645

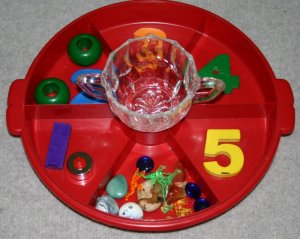
The Montessori pink series  starts with simple phonetic words that are matched to pictures. It is an independent activity that requires no supervision other than me listening to the words being read once they have matched all the pictures. In graded sets that get gradually harder, these are free to print out and there are heaps of free resources for them on the web.

There are so many more ideas for teaching reading but these are a few that we have used repeatedly over the years during a short period of one-on-one time with each child, coupled with a little independent work on a daily basis. One they have that lightbulb moment they will be off and running and you will need to restrain yourself from telling them to put that book down and go out and play!


Advertisement

Spinny Spellers

The twins are starting more of a preschool type programme this year. Lots of counting, letter sounds and recognition and the like and on to three-letter CVC (consonant-vowel-consonant) words. A nifty little tool for teaching these three-letter words is the spinny speller. I have seen nuts and bolts versions and some very nice commercially produced Montessori products, but here is my home-made version. A little rickety perhaps but they will do the job!

spinny spellers

Often spinny spellers have a random assortment of consonants and vowels. The children spin the blocks and sound out the resulting combination to practise reading 3 letter words. I separated mine into one for each vowel so that every word will always have the same centre sound to make it simpler for beginners. The letter combinations I chose make as many real words as possible but occasionally nonsense word combinations will come up which is just part of the fun.

I used a small wooden craft dowel from Spotlight with 2 wooden beads glued to the ends to stop the blocks falling off. The cube blocks are cut from a length of wood and I hand-drilled the holes. (Thus the wonky alignment – couldn’t be bothered measuring the centres and just did it by eye – should have measured!) Just thread the blocks onto the dowel, leave a little space for them to spin around and glue the beads on the end. Write your chosen letters on with a permanent marker and you are done.

Mega list of table activities for preschoolers

Following on from yesterday’s post (list of highchair and table activities for babies and toddlers), here is my collection of preschool ideas to use for any time a quiet, attention grabbing activity is needed. Please see yesterday’s post for links to articles on how to train your children to sit for an extended period of time, even at a young age. Even the most interesting activity will not stop a child from wandering about if that is what they are used to doing.

There were too many ideas to fit on the one page, so there are 2 pages to download. Please be aware that because of the large number of photographs on the posters, the downloads may take a long time to come through. Just walk away and have that cuppa!

I mentioned giving no choices for toddlers yesterday. My preschoolers are beginning to have some choice of activities. They are given a small selection to choose from and occasionally I choose for them. If they resist the choices I make, then they lose the freedom to choose for themselves until this attitude improves. (See choices post for a full explanation of why we do this.)

You’ll notice some activities are repeats from the toddler list. I have done that so those who do not have a toddler do not need to print out that chart as well as this one. Having said that though, you may find ideas from the older (coming next post) or younger category that I haven’t repeated may still be of interest to your child.

table activities for preschoolers master list download

table activities for spreschoolers p1

table activities for spreschoolers p1 1

table activities master list for preschoolers download

For older posts with heaps more activity ideas, please follow this link; Workjobs & Montessori activities for highchair, mat or table time(mathematics, language, practical life & others)

Montessori style cutting box with free printable patterns

cutting box IMG_8158

I have just finished making this Montessori style cutting activity tray for my 3 year olds. They have had some experience with cutting strips of paper and other objects (see teaching toddlers to cut) and as they are very interested in chopping everything in sight to bits this should be a hit! I added the beads and straws to cut up as well, just because having an empty spot in the craft box bothered me! The glue is included so that they can take all the little bits of paper they have cut up and glue them onto coloured card if they want to.

cutting box papers IMG_8158

After searching the net for free printable patterns for the cutting strips I eventually gave up and created my own. So to save you the trouble, here are the links for you to download and print my patterns. Enjoy!

14/6 Edited to add that I found the original designer of this idea here: http://teachingfromatacklebox.blogspot.com.au/2012/03/paper-cutting.html

vertical straight lines

diagonal straight lines

curved lines

wavy lines

V shaped lines

square spiral easy

square spiral difficult

circular spiral

Other posts you may like:

Teaching toddlers and preschoolers to glue

Cutting, gluing and stickers

Ziploc activitiy bags for preschoolers and toddlers

Homeschooling with toddlers and preschoolers

Teaching Children To Read: Where to begin?

Teaching children to read is one of the most rewarding and challenging things a home educator can do. Watching the love of reading turn into hours of pleasure and learning while curled up with a good book is such a joy, not to mention the importance of being able to read God’s word. So where do we start?

Reading good literature to children is an excellent beginning. Spend a good amount of time every day reading to your children from a young age and they will reap the benefits later.

Apart from being exposed to the written word through books, there are many different stepping-stones along the path to reading – phonetic awareness skills that build on top of each other until competent reading is achieved. We tend to head straight for learning the letter names and sounds, but what many parents don’t realise is that there are several pre-reading skills that need to be in place before a child has that light-bulb moment as they realise they are making sense from the written word.

There is a great article by Diana Rigg here that identifies the sequential steps on what has come to be known as the phonological awareness ladder. She cites research that identifies a direct correlation between children’s grasp of each of these steps and later reading success. Spending some time with your child in the early years ensuring that their ears have been trained to hear sounds in words and have mastered each of the steps on the phonological ladder will set them up for success later.

If you are an educator (and all parents are), the small amount of time spent familiarizing yourself with these concepts will be well worth it. You may be able to skim through them with a child who easily picks them up along the way. However you just may save another child from years of frustration and difficulty in their reading journey by plugging those holes now. It’s worth the effort.

Take a moment to read through Diana’s article first, then with the couple of ideas below and your own methods, you can easily cover these skills with your child. Why not use some of the time spent travelling in the car to play some word games? Be careful to use the sounds that letters make, not their alphabet names. The letter B is called “Bee” but it’s sounds is “b” as in bat.

Level 1 – Participation in rhymes

  • Listen to nursery rhyme CD’s and books
  • Sing rhyming songs and recite fun poetry
  • Read books with obvious rhyming patterns

Level 2 – Words in sentences

  • Ask the child to put up a finger, clap each word or set out a small object for every word they hear

Level 3 – Identifying and Producing Rhyme

  • Use rhyming picture cards and find pairs of objects that rhyme
  • Say 2 words and have children tell you whether or not they rhyme
  • While reading a rhyming story, leave off the rhyming word on the end of a sentence and have the child guess what it could be
  • Make up strings of nonsense words that rhyme
  • Say rhyming words around the circle until no one can think of another rhyme
  • Play rhyming “I spy” (I spy with my little eye, something that rhymes with… )

Level 4 – Syllabification

  • Break words up into syllables or parts. Clap each syllable in words and say how many parts there are. For example, “el-e-phant” has 3 syllables, “app-le” has two, “ant” has one.
  • Sort picture cards or little toys and objects into groups according to the number of syllables
  • Put out coloured chips for each syllable in a word

Level 5 – Recognition of initial sounds in simple words

  • Aurally identify the first sound in words. Ask children to listen for the first sound that comes out when they start to say a word. Find as many things around the house as you can that start with the given sound
  • Find the odd one out within a group that all start with the same sound
  • Sort pictures or objects into their initial sound groups, focussing on 2 obviously different sounds to begin with.
  • Play “I spy.”
  • Remember, this is about training the ear to identify the sounds, not matching sounds to letters at this stage.

Level 6 – Recognition of final sounds in simple words

  • Use the same ideas that the child is already familiar with for initial sounds, focussing on the last sound in the word instead.

Level 7 – Blending

  • Say two or three sounds that make up a word for children to join together. Stretch out the sounds to make them very obvious. For example; d-ooooo-g The child blends the sound together to identify the word.
  • Play the blending game. I do use letter cards for this, but the focus is still on the sounds, not the letters. Hold 2 letters as far apart as you can. The child uses a pointer or fancy stick of some kind (just to make it fun!) and points to each letter in turn. Say the sound each time she points to the letter, moving the letters sightly closer together each time until the letters are touching and the word is blended.

Level 8 – Phonemic segmentation

  • Give lots of practice in segmenting words into sounds. For example, you say dog and the child segments it into d-oooo-g
  • Have a bag or decorated container of pictures or objects that have three obvious sounds. The child takes a lucky dip and segments the word.


Teaching toddlers to count: 1 to 5 workjobs and Montessori style tray activities

Here are some more counting activities for toddlers and preschoolers who are learning to count from 1 to 5. If your child has learnt the number order by rote (ie. can count out loud to 5) and is beginning to develop one-to-one correspondence (matching one verbal number to each object being counted) then they are ready to start simple hands-on counting activities like these. You may even like to set out only the numbers 1 to 3 to begin with. If you are new to teaching toddlers how to count, it might be helpful to read this post first.

I ask the children to order the pie tins from 1 to 5 and sort out the golf tees by colour before counting each group and placing them into the correct pie tin. Use a number strip for young children to follow until they know the number order without help.

Kinesthetic learners (and all young children) love the hands-on style of these activities and despite the fact that  this group is far from my favourite set of tray activities, I included them to show you how a quick search around the house will furnish you with plenty of materials to set up your own.

This is one of the first counting activities I introduce. The shapes are sorted by type, matched to the example at the start of the row and counted into the bottle tops. Beginners will often just fill up the bottle tops without having any idea of the numbers, but I simply have them read the number and count the objects as we take them out and pack them away.

Unfortunately this workjob doesn’t photograph well but the shiny silver contact paper and blue jewels are very attractive to little ones. The box comes from a packet of plastic food wrap. The jewels are placed into plastic shot glasses which are numbered from 1 to 5.

I bought these secondhand metal goblets for our pretend play home corner because they are unbreakable. Pegs of many varieties slide nicely over the thin sides. Placing dots under the numerals means that children who do not recognise their numbers can count how many dots there are until they can recall the numeral name.

All my young ones have enjoyed hammering golf tees and other items into these polystyrene foam blocks covered with loose weave hessian-like fabric. The red washers come from a set of many shapes and sizes raided from Grandad’s shed with the numerals marked on them in permanent marker.

Chip and dip trays are handy for many different activities.These wooden numbers came from a baby puzzle toy and the items are an eclectic assortment from my Montessori materials drawers.

Pegging is good for fine motor development. The child counts the number of feathers on each peg and matches the peg to the correct number of dots on the card circles left from used sticky tape rolls. The box is just the storage for the feathers and rolls.

These beads and frame are a commercially produced toy that I picked up secondhand for a couple of dollars. Keep an eye out for this kind of material at op shops and swap-meets. The tiles are from an old game I bought for $2 at a secondhand store. I threw out the game and just kept the tiles.

Another commercially produced toy picked up for a couple of dollars with baby food jar lids for the numbers.