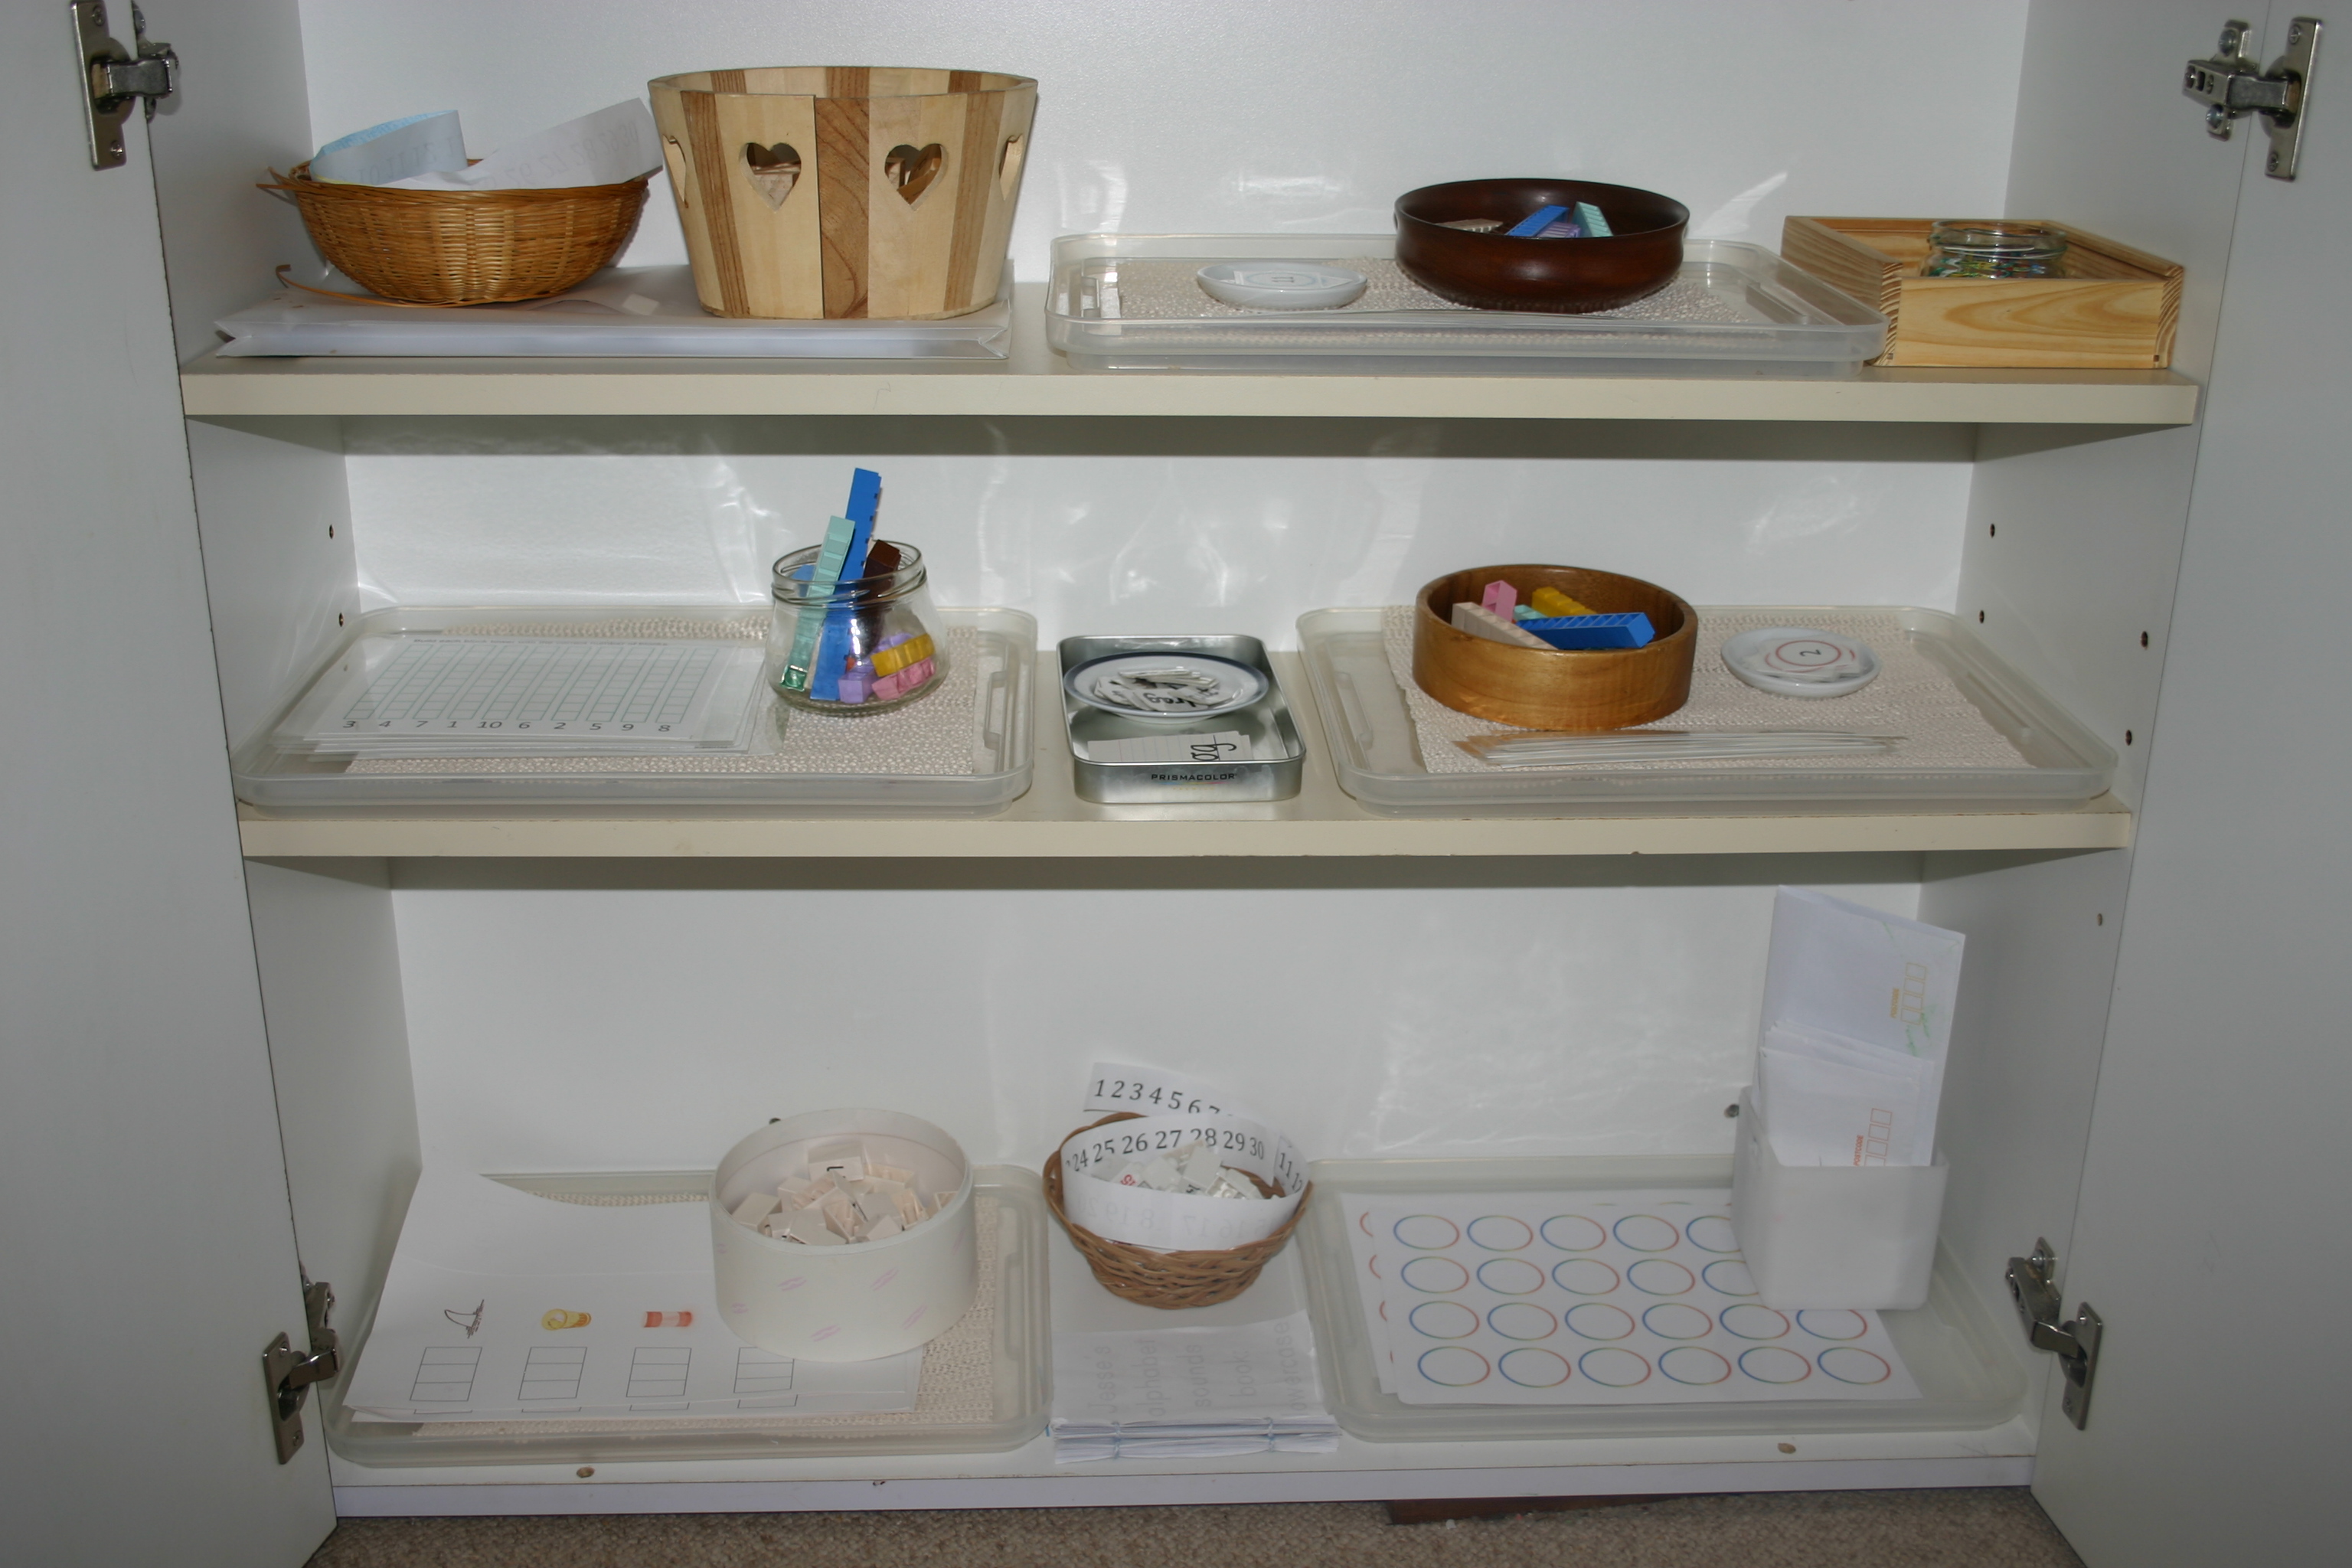
 It was time for an update of the activities available for my preschoolers this week. This cupboard is only used for “school” time with Mummy once a day by the twins (4 years) and contains our more formalised school activities – number and letter work etc. (Last months activities are here.) We are making the most of the next 2 months before baby number 7 is due to work on preschool skills. Once bub arrives these activities will be changed to more play based choices and able to be used independently, rather than requiring my direct supervision. Please keep in mind that I am not suggesting all 4 year olds are ready for this level of work. I work steadily with my children, moving ahead as far as their understanding and development allows. I do not stick to teaching skills by grade or age, but rather follow each child’s development as far as they are able. This changes from child to child and the ideas here are more traditionally at pre-primary to year 1 school level. It is more important that children learn to sit and concentrate, follow instructions, learn Godly character etc. than a list of rote learning or academic skills. The twins happen to be able to cope with these activities and show an interest in them so I will go with that for now. If it becomes burdensome and onerous for them, we will take a break.
  I found these plastic tiles at an op shop. I have no idea what their original use was, however they link together nicely for this number sequencing activity. Having 3 colours meant I could quickly separate out only the 1 to 10 blocks, then add the 11 to 20 and finally 21 to 30 as they were able to complete the “path” as we called it. I provided a coloured number strip to use as a guide while they were still learning the numeral sequence. This is the same activity using a different style of block. These came from a build-your-own 3D desk calendar I bought for $1. You could also purchase Coko bricks which are almost identical and can be used on Duplo base boards. The twins have learnt to count to 30 out loud and have fairly good one-to-one correspondence so we are now working on recognising and sequencing numerals to 30.
 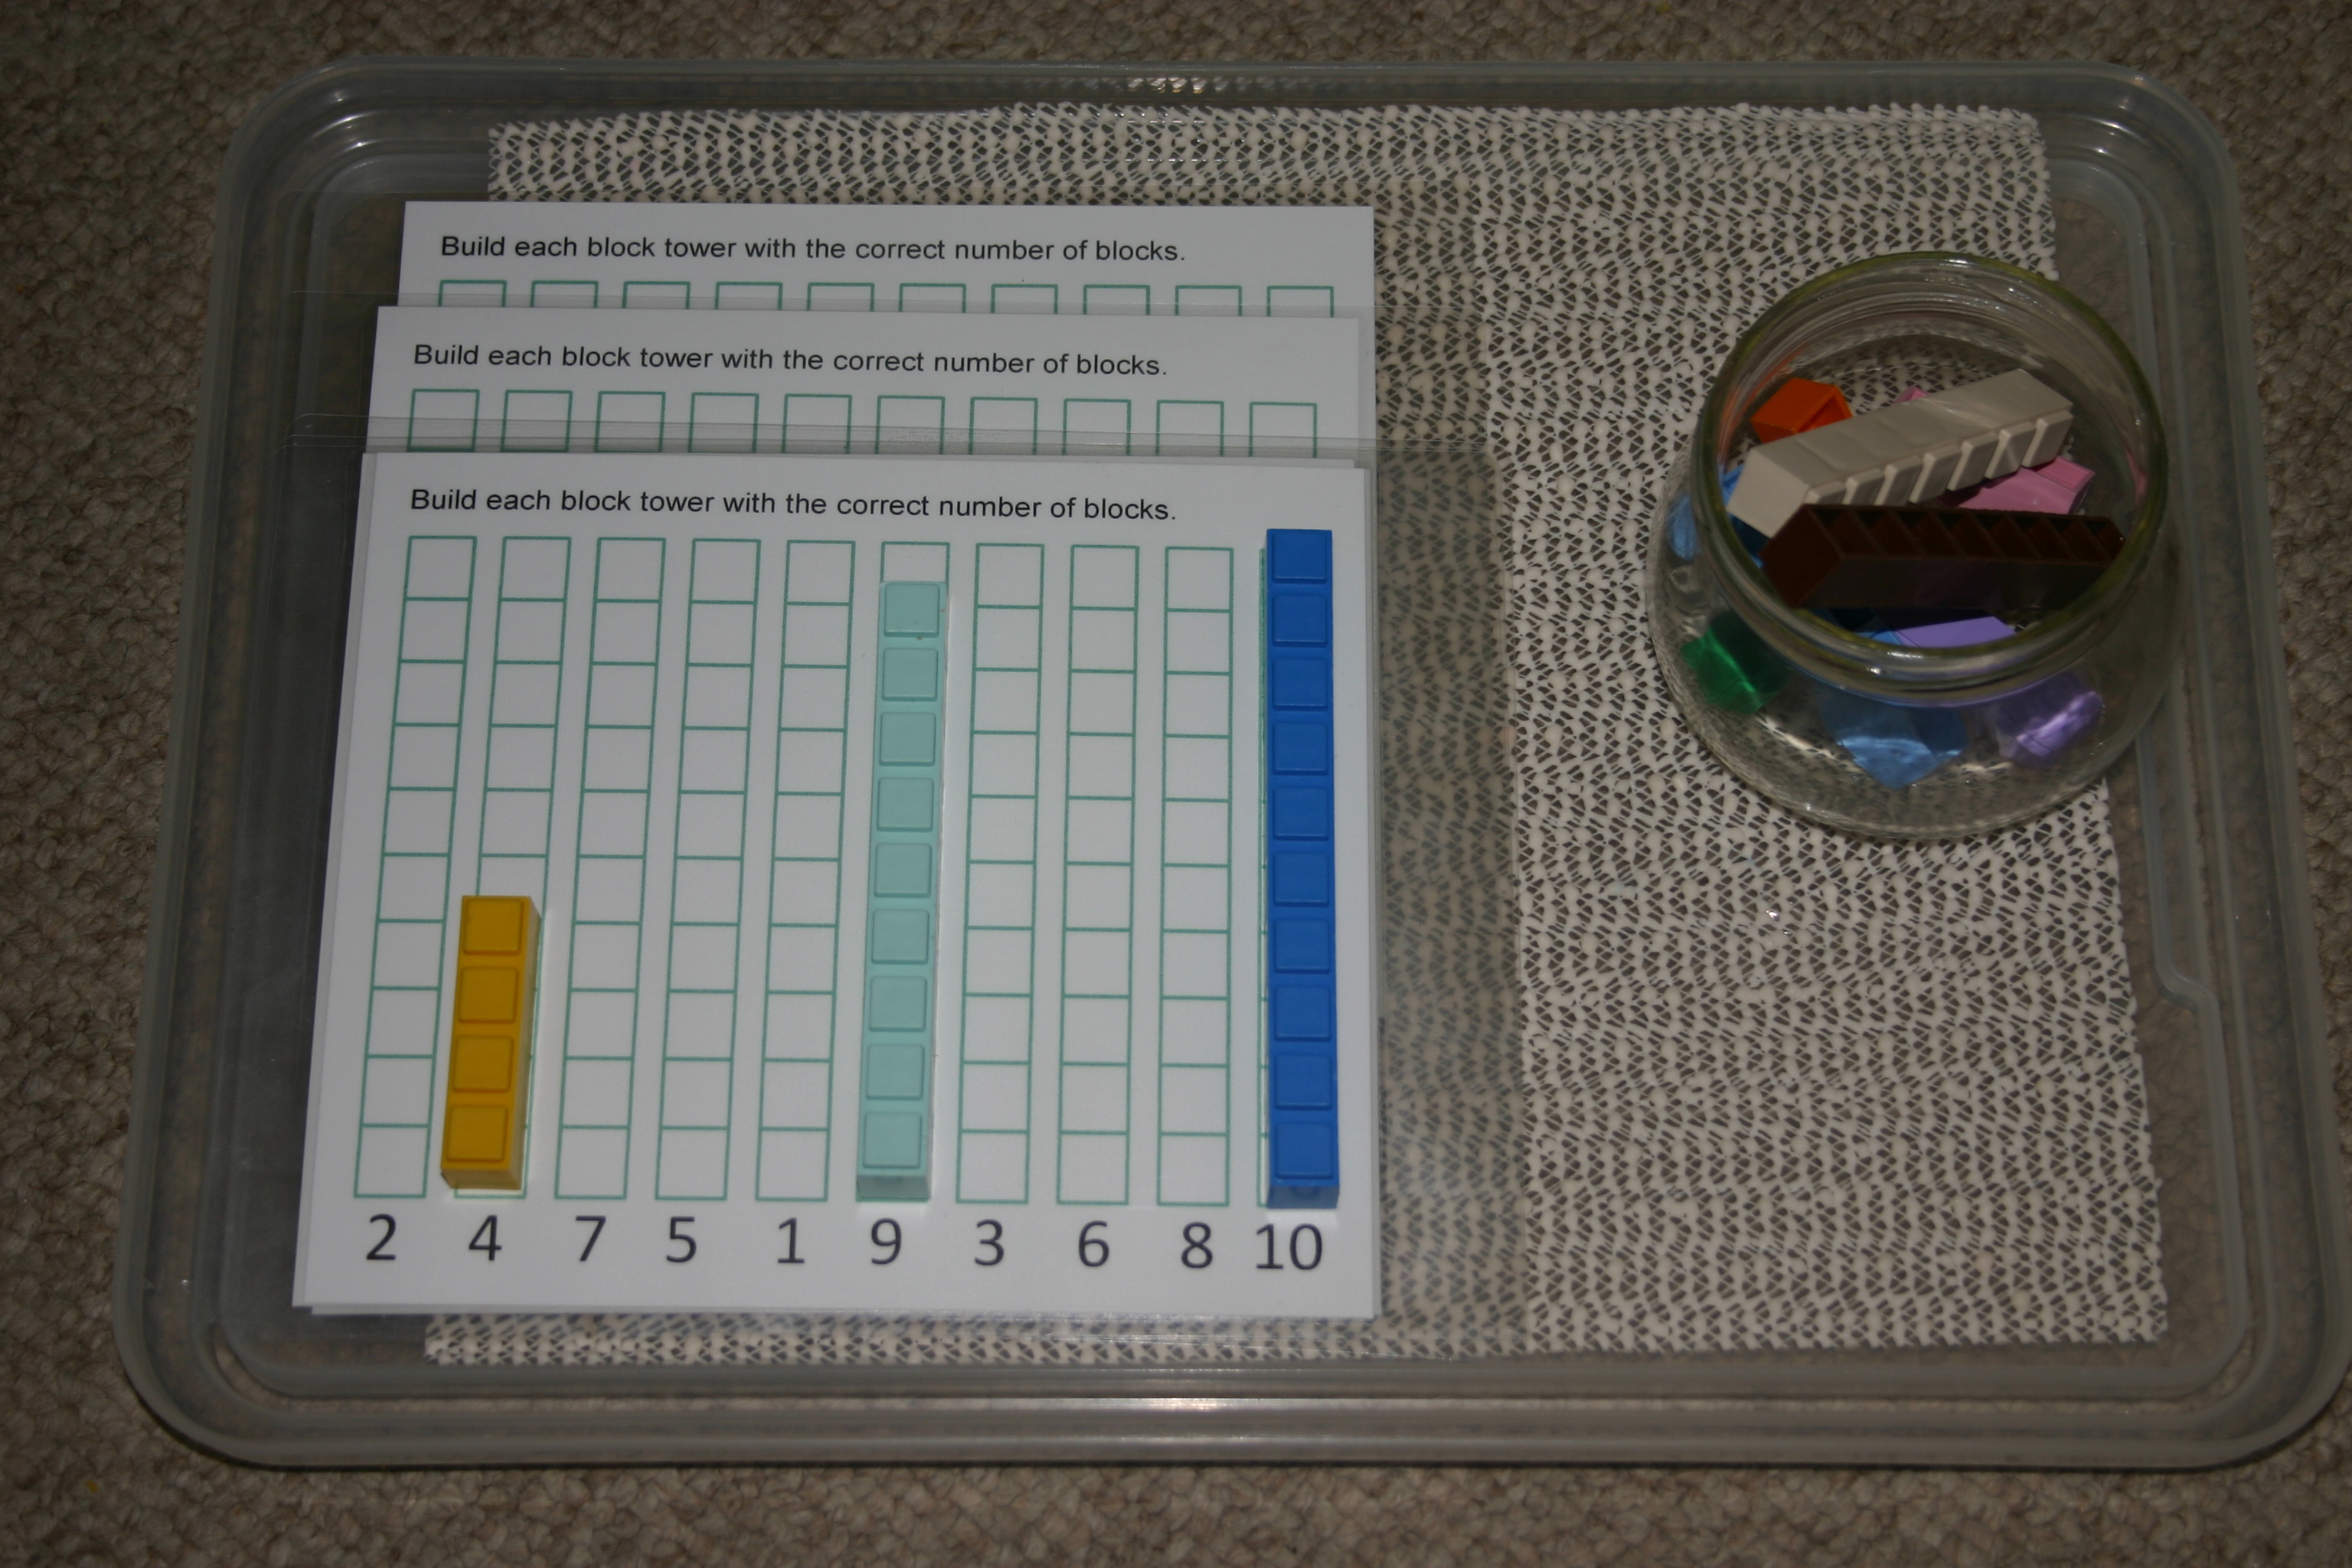 We use Mathusee in the early years (moving on to Saxon math later) but as my preschoolers are not ready to do a lot of written work I used the sequence of skills from the Primer book to develop a bunch of hands-on activities. These block manipulatives also come from the Mathusee resources. In the example above, the children need to recognise the numeral and count to find the right block to place above it. Click HERE for a FREE PRINTABLE.
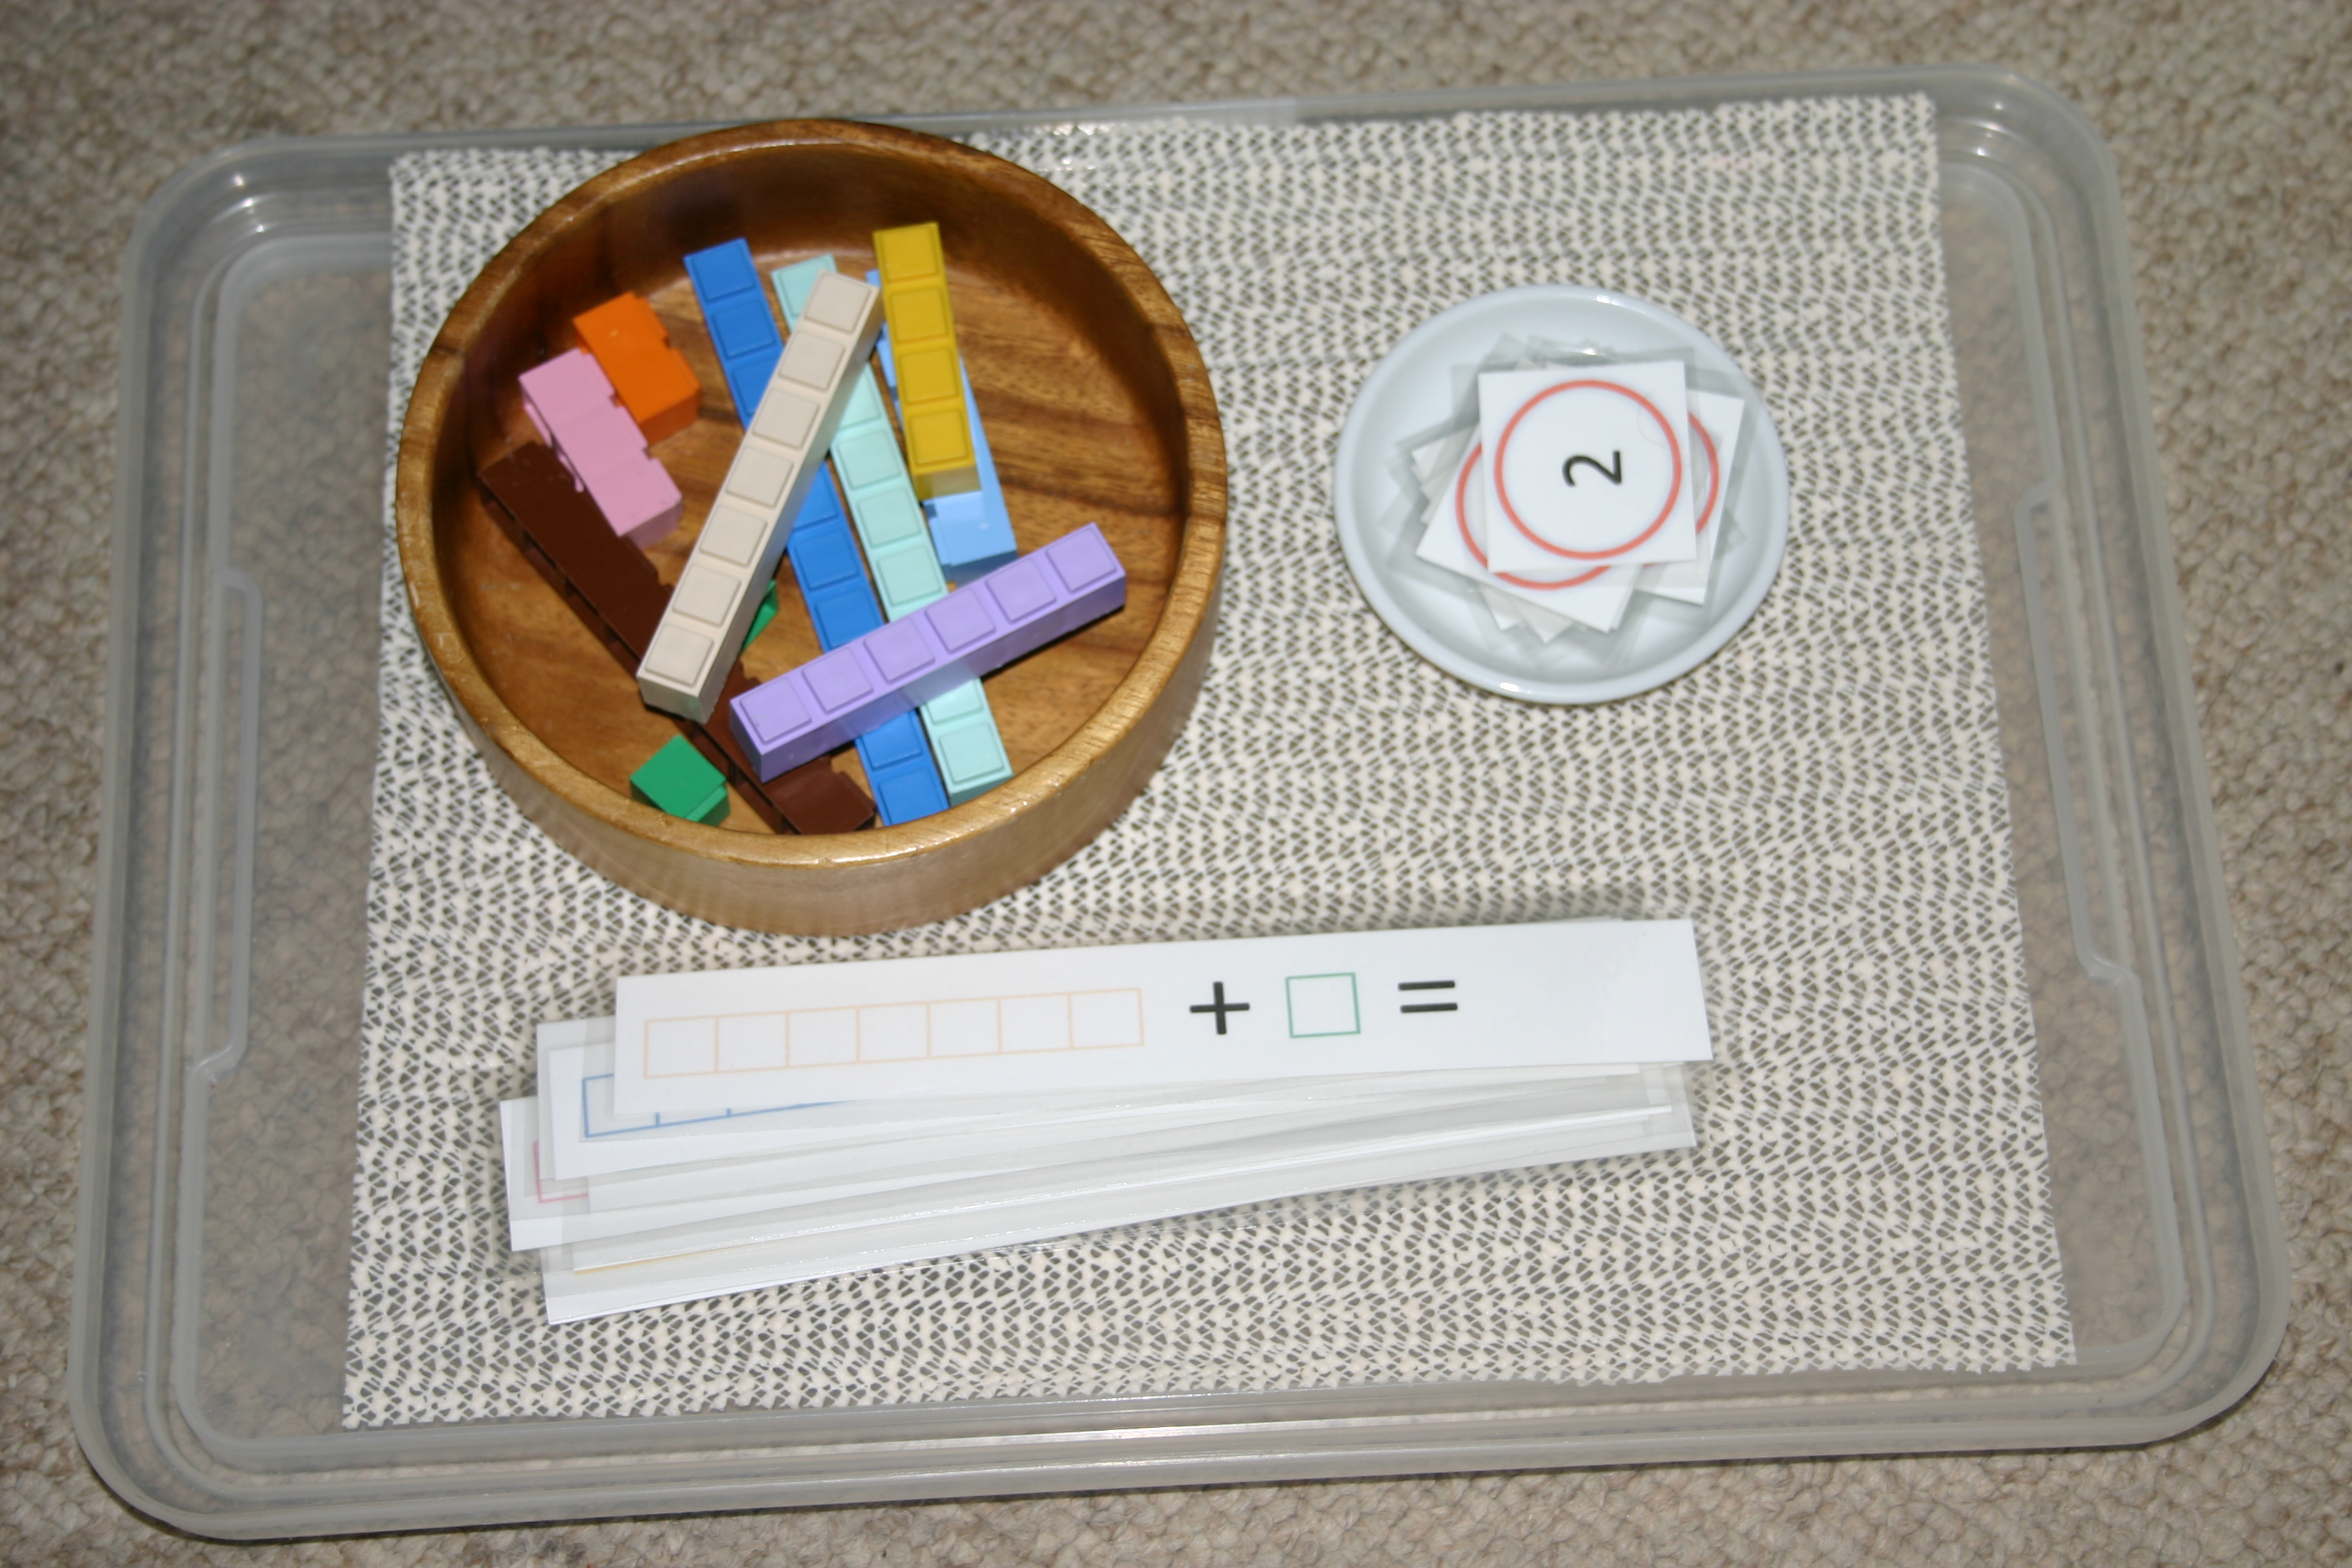
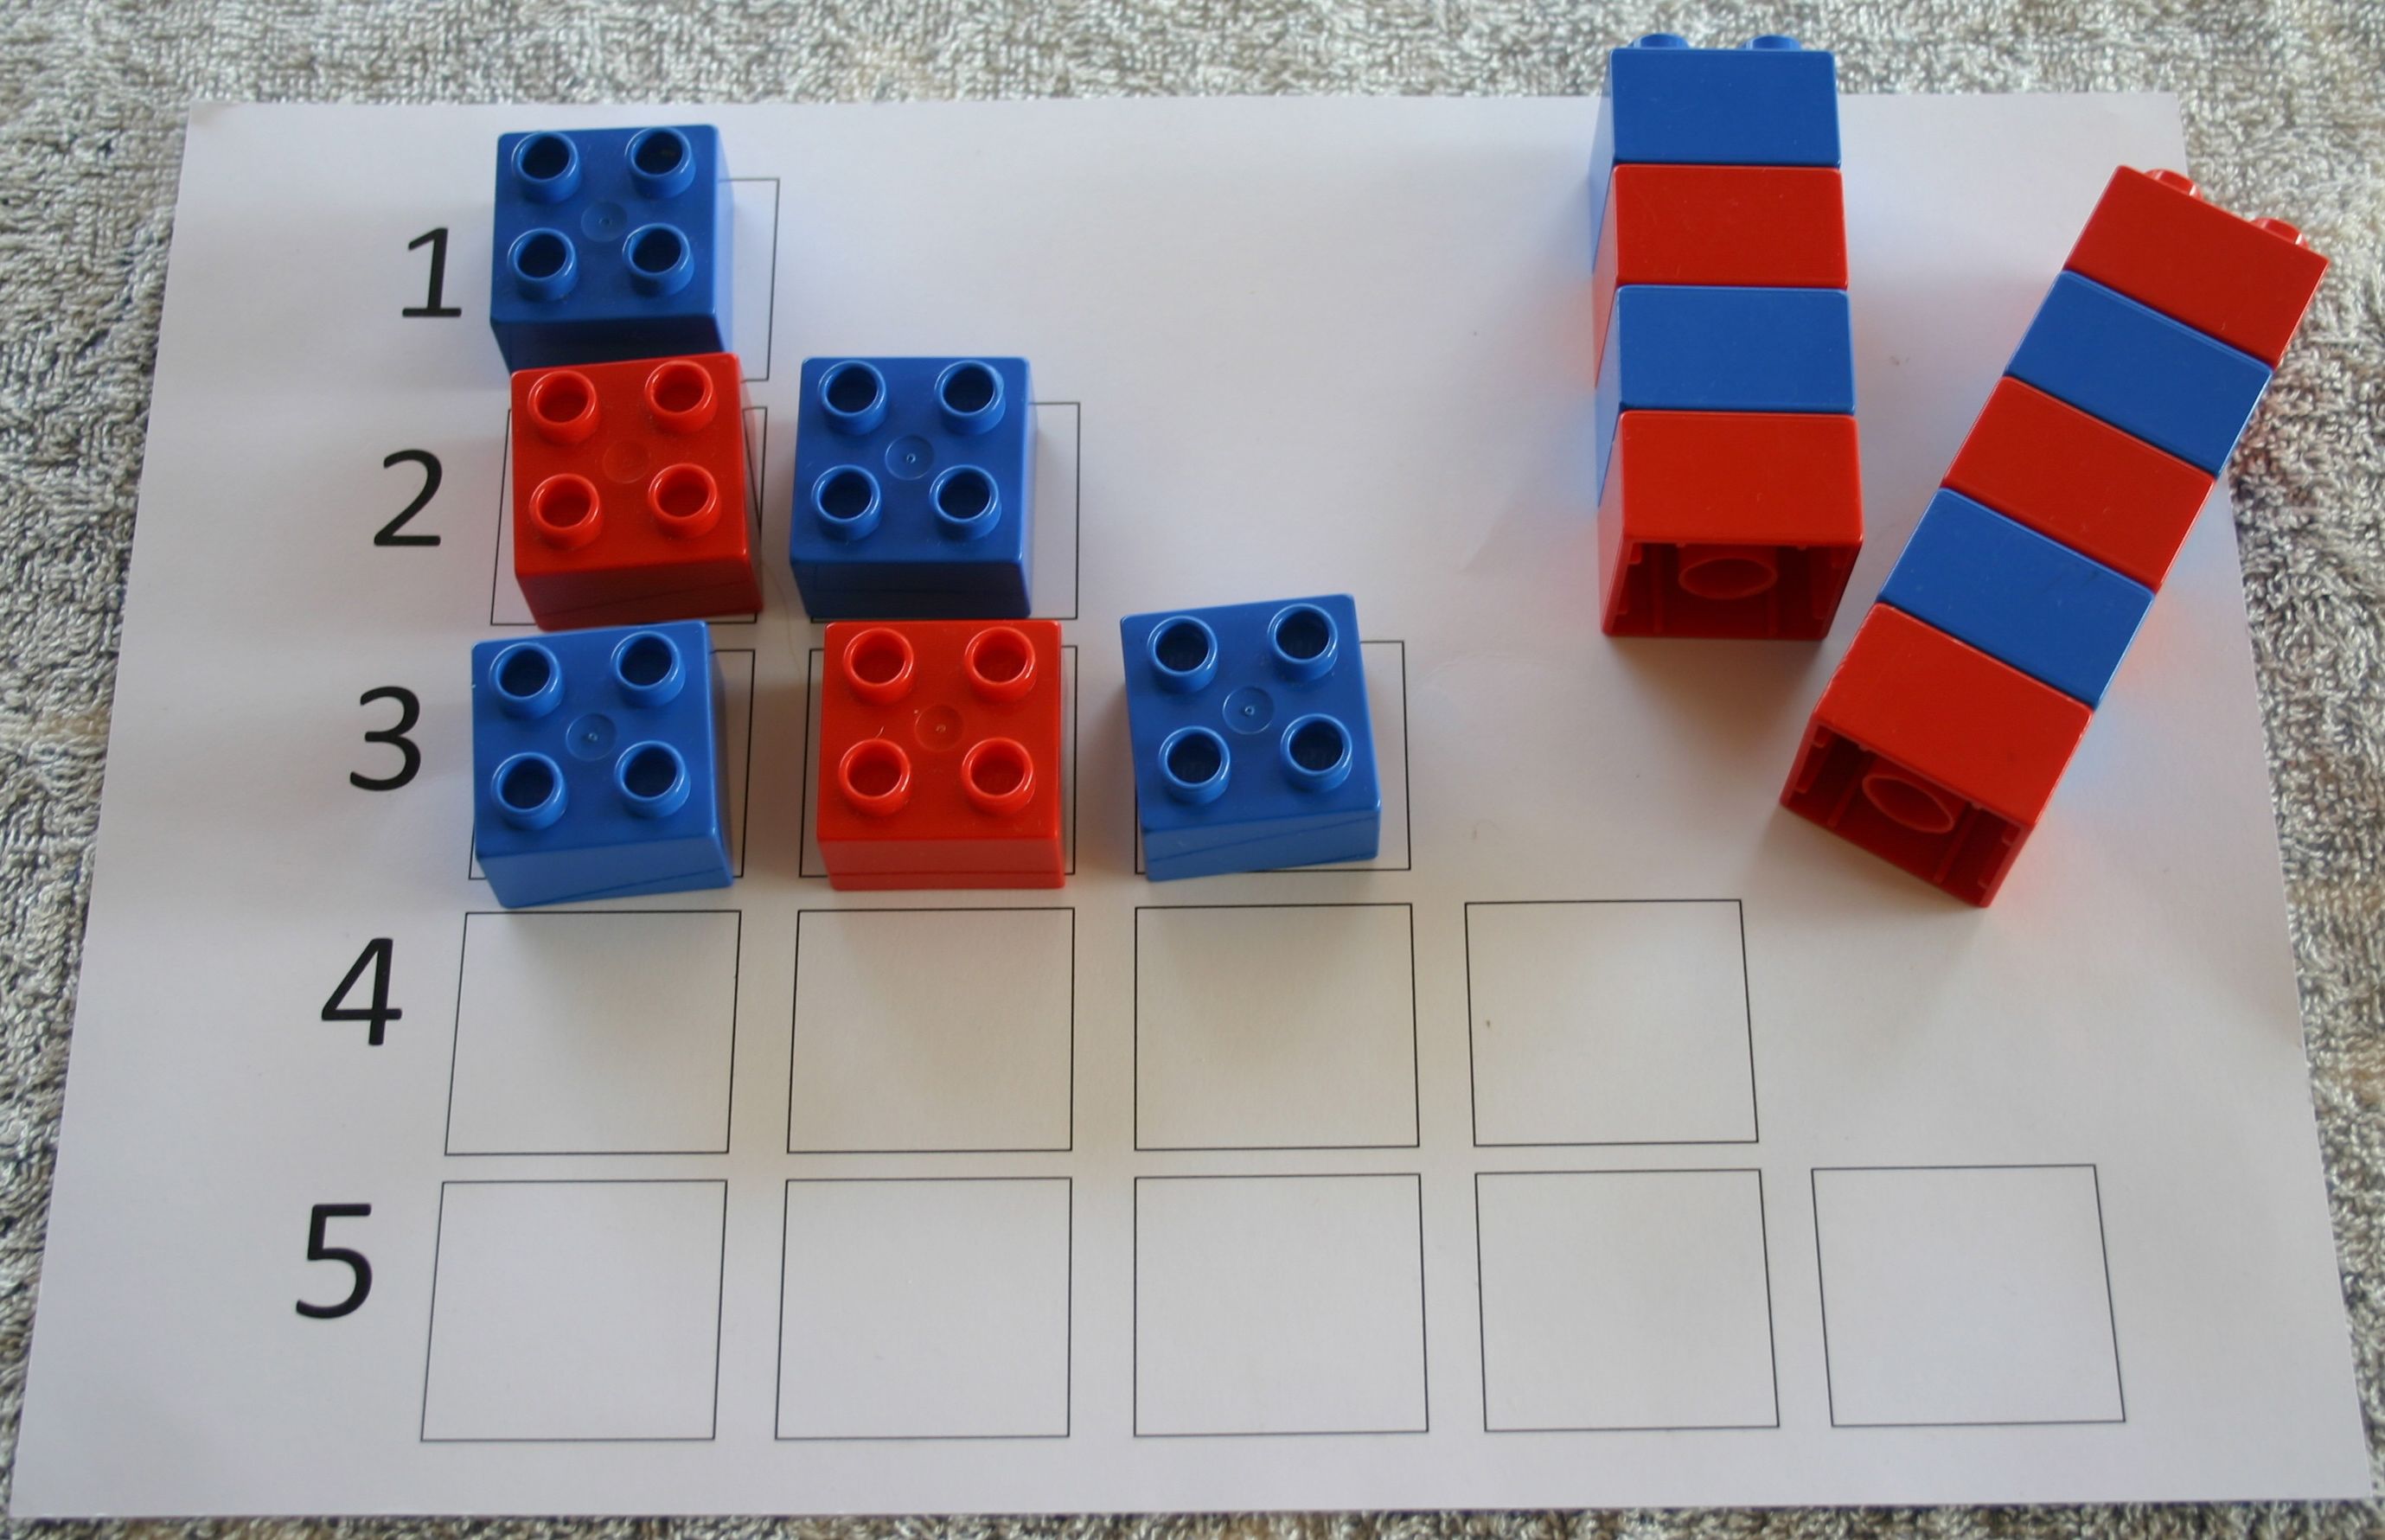
 Another Mathusee based activity; basic addition facts using the manipulatives and numeral answers. The number strips I have out at the moment are plus 1 and plus 2. Learning basic addition facts now will help with more difficult mathematical skills later on. Click the links below for FREE PRINTABLES: Plus 1 Plus 2 Plus 3 Plus 4 Plus 5 Plus 6 Plus 7 Plus 8 Plus 9 Plus 10
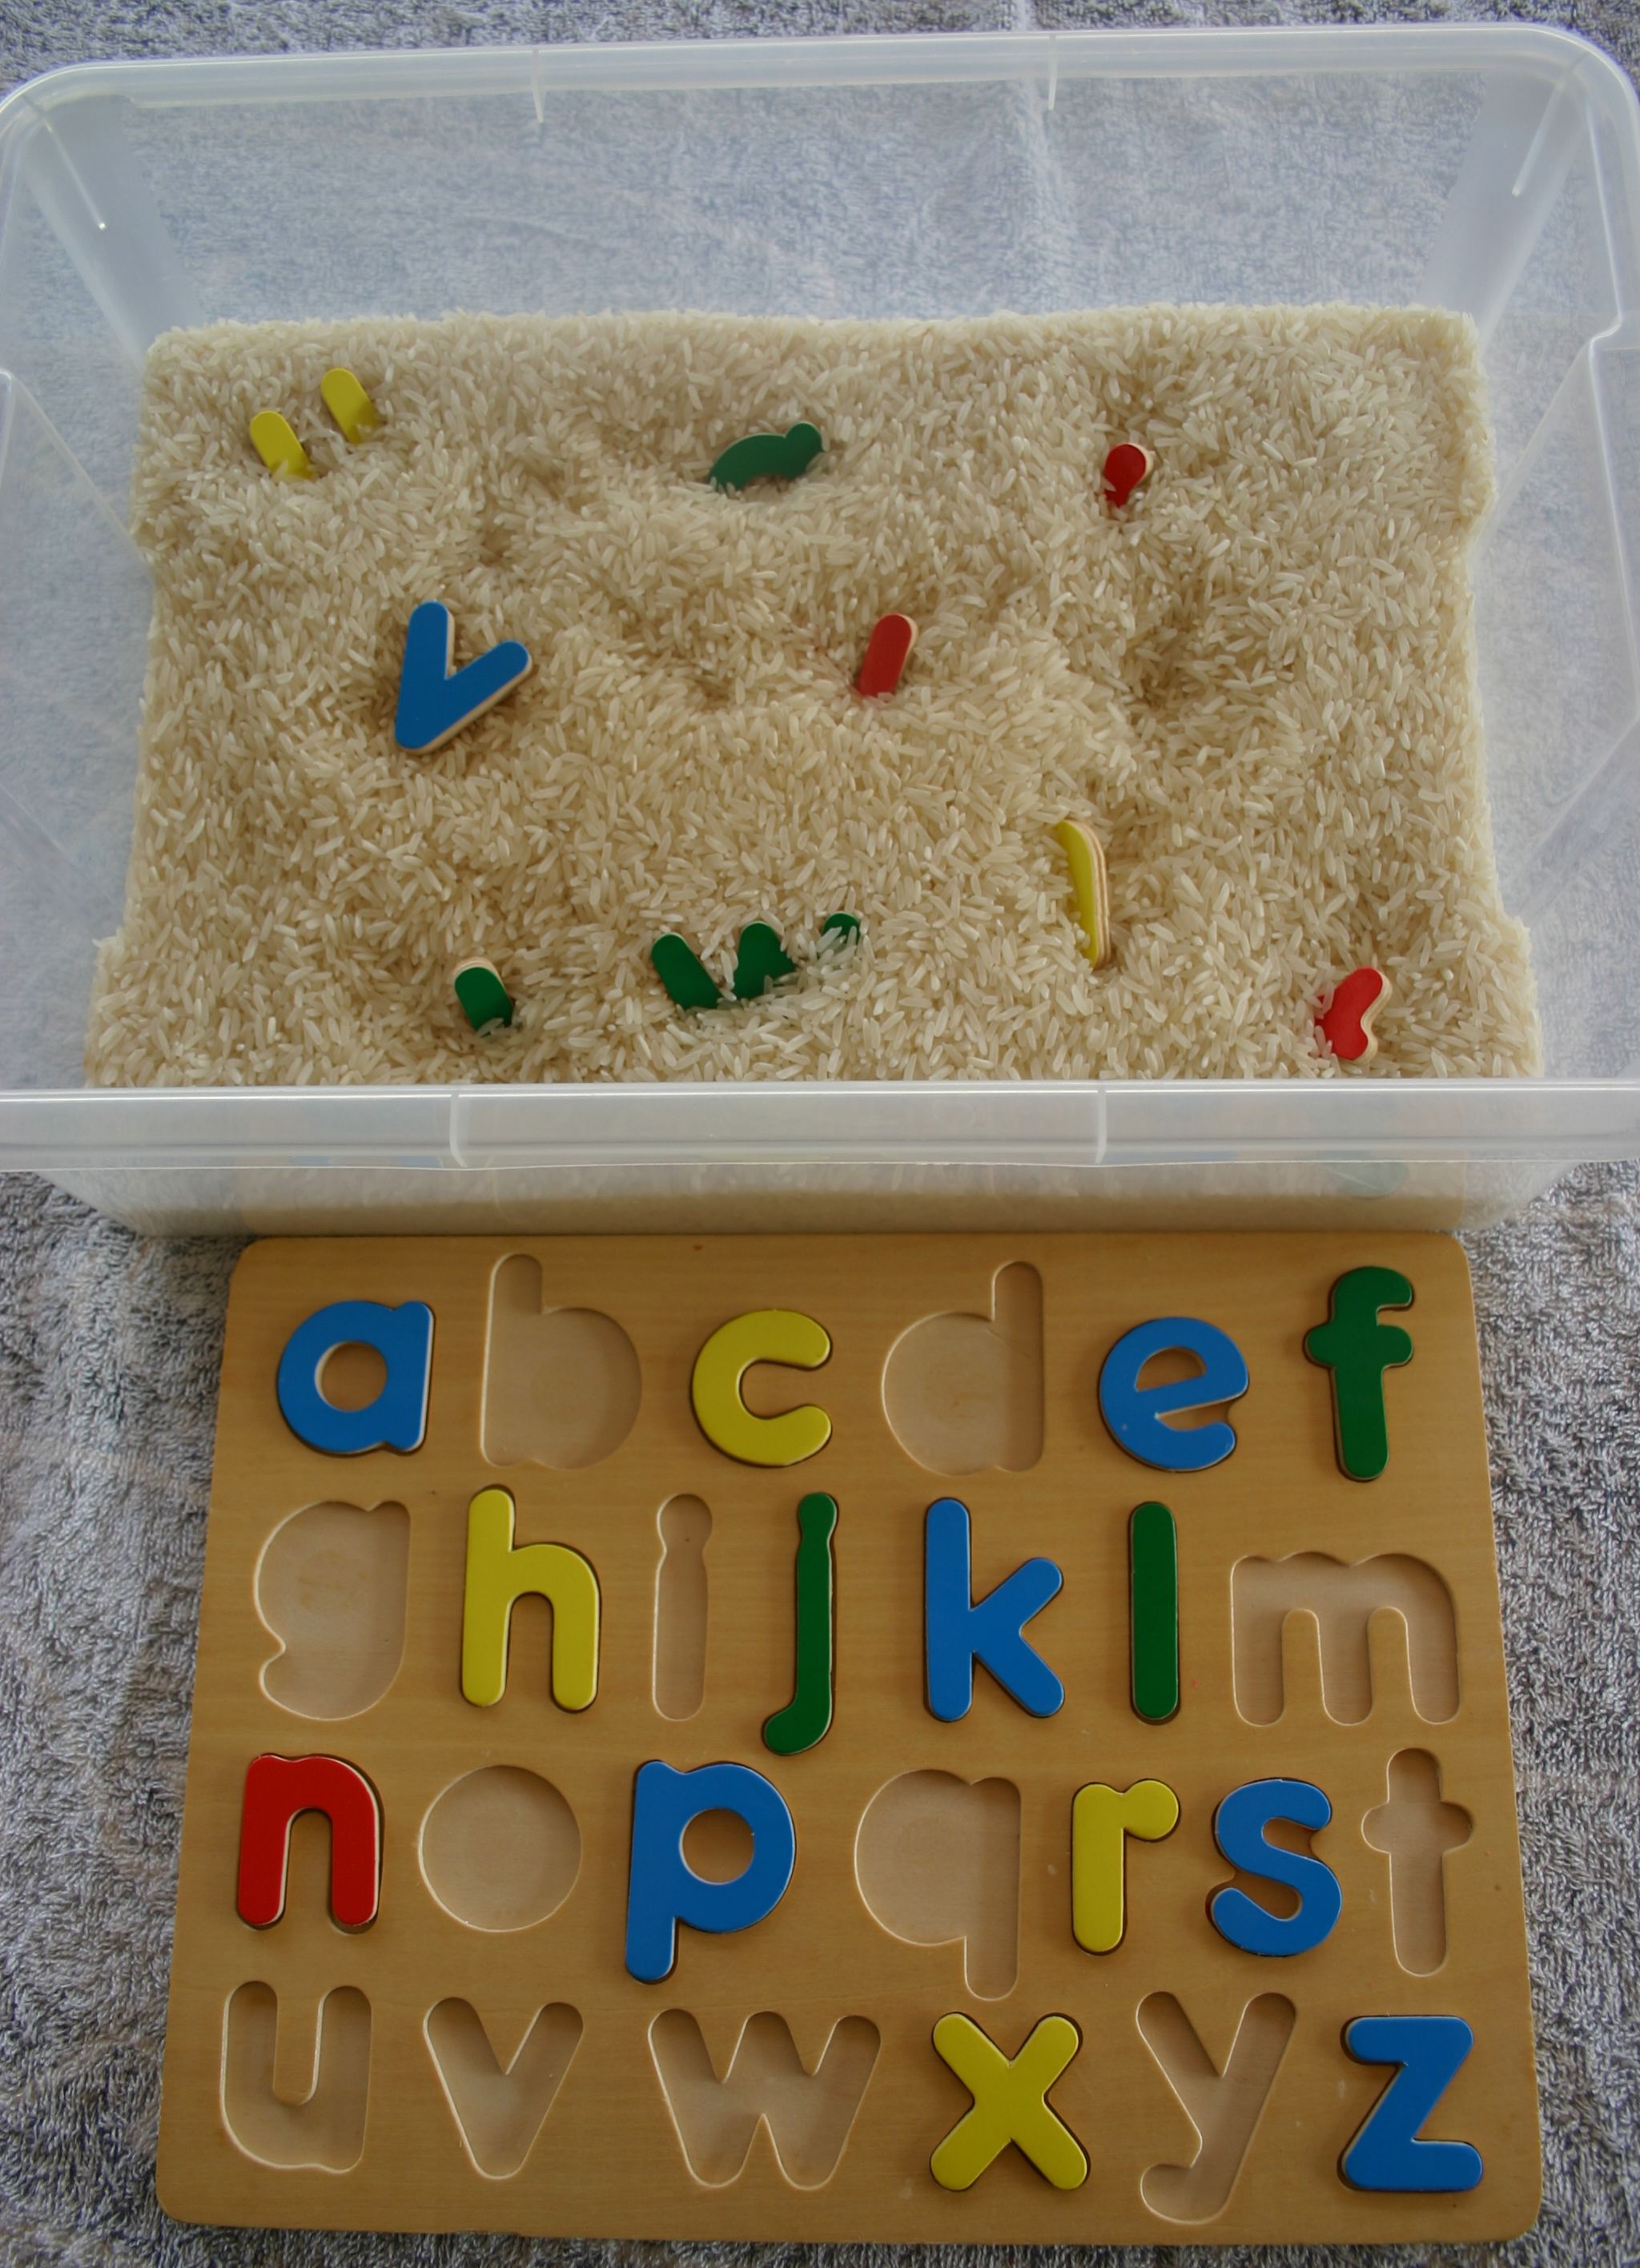
 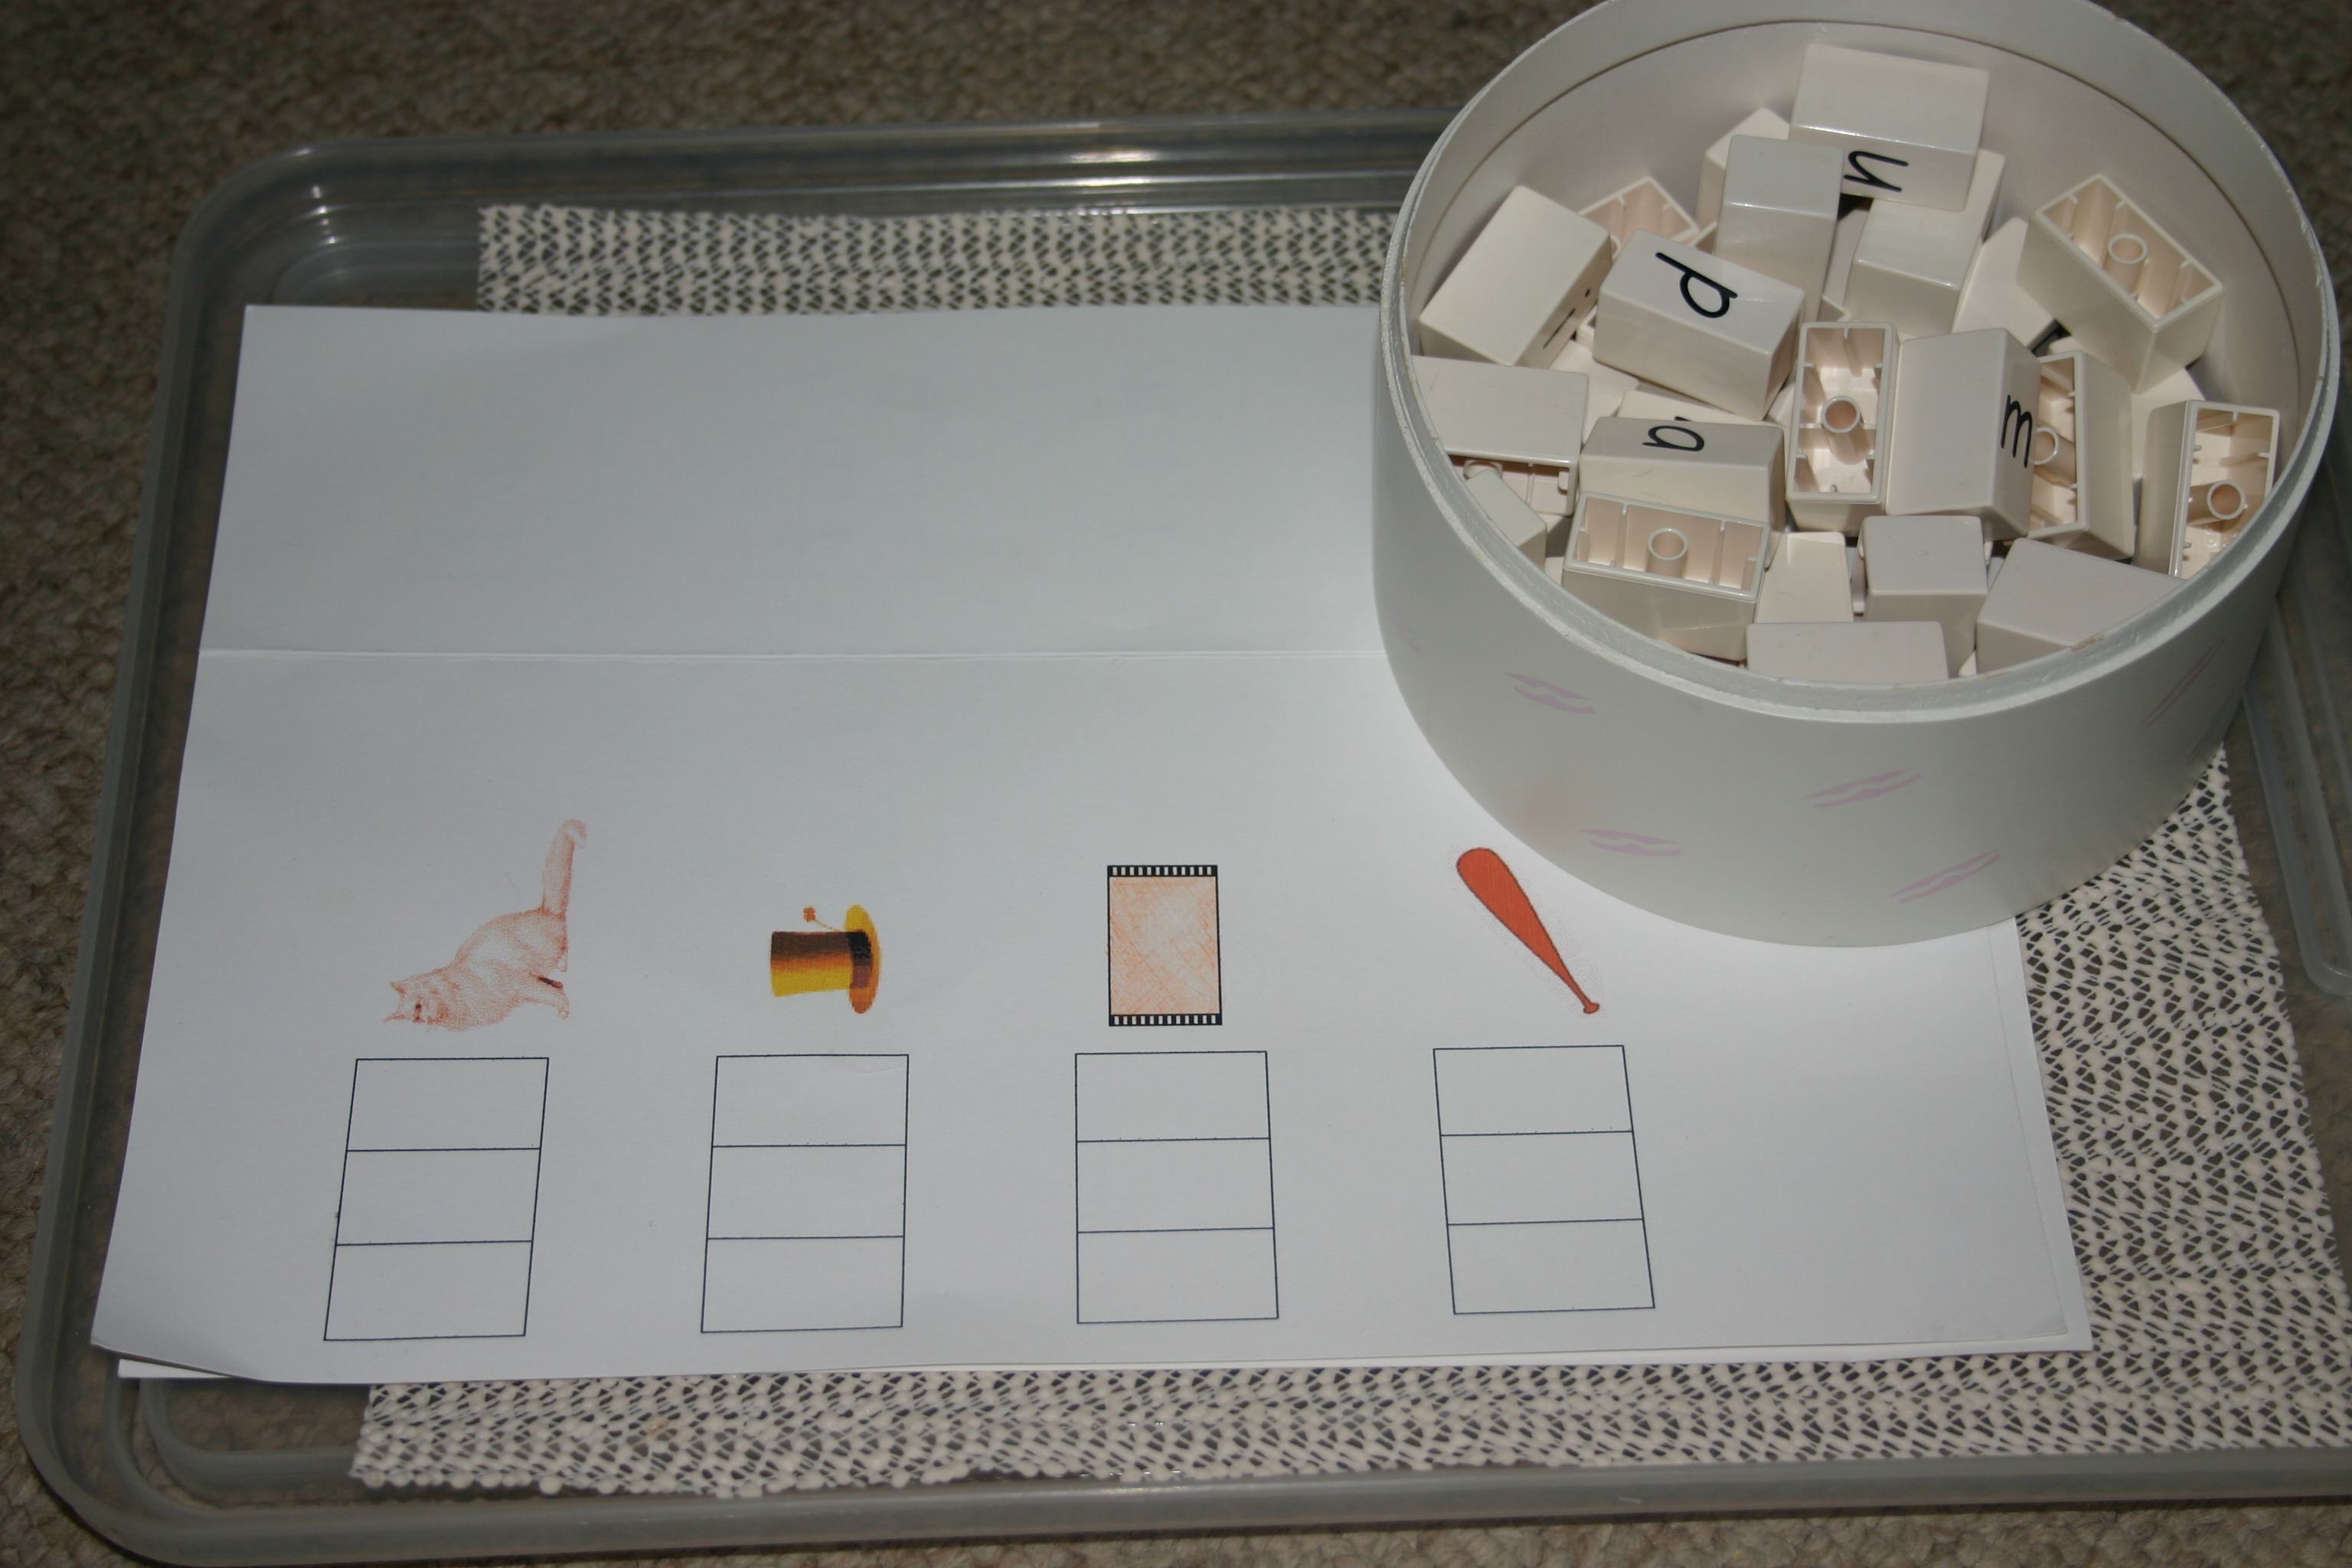 We have moved on from letter names and sounds and identifying initial sounds to 3 letter words. These are Coko bricks and each board has groups of consonant vowel consonant (CVC) words with the same endings to keep it simple. The children carefully sound out the words and find the matching bricks to make them.
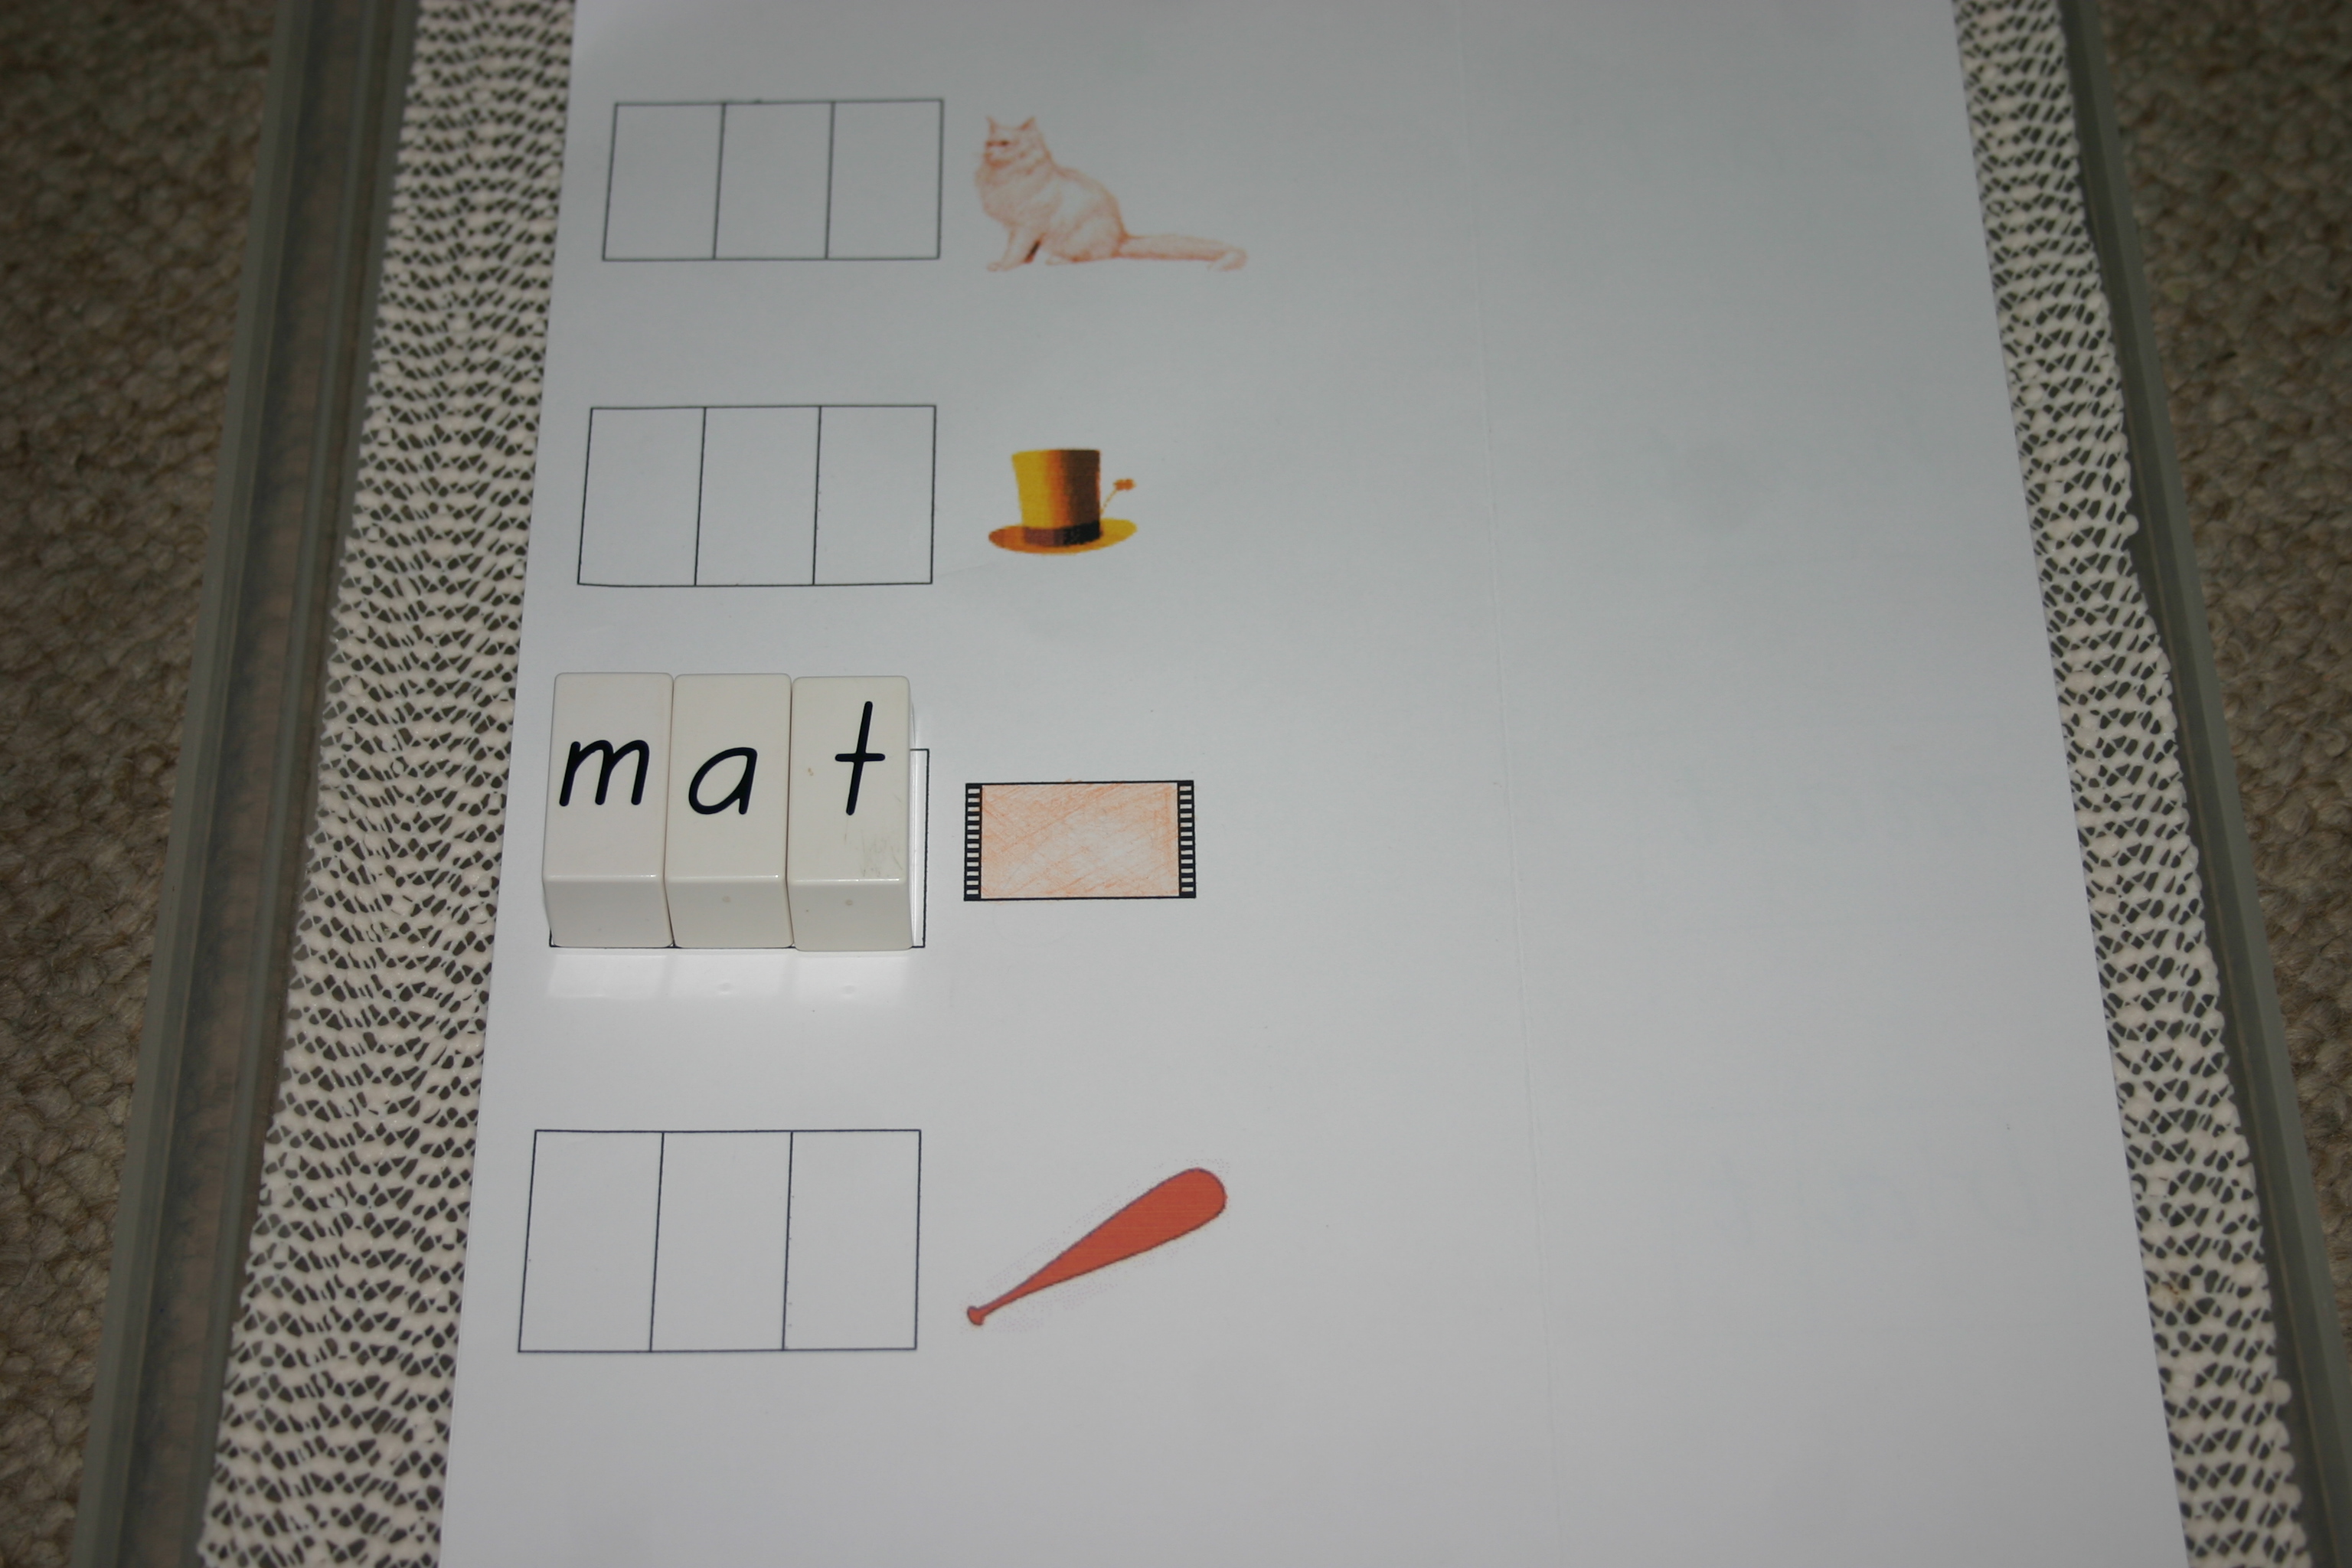
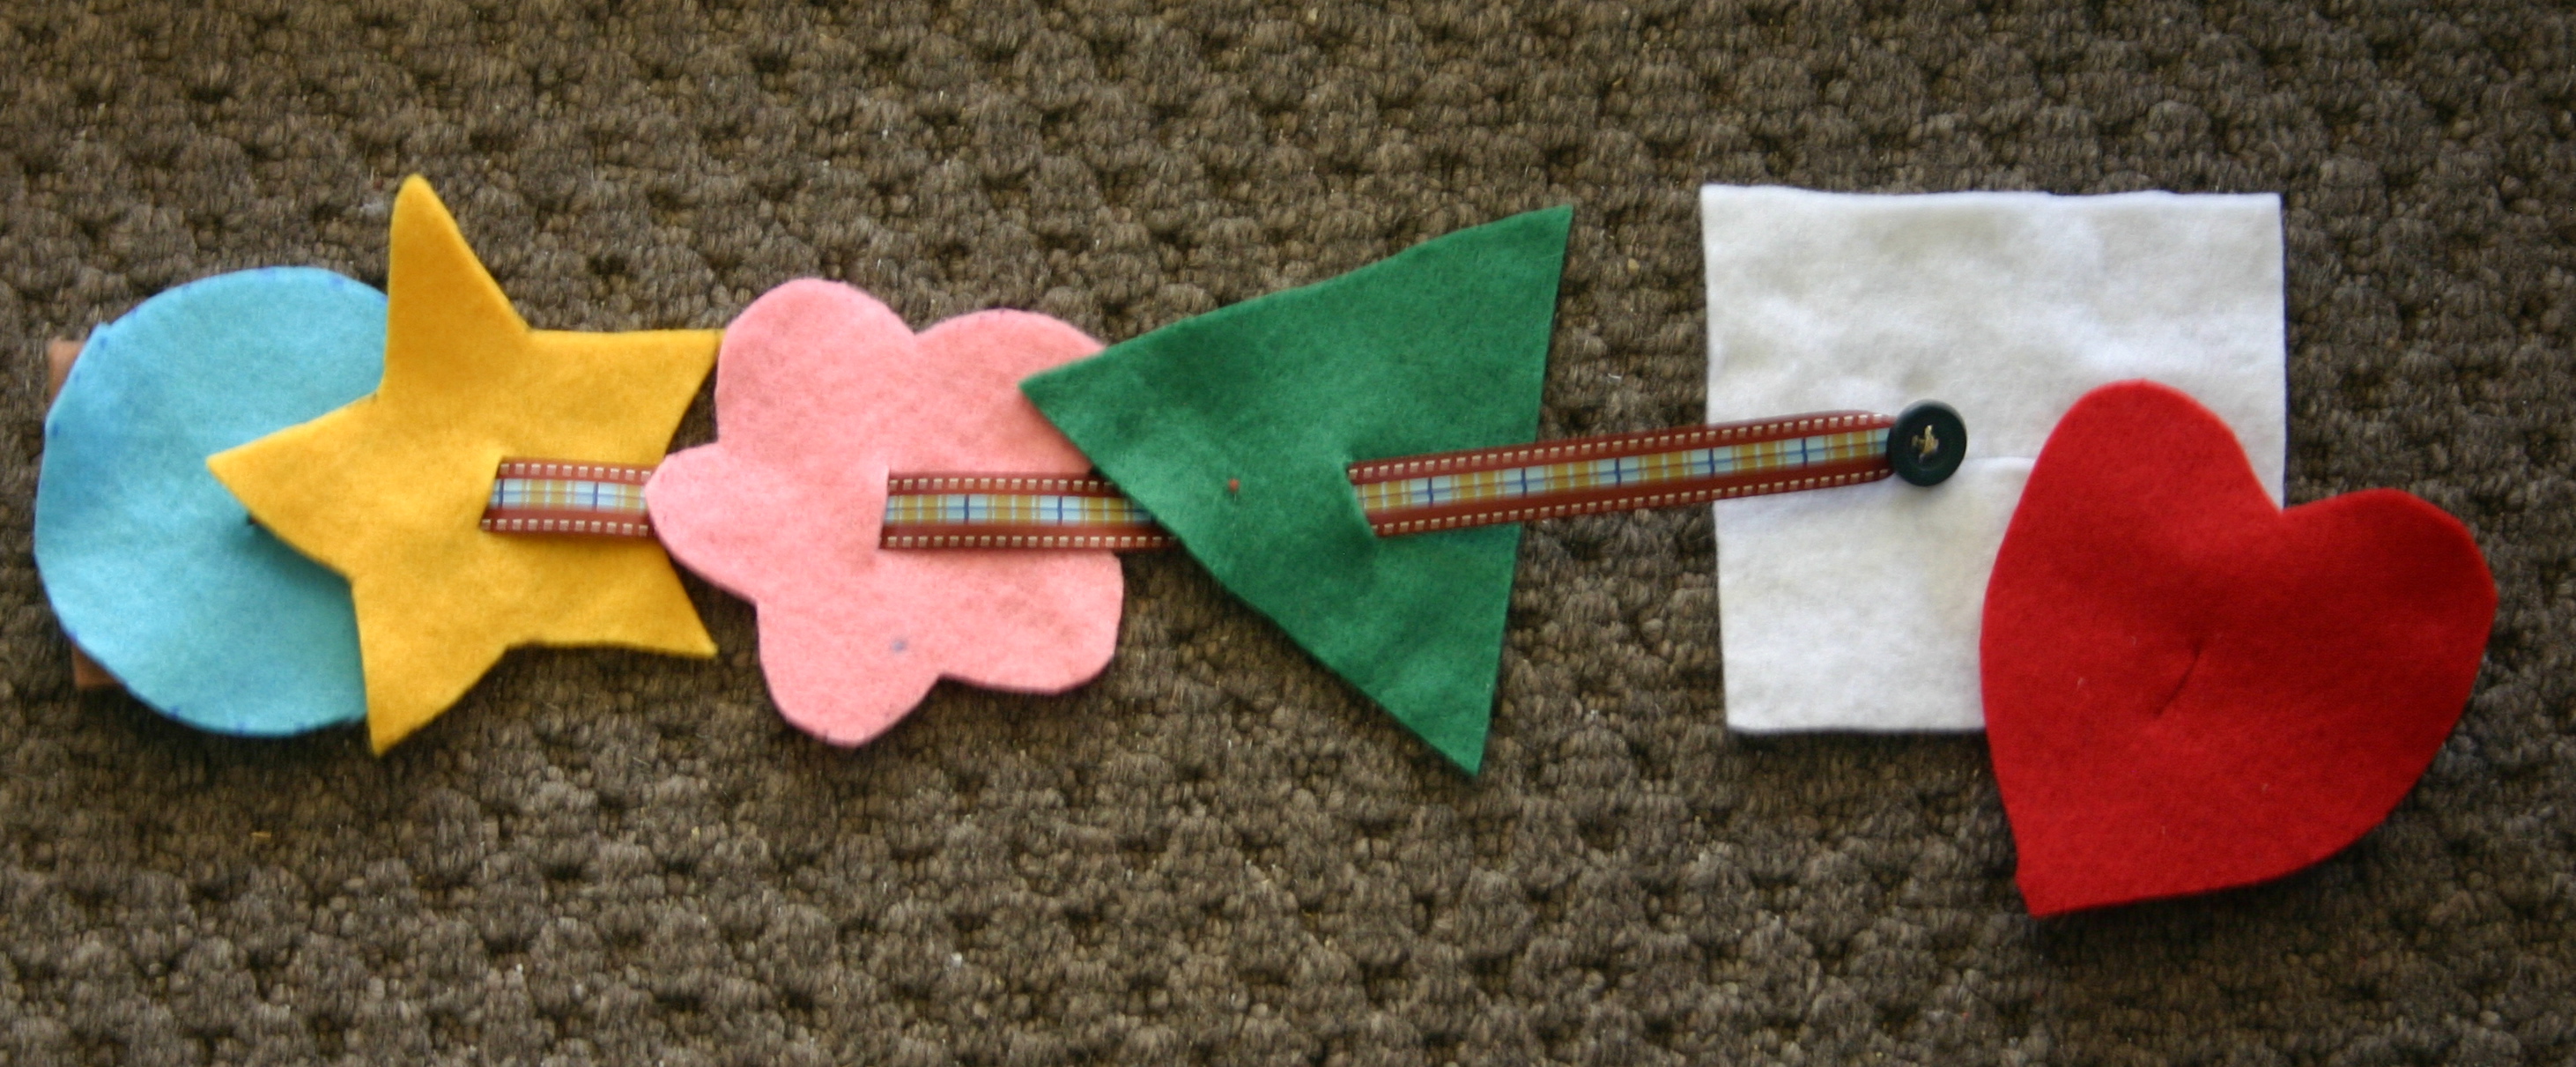
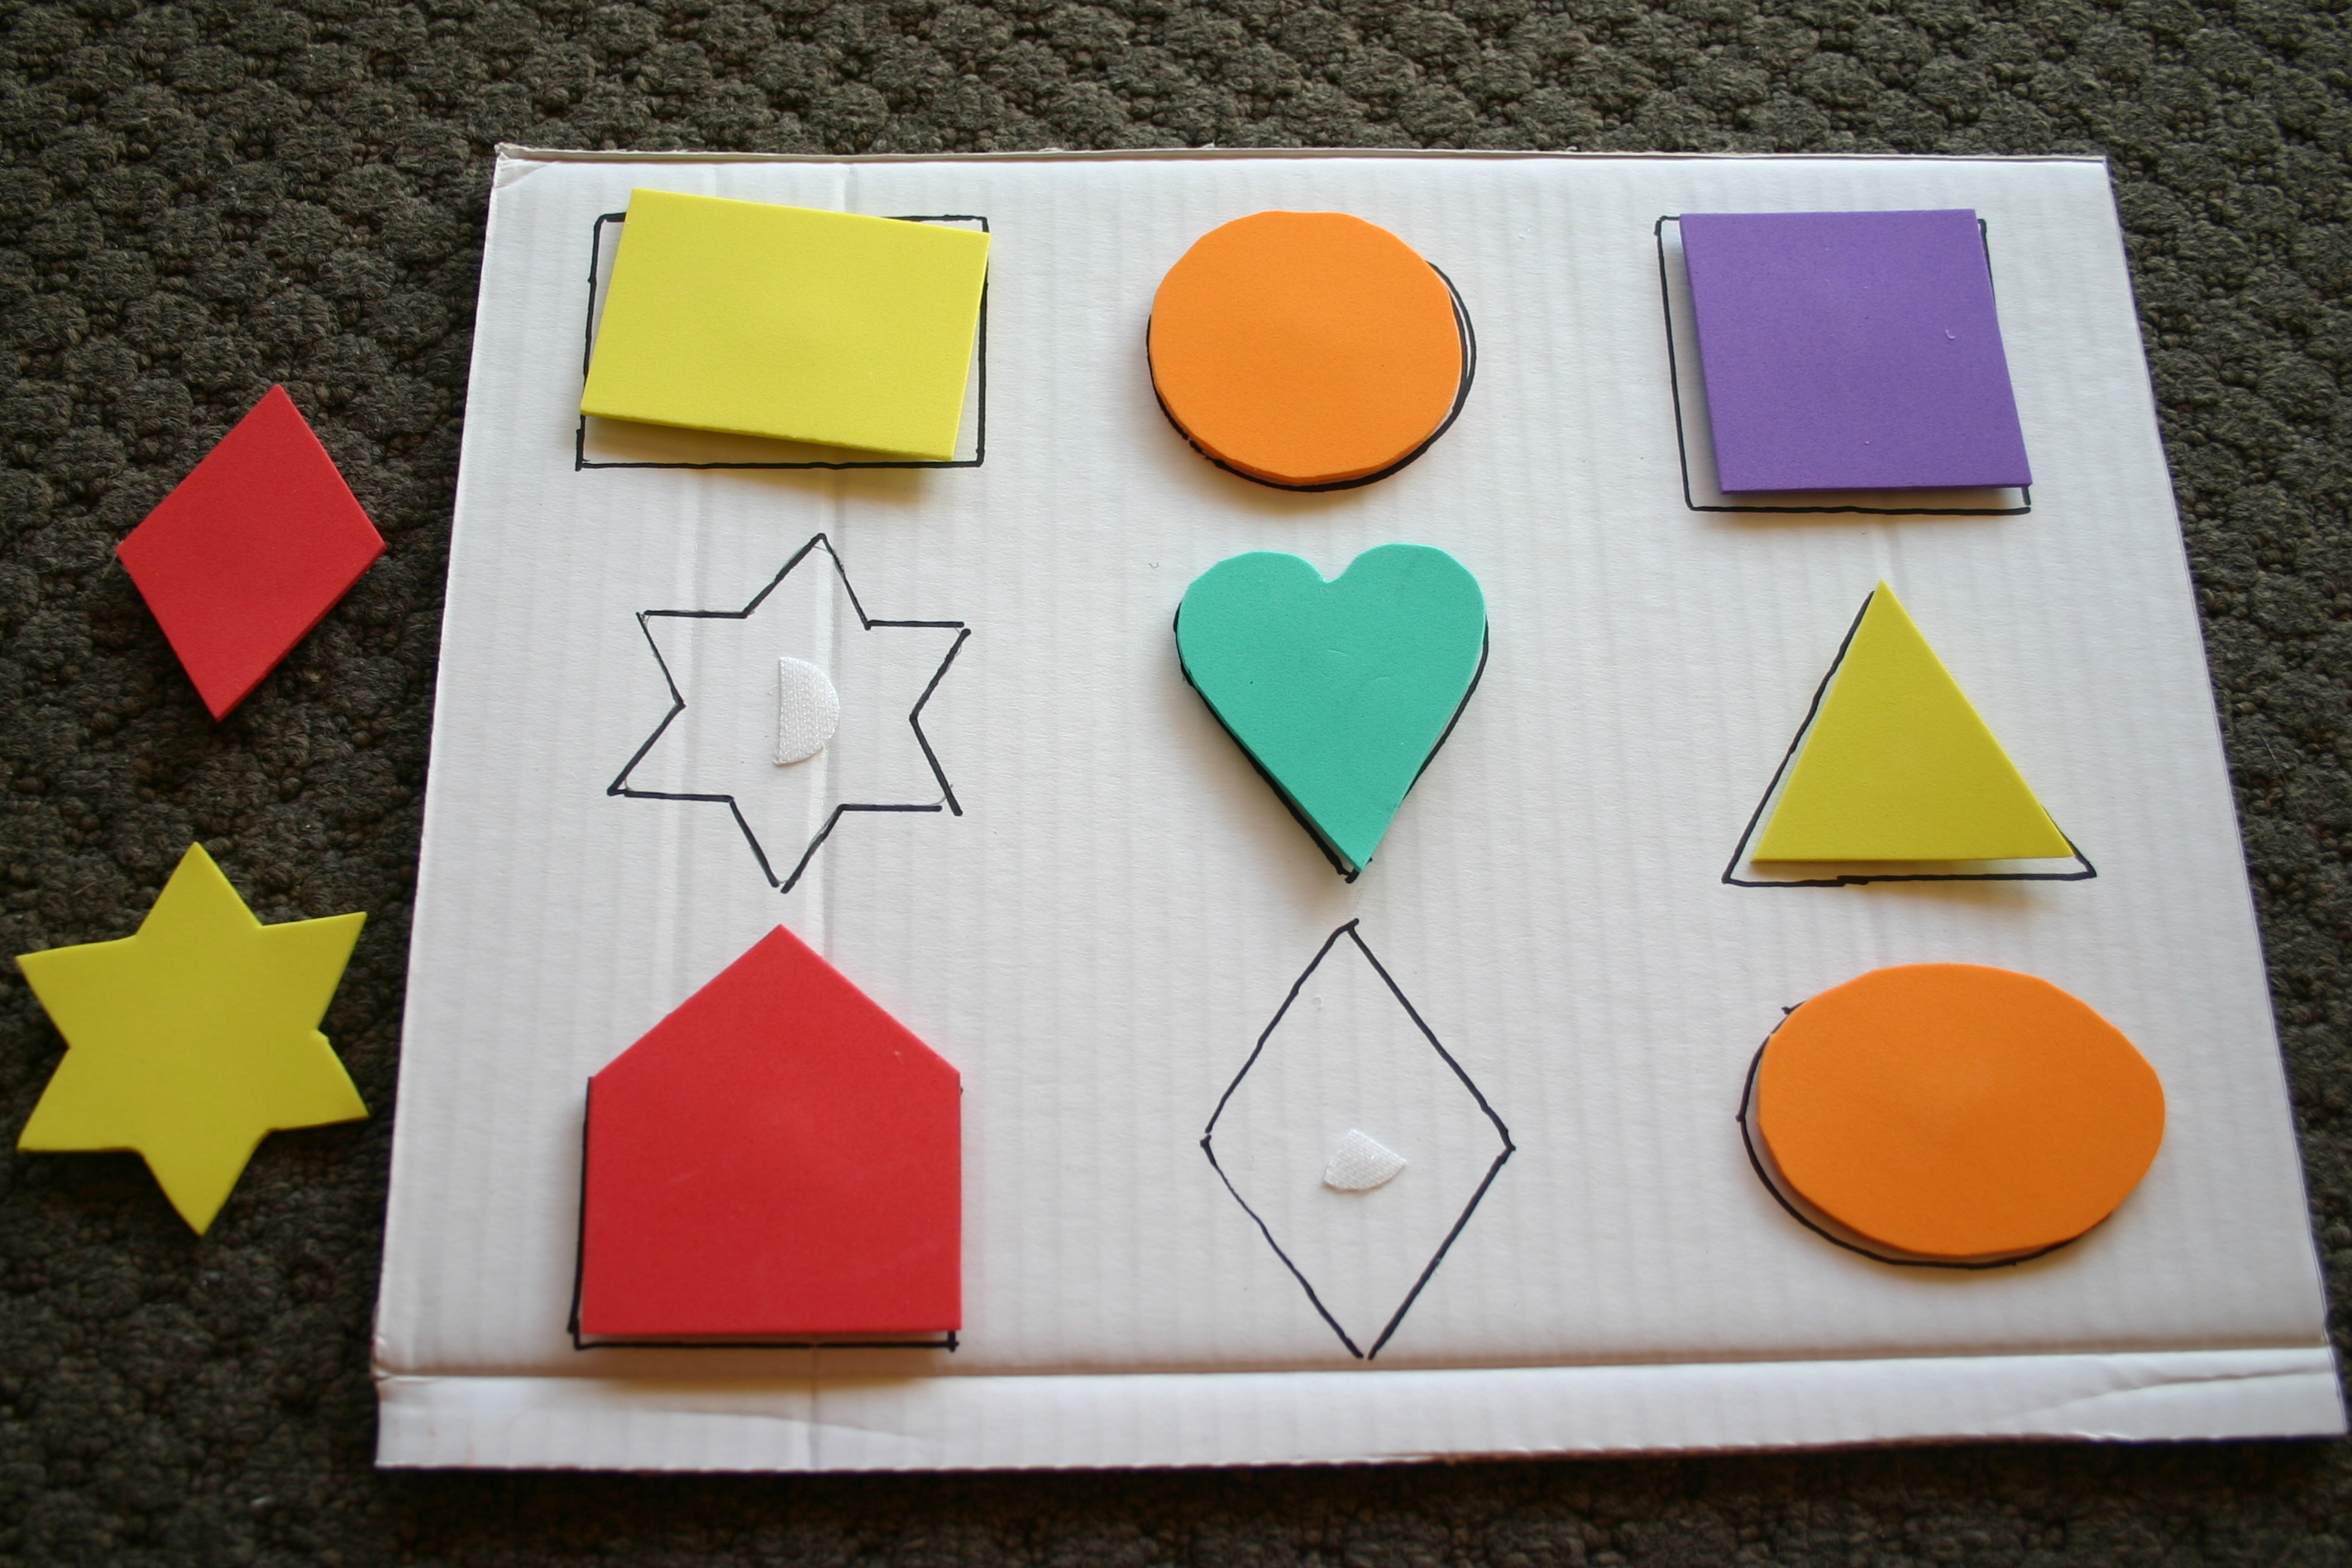
 The back side of the card has the answers to make the activity self-checking. No printable for this one sorry – the pictures are not mine!
 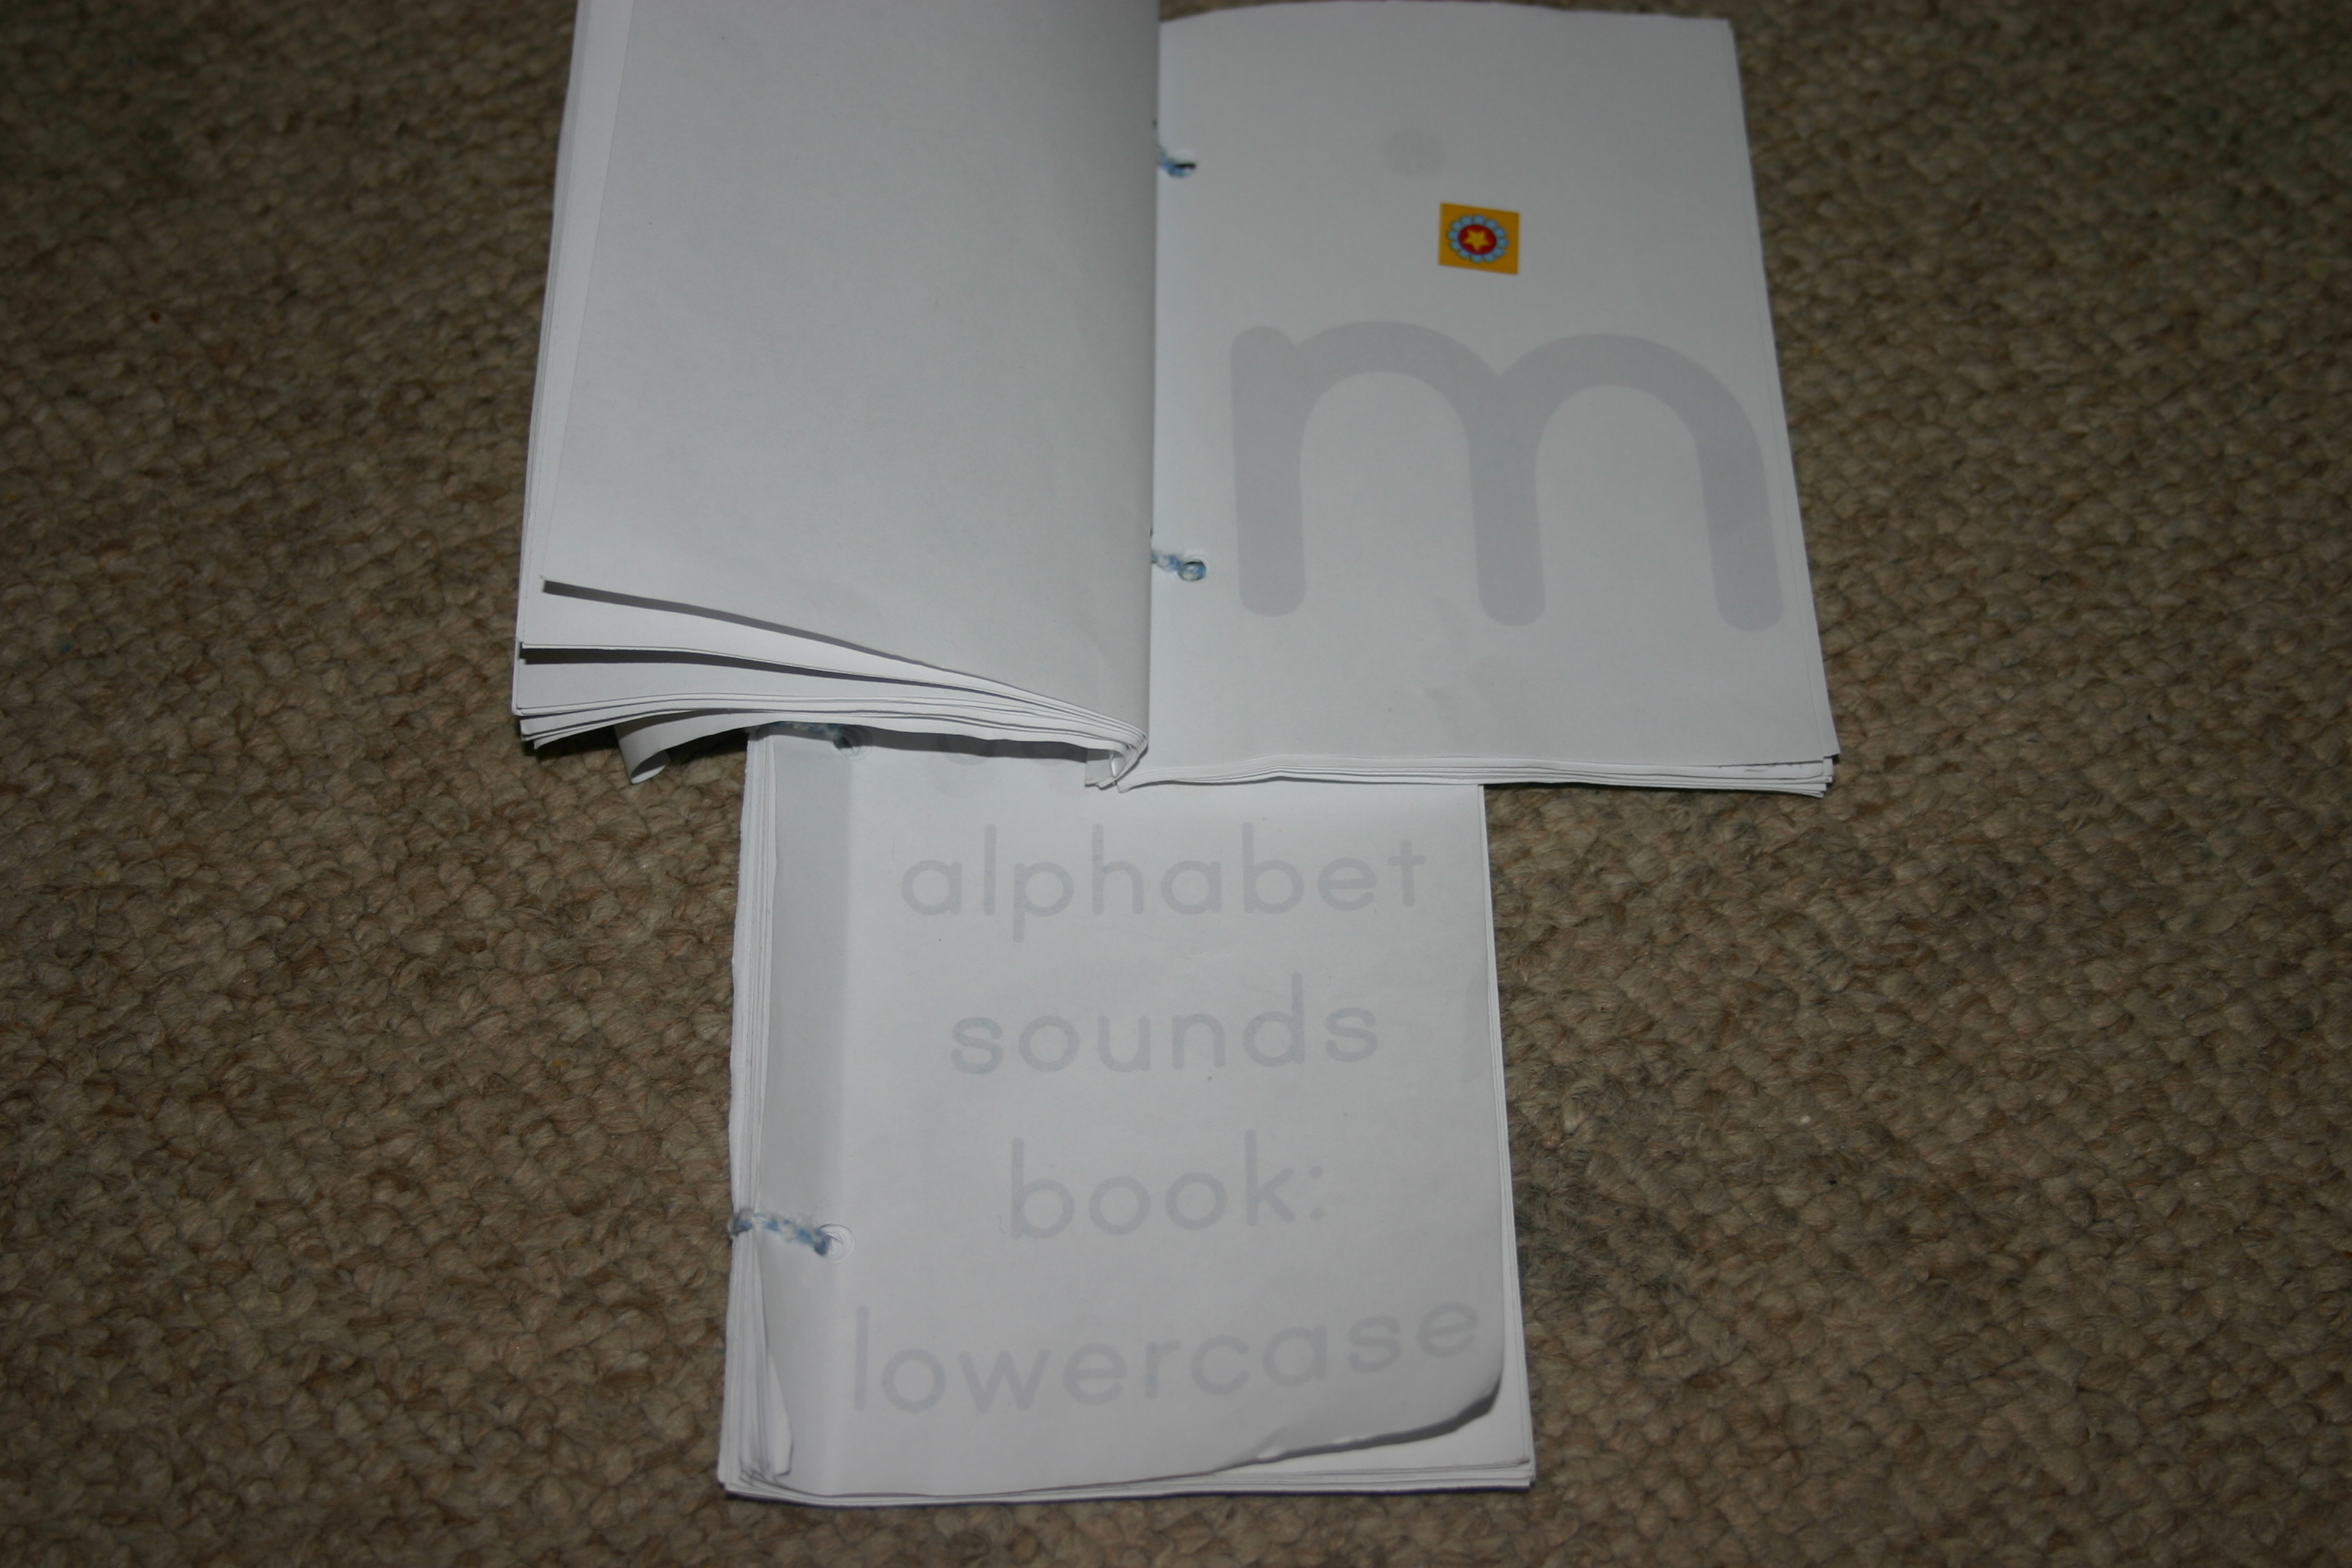 These alphabet sounds books were simply a book form of flashcard. We use them to review the letter names and sounds and sticker the letters they know. I found the school font I wanted to use online, enlarged it and printed them out.
 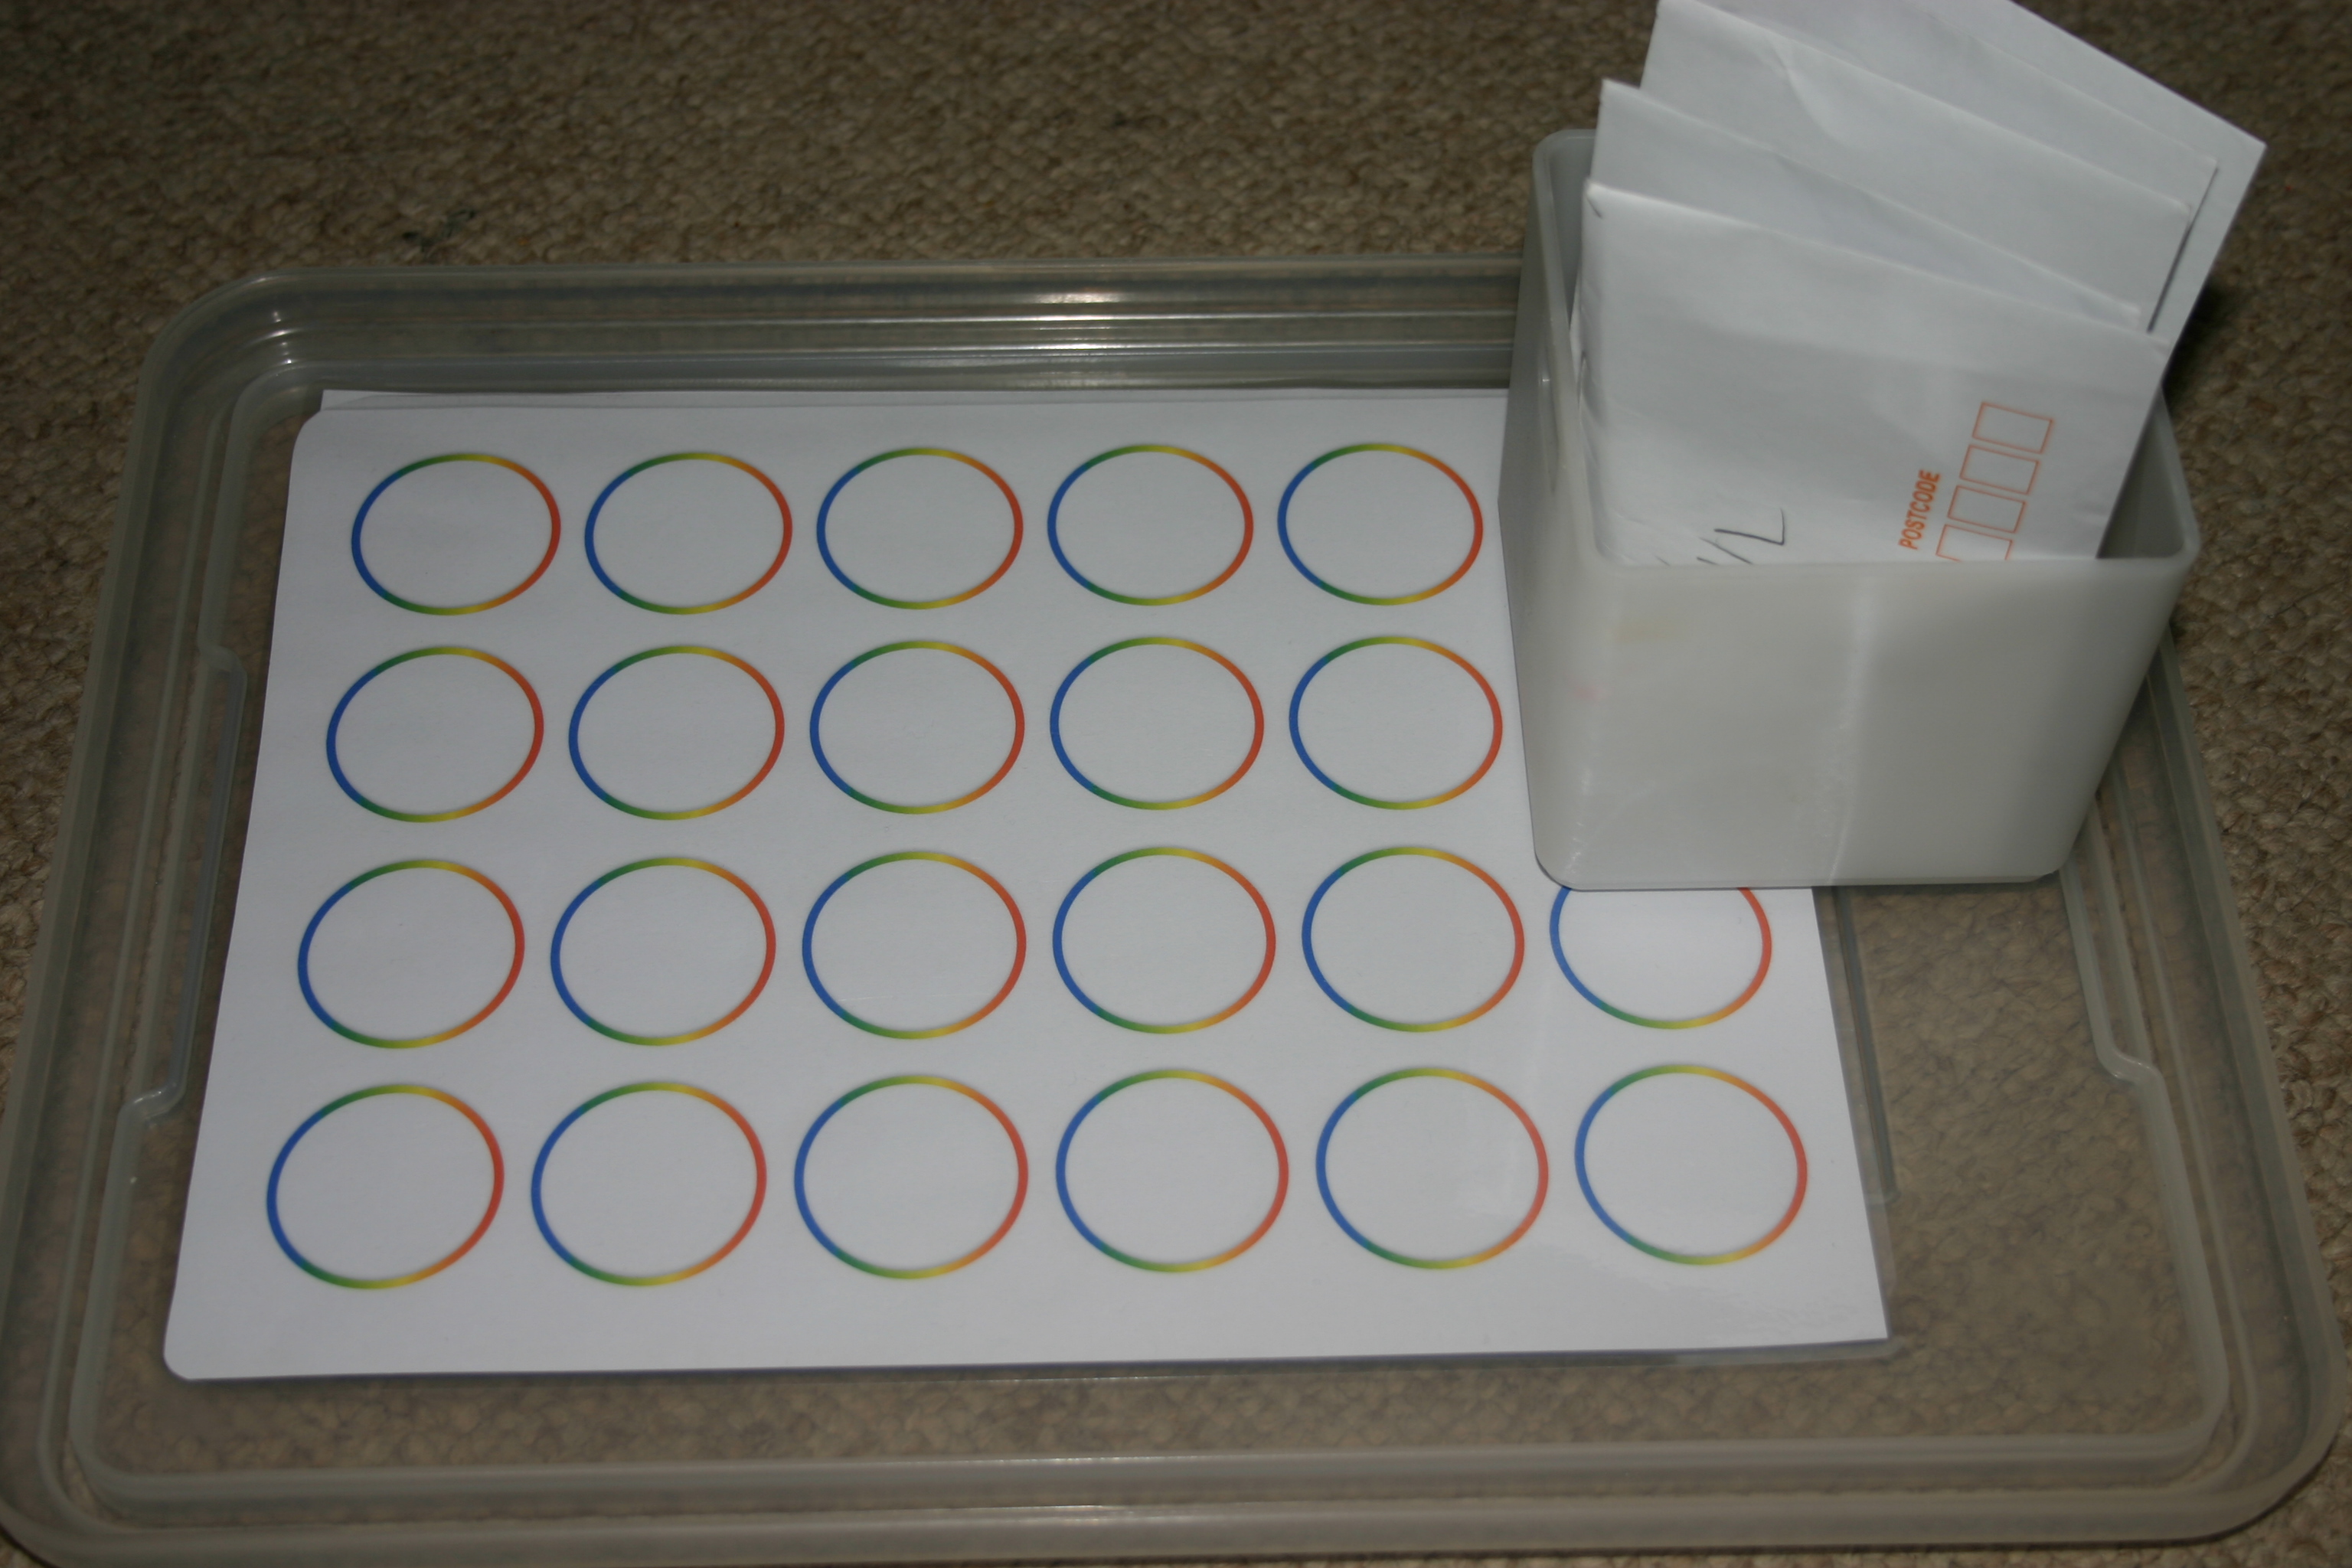 This is an initial sounds activity. Free printable circle pictures and letters are available from this blog. I made a simple backing page to use them in a slightly different way than the original author intended. The sets are sorted into 3 or 4 initial sounds in each envelope to keep it simple and avoid having the whole alphabet mixed up together. For a FREE PRINTABLE of my circles backing page click here.
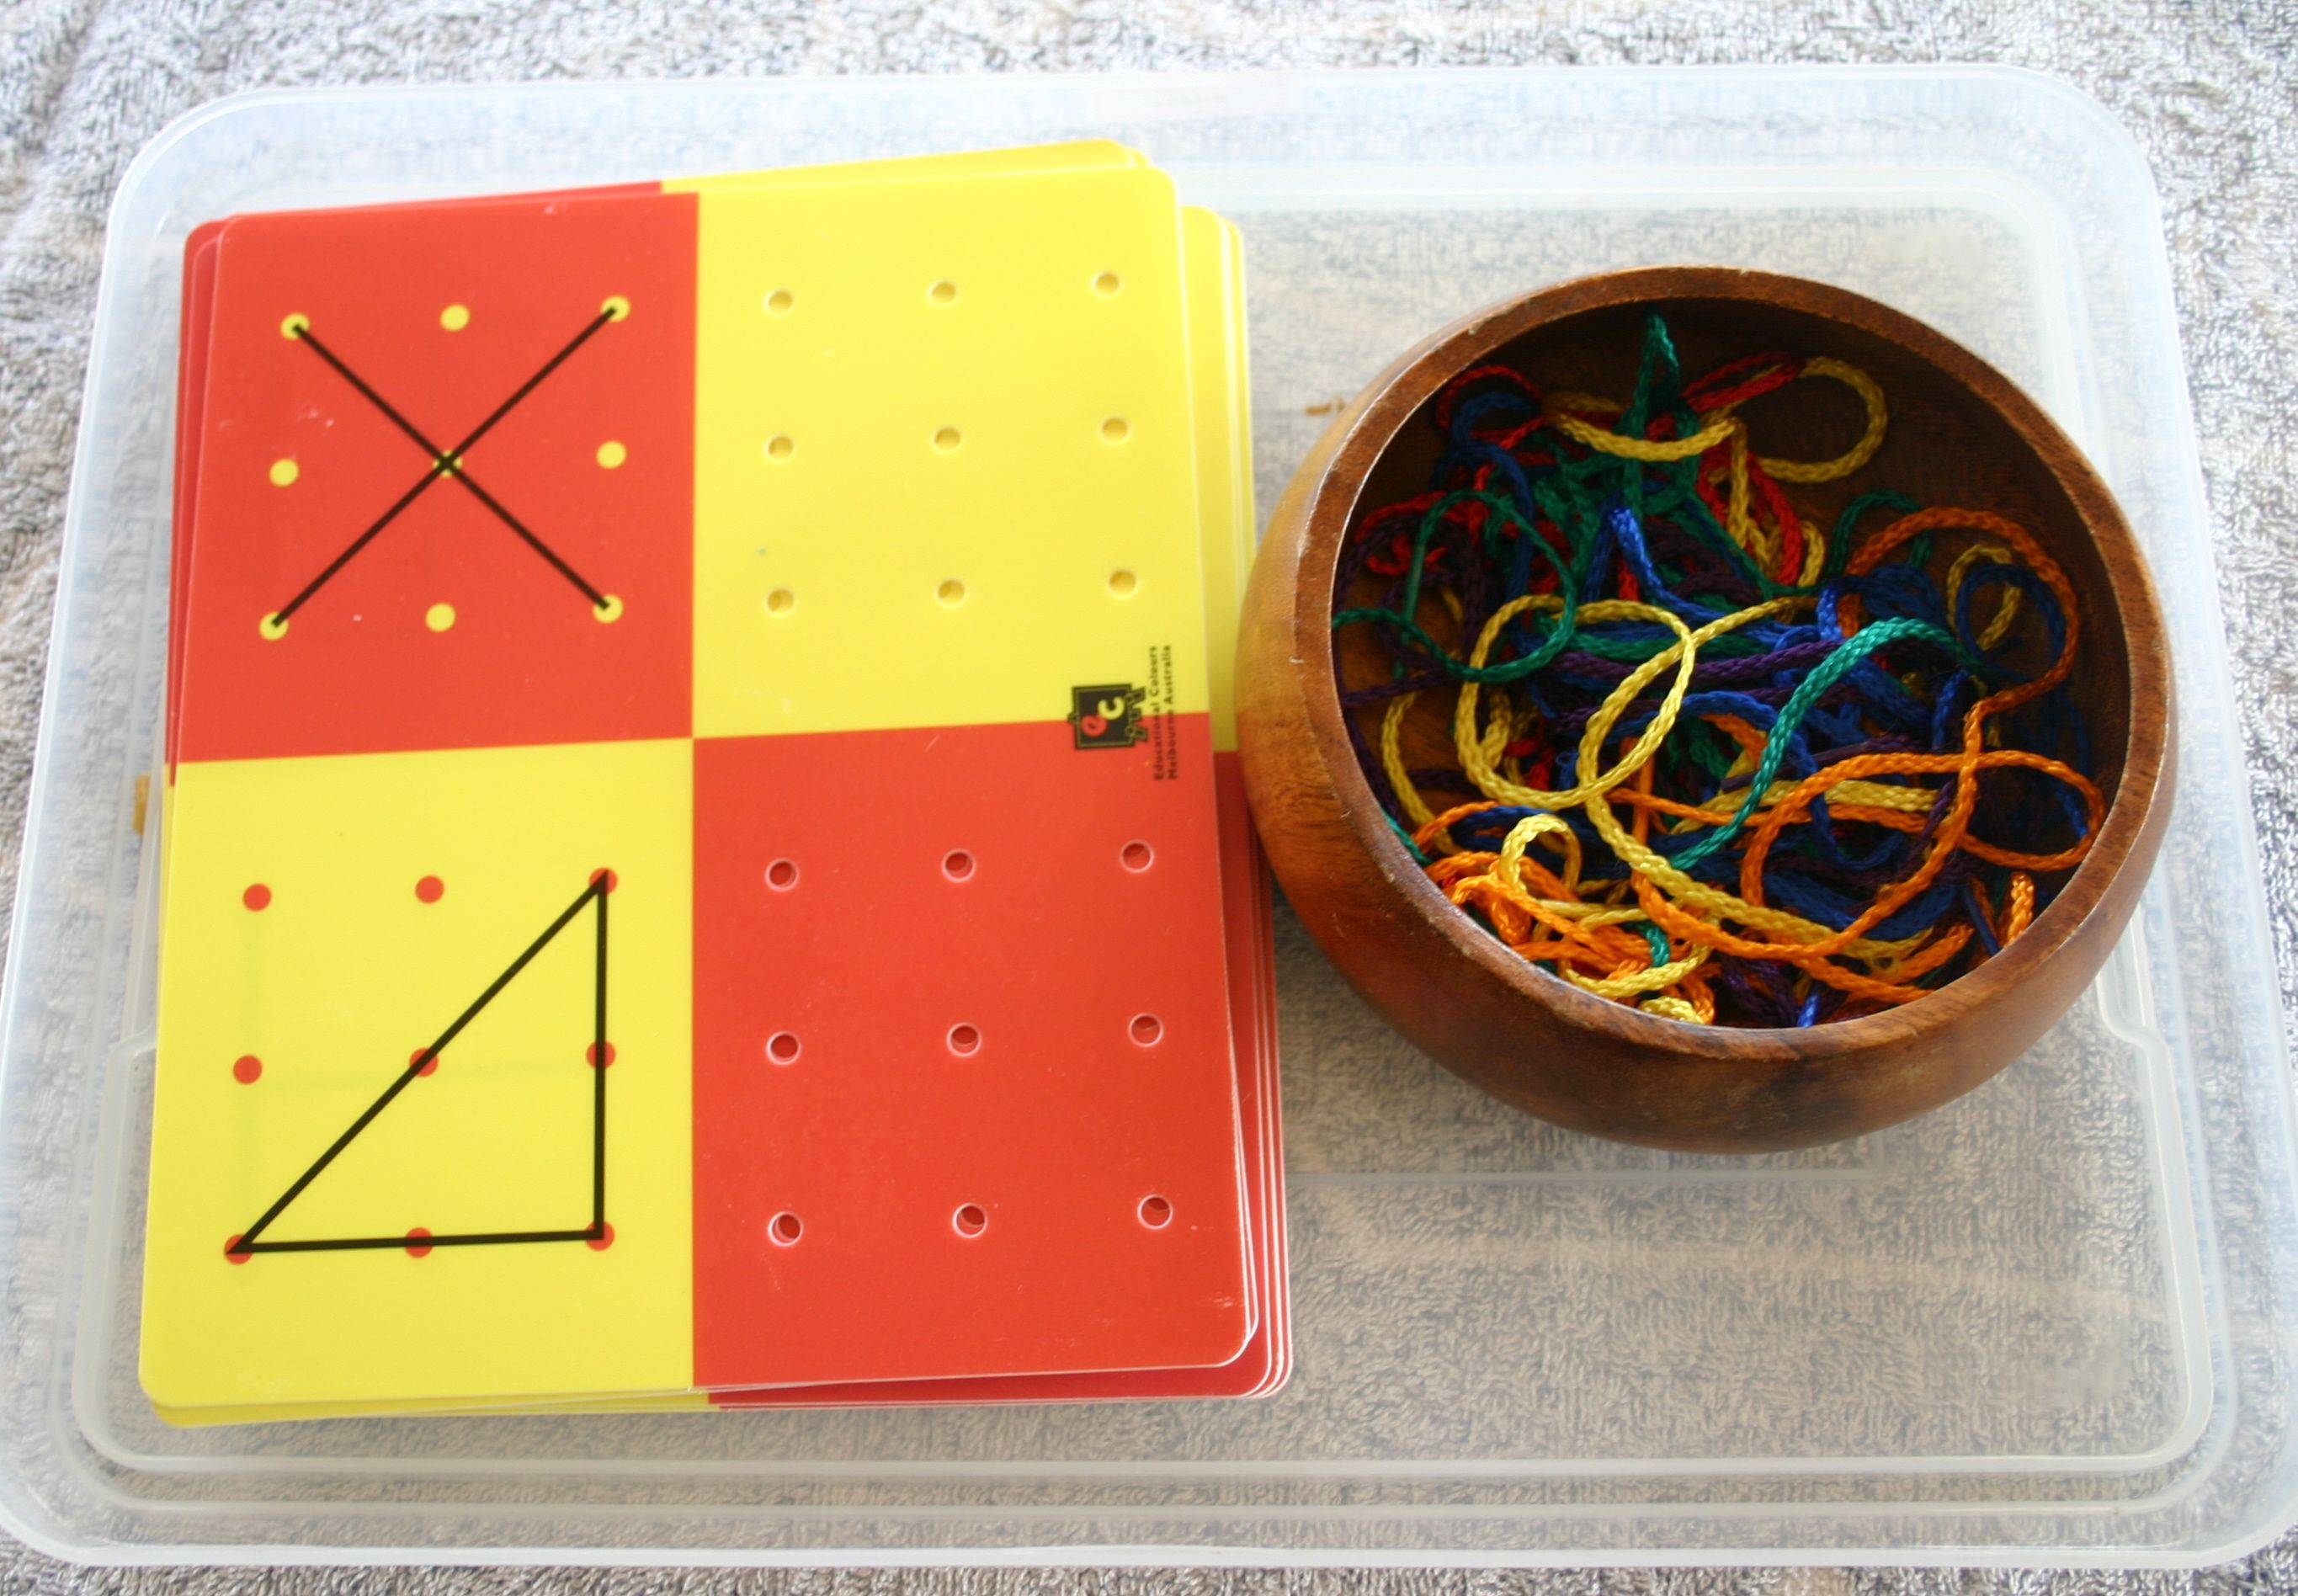
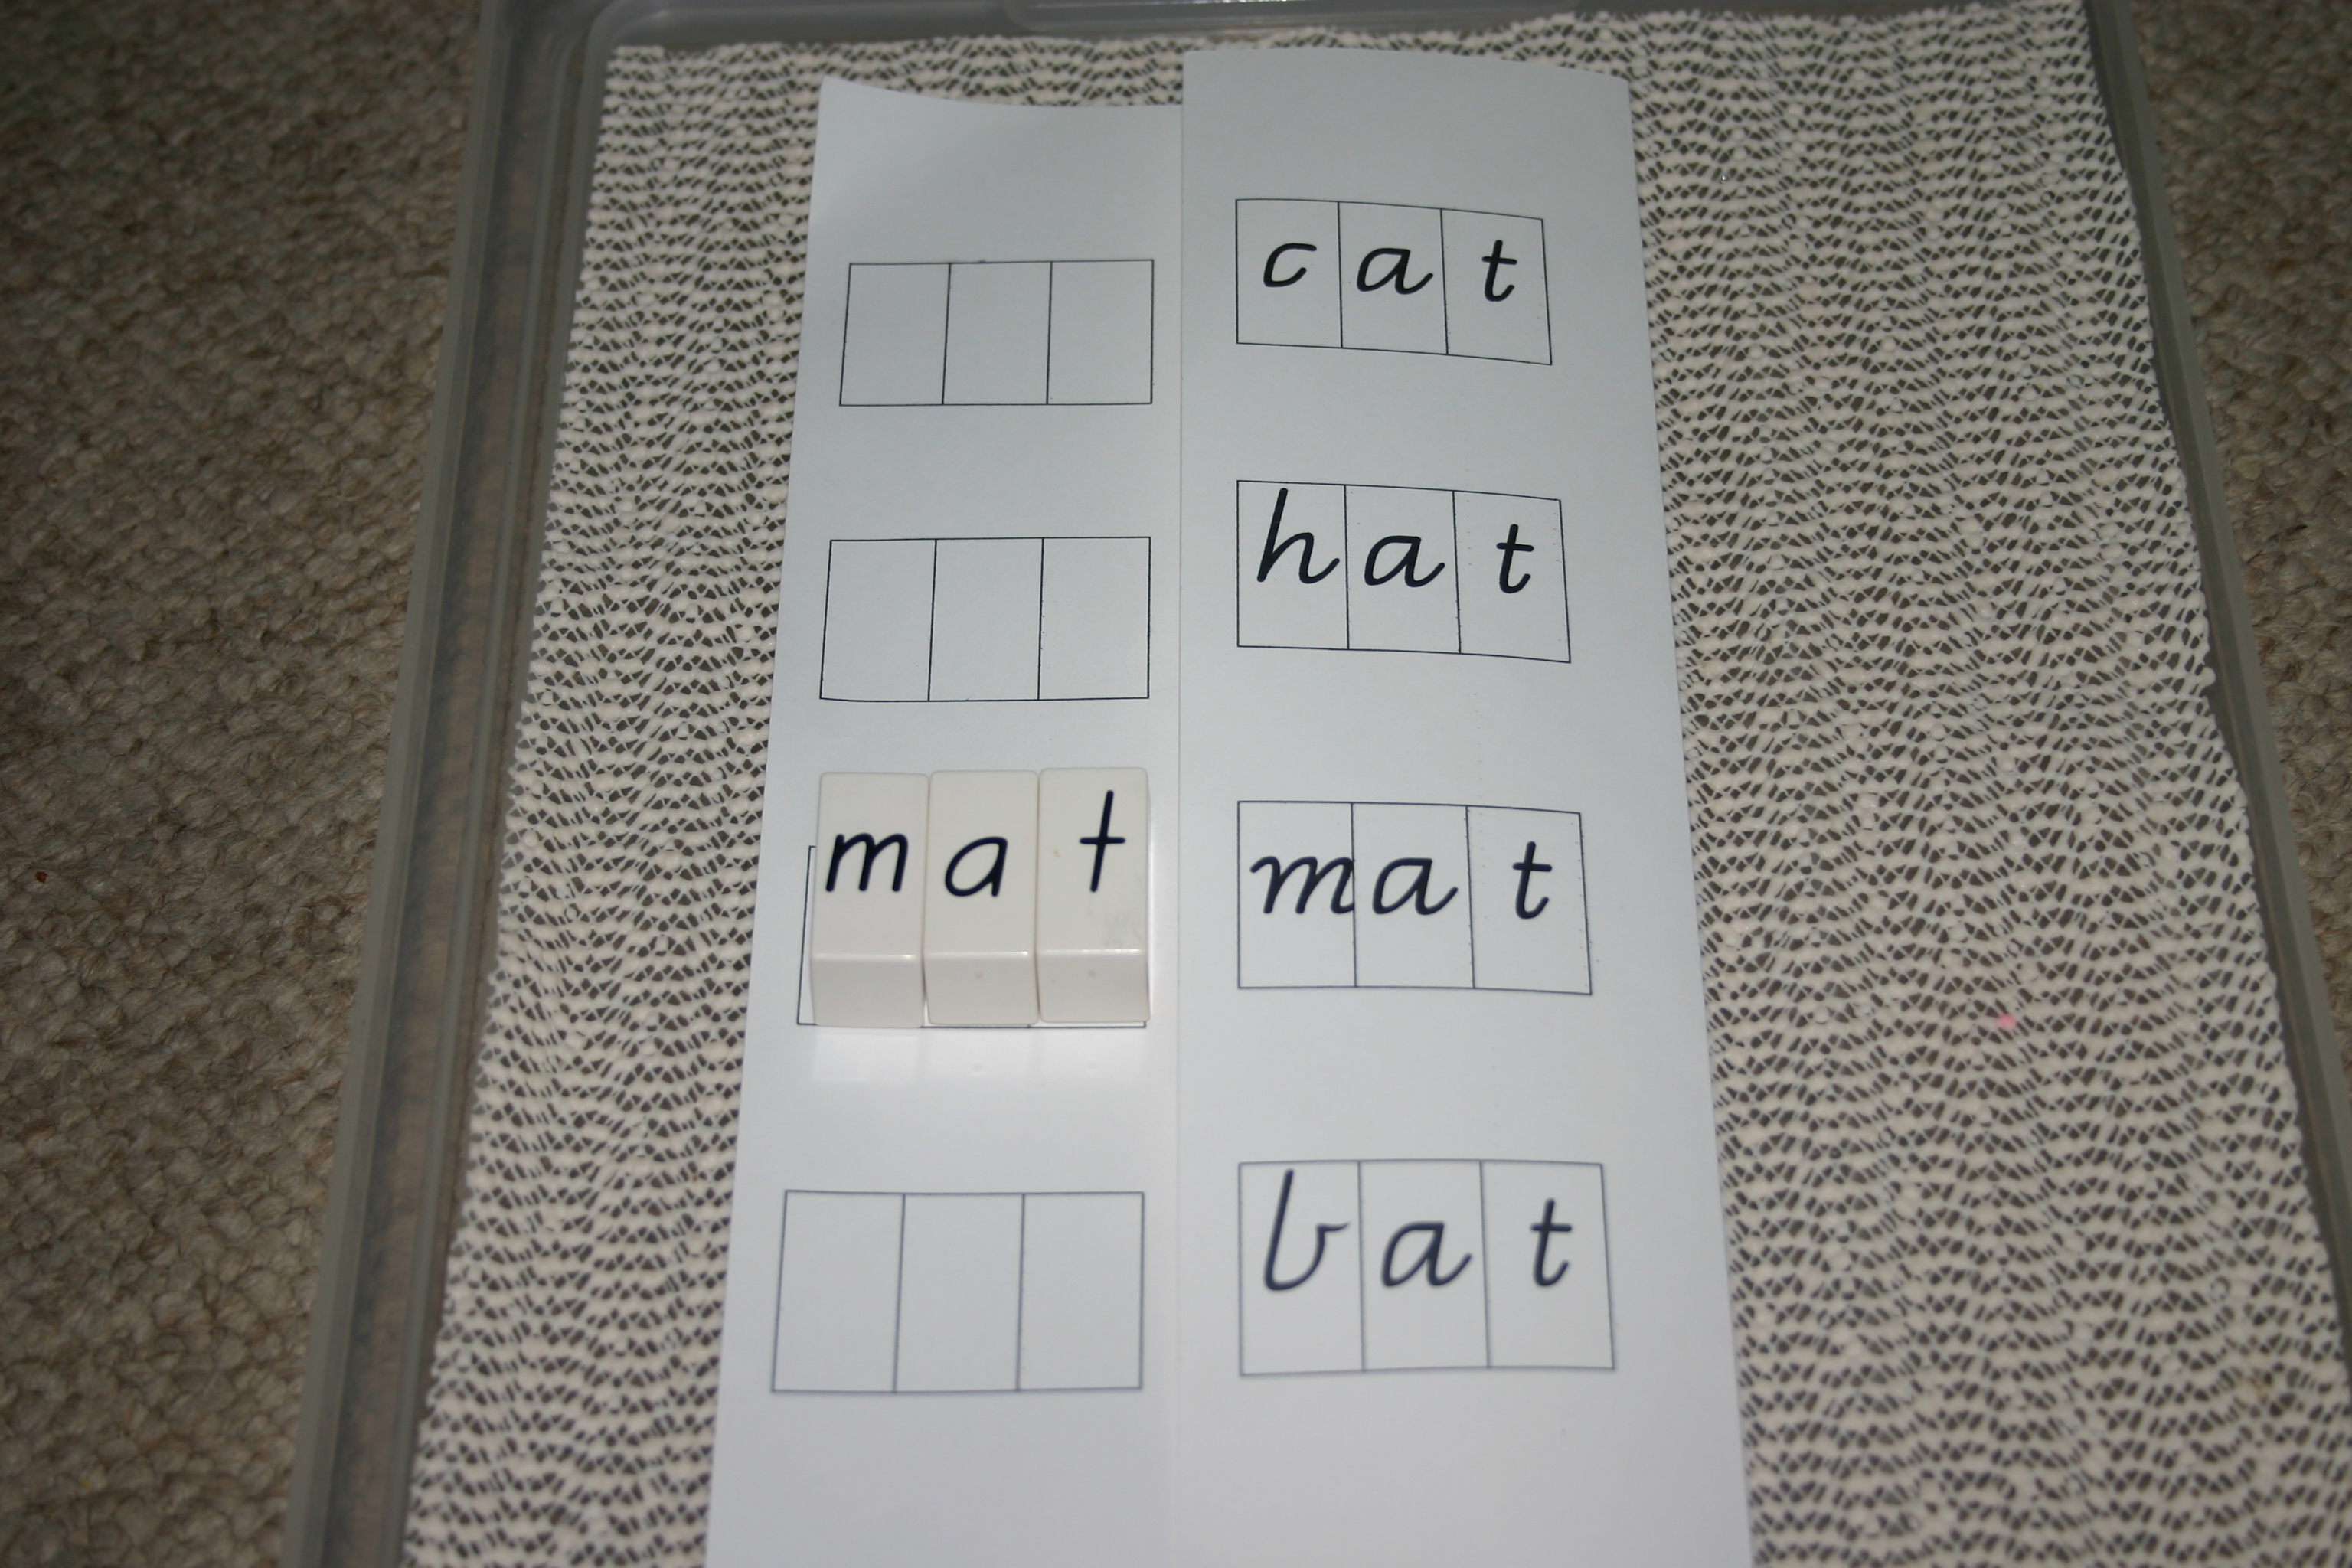
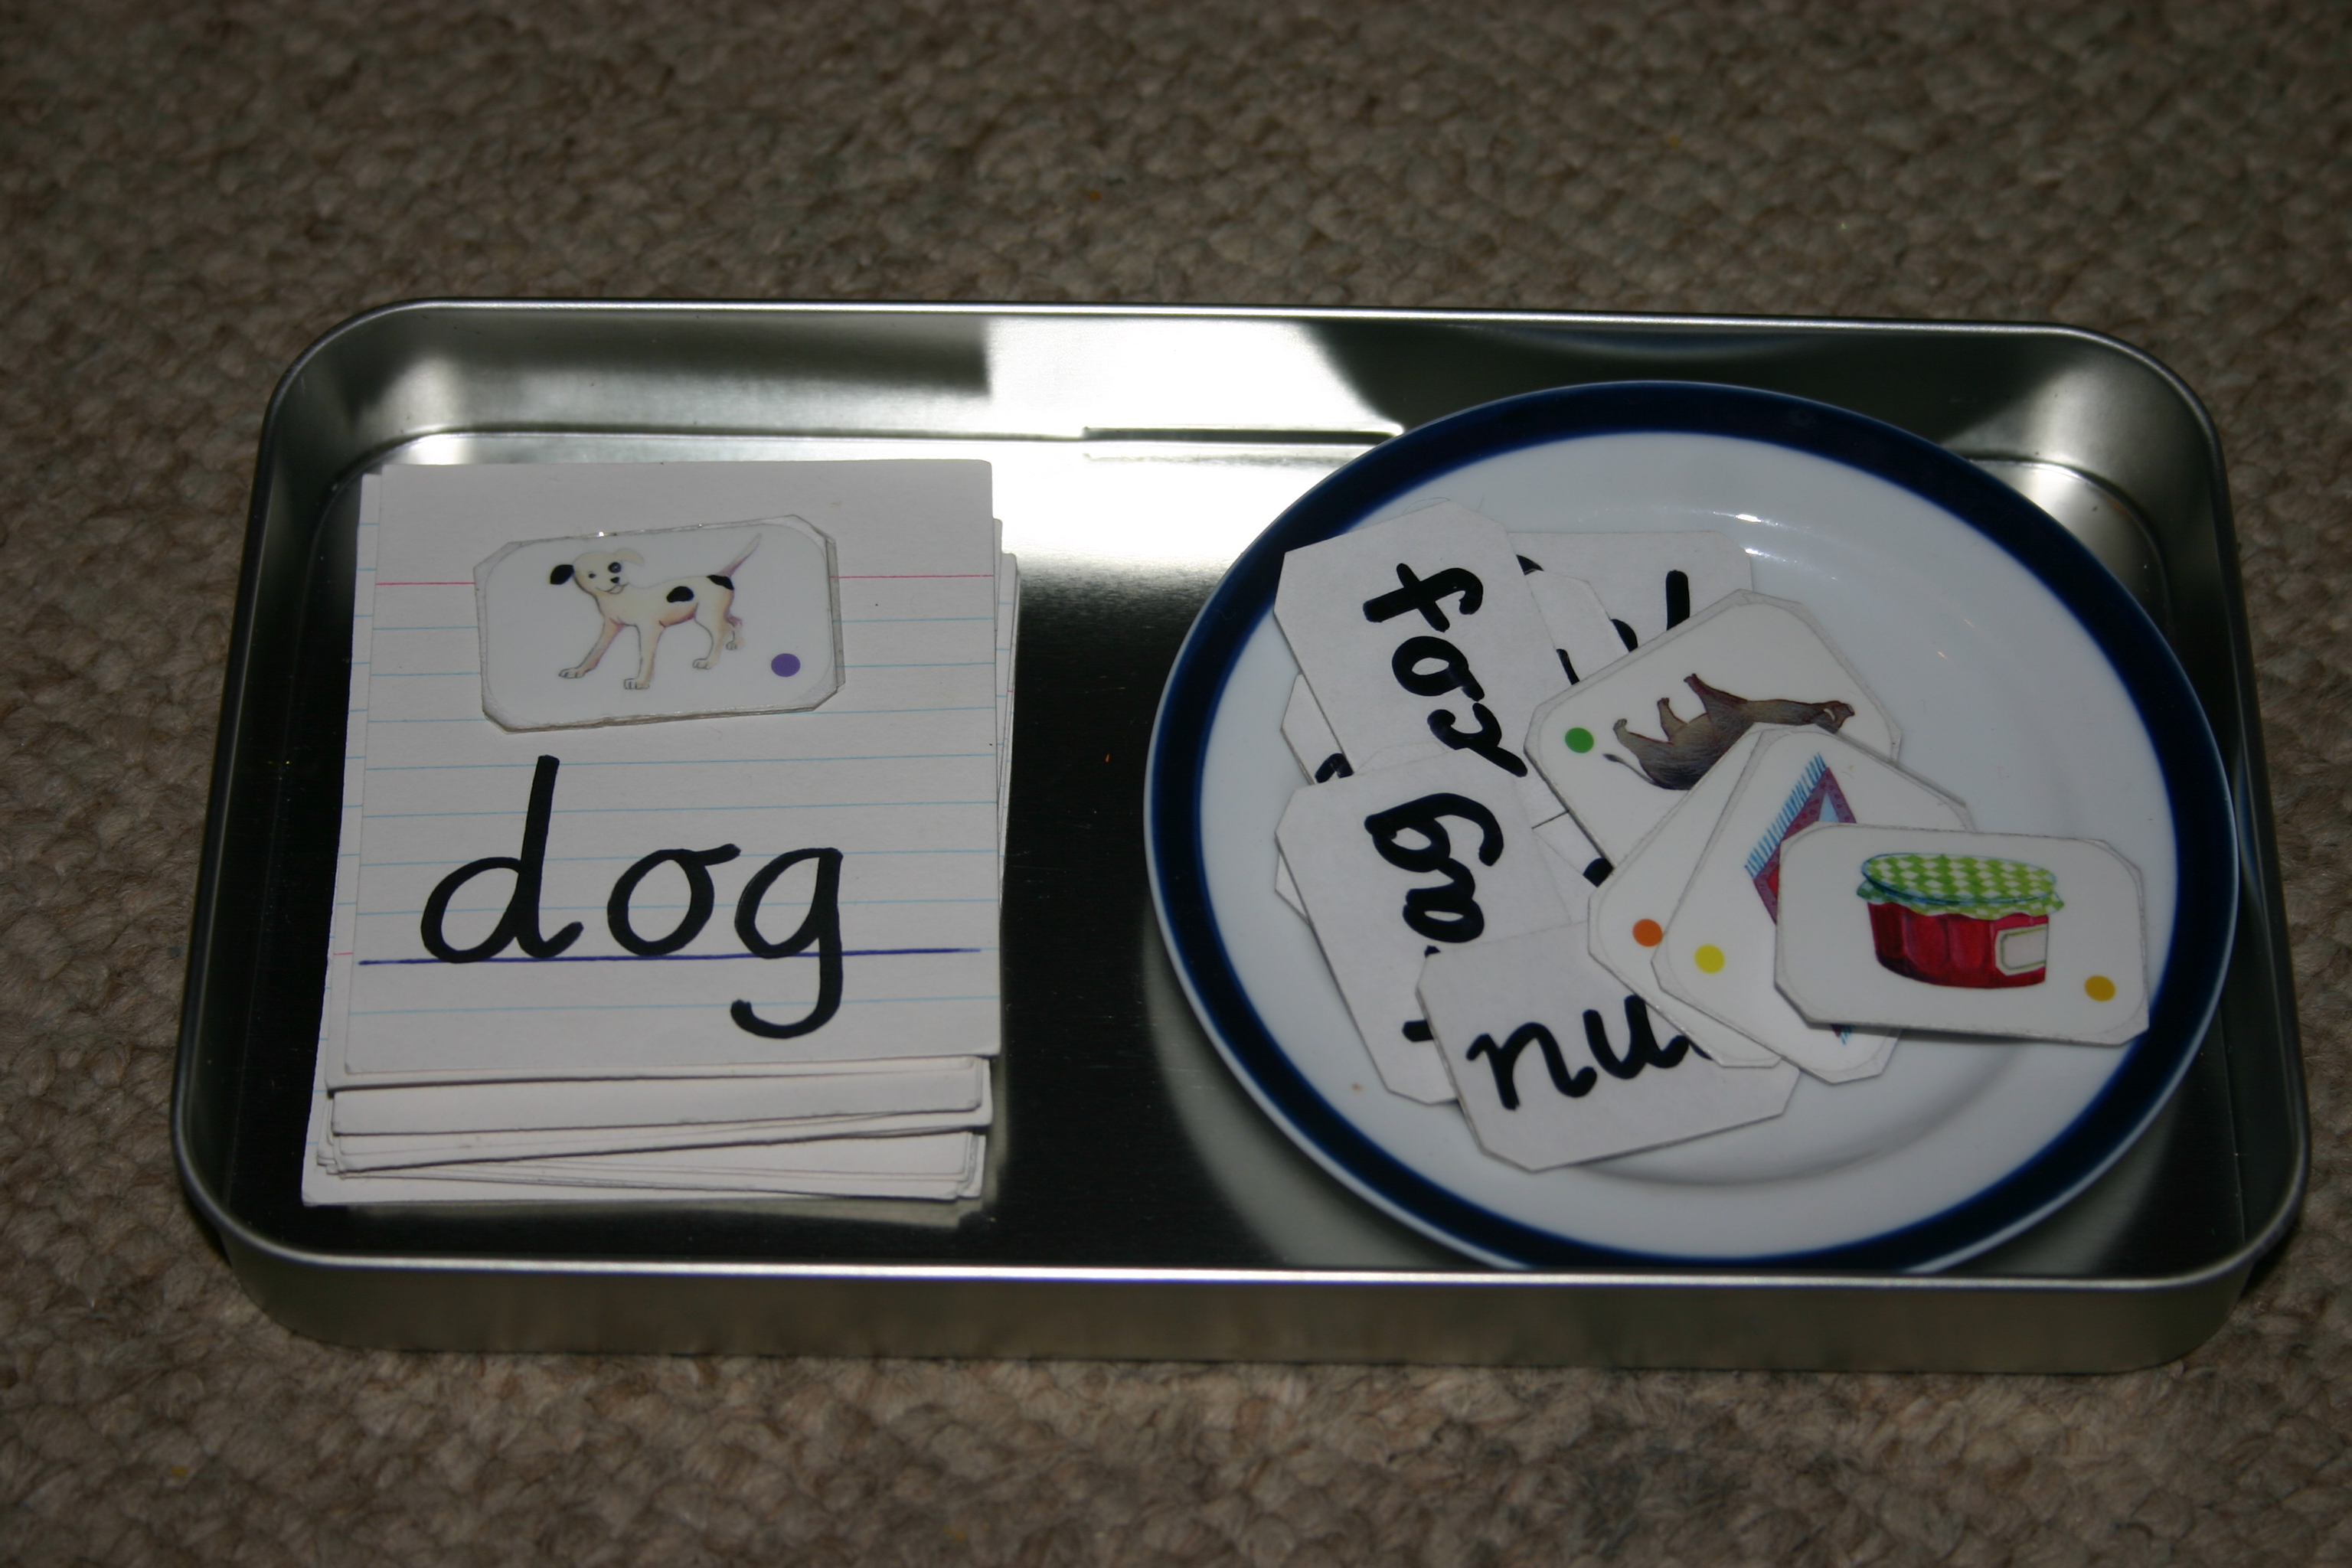 I made these consonant-vowel-consonant (CVC) 3 letter word matching cards using pictures from cheap sticker books. The children choose a picture and find the matching word card before turning the picture over to check their answer on the back.
  A basic counting and/or colour matching activity from an activity bag swap I posted on a while back. The concept is far too easy for the twins now but I wanted something for fine motor skills so popped this one out again. The idea is to slide the correct number of paperclips onto each foot after ordering the numerals from 1 to 5. You may also require them to match the colours at the same time.
Filed under: Homeschooling | Tagged: 3 letter words, addition, counting, free printable, home-made Montessori, homeschooling, homeschooling with toddlers, initial sounds, learning to read, Montessori for preschoolers, Montessori style tray activities for toddlers, table activities, tot school | 4 Comments »


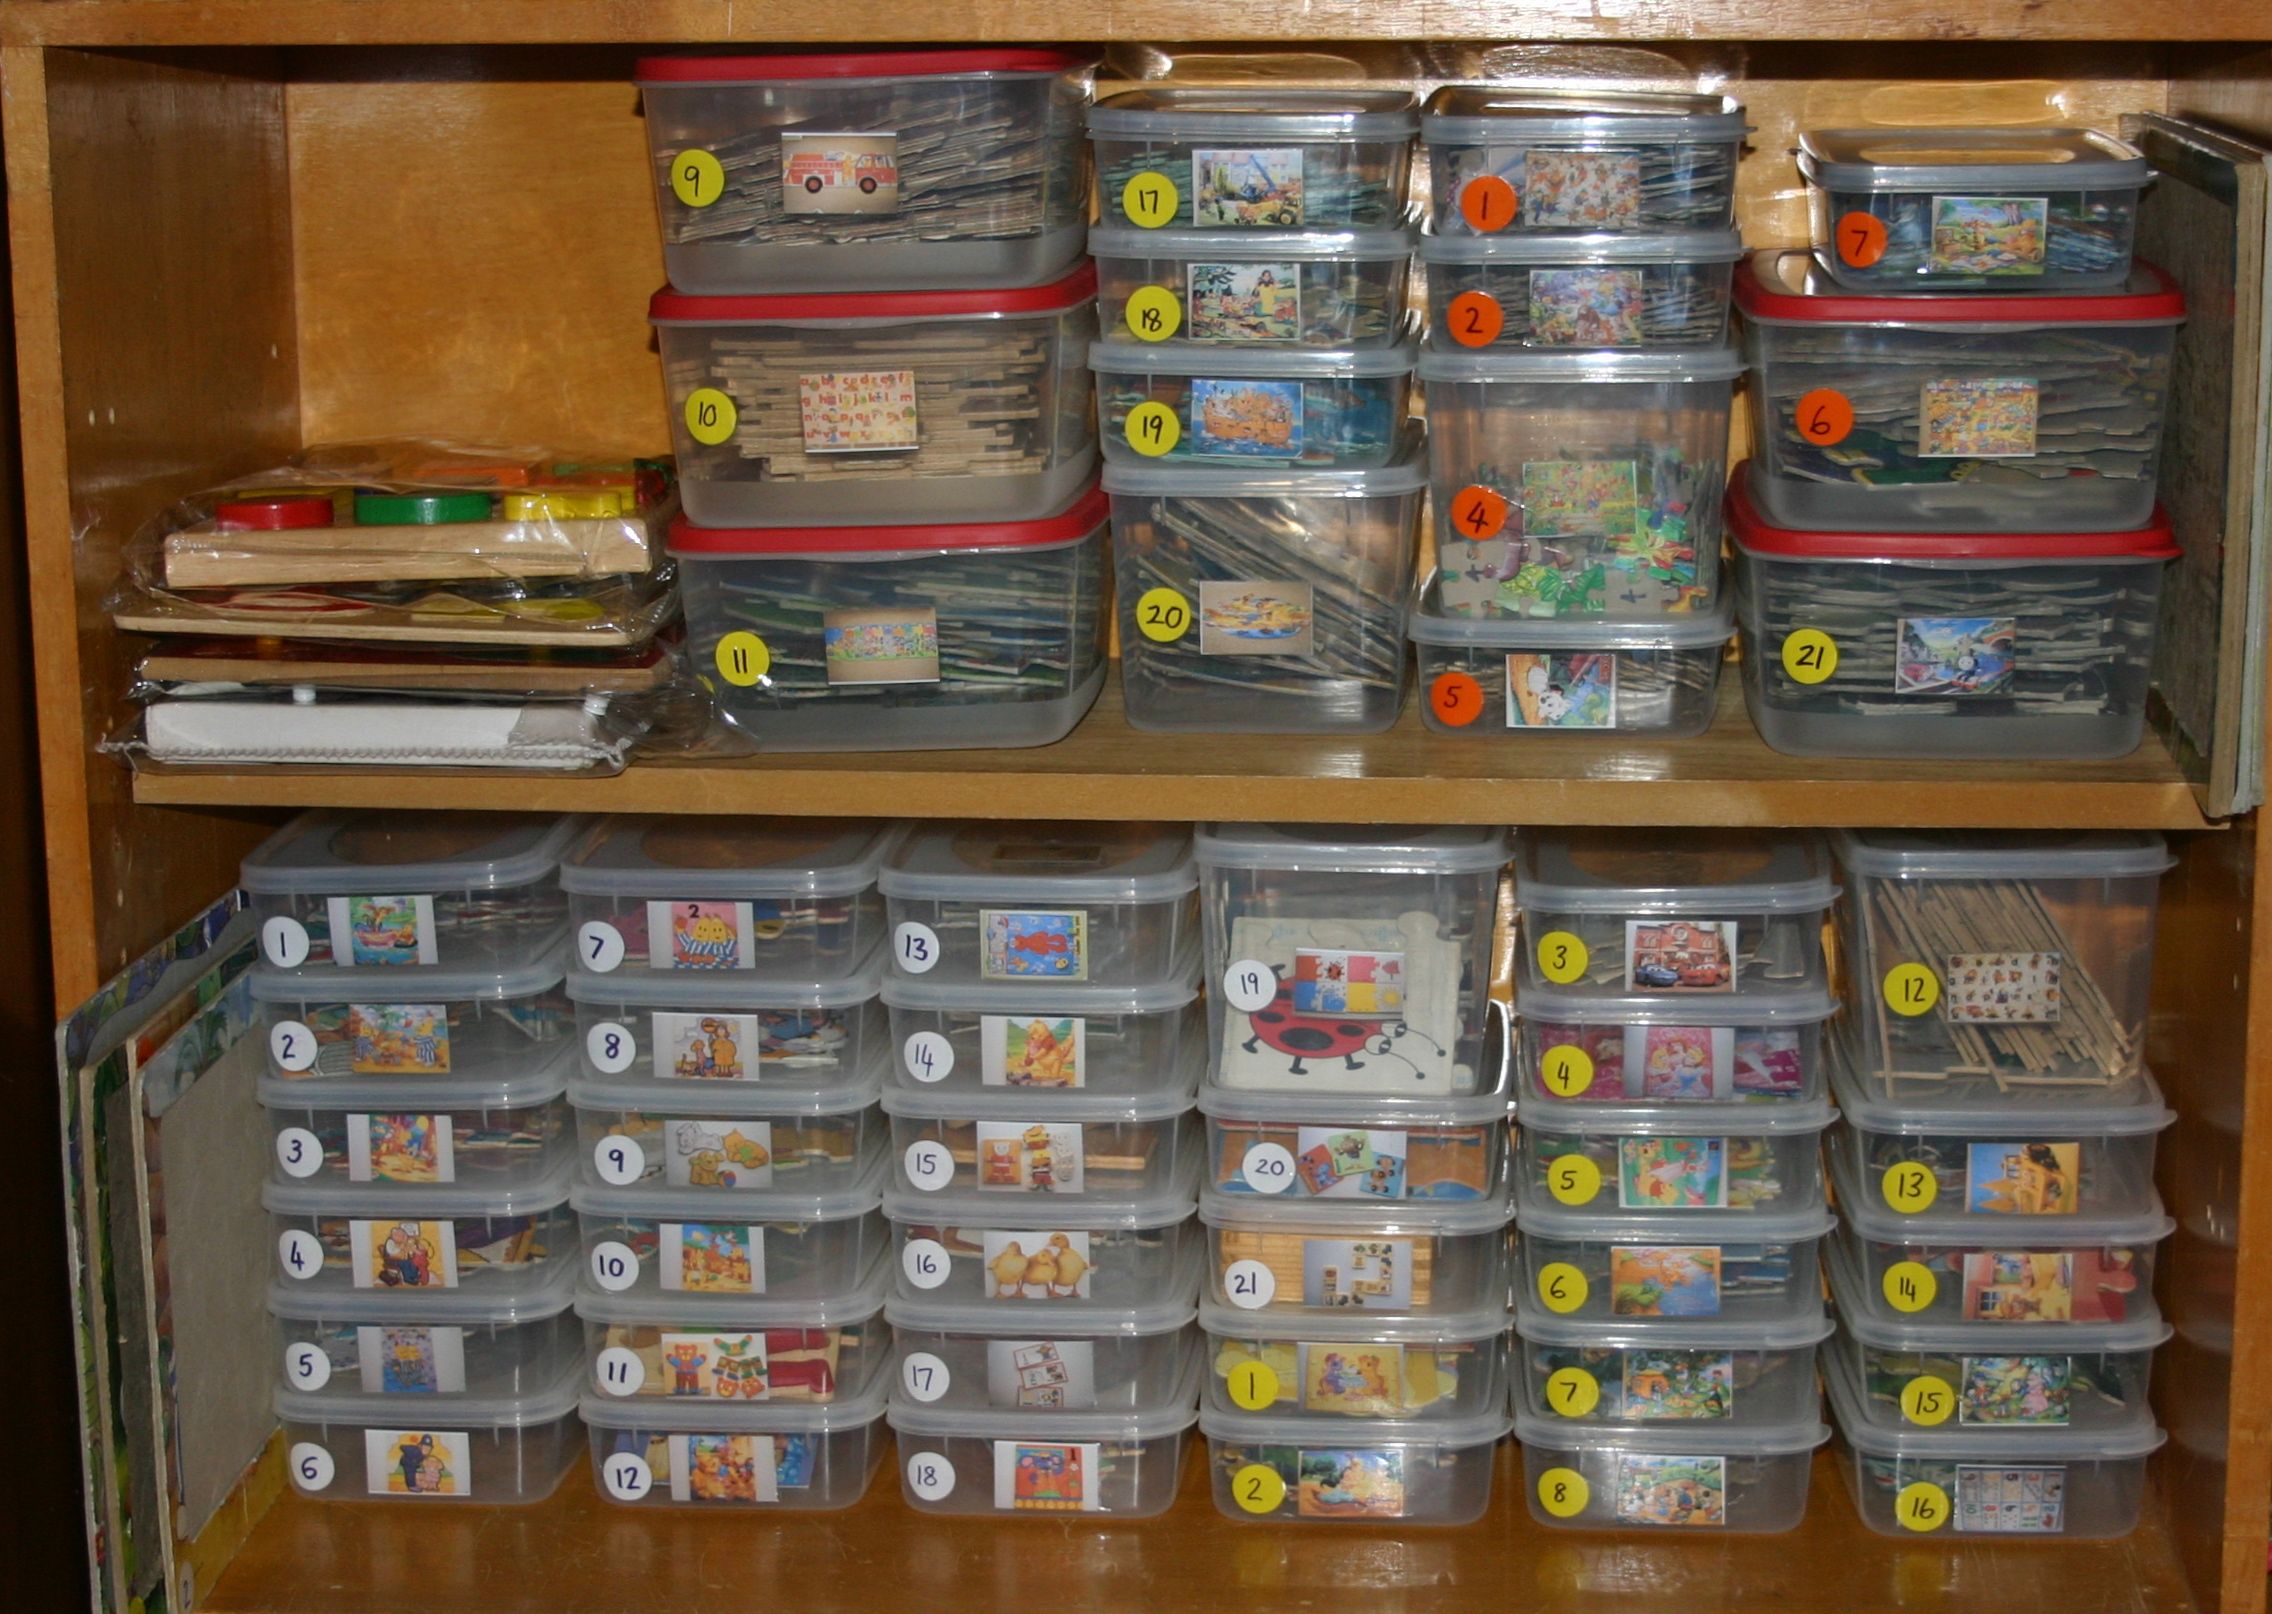


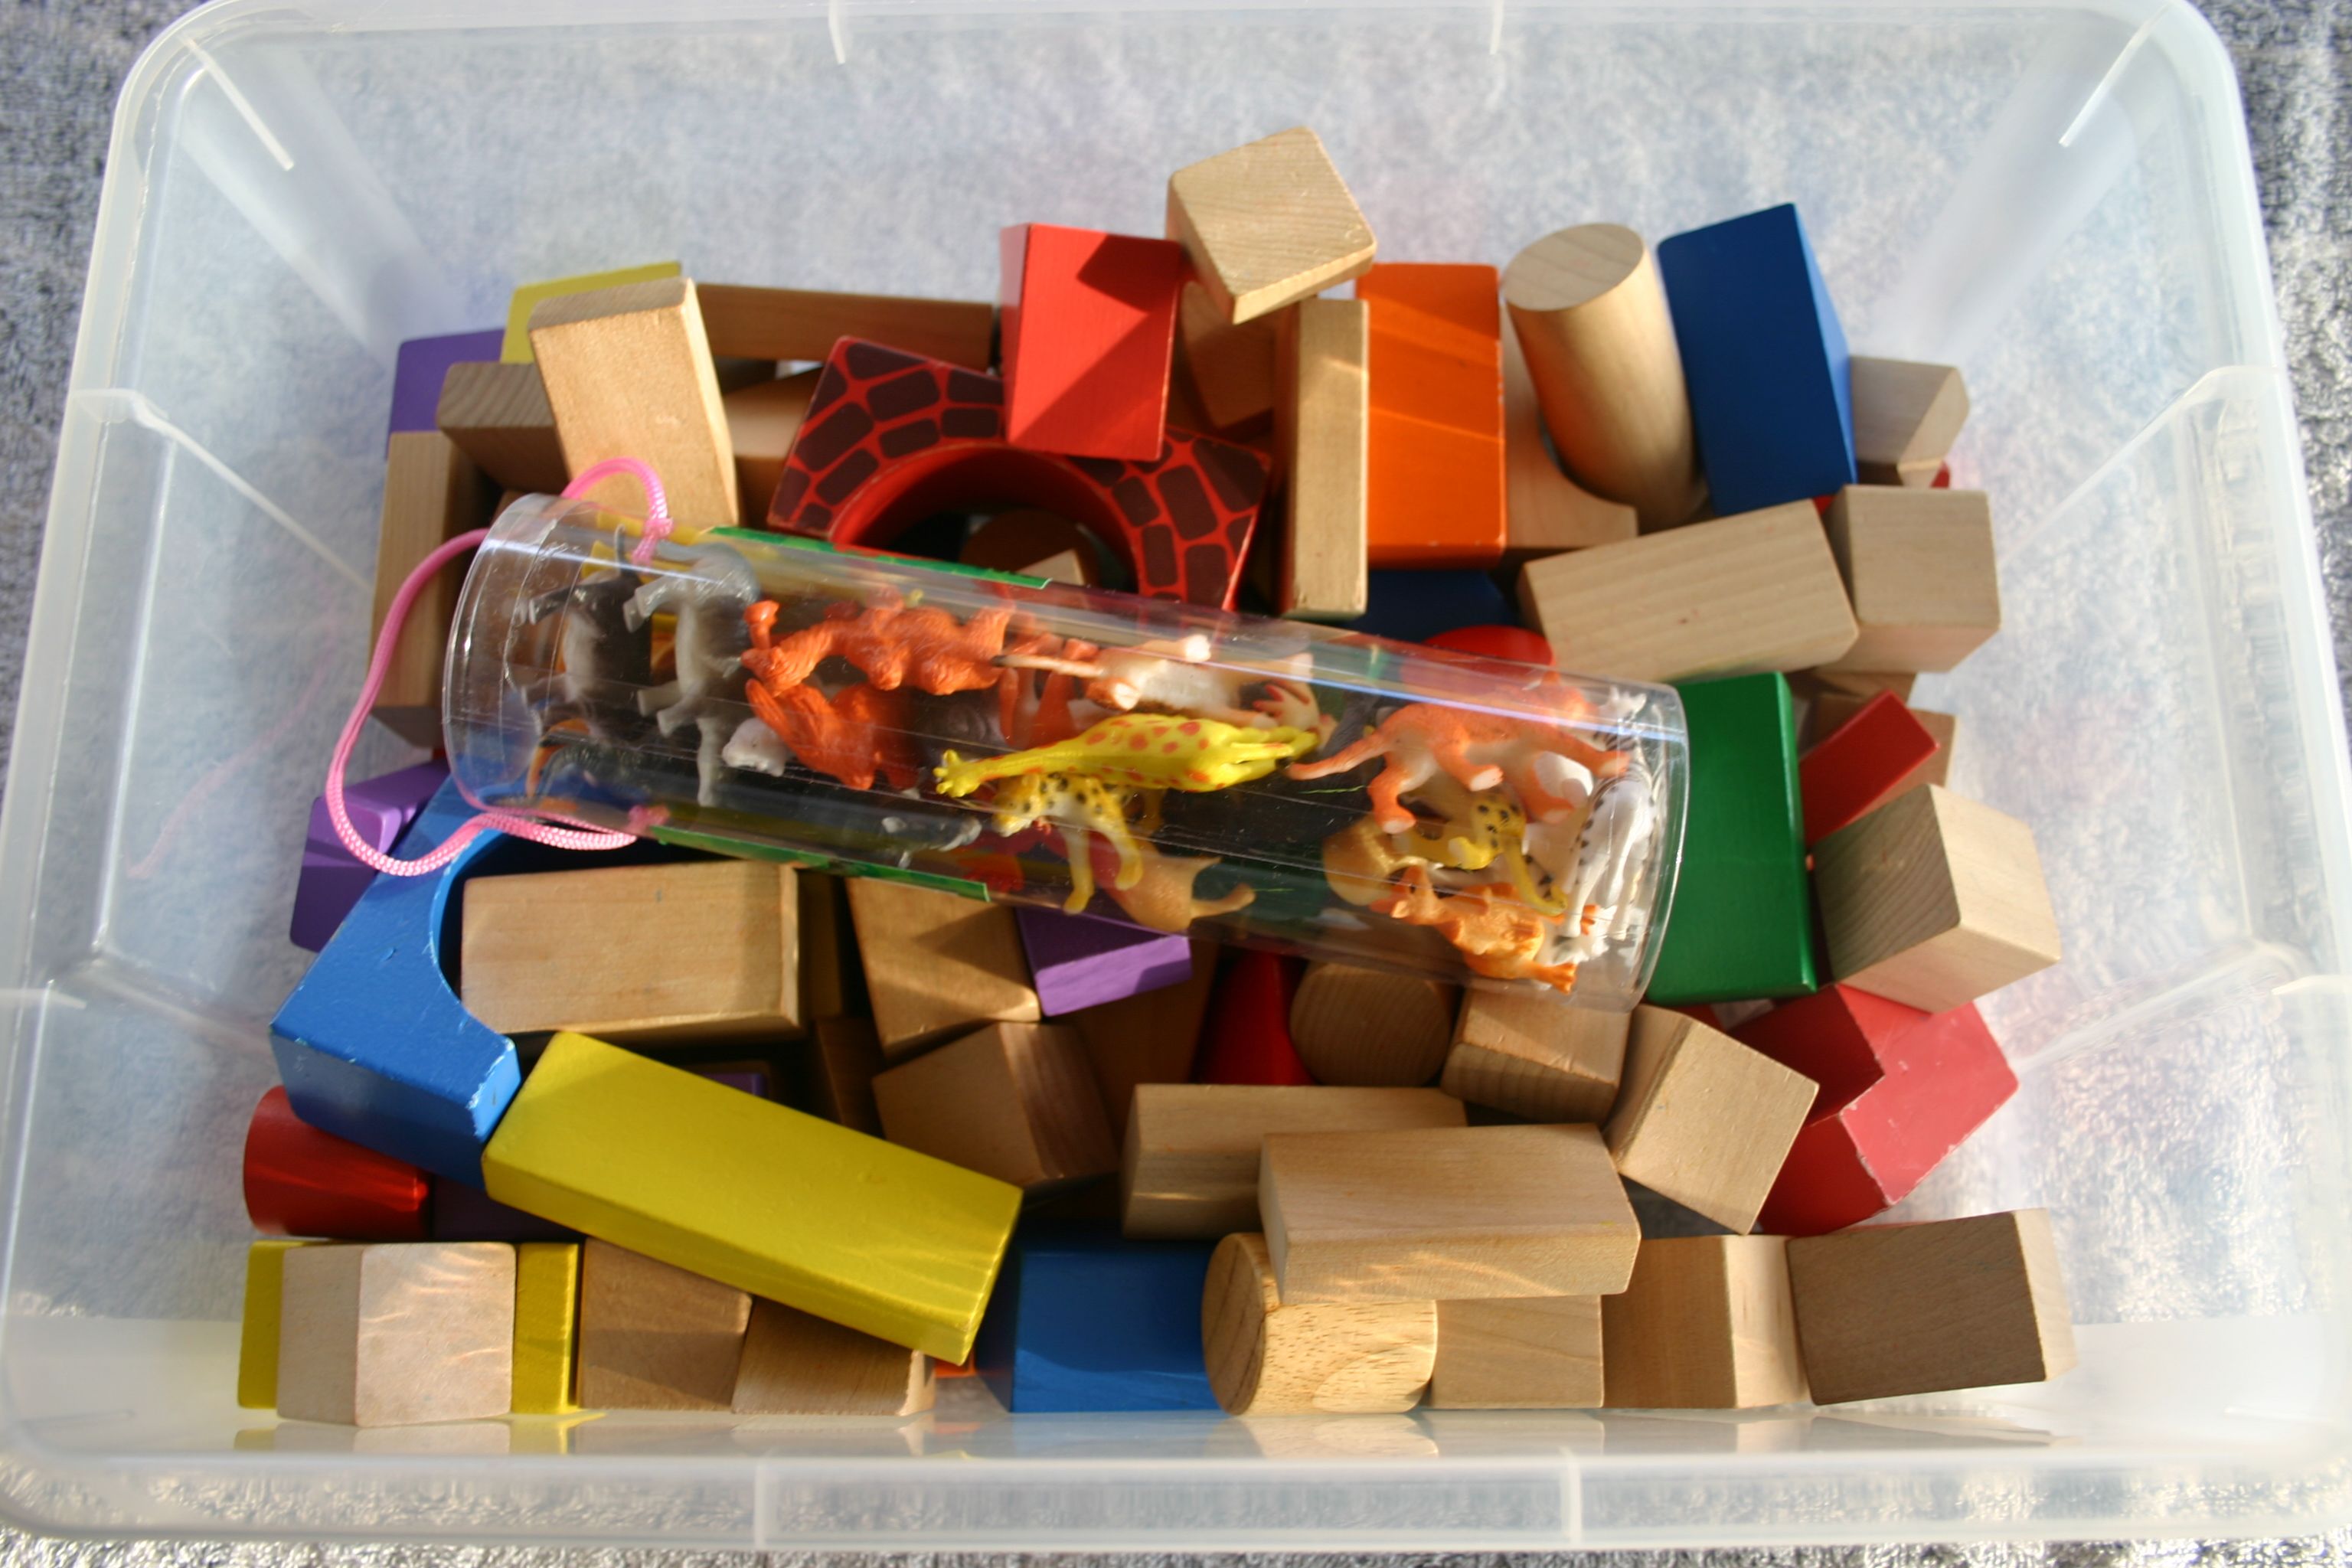
 Our busy boxes (and