Preschool at our house – work box homeschooling

IMG_0864

The twins (4 1/2) are now using a modified version of preschool workboxes. The way most people use workboxes requires them to change the contents every night in preparation for the next day. The way I use them means that the contents are changed approximately once a month. See this post for an explanation of how it works.

Workboxes allow the twins to work independently if I am caught up breastfeeding during the time when I would normally work with them. Having two sets of workboxes for two children working at the same level means that at the end of the month (or a couple of weeks) I can swap them over with each other’s boxes without having to refill and be set for another couple of weeks.

IMG_0871

We complete one page per day of a basic handwriting book as the twins are very interested in learning to write their letters at the moment and I would rather they learnt the correct shape and pencil grip first off than need to re-learn later.

IMG_0865

There is one workbox per day and in combination with the handwriting books that we work on first, there is enough to keep them going for around an hour. If they finish early, they pull out their Lego or a sensory tub to complete their school time. The older children attend a homeschool group on Wednesdays so we don’t use workboxes on that day.

Monday’s box:

  • Domino Parking Lot game (Free printable available here.)
  • Wikki sticks fine motor page (Free printable here)
  • Simple puzzle

IMG_0866

Tuesday’s box:

  • Dotted line tracing pictures (I pulled apart some pre-writing activity books)
  • Upper and lowercase alphabet letter match (Explanation here)
  • Simple puzzle

IMG_0867

Thursday’s box:

  • Addition cards (Count the pictures or use jewels to solve the sum then find the answer card.)
  • Playdough face mats (Free printables here)
  • Simple puzzle

IMG_0868

Friday’s box:

  • Cutting practise strips (Free printable here)
  • 3 letter word spelling cards (Explanation and link to printable here)
  • Simple puzzle

IMG_0869

Monday’s box:

  • Addition cards (3 possible answers are given underneath the sum with a hole punched through the card. The child uses the blocks to solve the addition sum and threads the string through the hole next to the correct answer.)
  • Simple puzzle
  • Cutting and gluing pages. (I pulled apart an activity book so that they can choose one page to push out the pictures from and then create their own drawing by gluing them onto a page.)

IMG_0872

Tuesday’s box:

  • 3 letter CVC (consonant vowel consonant) word and picture match. (Heaps of free CVC word printables on the web)
  • Dotted picture tracing (Another pre-writing book pulled apart.)
  • Simple puzzle

IMG_0873

Thursday’s box:

  • Plastic cutlery addition (The cutlery have basic addition sums written on them. The child uses the plastic fruits to solve the sum and finds the correct answer circle to place with the item of cutlery.)
  • Playdough skewer threading (Full explanation here.)
  • Simple puzzle

IMG_0874

Friday’s box:

  • 3 letter CVC word and picture card match (Link here)
  • Cutting practise strips (Free printable here)
  • Simple puzzle


Sensory tubs – mermaids and beautiful beads

IMG_0876

Assorted beads, scoops, spoons, jars, bowls, and cups make an attractive Montessori style dry transfer sensory tub.

Now that our long-awaited baby has arrived, planning for uninterrupted breast-feeding times has moved up in priority. We have chosen to keep our flexible routine going throughout these early weeks, rather than taking holidays as we find the children get along so much better with the structure in their day. With Daddy home for a few weeks and a new sister, there is enough change without taking away their daily structure at the same time.

With that in mind, I have overhauled the school cupboards with new preschool activities (photos coming soon) in preparation for Daddy heading back to work next week and created a couple of new sensory tubs for quiet afternoon table or mat play.

Training my little ones to sit in one place and play with what I give them has paid dividends on many occasions, but especially in times such as these. Knowing that I can sit down and feed with everyone happily occupied means no mess to clean up later and no bickering to deal with.

IMG_0863

Rice, mermaids, fish tank plants, blue plastic shells, bowls and sea creatures allows much scope for pretend play and imagination. My girls have been drooling over this since they saw me putting it together!

Silver Boxes – Words of life

The concept of silver boxes comes from a book I read recently by Florence Littauer, itself titled “Silver Boxes.” The positive, uplifting and loving words we say to those around us are like giving them a pretty silver box. Each time we use these powerful, positive words to speak life to our children it’s like placing another silver box onto their pile.

As I read I was reminded again of how powerful our words are and how careful we must be to guard our tongue. We have the ability to build others up or tear them down with only our words, to brighten a day and encourage someone or to make them feel flat and down. Our spouse and children are the first we should be considering when we use our words, but how often do we turn on the cheer for the person at the door or on the phone when moments before we have been barking and growling at the ones around us that we love the most?

silver boxes certificates

Formal certificates, stamps and other small tokens are a tangible form of silver boxes. Try to link them to character rather than just ability. One child can memorise and recite a poem in a few minutes while another has to apply themselves diligently for weeks. Praise the effort, not only the skill.

Deserved praise is one of the special ways we can give our children silver boxes. Again, focus on praising character rather than skill. When your child completes a puzzle, commend their focus, concentration, perseverance and effort in doing so, rather than just the act of completion. Otherwise the message becomes “You must be successful to earn my praise,” when it should be more along the lines of “If you work hard and try your best it is a commendable virtue.”

reading IMG_0068

If we praise a child for being a “good reader” for example, the sibling who is not gifted in this area cannot be praised for the same. However, every child can practise diligently, work responsibly, learn sight words with perseverance, be attentive to your teaching and refuse to give up. Praise them for these character traits even as they struggle with learning the skill.

Avoid over-praising. For many of us, giving too little praise is more of a problem, however make sure that the praise you do give is deserved. Do not go into raptures over mediocre efforts and achievements. Look for achievements that come after hard work and effort. Again, linking praise to character means you can give copious amounts of praise that is deserved, rather than false flattery. If your child has done a sloppy job of cleaning their room but you want to encourage them in their efforts, comment specifically on something they have done well. Do not say “Your room looks great!” when clearly it does not. Try, “Well done for showing initiative and responsibility in remembering to tidy up this morning without Mummy having to remind you.”

teach siblings to give silver boxes IMG_0047

Teach siblings the power of words. Encourage them to give each other silver boxes. Do not allow them to be harsh, critical or unkind to each other.

Praise plates are a great way of giving silver boxes in the form of written encouragement. They help those of us who need to remember to be intentional about praising the good things our children are and do, rather than always focussing on the negative. For a full description, see here.

chores and responsibility IMG_0139

Giving children chores is a great way to teach them character, responsibility and a sense of achievement. Don’t forget to be thankful for the work they do and let them know how much you appreciate their efforts. A child will often go the extra mile with pleasure after you have noticed the effort they put into doing a task.

Each year on our children’s birthdays my husband and I both write them a letter. Throughout the year, as the children achieve milestones, learn something new, lose a tooth or make a funny statement we make a note of it on our calendar. Anything that we want to remember is quickly jotted down right as it happens so we don’t forget it. As their birthdays come around, we use these calendar notes to write our letters. They are full of love and positive memories for the children to treasure – another way to give silver boxes. Read more about them here.

duplo building IMG_0073

My children love to have me take photographs of things they have created. It shows that I value their work, especially if I use the photo in a bog post for all the world to see!!

Mummy and Daddy dates are a great forum for silver boxes of quality time and uplifting words. We don’t do them all the time, but when we do, the children remember them as highlights. We keep the outings simple; breakfast at McDonald’s, a trip to the local op shop, a play at Jungle Gym or an icecream run once everyone else is in bed. Especially if there has been some conflict in our relationship, a “date” outside of the home removes all the conflict points. You are not expecting anything from them, you are doing something they love to do, no-one else is there to compete with and they have your full attention. Make sure you use the time to speak some uplifting words and tell them how much you like to spend time with them.

praising work IMG_0263

If your child is always showing you something, pointing out what they have done and generally seeking after your praise, consider whether this may be their love language. If you withhold it from them their love tank will become empty and they will behave in ways you do not enjoy, just to get attention from you. Far better to supply deserved positive words than to be dealing with a child who is “needy” in this area.

Some people require more silver boxes than others. Those who’s love language is words of encouragement need to hear those positive words. Some of us can give or take them, but others cannot feel loved without those verbal expressions of love, acceptance and praise. Negative words also cut more deeply for children to whom words of affirmation is their primary love language. Be aware too, that unkind, harsh or negative words can tear down that pile of silver boxes much more quickly than it was built up.

pretty in pink IMG_0229

An unthoughtful comment about a child’s appearance may be remembered for the rest of their life and knocks down many other positive silver boxes they may have been given in the same area. I can still remember a comment a primary school teacher made about my toes!

When you are having a bad day, take a deep breath and look around for something you can praise for. Catch that child doing anything positive and start to give some words of appreciation and encouragement. Even the tiniest silver box can turn the day around. A good rule of thumb is 3 positive comments for every correction you need to give. It’s harder than it sounds but so worth it!


Homeschooling with toddlers (and a new baby!)

IMG_0504

The arrival of a new baby will always cause some disruption to the family but can and should be an enjoyable and joyous occasion. A smooth transition is helped immensely by being prepared. Whether in the kitchen with menu planning and stocking the freezer, preparing the children for the arrival of their new sibling, setting up a new routine, teaching your homeschooled children to work independently,  or simply making sure there is a good selection of suitable activities for mat time, highchair time and table time will make life much easier for the whole family.

Today’s post is a peek into my 2 year old’s activity cupboard. He uses these trays after breakfast for highchair time while our preschoolers are doing their “school” work and the older children are completing their own school tasks. A good indicator that I have set up attractive materials is that both he and the twins have been pestering me daily about when they can do their school work! We are on holidays at the moment so while we do have some structure in our day, we are not dipping into the school cupboards until after the break so they are still fresh and interesting once the baby arrives. It’s killing them!!

The great thing about a lot of these activities is that the preschoolers are interested in several of the toddler’s trays and vice versa. This gives them almost double the number of choices and will help keep them interested for longer before I need to swap out their cupboards again.

IMG_0490

Sensory tubs are always a hit. So easy to prepare and with open-ended play possibilities they should keep little ones engaged for some time. A tub of jewels with a variety of tongs and containers (pill boxes, ice block tray  and chocolate box insert in this one) will be great for a week or two and can easily be made “new” again by changing the containers and tongs for something different. A variety of scoops, spoons, measuring cups, boxes, tins, jars, lids and anything else that can be tipped, poured, filled, opened and emptied will work well. Perhaps add a small teddy for pretend play fun.

IMG_0462

Our rice tray can be a sensory play tub or in this case a dry transfer activity. A small necked bottle, funnel and scoop are all that is needed for some filling and pouring play. Again, the contents can be very easily changed every week or two to keep things fresh.

IMG_0483

Threading, beading or lacing are all great for fine motor development. Young children find it difficult to push a floppy lace through. Starching the end of wool, using commercial threading laces with stiffened ends, tying the string to a thin dowel, taping the end or any other method of stiffening the thread will make it manageable for young children. This is a small piece of dowel with a hole drilled in the end. The shoelace is glued into the hole, proving a strong length that allows a chubby toddler hand to hold the wood and fit a bead onto it at the same time. Don’t forget to tie one of the beads onto the end of the string to stop the rest rolling off onto the floor.

IMG_0495

A small ball of dough in a plastic container  provides a steady base for some wooden skewers. A variety of coloured noodles and straws are available to thread onto the sticks. (Cut the pointed end off for safety.) This is one I found on Pinterest (see my toddler pinboard for more ideas.)

IMG_0499

Storing the dough in the small orange plastic container means the lid can be popped back on to stop it drying out. Once the toddler has seen it once, poking the skewers in will be part of the attraction.

IMG_0491

Basic puzzles are great. Matching picture halves make a good starting point for  a child who is too young to be able to complete a regular puzzle.

IMG_0481

These are laminated playdough mats. With another small tub of dough the child can add a face, hair etc. Free printable available here.

IMG_0465

Free experimentation with a basic set of scales and blocks will develop a child’s understanding of heavier, lighter, more, less, up and down and other mathematical language. Older children will tend to count, predict and experiment in a more sophisticated way.

What does your toddler love to play with?

Preschool at our house – ready for a new baby!

IMG_0487

Here is the latest change-over for the twin’s preschool activities for homeschool time each morning. We are currently taking a school holiday break for 2 weeks, leading up to the birth of our 7th blessing.

I have found from experience that everything goes much more smoothly if we continue with school, rather than take a break at the same time as the newest arrival. Too much free time and lack of structure and supervision creates cranky kids who bicker all day and drive me crazy! I have made sure that the activities for this term do not require a lot of 1 on 1 time with Mum and the older children especially are able to work through without requiring my assistance, other than for the occasional question etc.

IMG_0486

These handwriting books are the one item in the preschool cupboard that will need my 1 on 1 attention. The twins are asking me how to write certain letters now and are keen to write their names. My opinion is that if they are going to write letters, they may as well learn how to do it properly right from the start, rather than need to re-learn later and correct bad habits. I should be able to fit in the 15 minutes or so that is needed to complete 1 page per day.

IMG_0478

I picked up some old activity books with dotted pictures. Tracing these dotted lines to make the figures is great fine motor practise. I have removed the pages from their covers so that the twins can easily grab one page at a time.

IMG_0477

I also found some old sticker books. Again, I pulled all the pages out so that they can choose one at a time. Some paper to stick them on to and a packet of textas is all that is needed for some creative fun.

IMG_0474

I have had these pattern block puzzles out before but the children do not choose to do them unless directed to do so. I have made a list of each picture with space for a sticker or stamp next to each one. After finishing a puzzle they can mark it as completed by stamping or sticking next to the corresponding name. A little added incentive!

IMG_0473

Cutting and gluing are still exceedingly popular with both children. This box has some large plain paper sheets, wrapping paper pictures, glue sticks and scissors for free creating.

IMG_0469

A carry on from last month – matching upper and lowercase alphabet letters. More work is needed on this skill so I have just changed the presentation and popped it back out again. The large jewels have capital letters on them and the ice block trays have both upper and lowercase. It is a basic matching activity.

IMG_0468

Addition and counting skills will be something we continue to work on for a while. With the rocks as the manipulatives, the children solve the simple addition sum on each peg before clipping it to the correct segment on the paper plate. Using pegs means that this also improves fine motor skills as well. The circle in the centre is the inside of a used roll of sticky tape. I just glued it onto the paper plate which provides a great place for the pegs and rocks to be stored when not in use.

IMG_0464

Three letter CVC words are going to be out for quite a while. With the same letter tiles and a new set of pictures (free printables here) the twins already know how to do this and need only a little help. Last time I had them lucky dip the tiles out of a bag but I found that they wanted to be able to see all the letters and find the one they needed so ended up tipping them all out anyway. Having them in the plate means they can see the tiles and choose the sound they are up to.


Mat time and sensory tubs

IMG_0438

Mat time is something we use with our little ones from around the age of 12 months. It teaches them to stay within a boundary and to be content with the toys they are given to play with. Focussing and concentrating skills are developed as they learn to stay with a couple of choices, rather than flit from one thing to another. When we go out I can set out a boundary and know that they will stay where I tell them to and play with whatever I have been able to bring with me at the time. It also means that when children transfer to a big bed they will obey Mum’s instruction to stay in bed, or when toilet training will sit and read a book while they do their business, rather than wanting to get off after just a second or two!

IMG_0431

I have used crates of toys in the past, but as our youngest can now play with small items without me having to watch his every move, I have introduced individual sensory tubs. I posted recently about our large sensory tub (currently filled with oats) but these smaller ones are filled with “clean” materials and are used by only one child at a time. Our two-year-old is using this most days, so I will probably need to change out the contents every week. Alternatively, I could have 4 or 5 on the go and rotate them which would make them last much longer, but I don’t have the storage space or the tubs to do that.

To give you an idea of how easy it is to change the contents, next week I will remove everything except the rocks and add more rocks of larger sizes and different colours, dinky cars and trucks, some card tubes, a couple of blocks of wood and some small shovels and scoops. 5 minutes later – new tub!

If you have trouble thinking of ideas, spend an hour on Pinterest and you will have enough to last you for months. My sensory tub ideas pinboard is here if you want to see some of my future plans.


Homeschooling with toddlers; activities for two-year-olds

IMG_0362

After updating our preschool activities last week it was time to do the same for my two-and-a-bit year old. I was so thrilled when he was old enough to use some of our many table activities and they did keep him going for ages, but after almost two months with the same tubs, he was ready for a change.

IMG_0428

This is his activity cupboard after the change-over. We use these activities after breakfast while he is still in his high-chair and occasionally before dinner, also in the highchair. Learning to sit, focus and concentrate for an extended period is such a valuable skill for later in life and so helpful for those situations when you need a toddler to stay in one place and play quietly (think restaurant.) See this post for more information on highchair time.

IMG_0360

A gift from Nan and Grandad became our first new activity. Posting 50 cent pieces through the money-box slot, then removing the rubber stopper and taking them out again was a hit.

IMG_0416

This opening and closing containers activity tray was my favourite so I was pleased to see he like it too. Open-ended play opportunities will keep a toddler going for quite some time.

IMG_0420

I had placed a couple of the counting bears in each container to start with and part of the fun was opening each one to discover the bear hiding there.

IMG_0415

This tub holds different kinds of pegs to slide or peg on to containers or place into the popsicle mold. Pegging is another great fine-motor skill. Be sure to choose pegs that do not have a stiff spring or little ones will not have the strength to open them.

(This activity did not grab my little guy at all. Activities that are too easy or too hard will not keep young children going for long. Knowing where your child is at developmentally is important. If you aren’t sure, try it anyway but be prepared to leave it for later. I have tried certain skills that didn’t work at all, but within just a few months the same child found it riveting. This one will come back out in a little while.)

IMG_0426

Poking toothpicks into florist’s foam.  I have since been told that the grey foam should crumble less so if you are purchasing it specially for this purpose, then go grey! The green block I have is slowly disintegrating and does shed green dust.

IMG_0425

This activity is a little young for him but as the money-box packaging was perfect I decided to introduce it again. All he needs to do is poke the plastic sticks (penne pasta, straws etc.) through the holes then tip them out of the  box and go again. This is fascinating for babies once they have the hand control to do it and will keep a toddler interested for a little while. The fact that the box has a window adds so much more to the interest level as they can watch the items drop into the box.

IMG_0421

After watching older siblings draw and use stickers, he has an early interest in these.

IMG_0411

Tong transfer activities are another hand strengthening pastime that will help make pencil grip a breeze later on. Placing pompoms into a container like this ice block tray also develops an  understanding of one-to-one correspondence.

IMG_0382

Similar activity – tong transfer – but these toast tongs are a little harder to manipulate.

IMG_0383

Two hands proved necessary to achieve the task.

IMG_0410

This wooden puzzle set from Melissa and Doug uses basic geometric shapes to complete simple pictures. They are a bit easy for my little guy so are not holding his attention like they probably would have a few months ago.

IMG_0384

Fill and spill bottles are wonderful for younger babies. They just love to plop items in and tip them out again. At two, our toddler will still do this but it won’t keep him going for long.

While our two-year-old works on his activities after breakfast, the older children start their independent homeschool work and I work with the 2 preschoolers. The toddler then moves to playpen time and I work with the older children while the preschoolers do their independent activities on their mats. We all (except the toddler) get together then for circle time before the younger 3 head outdoors and the older 3 finish up their schoolwork if they haven’t already. All up, we are going for about 2 to 2 1/2 hours. I am often asked how I manage such a large family and homeschool. This is how folks!

This set of activities will need to be changed fairly quickly (possibly after two weeks?) as there is no way they are going to keep his attention for a whole month. Next month I will move to more involved tasks that take more time and provide open-ended options. With my basic categories in mind, it’s really very easy to come up with a new set of tasks and the beauty of this style of play is that often the toddler and the preschoolers can share the same activity. This will definitely be the case with our next change-over when I get ready for our new baby with activities that do not need to be changed frequently or have help to complete. Stay tuned!

Preschool at our house; hands-on homeschooling

IMG_0374

Almost a month exactly has passed since I last updated the twins (4 1/2 years) preschool activities. Changing them out once a month takes me an hour or two at the most (without interruptions!) and with approximately a month until I need to do it again, isn’t too much of a burden. If I take the time to plan for interesting activities then I find I have a positive attitude to “school” time and of course, with something new and interesting to do, so do they. A little internet surfing and Pinterest pinning and I have more ideas than I could possibly put into practise.

The children have plenty of time during other parts of the day for play-based learning and some free choice, but school time has a little more structured. I like the activities to be hands-on where possible and try to keep in mind that we have years ahead for academic learning. Right now it is more of a priority that they learn to sit, focus, concentrate and obey my instructions than it is for them to learn a particular academic skill.

IMG_0408

This is what the school cupboard looks like this month. With the broad categories of mathematics, reading and writing in mind, we are focussing on adding small numbers, sequencing numerals to 30, identifying upper and lowercase letter names and sounds, sounding out 3 letter words, forming letters and fine motor skills.

IMG_0401

These addition strips are once of the free printables I designed to go with Mathusee Primer level. We are working on basic addition facts, this month: adding on 3 and 4.

IMG_0386

These plastic party spoons have the numerals 1 to 30 written on them. The child needs to put them in order and then post them into the right slot in the shoebox. If unsure of where to put them, they can lift up the red strip to see the numerals below.

IMG_0387

IMG_0367

This is the favourite by far. The twins dig out the buried jewels from the rice sensory box and match the uppercase letters to the lowercase letters on the trays.

These large jewels are the kind you find for displaying flowers/candles and are a very inexpensive way of creating your own Montessori moveable alphabet. A set of black letter stickers was all I needed to purchase and with the jewels came to a grand total of $4.50. The rice I had in the cupboard from my other large sensory tubs and the metal trays are a pencil tin that my daughter no longer needed.

IMG_0398

After mastering initial sounds, we have started work on 3 letter words. The bag holds the letter tiles which are lucky dipped and matched up to the correct space under the consonant-vowel-consonant  (CVC) words. There are no spare letters so the activity is self-checking. The answer could be written on the back of the cards too but I find that my little darlings like to turn them over and cheat check if I do that! The free printable CVC picture cards are available here.

IMG_0392

This salt tray has been on my to do list for ages. All you need is a tray of some sort with a brightly coloured but plain background. Rainbow stripes or large blocks of colour will work well, but avoid busy pictures and patterns. Place a thin layer of salt into the tray, provide a paint brush and let them at it. Allow plenty of time for free “painting” first and once the novelty has worn off somewhat, add some letter cards to copy. A cue tip/ear bud will work and some people suggested just using a finger but I didn’t think the salt felt very nice. My children don’t get to paint as much as they’d like so I figured the brush would make them feel like they were doing art!

IMG_0393

One drawback of the suitcase style was that my daughter closed the lid and picked it up by the handle to pack it away. Nope, not salt tight! Oh well, sweeping up mess is educational too.

IMG_0395

Starter Styles are a commercial educational toy that we purchased years ago. The older children remember them fondly and have all sat down for a fiddle at some stage or other since they came back out. The children sequence the number tiles then use them to answer questions in the book by placing them into the correct square. If their answers are right, the tiles will make a pattern when flipped over in the lid. The little books that go with them cover pre-number skills right on through to some more difficult concepts, as well-as pre-reading, reading and spelling. Not a must-have but a novel way of working on some basic skills. The logic required to work out how to place the tiles alone is quite difficult for little children.

IMG_0404


Threading is always good for fine motor skills. These blocks are numbered so it can be a sequencing activity also but as both my preschoolers are past this I won’t be worrying about whether it is in numerical order or not.

Last months preschool activities are here. The month before are here.

Coming up: The monthly overhaul of the two-year-old’s highchair activity cupboard.

What is your preschoolers’s favourite school-time activity?

Our oats sensory tub

oat table up on steps IMG_0348

The oats sensory tub has been an ongoing hit. (See original post here.) I have made a few adjustments in order to eliminate the apparently irresistible urge to set up the equipment and oats on the sheet, rather than in the tub! Propping it up on Ikea steps so that the children can stand and play, rather than kneel on the floor and bend over seems to work better, as does removing all the available play accessories into a large basket so that the children choose what they want to use and place only that into the wooden play tray.

sweeping up oats IMG_0349

I found a mini dustpan and broom to sweep the oats up and put them back into the large bowl at the end of play but this is actually the main attraction right now and is constantly being used to sweep the oats about and shovel them up. Good training for chore time!

I had originally planned to swap out the equipment once a week or so but as we are not using this every day (it is supposed to be our rainy day only activity although the kids love it so much I haven’t stuck to that) and interest is still running high in what is currently out so I’ll leave it for another week or two and add something new when I need to boost enthusiasm for the activity.


Rainy day activities outdoors: Cubby houses


cubby IMG_6525

When our cubby first arrived a number of years ago, it was a big hit. Meals on the verandah were frequent. Two years later a make-over is required.

Operation cubbyhouse make-over is finished!! Many friends and families I know complain that their cubby house is a white elephant. While our cubby is one of the first things in use when visitors come around, it has not been well-used by our own children recently. Like all things, the novelty has worn off and it is time for a “home improvement” project. (Particularly as the wet weather has arrived and it gives the children something to do outside even when it is raining.)

The following ideas will help make our cubby (and yours) an attractive play option this winter. Don’t forget to change the contents occasionally and limit what is available at once. Everything out together will make for one huge mess and actually works against producing worthwhile play.

Choose open-ended accessories and toys that promote imagination. How do you know if something is open-ended? Ask yourself what you can do with it. A toy vacuum cleaner can pretty much be used for vacuuming and that’s it, making it a closed toy choice. A pile of sheets can be princess gowns, bedding, room dividers and so on, therefore it is an open-ended play choice.

RECOMMENDED PLAY HOUSE ACCESSORIES:

blackboards IMG_0317

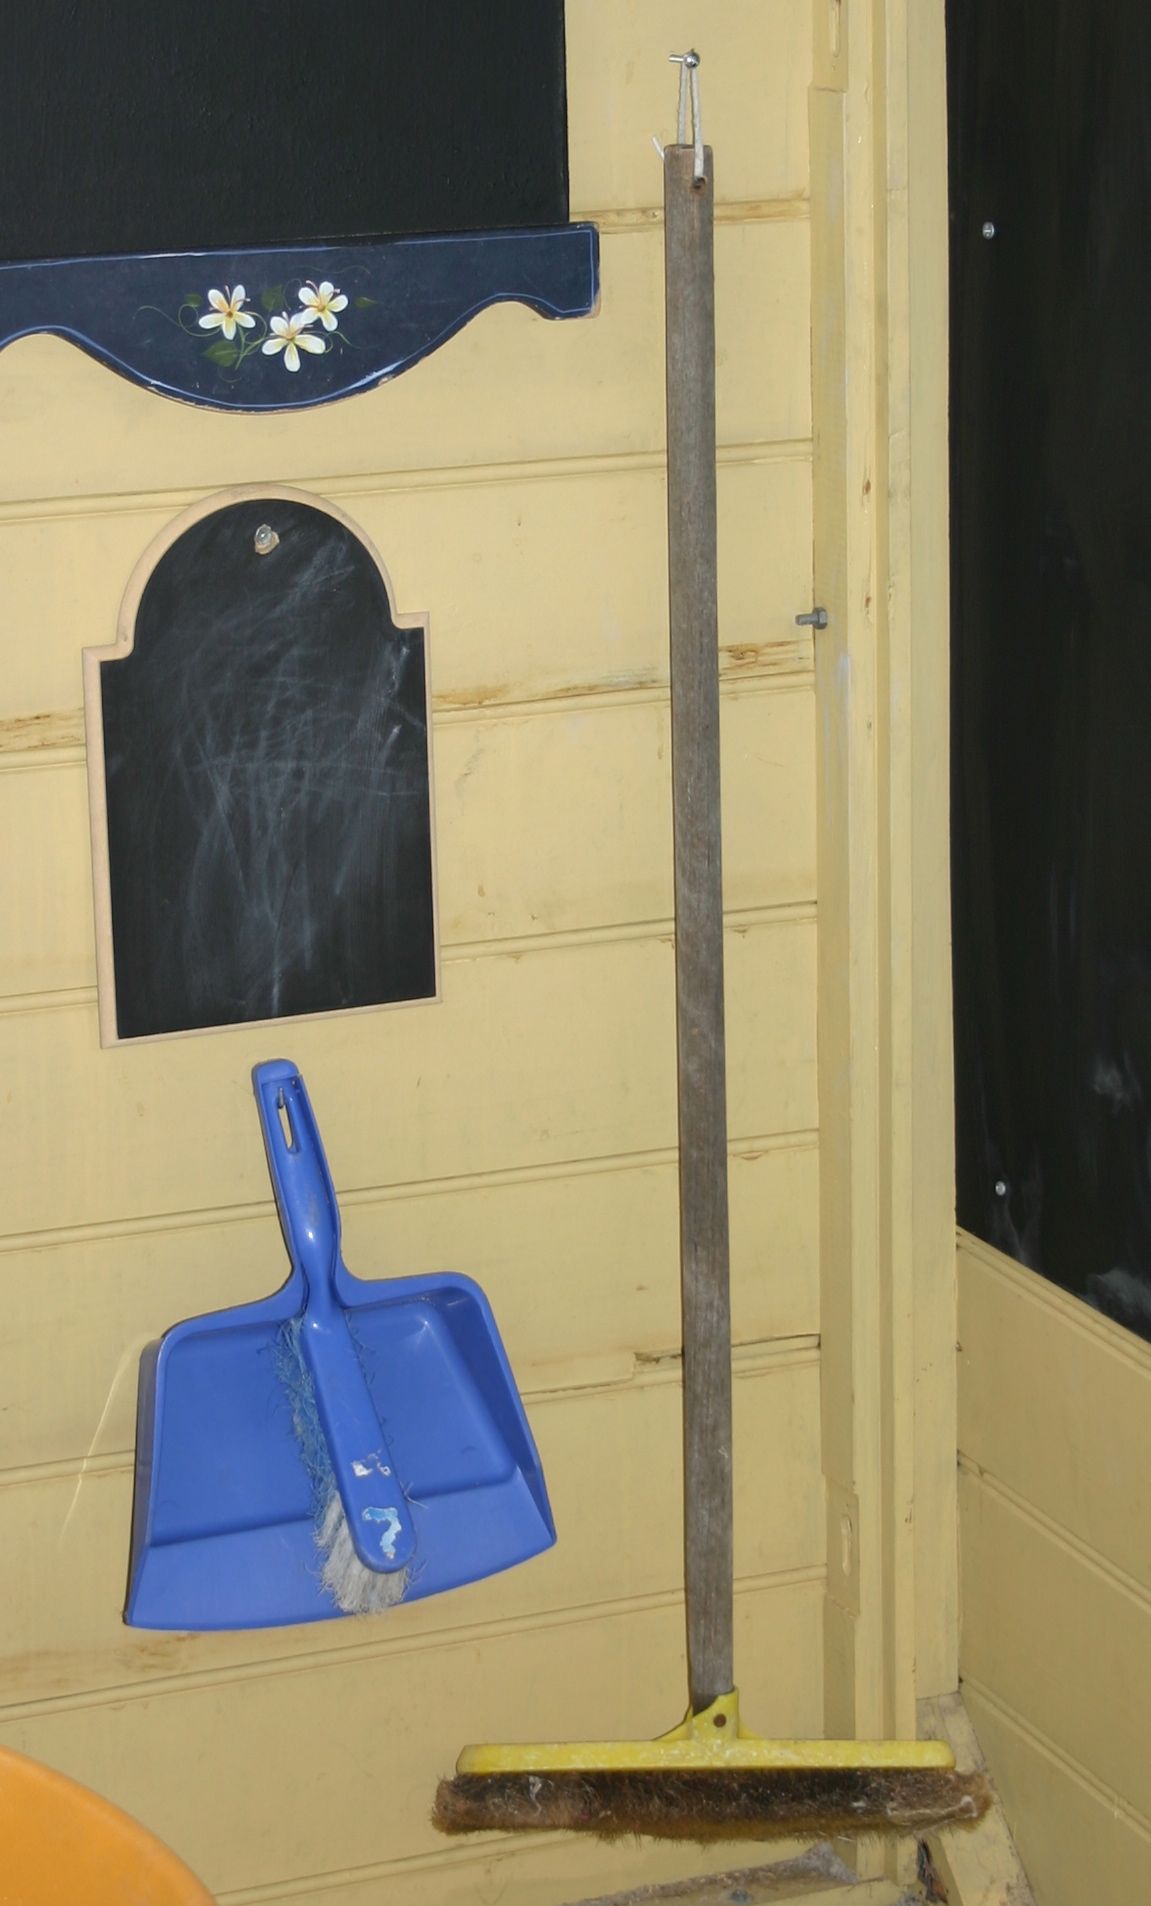
Blackboard and chalk. Buy some blackboard paint and make one whole wall a drawing space. Not a little square mind you – a whole wall. Either paint onto wood and mount across the wall or paint the cubby wall itself if it has a fairly flat wood surface. Screw up a bucket of coloured chalk and a duster and watch the many different ways it will be used. We find that a damp cloth often works better than an actual duster to remove the chalk. I also hung up two smaller blackboards that can be taken down to serve as menu boards and order tablets etc.

phones chair and mirror IMG_0333

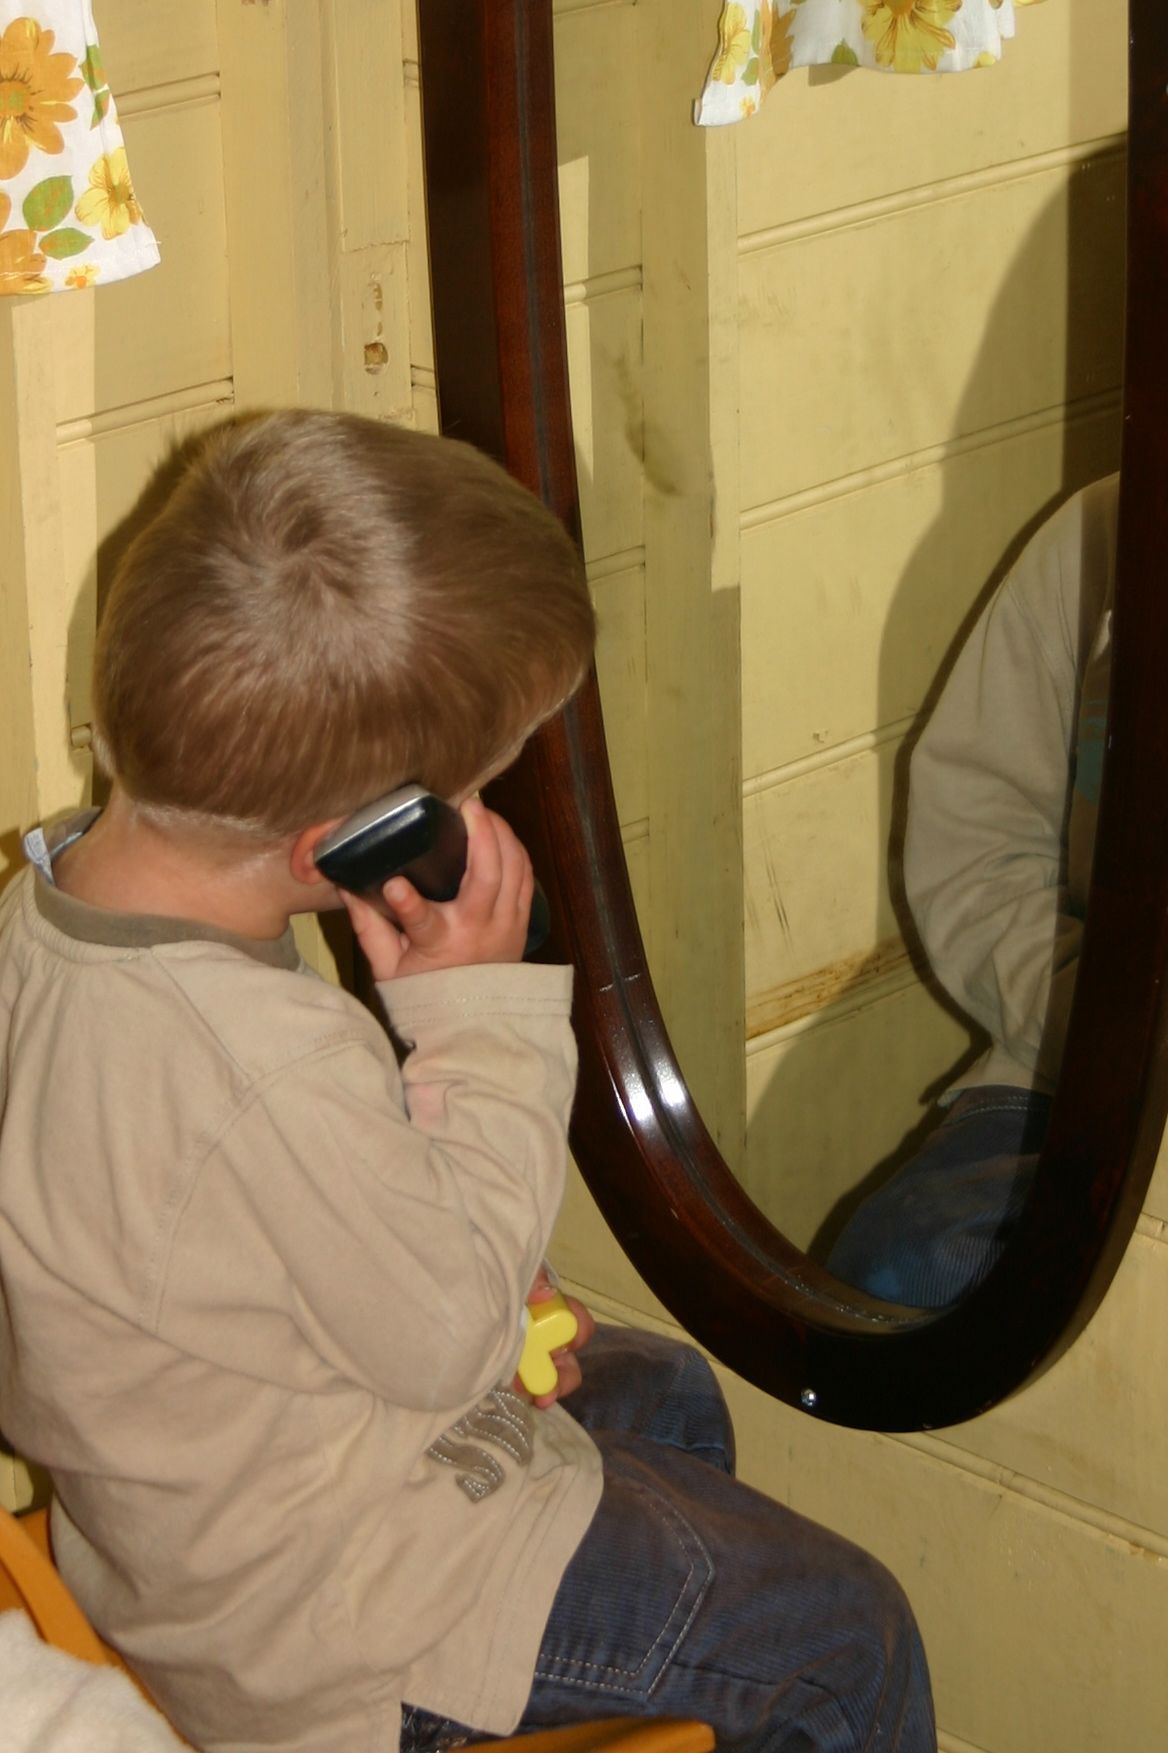
Telephone. My Mum loves to tell us about the working field telephone they had when she was young, strung up between the cubby and their house for real two-way conversations. Unfortunately we don’t have this option but a pretend phone is a must. You could add some phone books to look up numbers. I came across a telephone station idea on the web that had a large mirror behind it. I have never considered a mirror being linked to phone play but apparently children enjoy watching themselves talk on the phone and it is great for language development. It seems to be true because the moment the mirror was up my son grabbed a phone from elsewhere (I hadn’t screwed them on the wall yet), pulled up a chair and sat down to watch himself chatting to imaginary family members.

watching self on phone in mirror IMG_0327

Door bell. Well mannered cubby visitors must learn to knock or ring right? Toddlers and young children will love ringing the bell every time they go in and out.

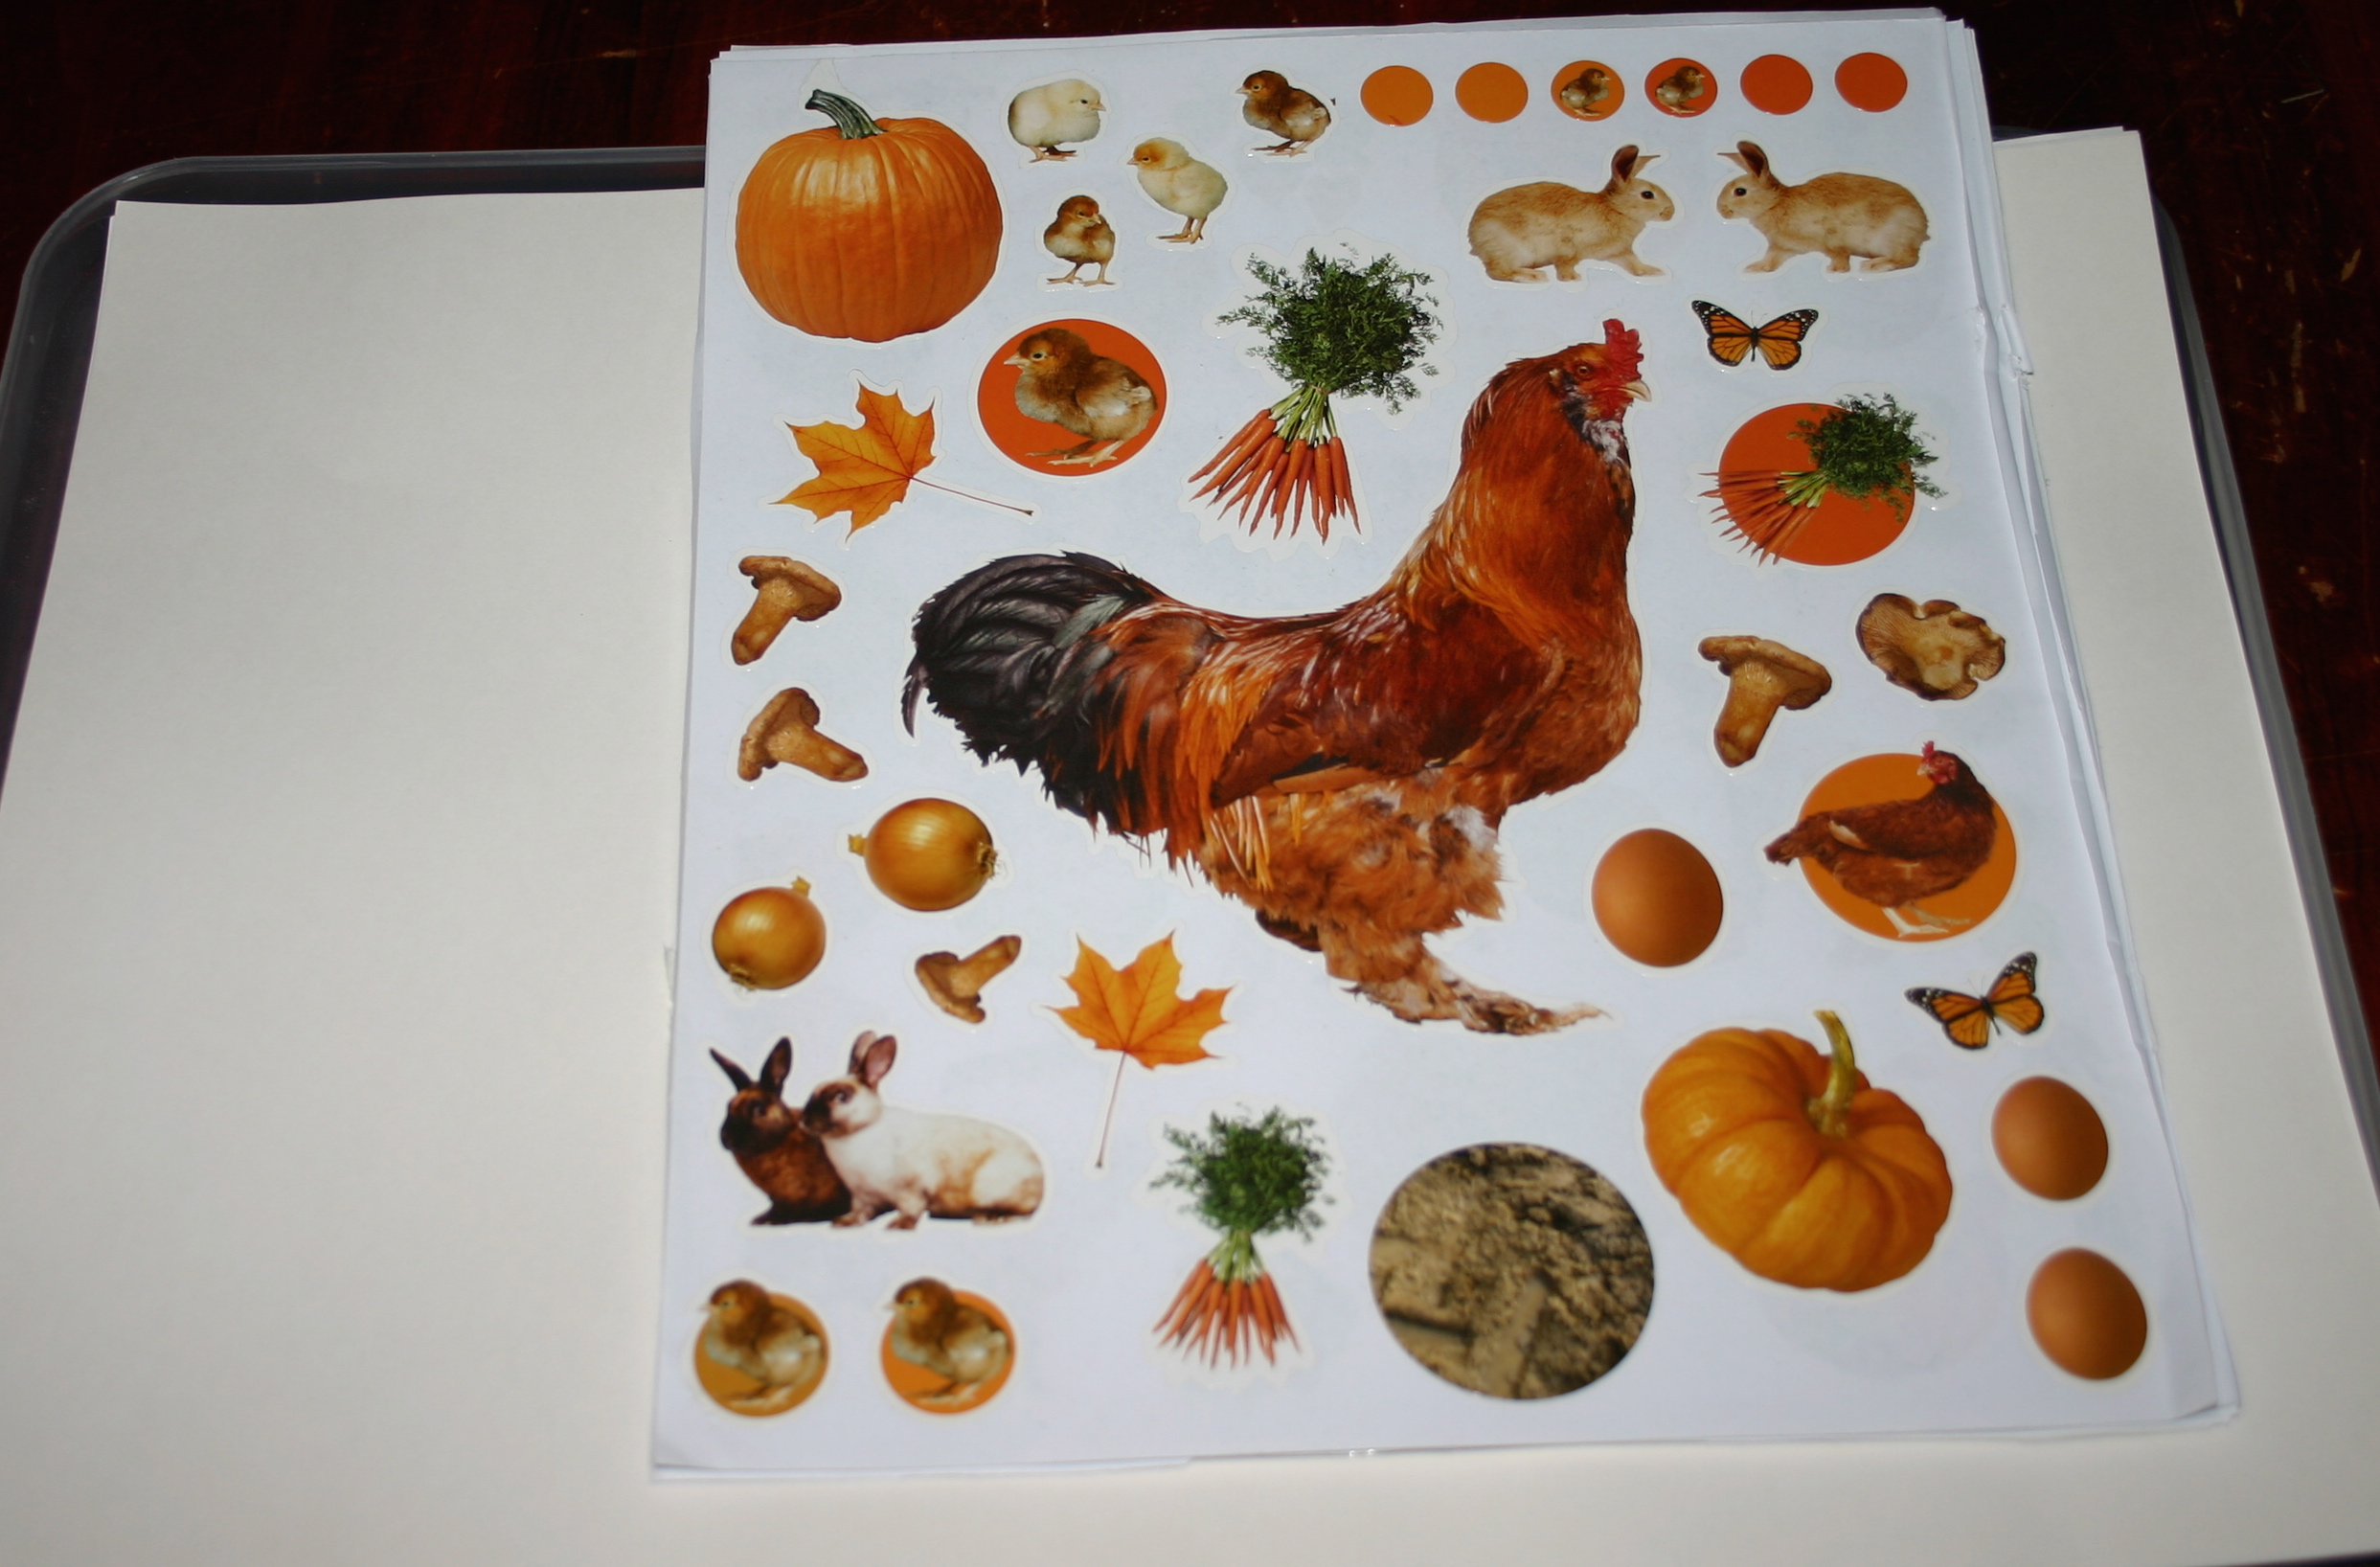
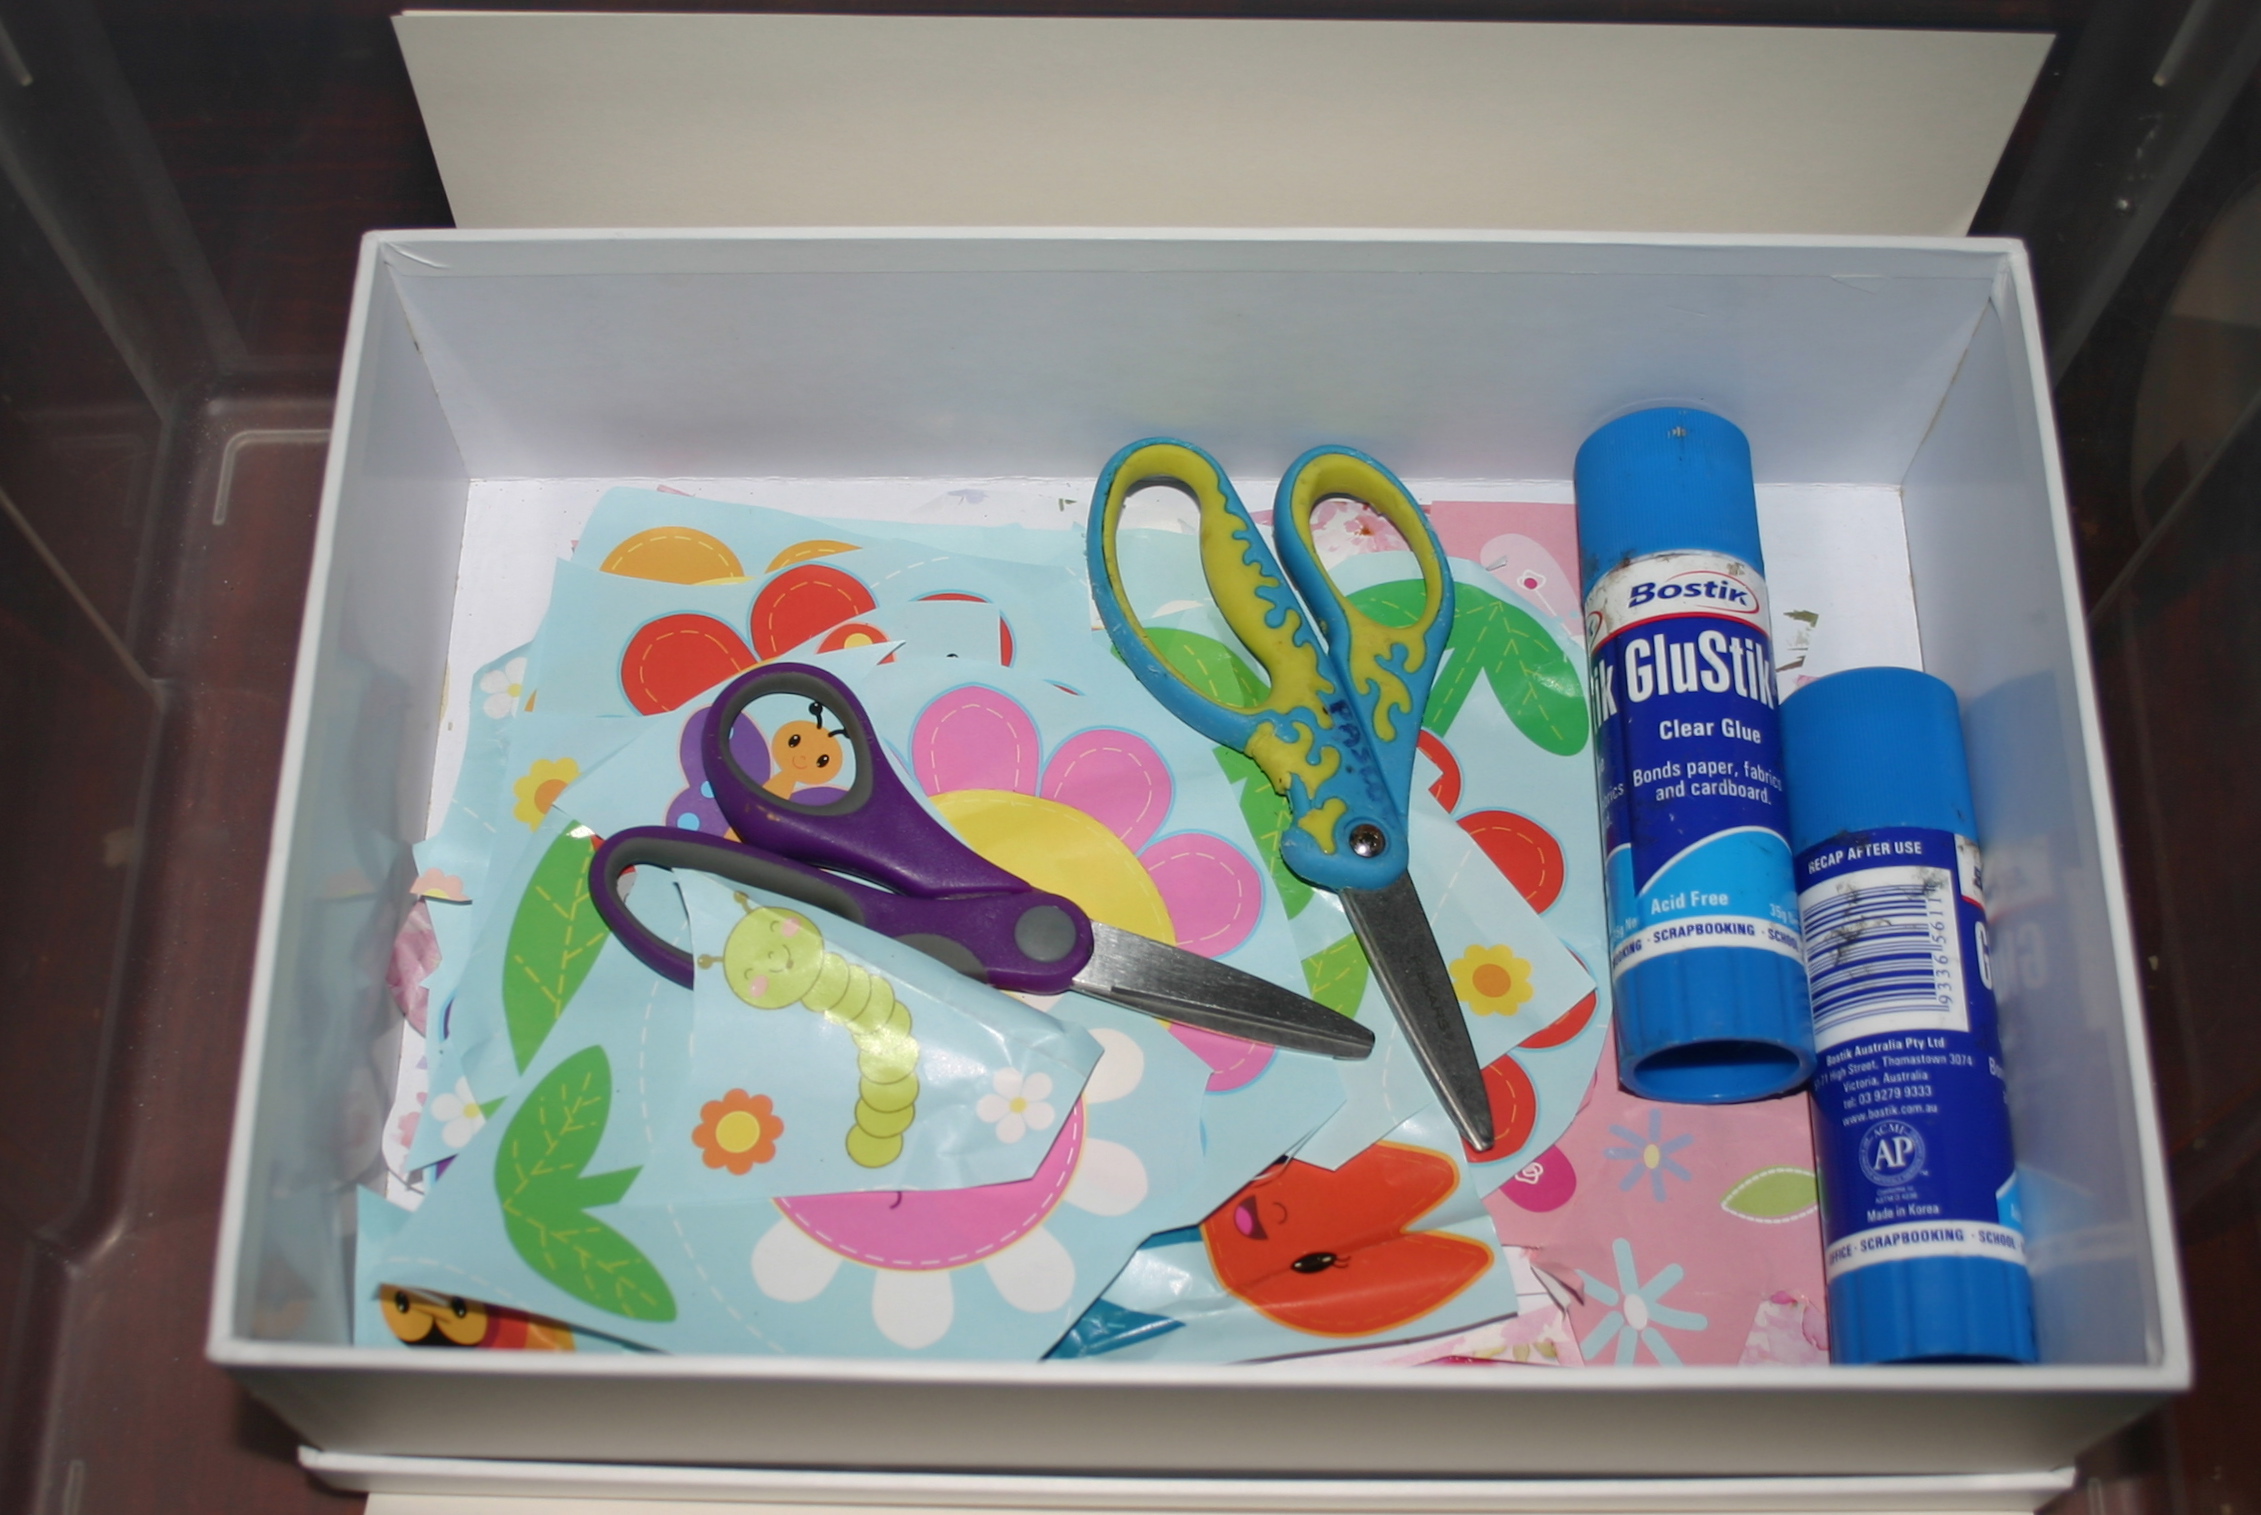
Letterbox. Add some paper, envelopes, drawing equipment, stickers for stamps and a sack to collect and deliver the mail with. Really cool letter boxes are the ones with a little flag to put up to let the children know the mailman has been. If Mum or Dad occasionally stick in a letter the excitement will be huge. Perhaps an invitation to afternoon tea?

curtains IMG_0323

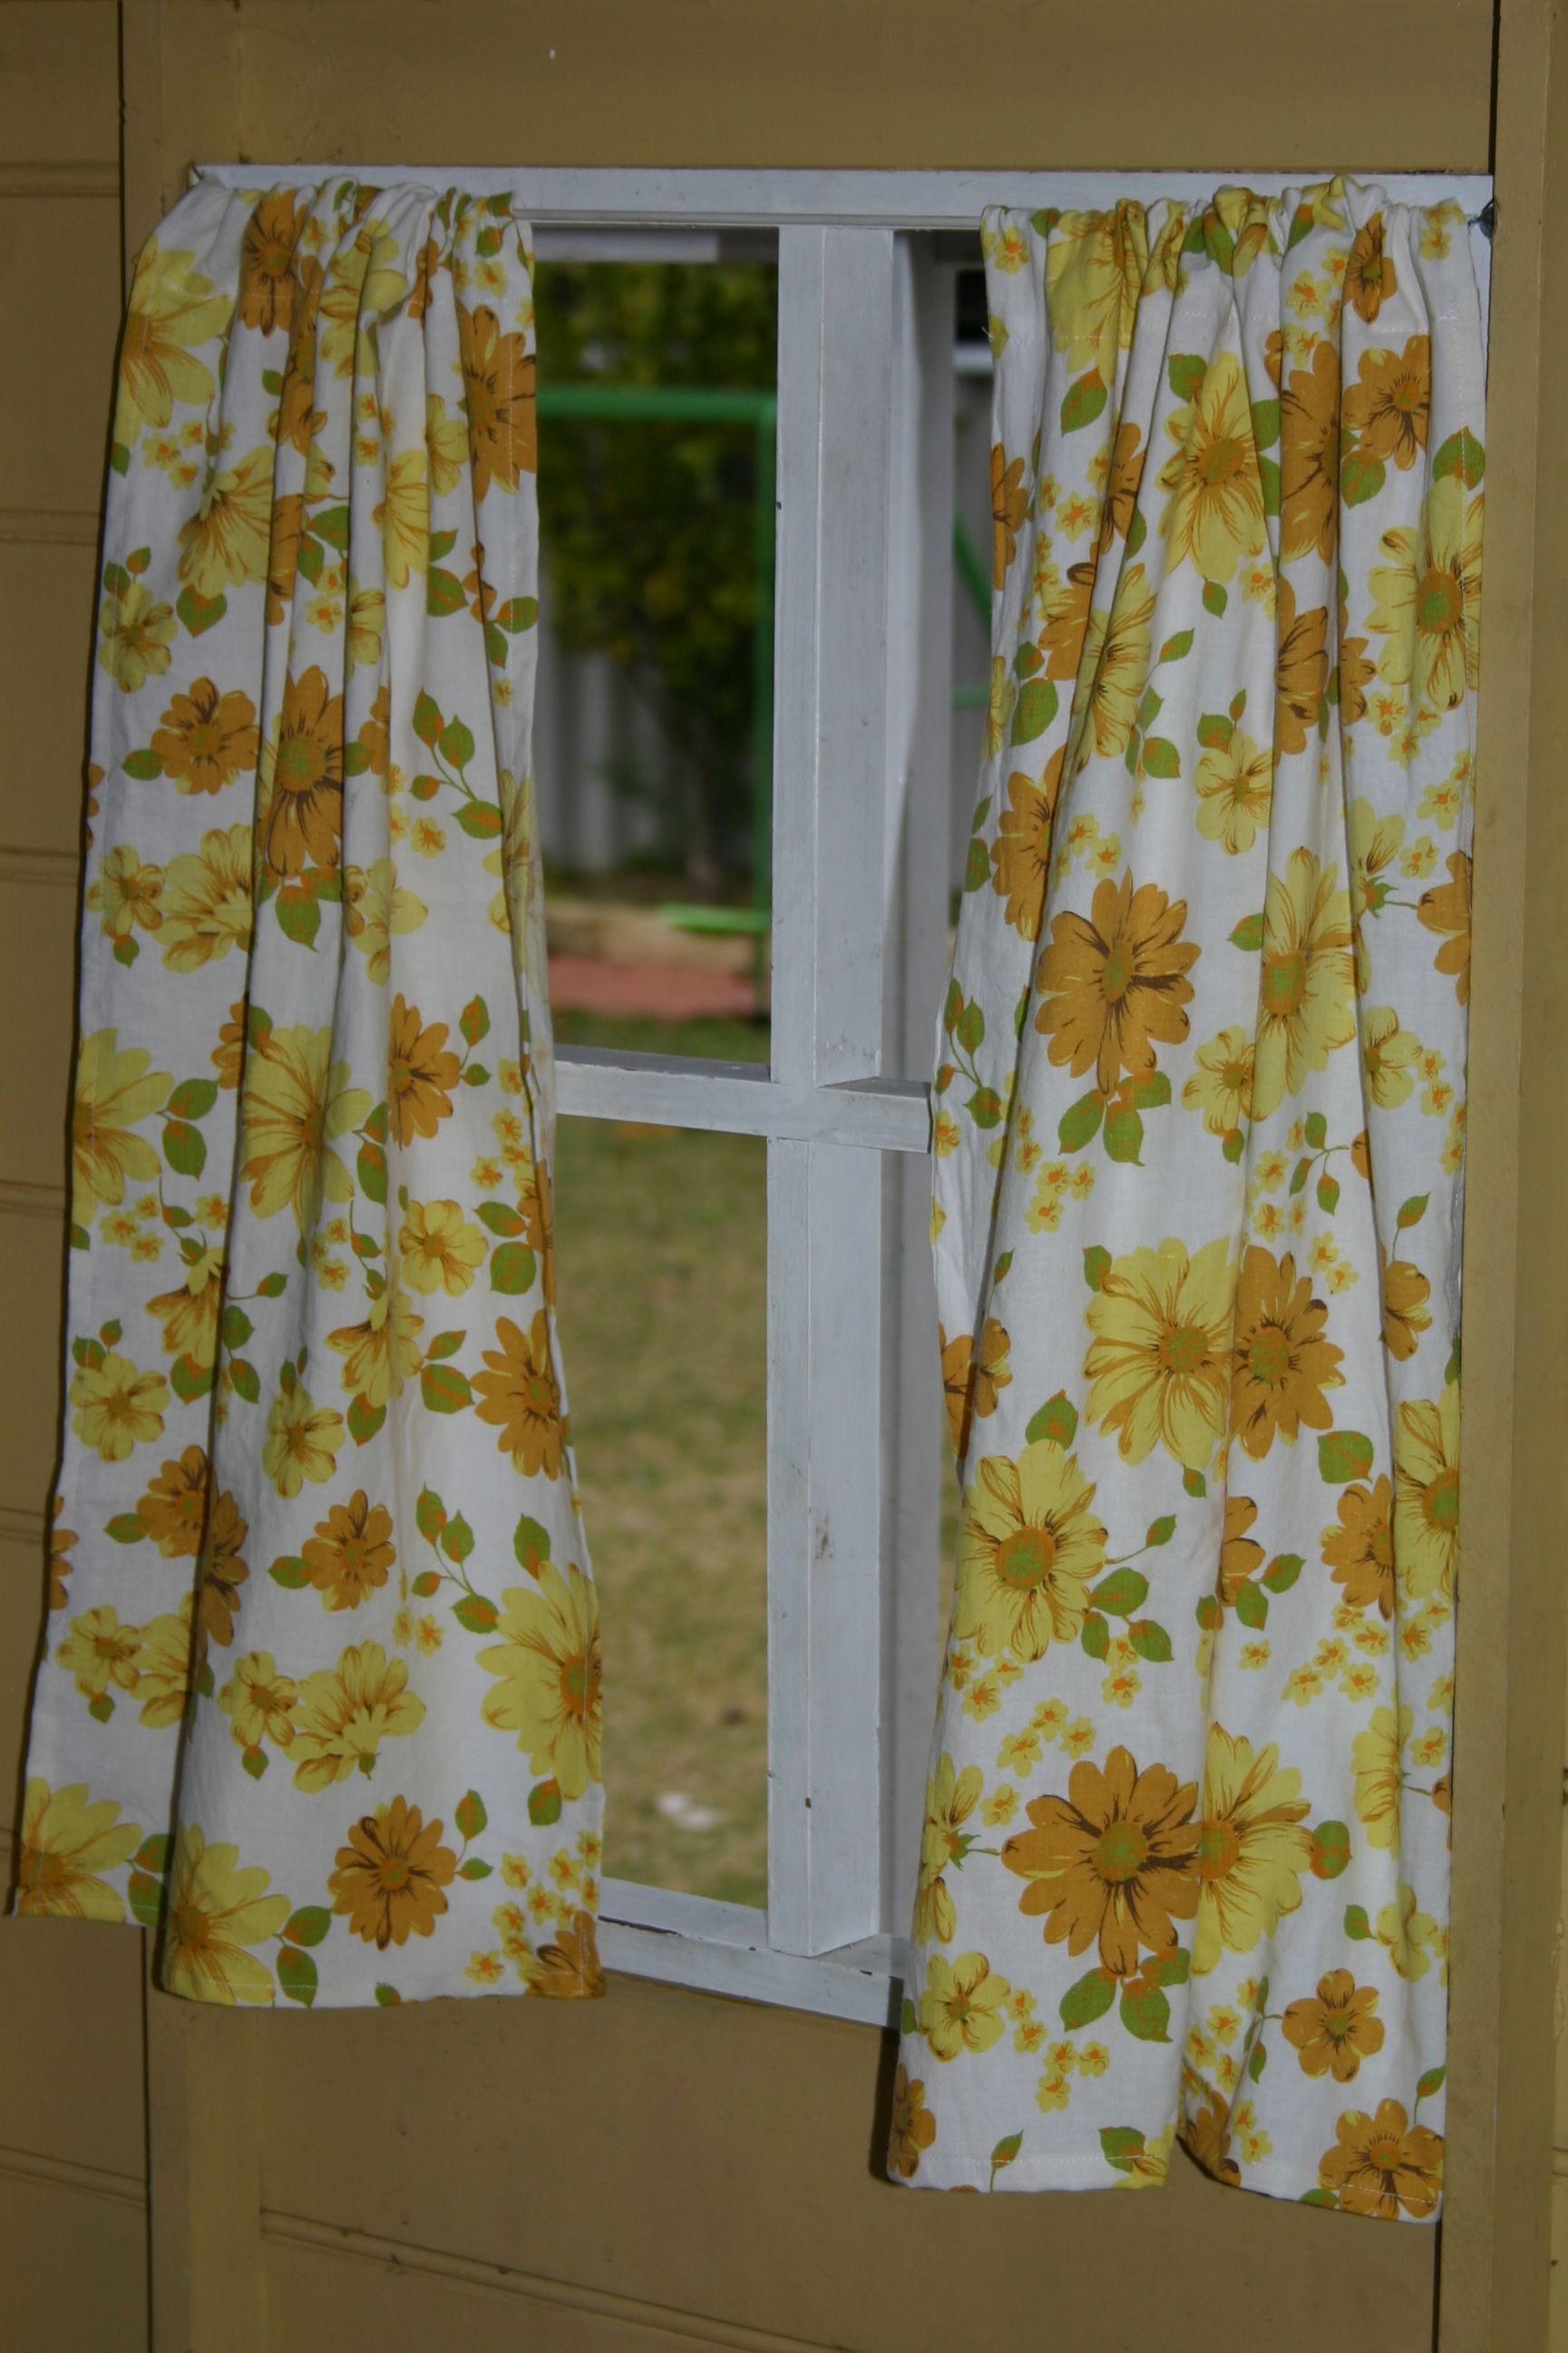
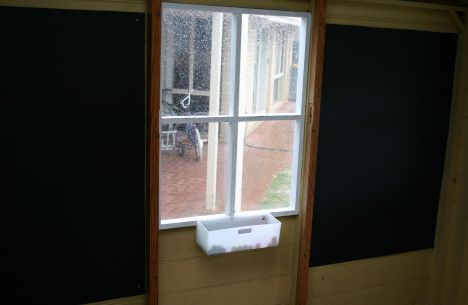
Curtains. I asked all the children what they would like to have added to the cubby. There were several usable ideas (pictures, letter box and curtains) and other not-so practical ideas (roller shutters, water piped from the gutters to a real tap, a real oven and a working light – there are no electricity points in our backyard.) I happily agreed to the curtain idea and sewed some up from an old sheet. A quick hem around each side and double over the end to thread the hanging wire through – about the limit of my sewing skills!

play kitchen IMG_0331

Table and chairs. No cubby is complete without a child-sized table and chairs. Activities like the letter writing can be set up on it or use it for the more traditional restaurant, cafe and home kitchen play. There was enough sheet left to make a table-cloth to match the curtains.

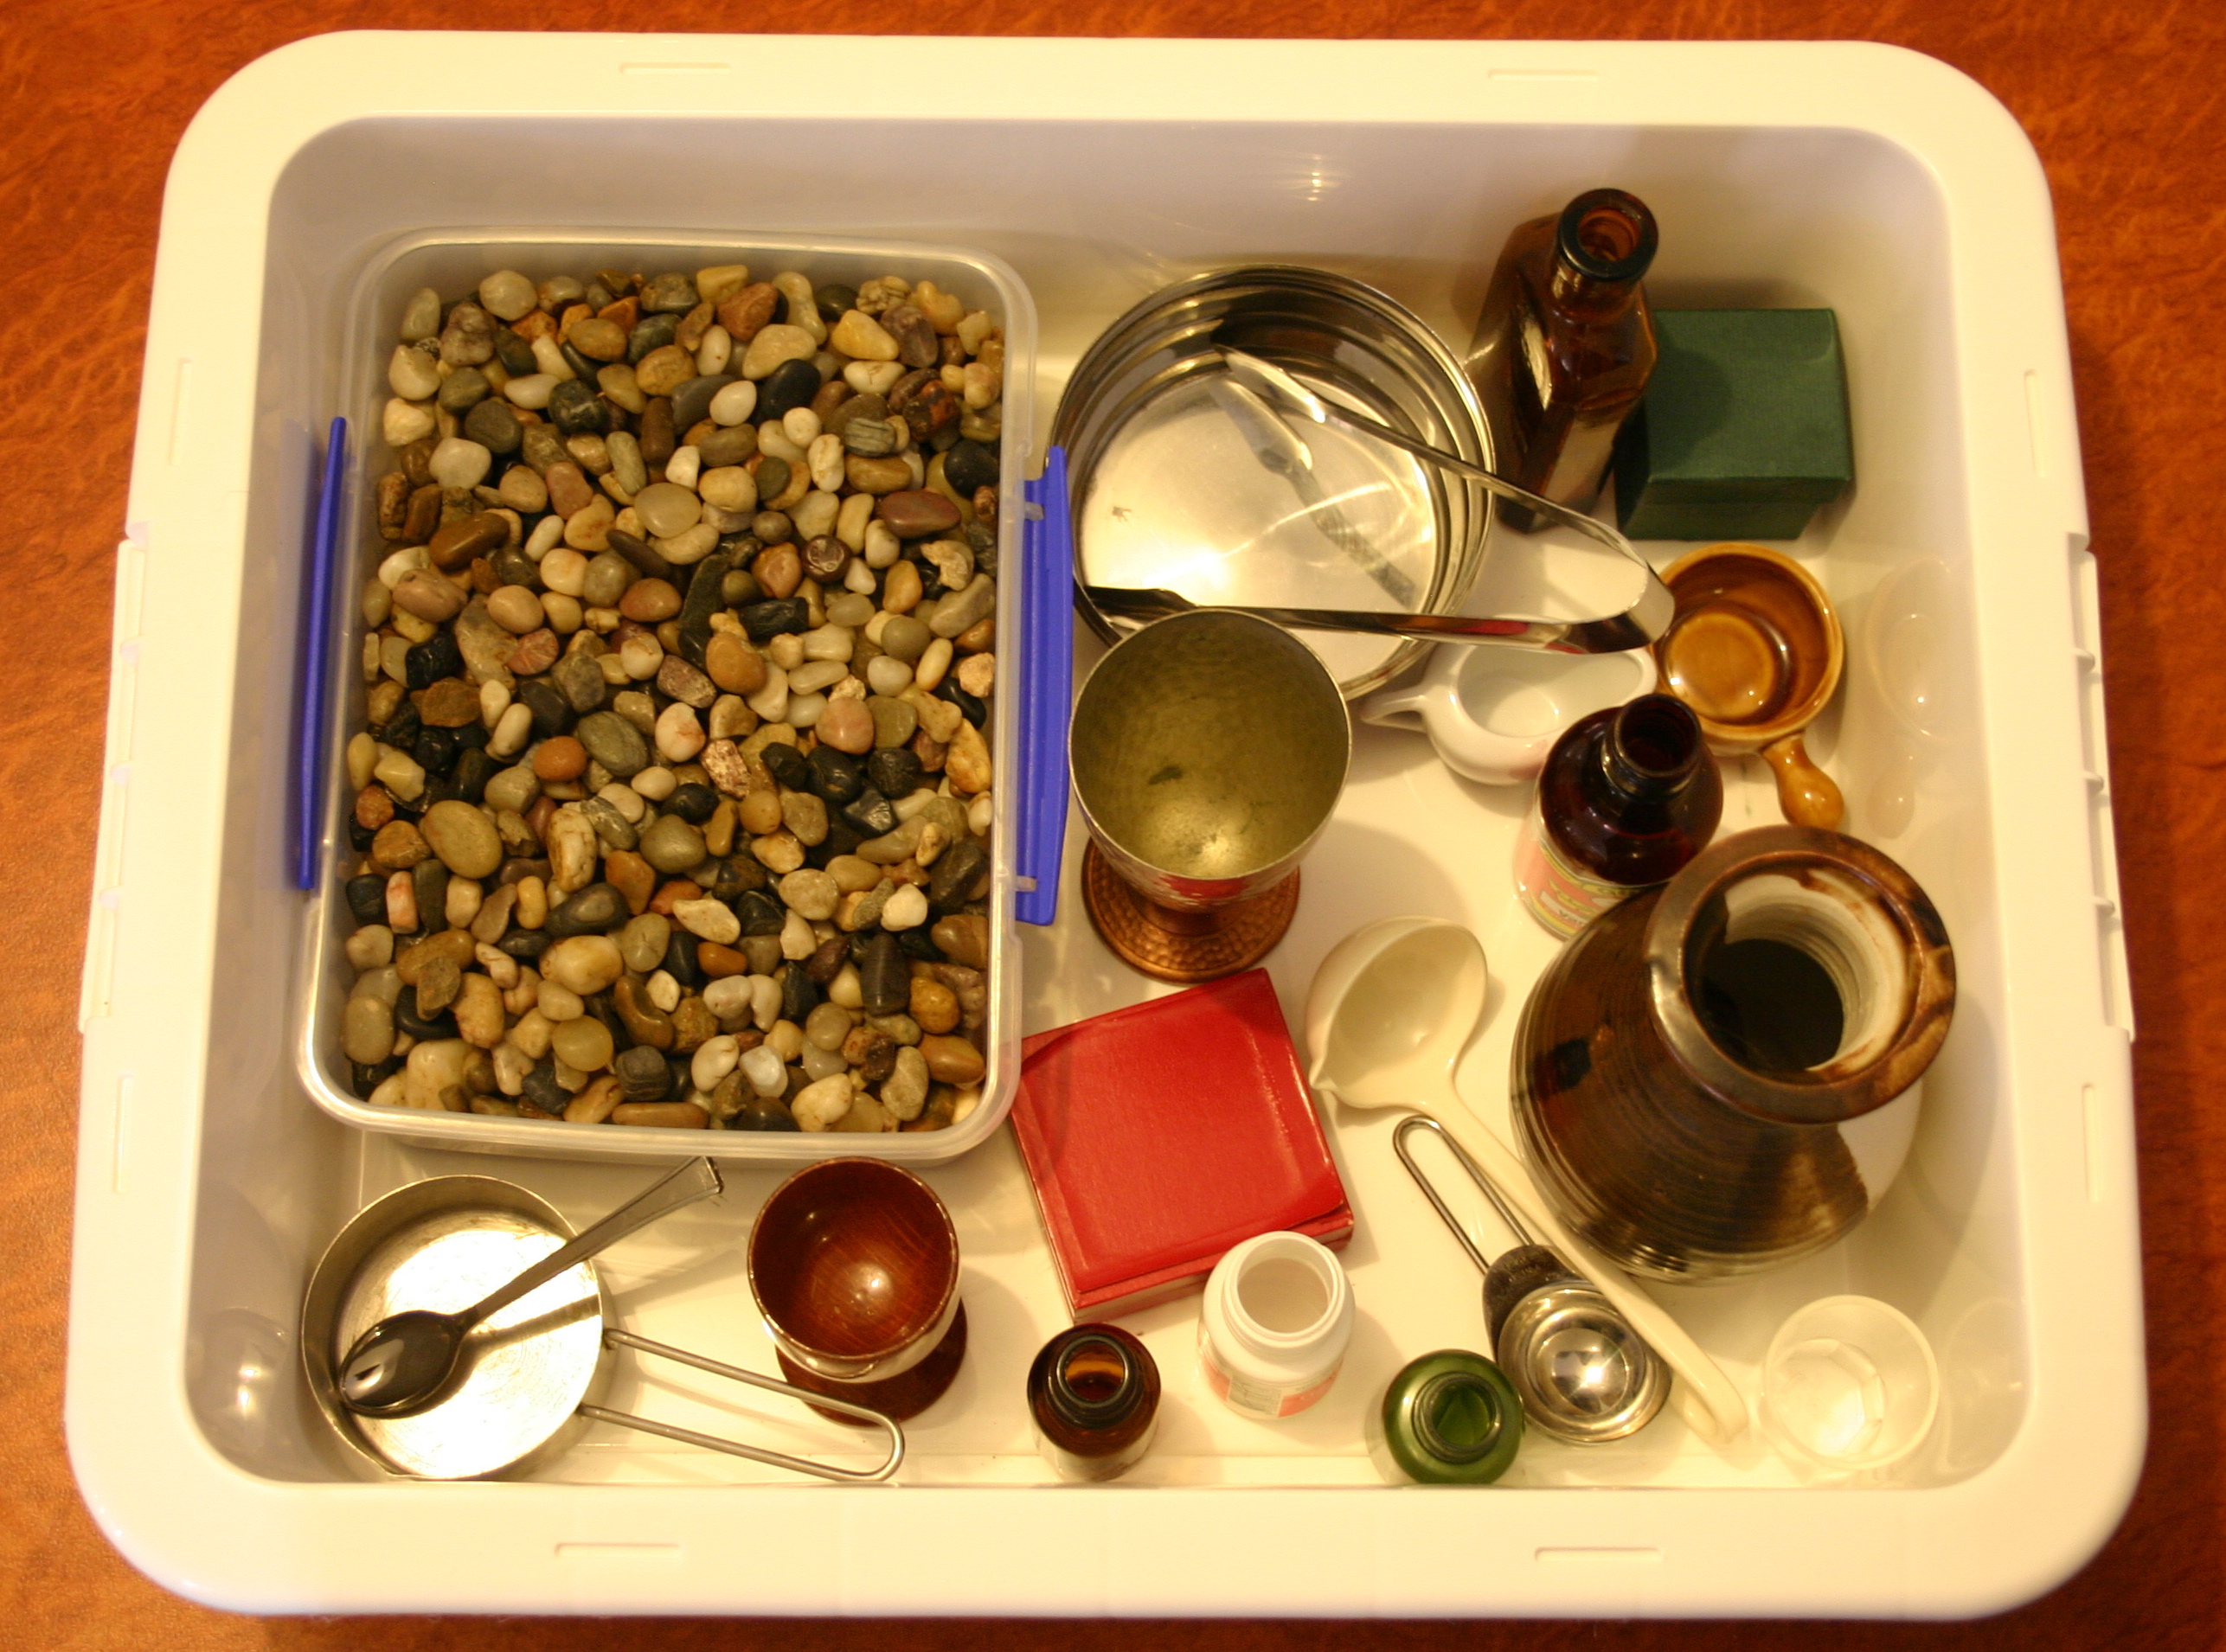
Pretend cooking equipment. Items such as plates, cups, cutlery, tablecloth, napkins, pots, pans, muffin tins, cake tins, wooden spoons, whisks, egg flips, cutting boards etc. Children love to use real items so use old stuff from your own kitchen or visit the local recycled store for some cheap kitchen gear. While I prefer natural materials such as wood and metal, the reality is that outside these dishes will be covered in sand and water in no time, so I have re-homed some of the many plastic sets people give the children for Christmas and kept my nice natural equipment for pretend play indoors where it will survive for much longer.

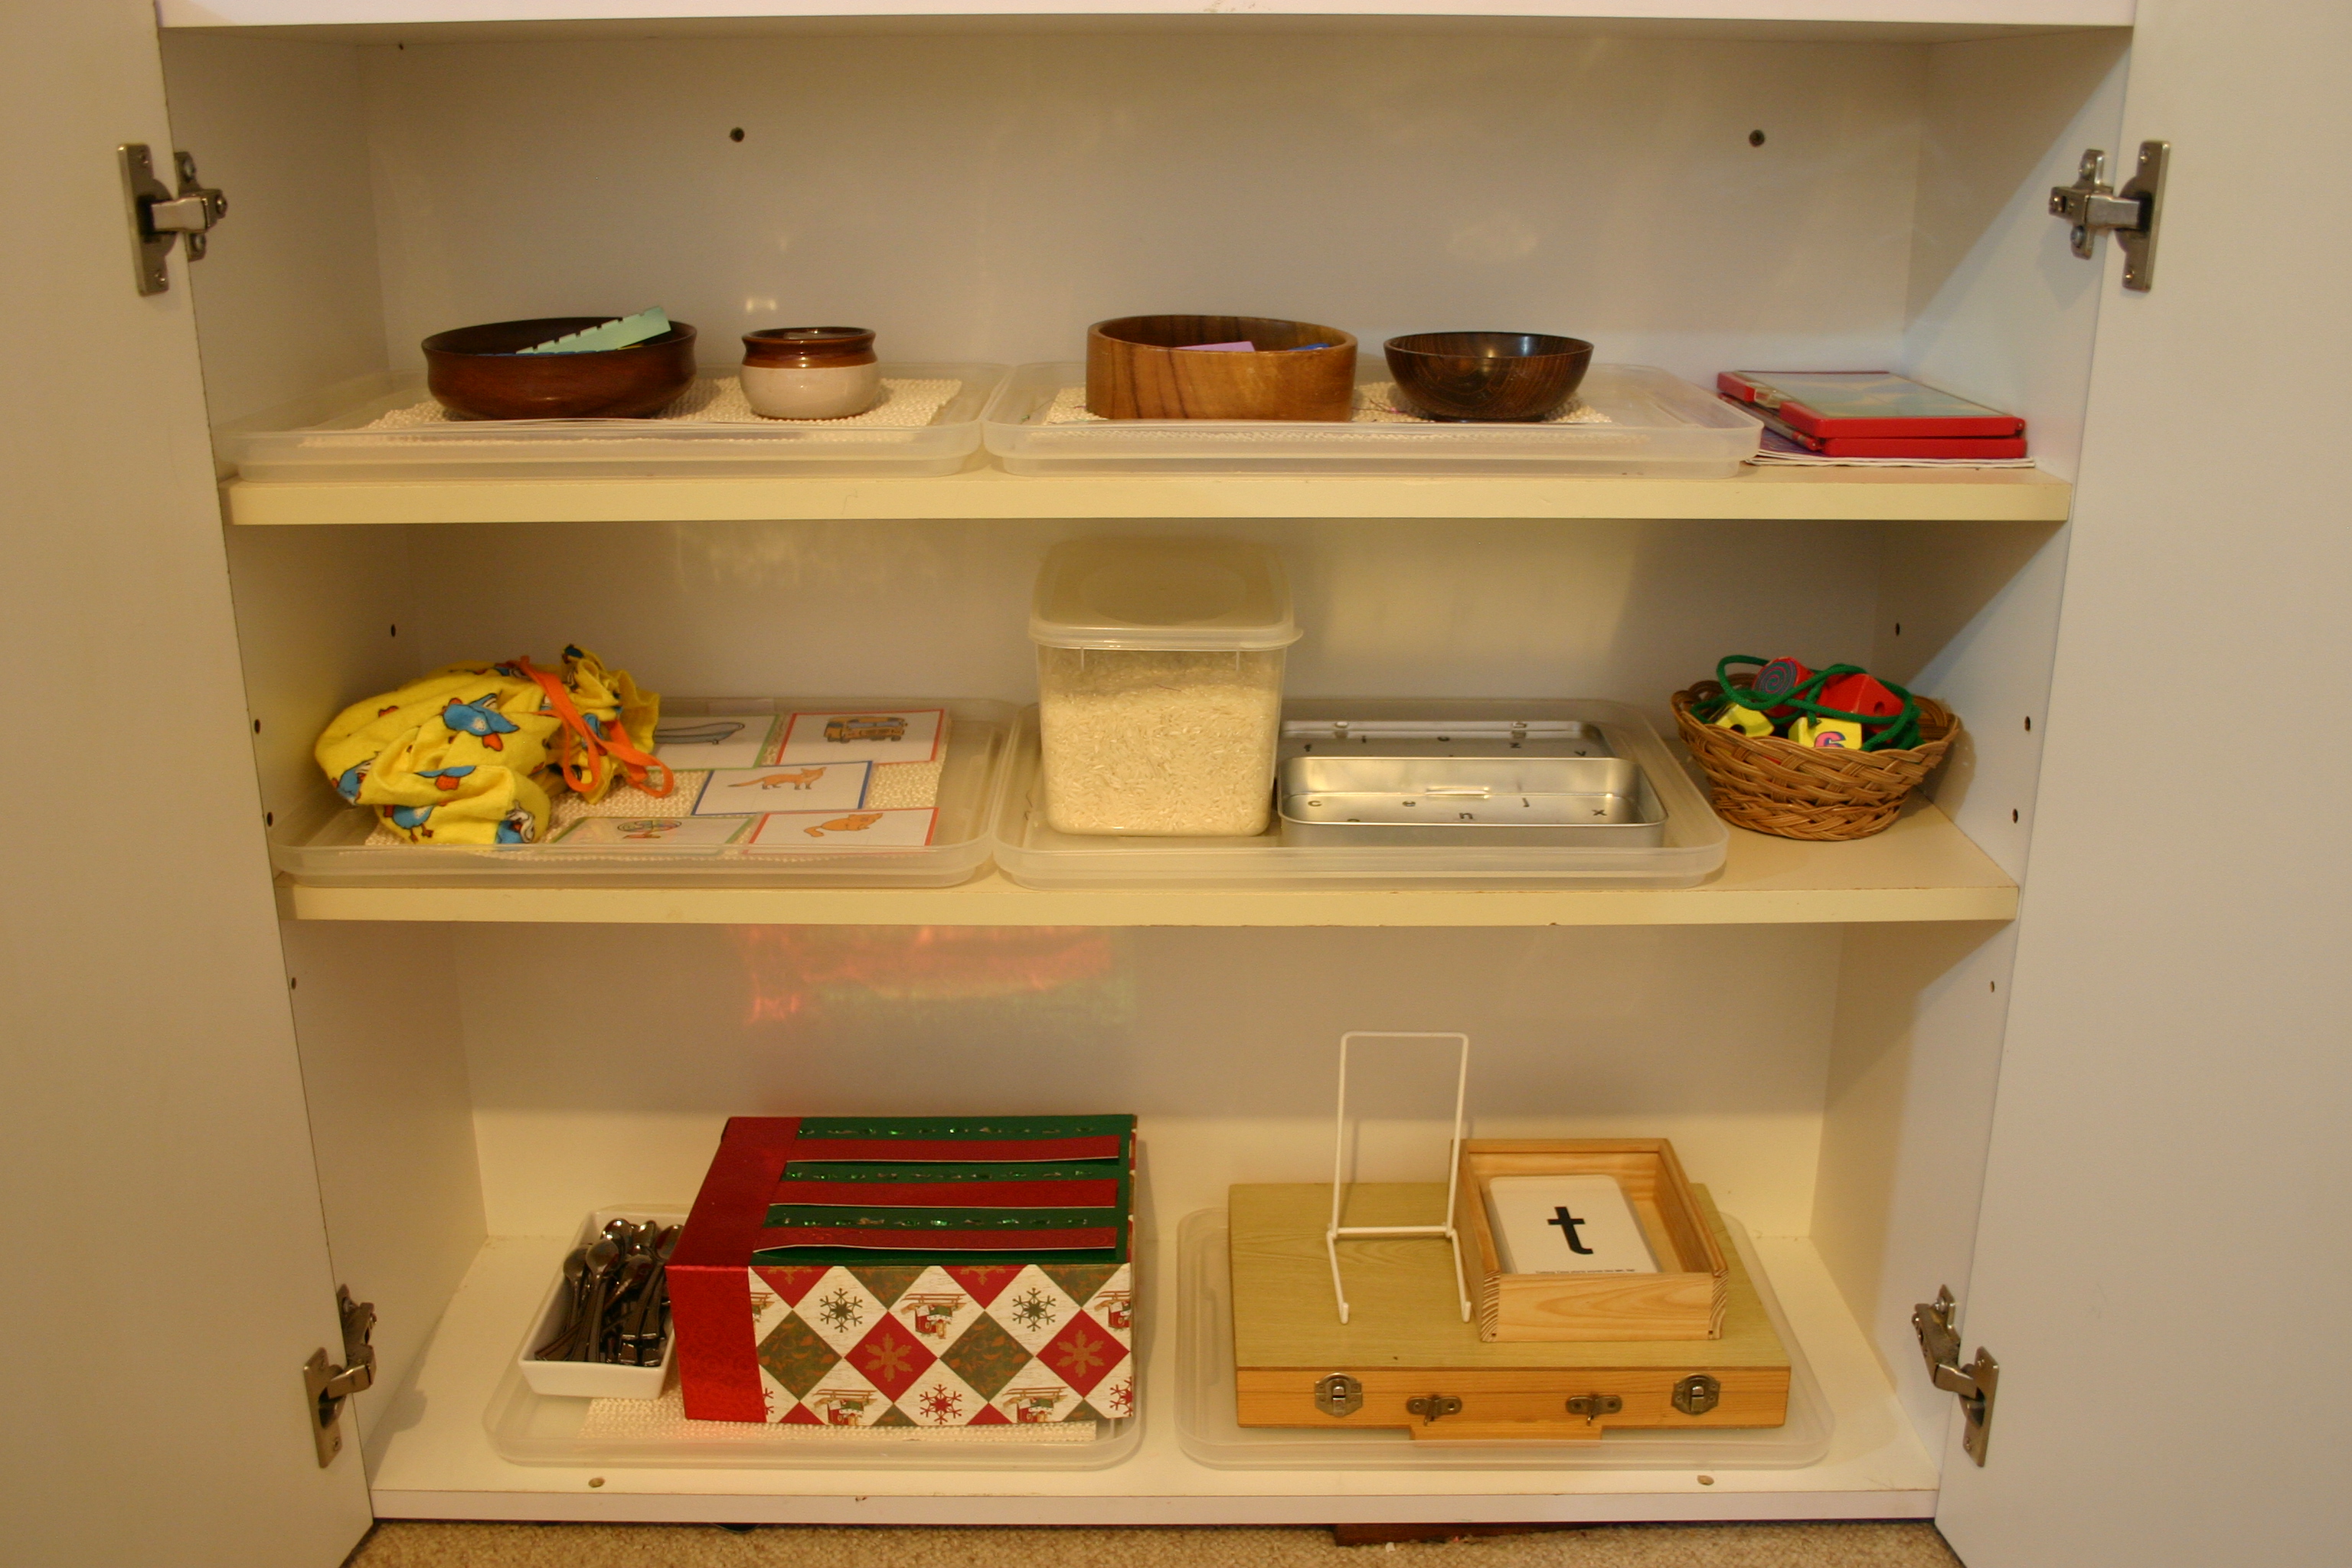
Small bookcase, kitchenette or shelves. Set them at child’s height and use them to store the cooking equipment. Add some cup hooks and pegs to hang up the pans and what-not.

oven IMG_0341

Stove or oven. Even a box turned on its side will do at a pinch. A kid needs somewhere to bake his pies! I have kept ours out on the verandah for extra space and sandy baking projects as the older girls have been complaining that the sand messes up the cubby after they have swept it! Hmmm sounds a lot like my house….

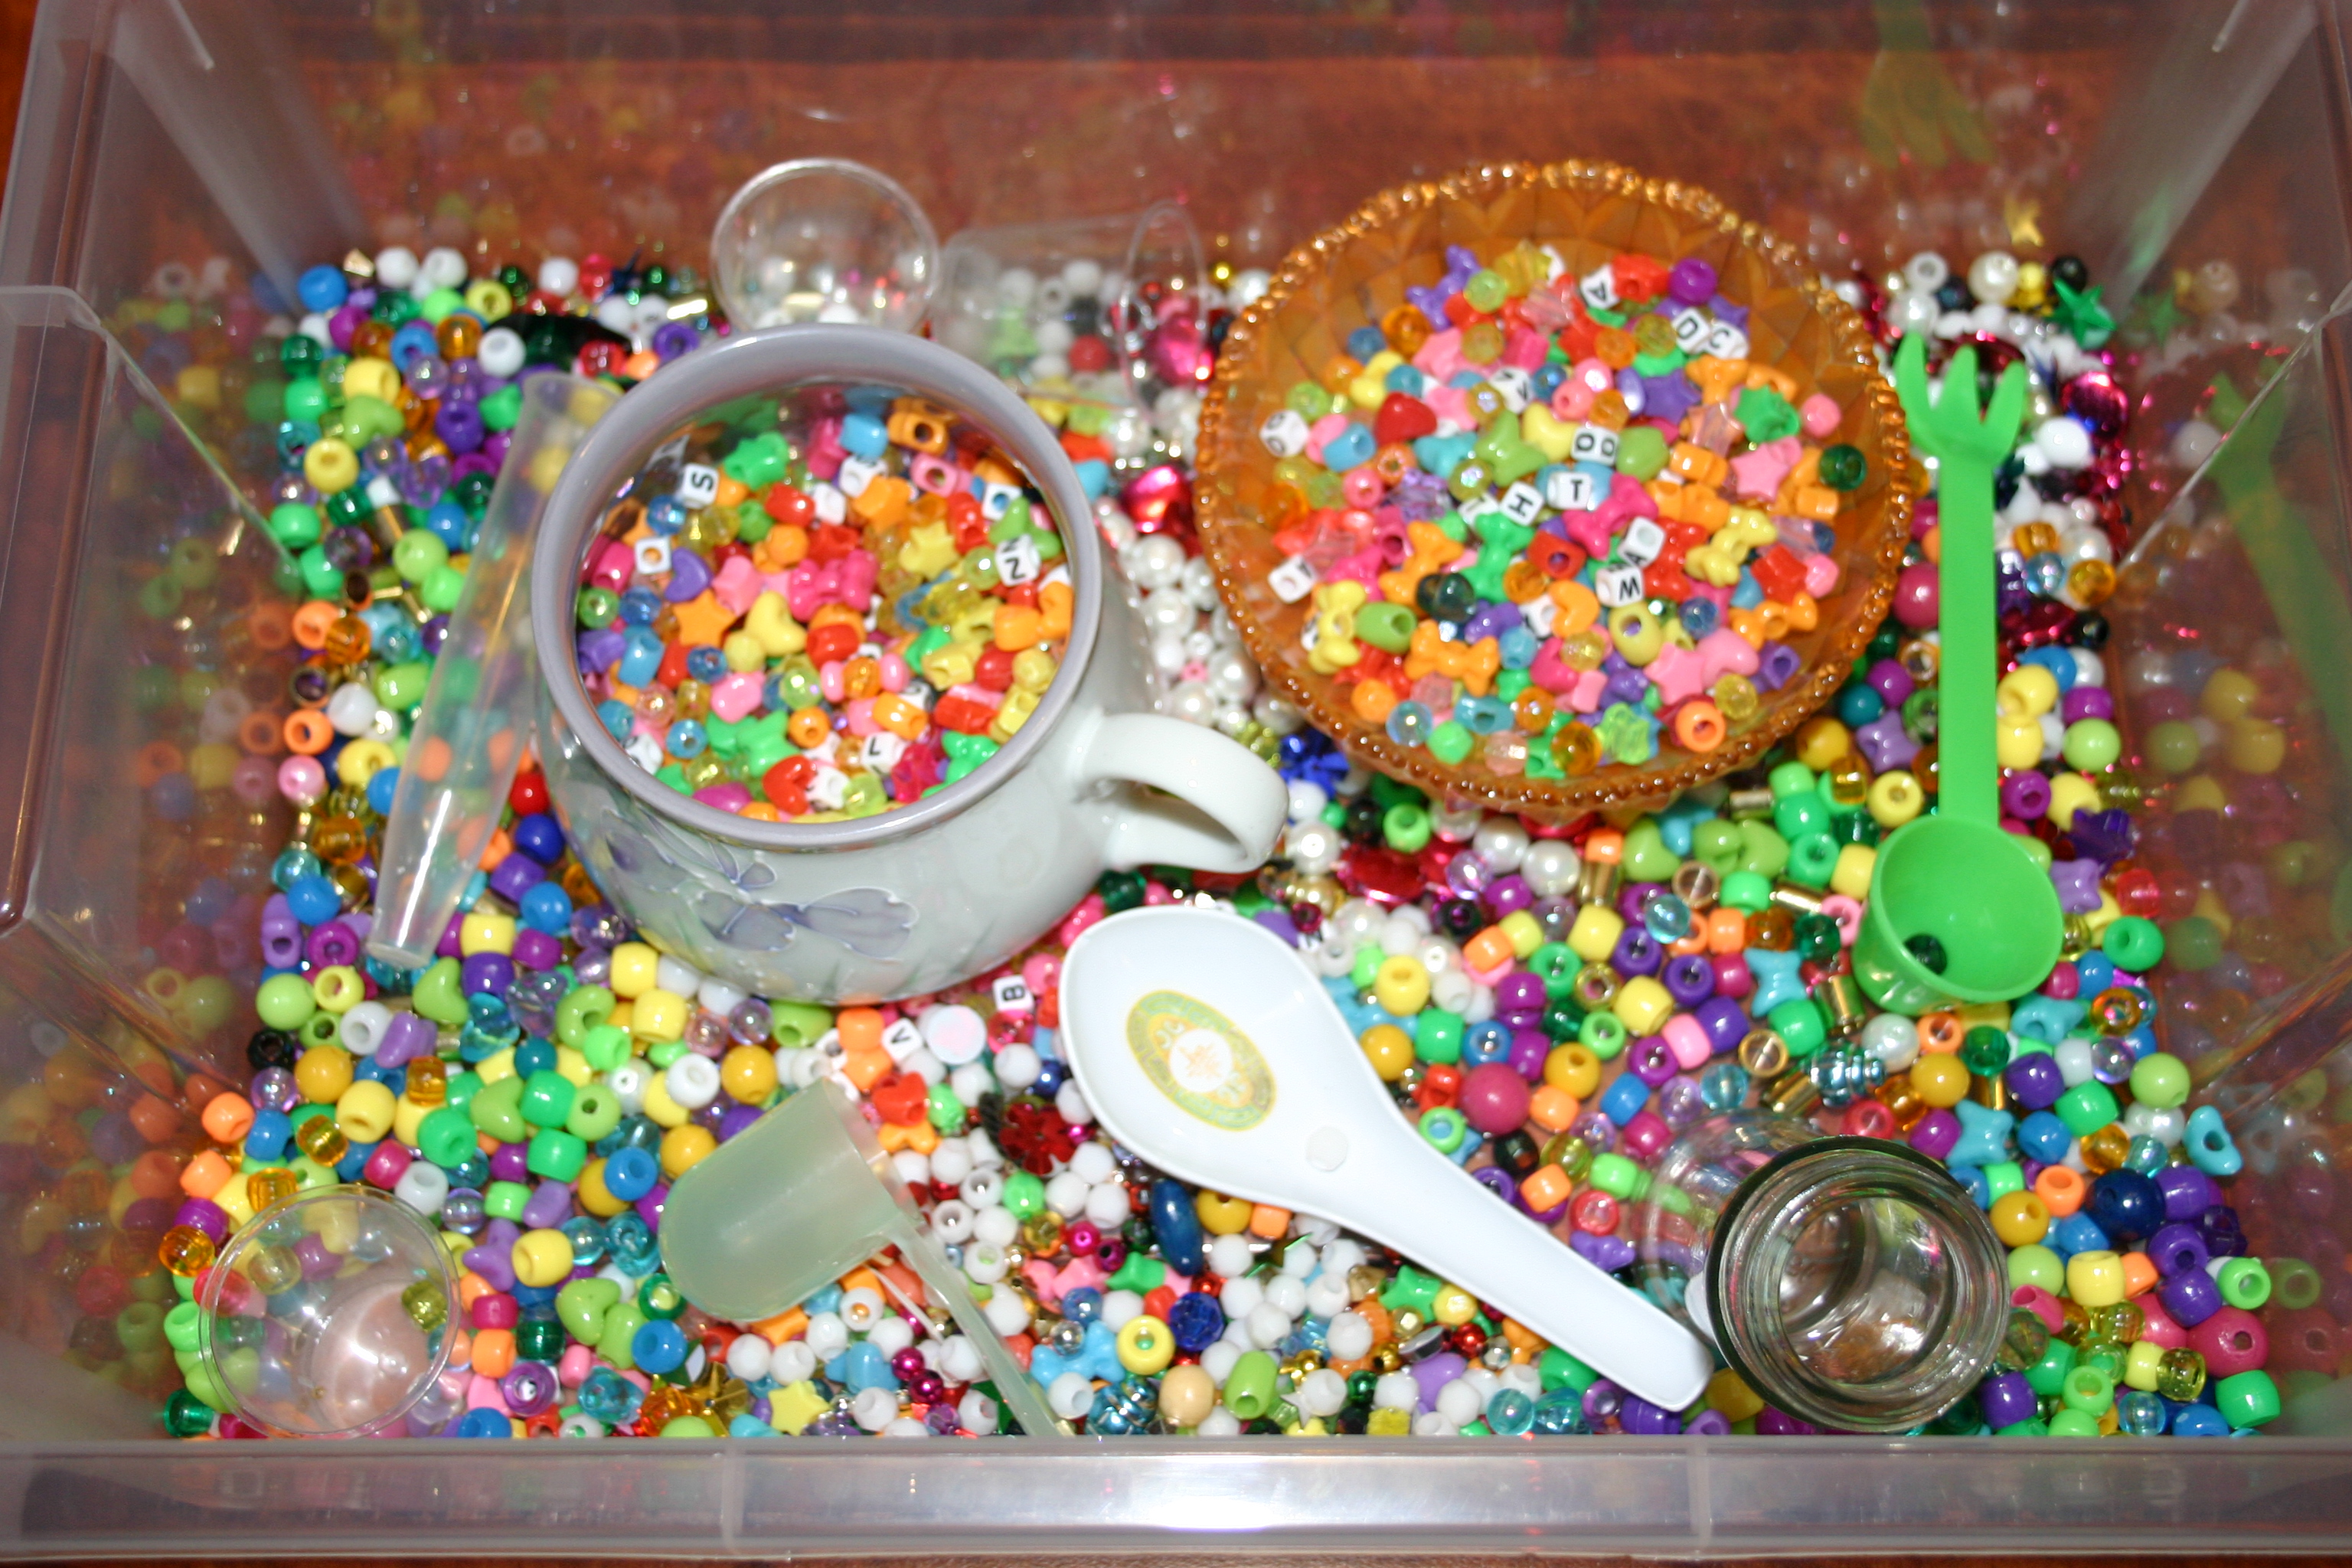
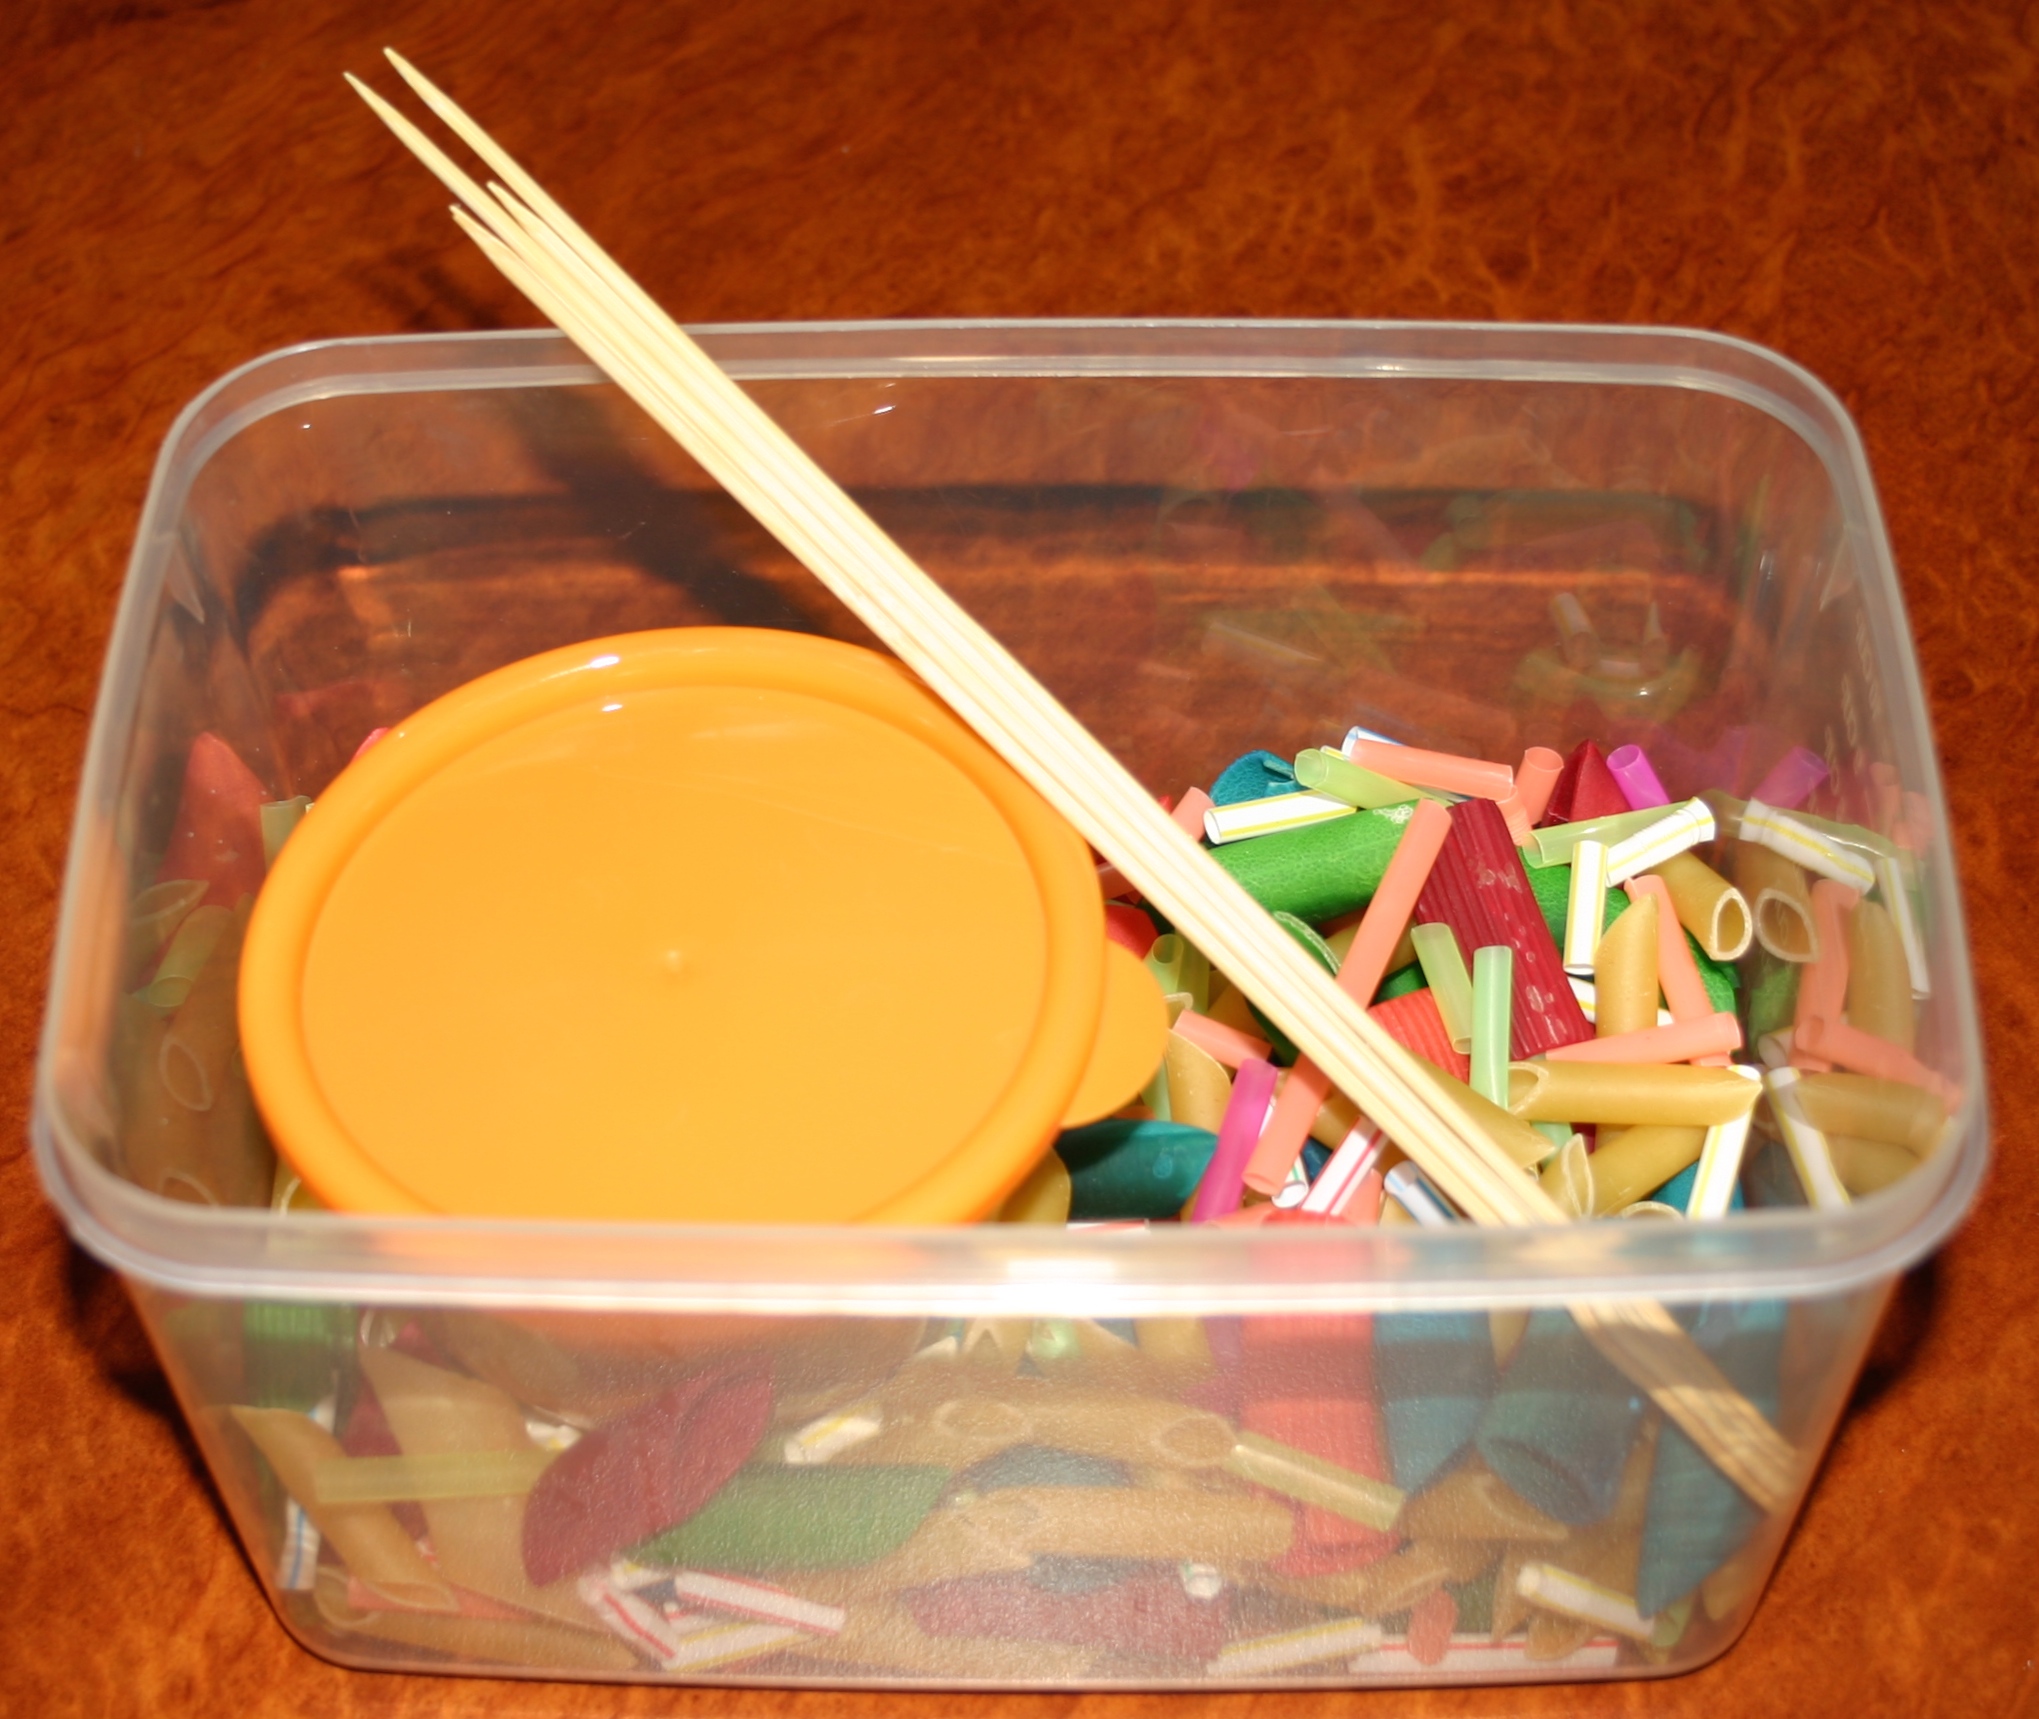
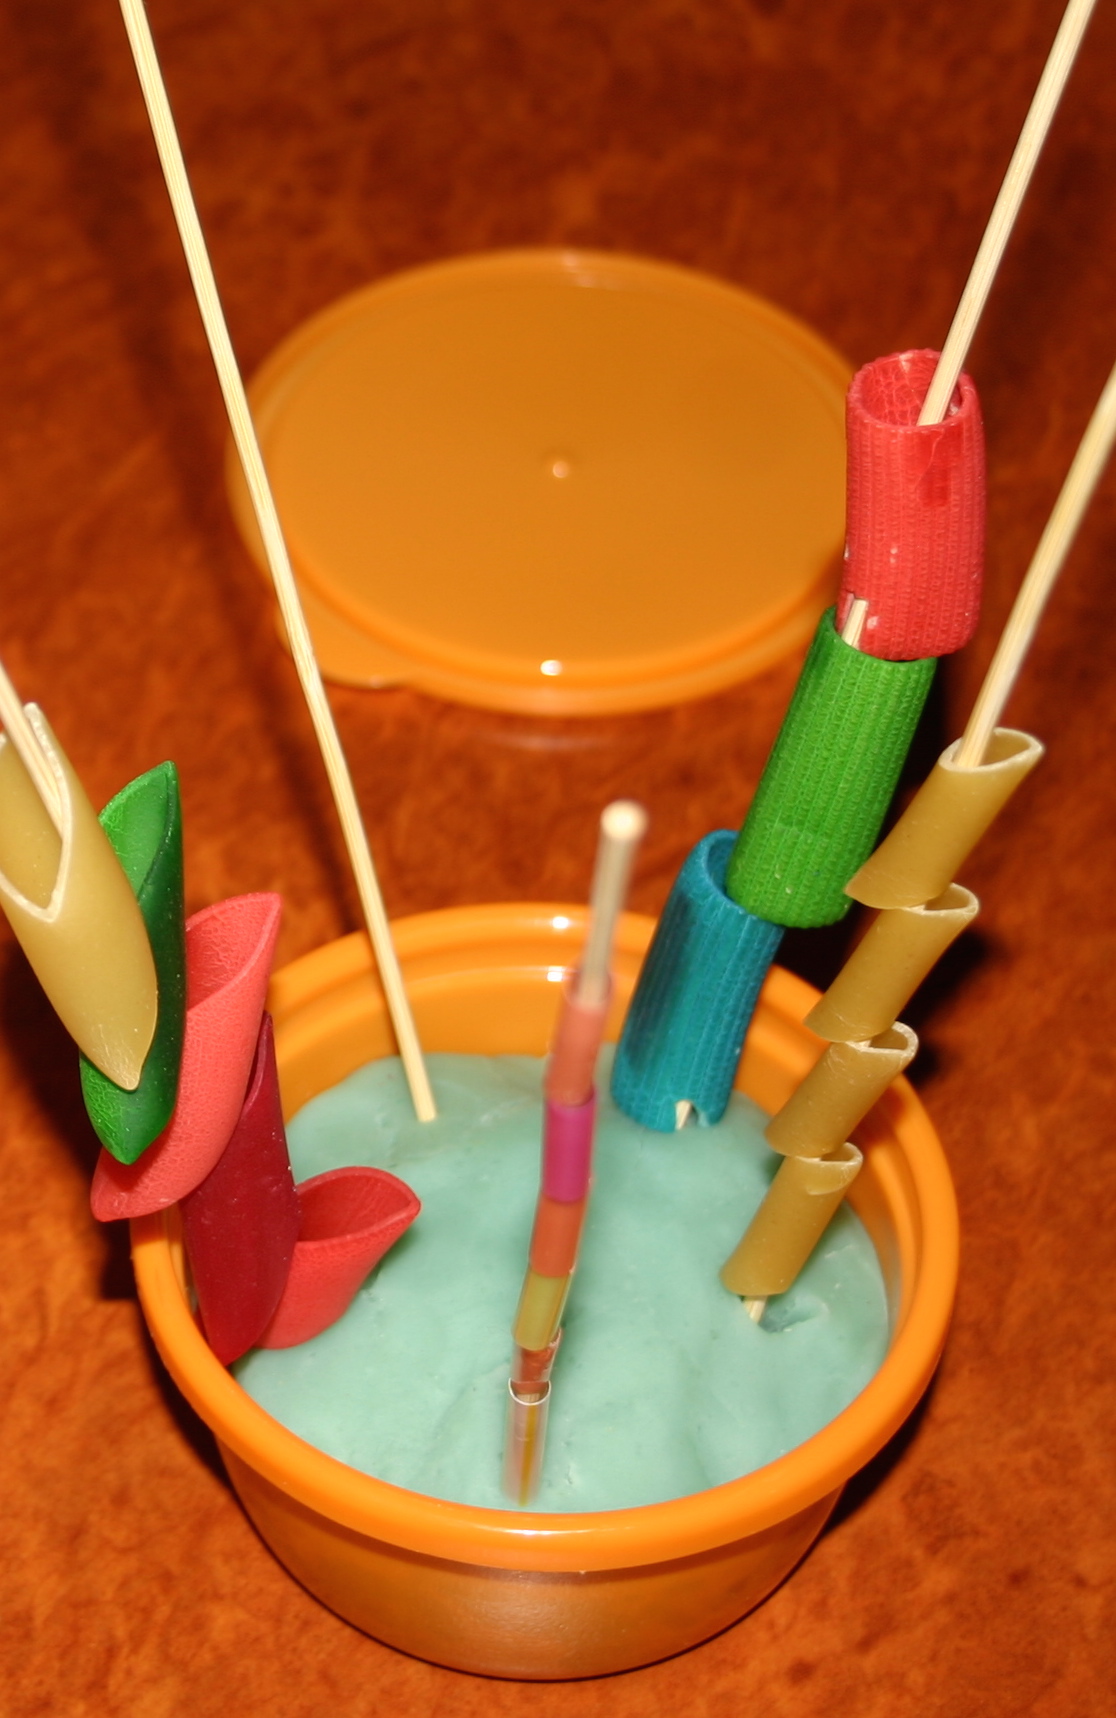
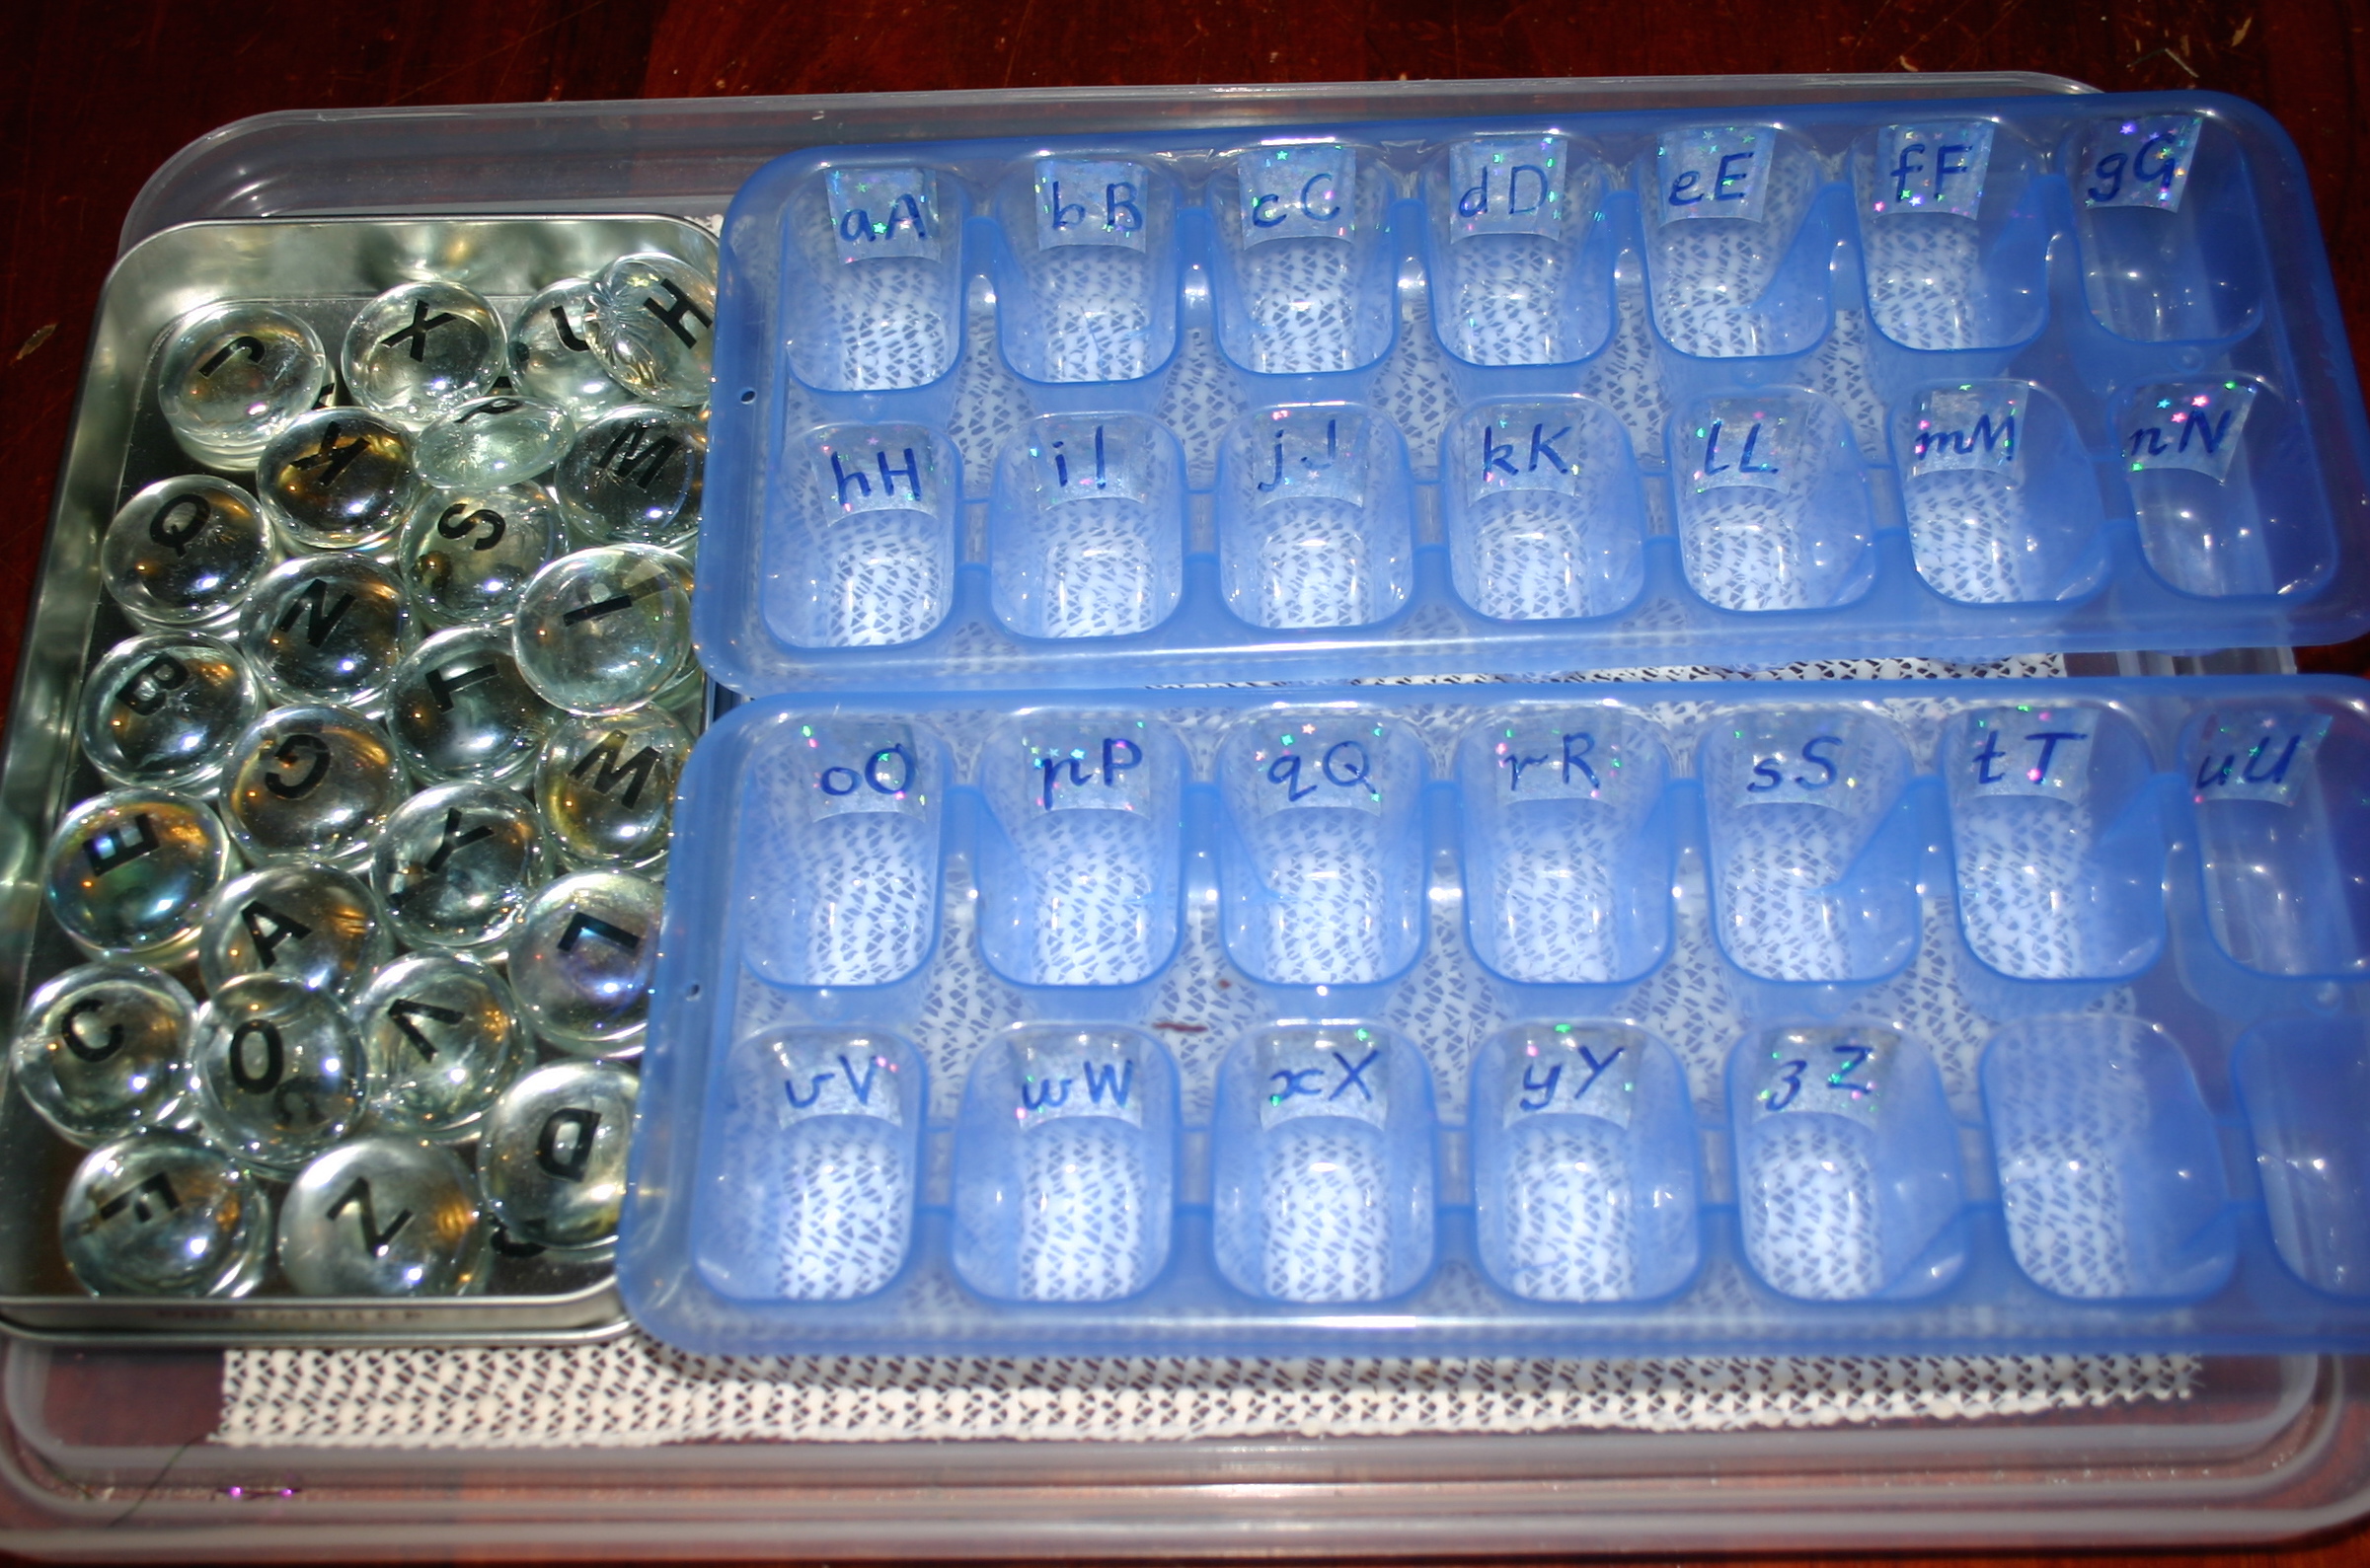
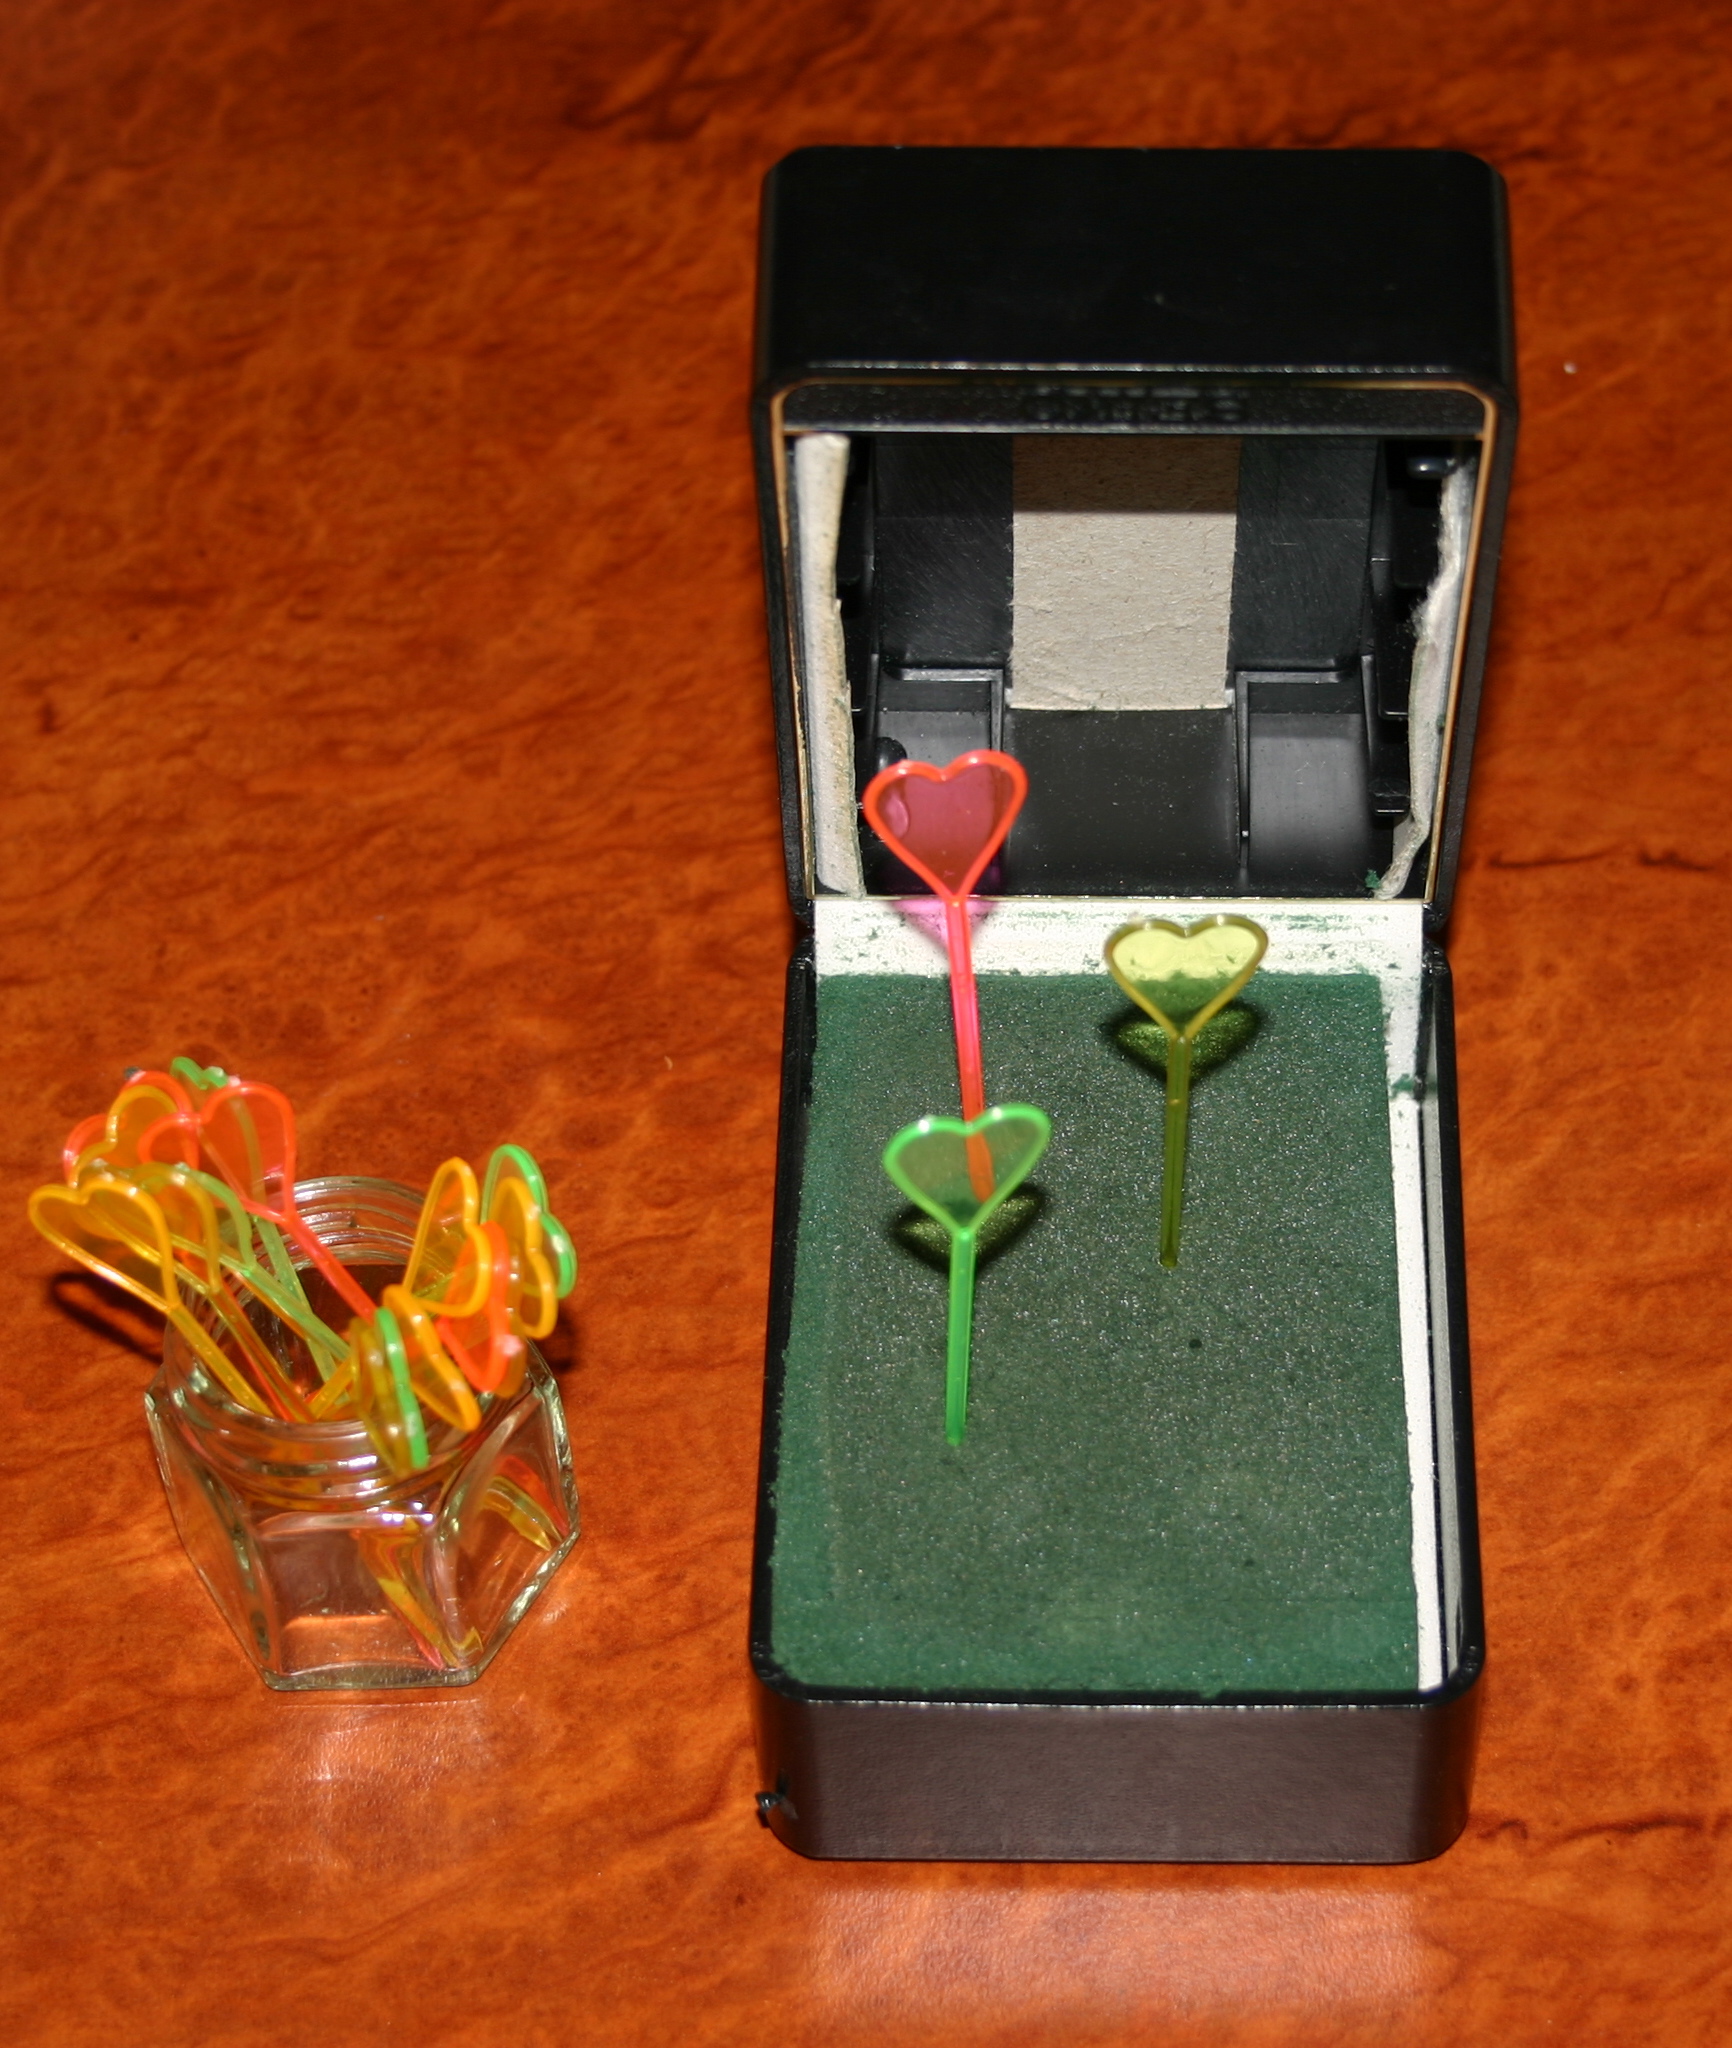
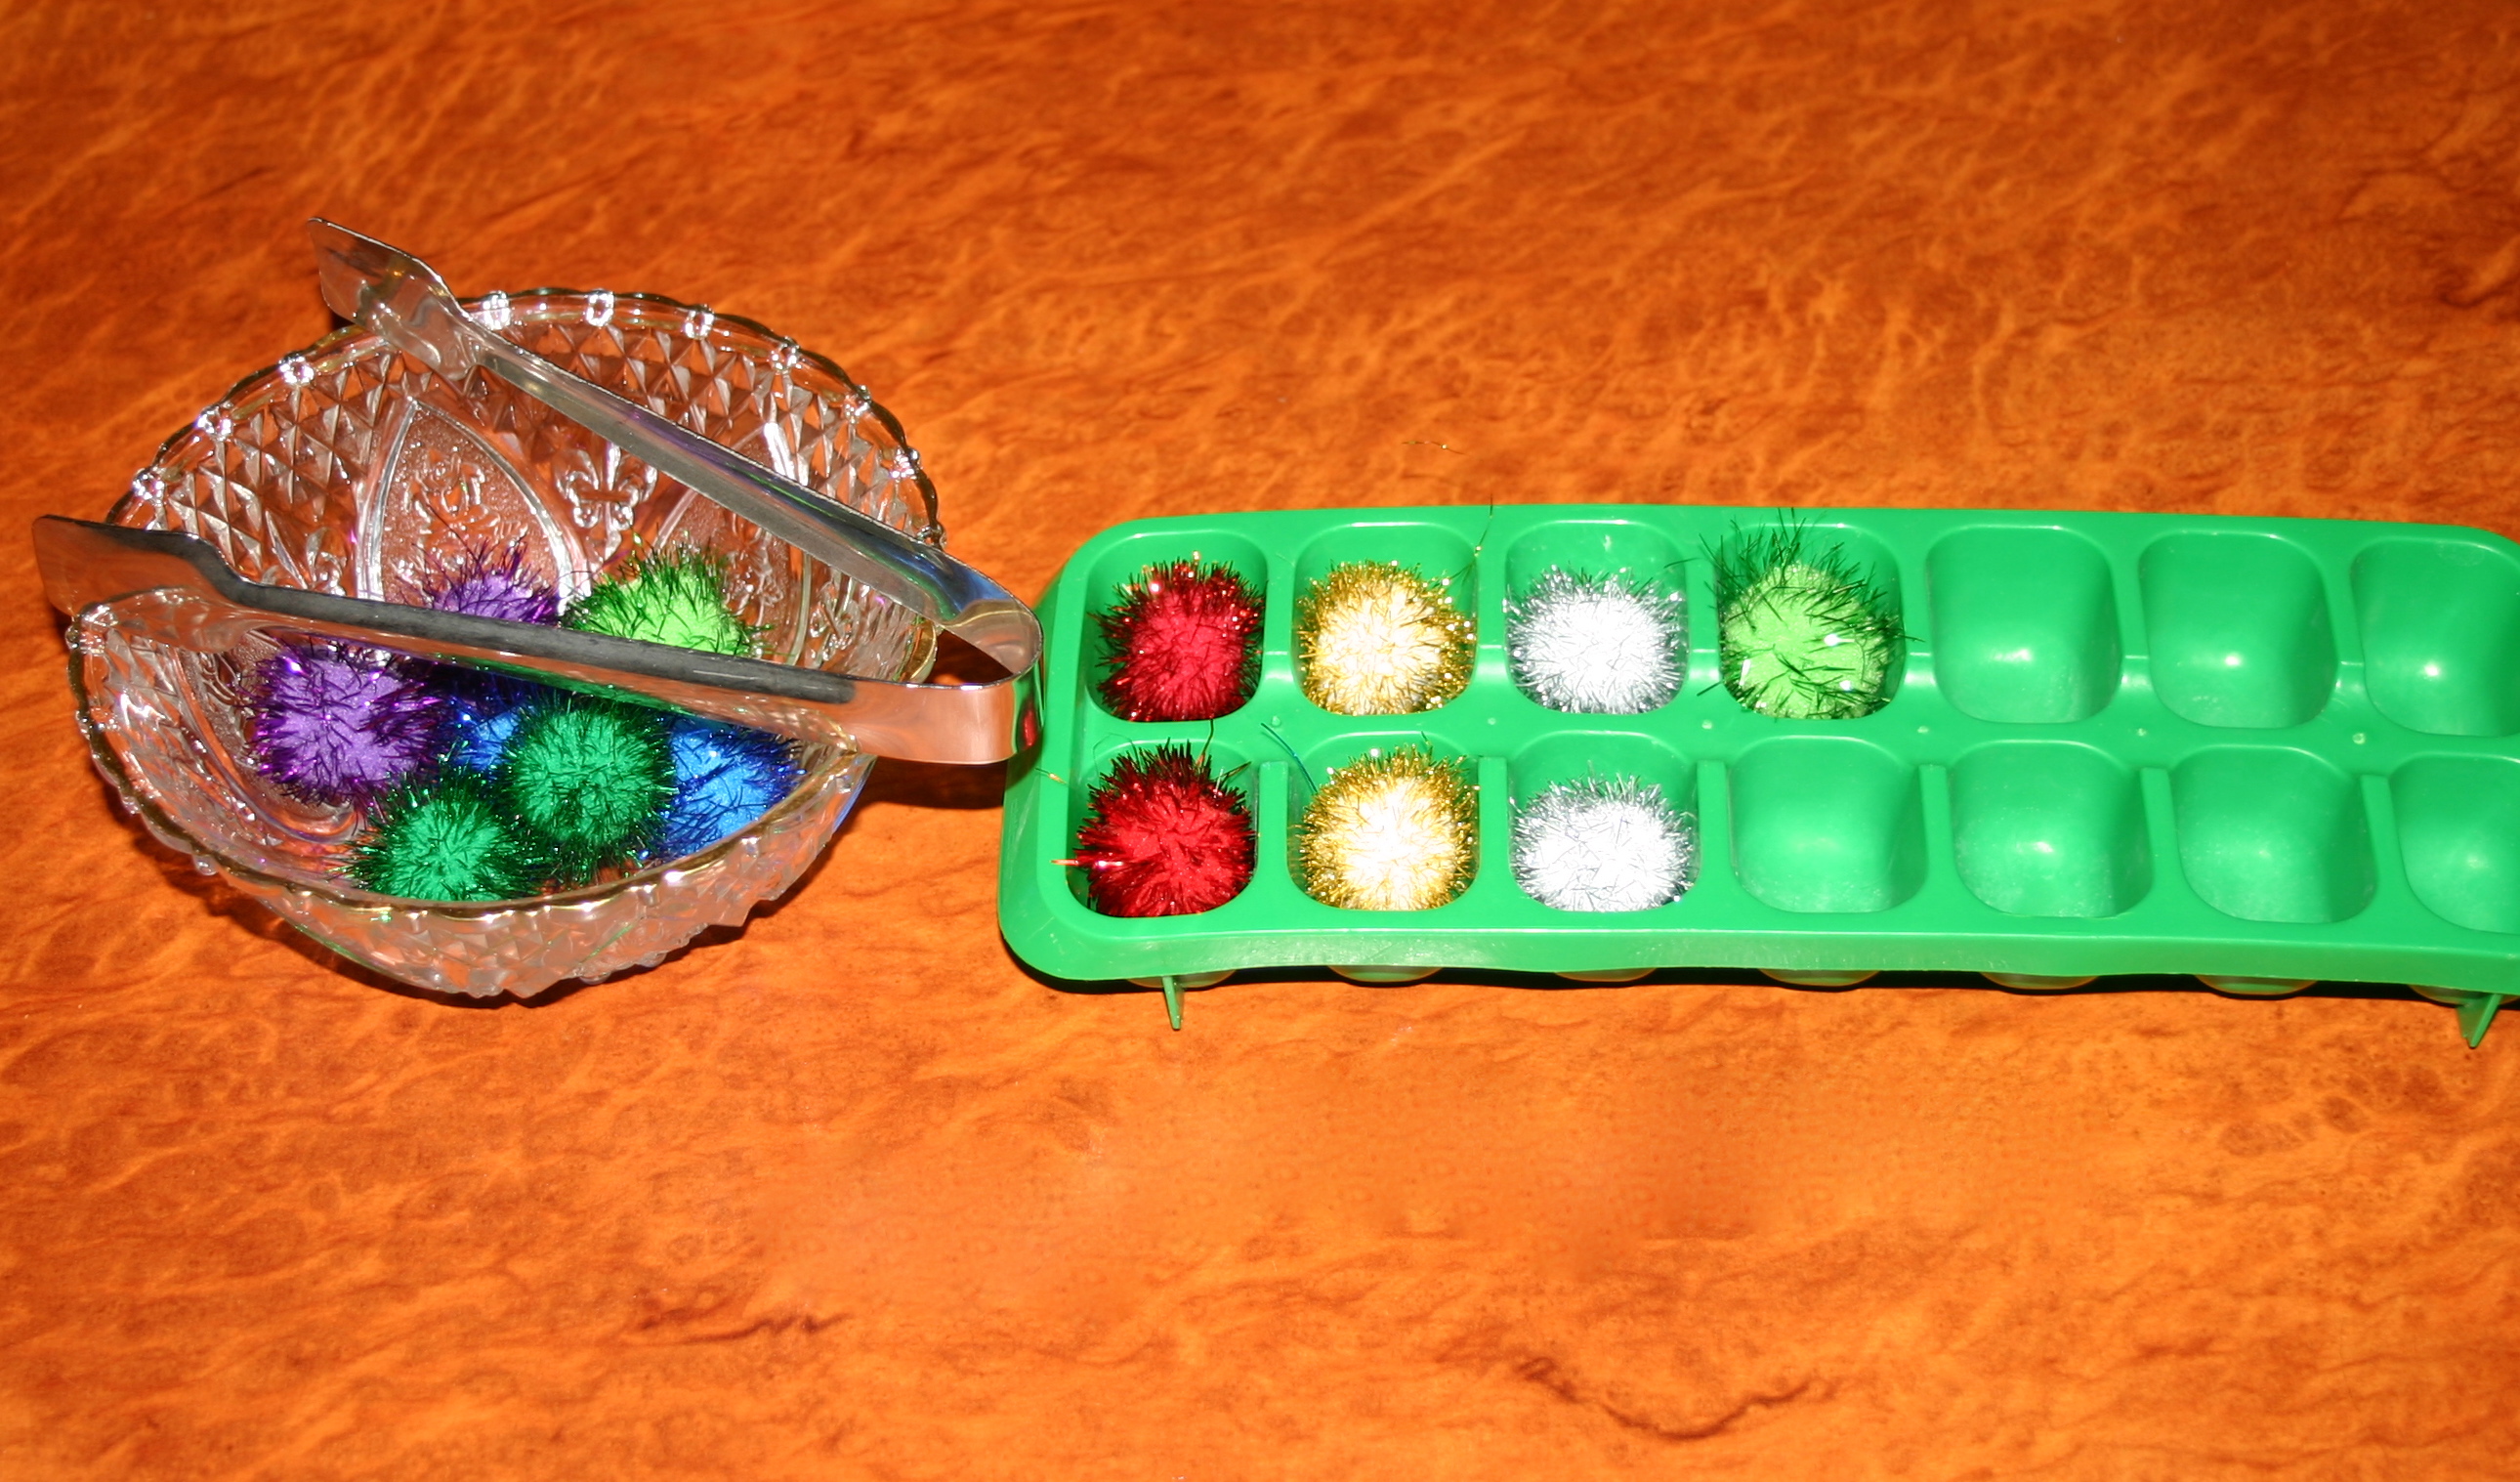
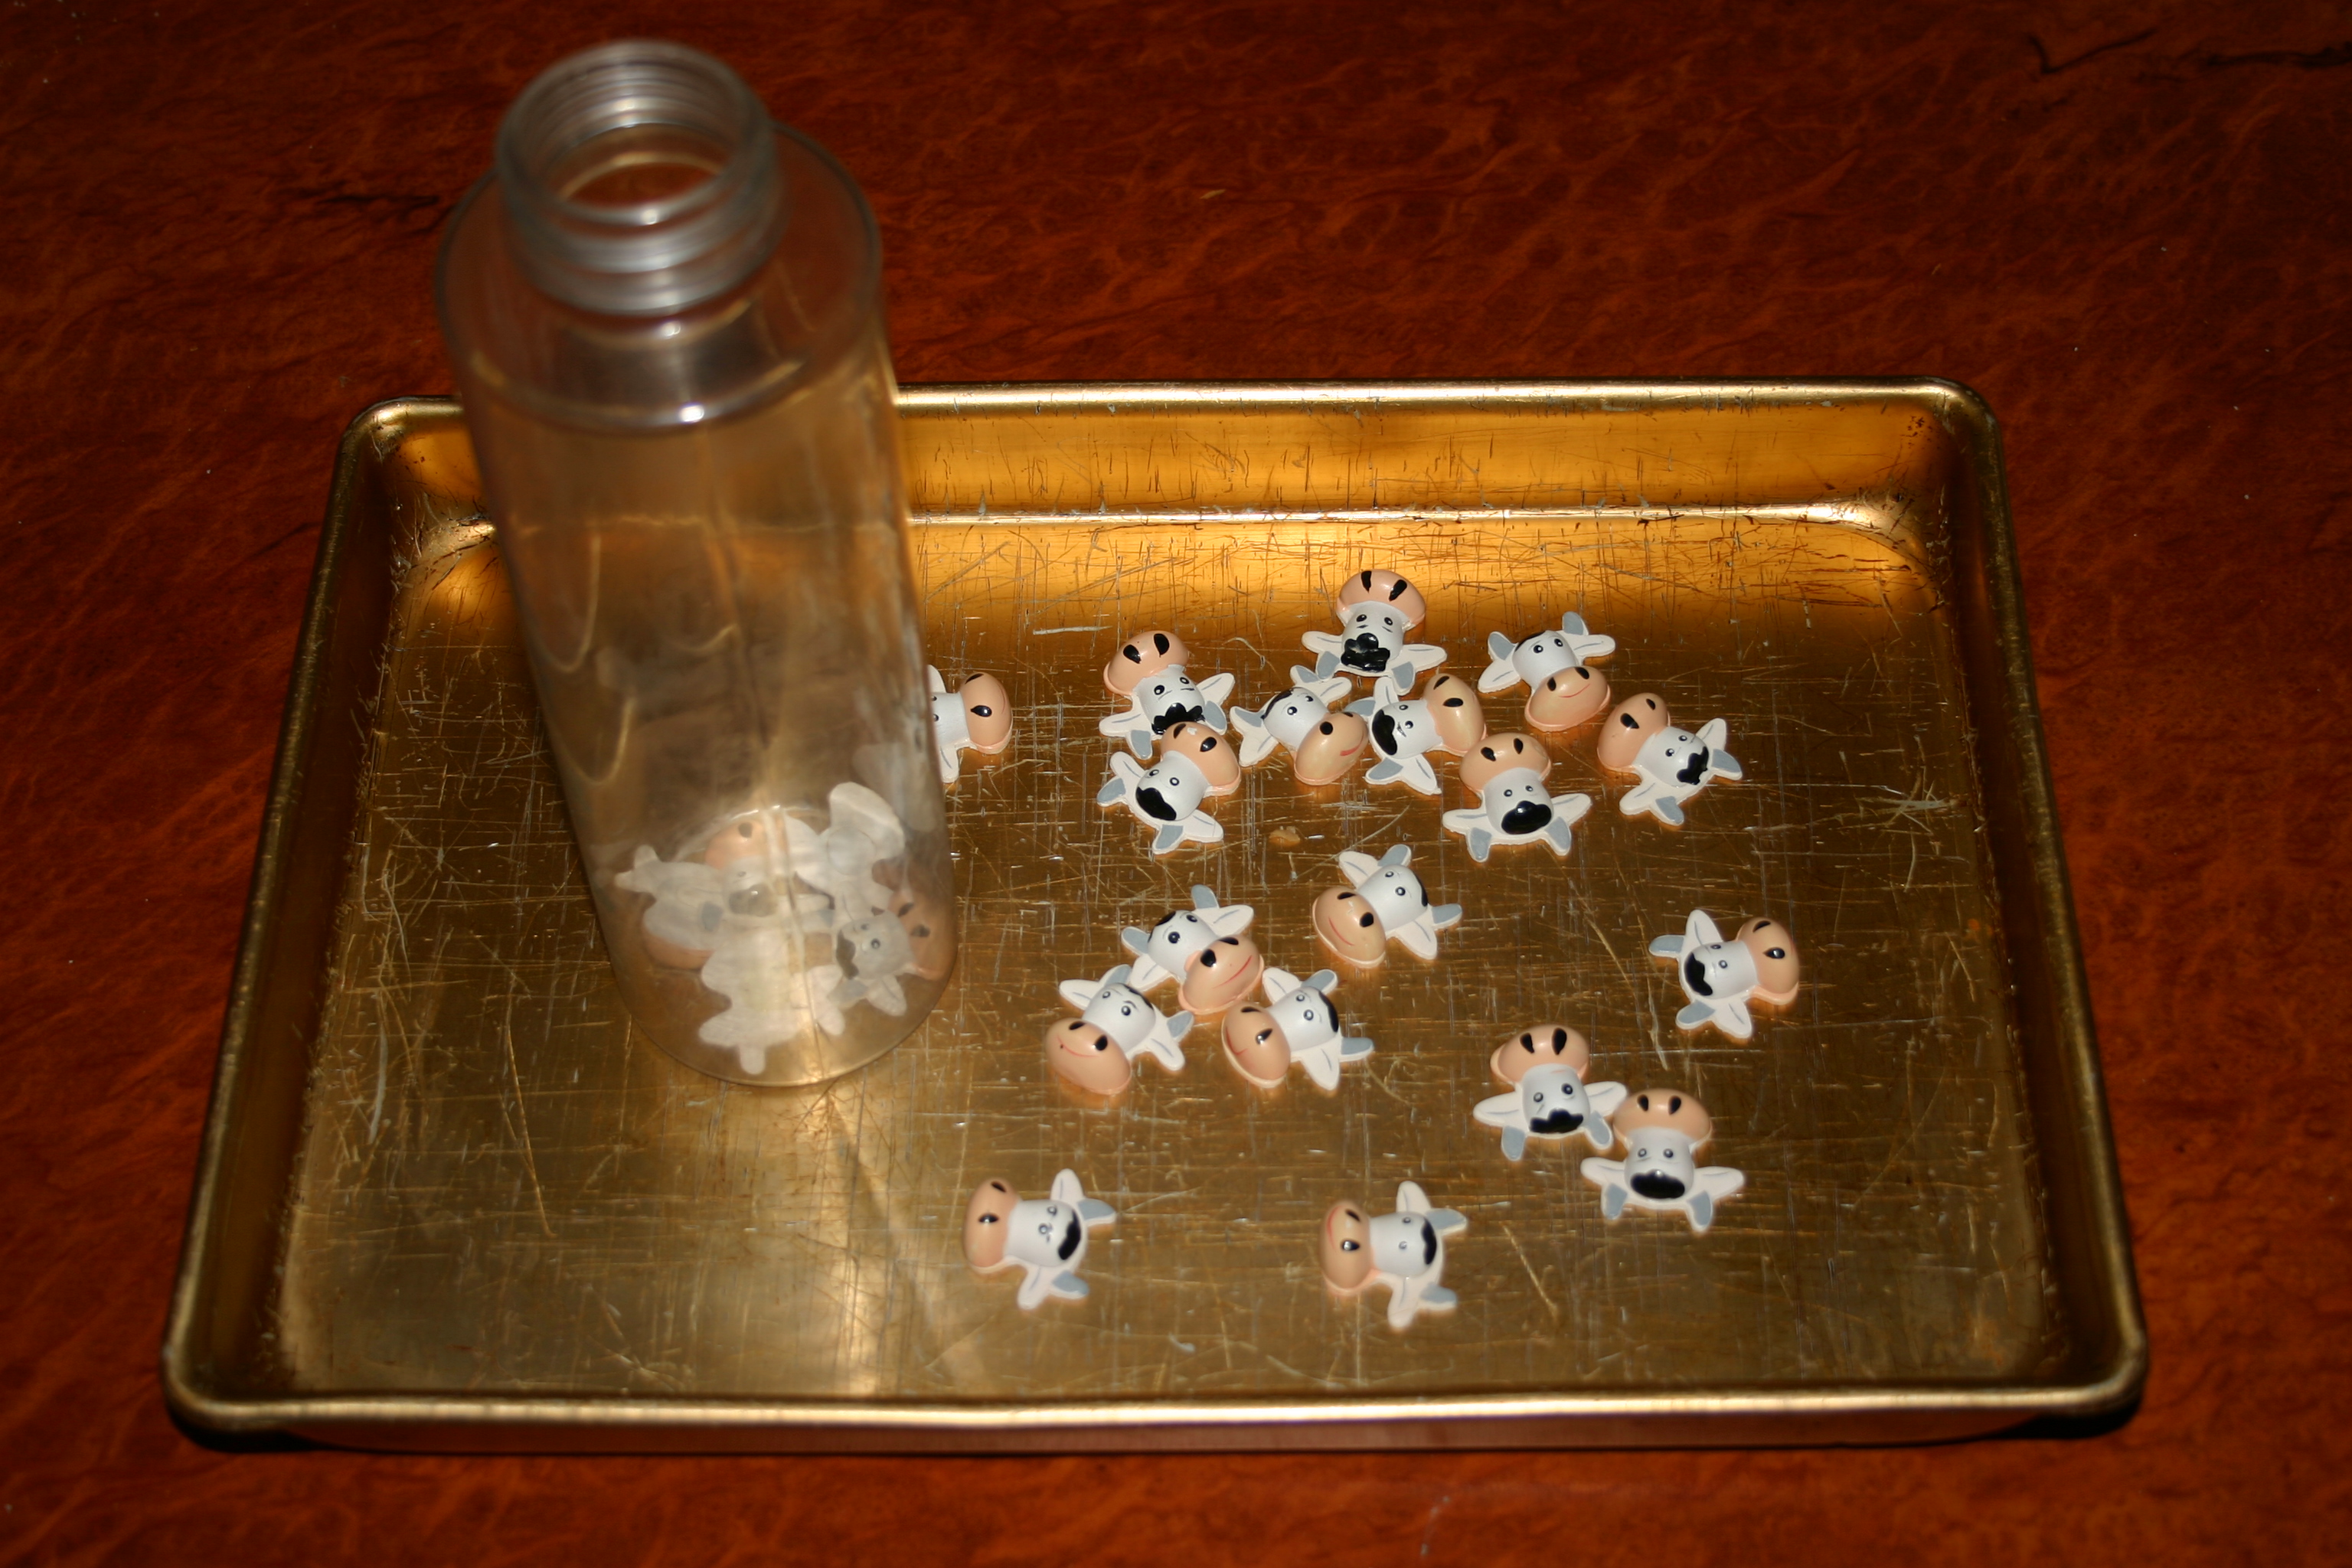
Rocks, pebbles, glass jewels (the kind you add to vases), pieces of natural wood and other such items have unending possibilities for food based play. Avoid plastic pretend food items as these limit play. A plastic pizza is a plastic pizza. An attractive river stone can be a freshly baked bun, biscuit, muffin, piece of meat etc.

broom IMG_0330

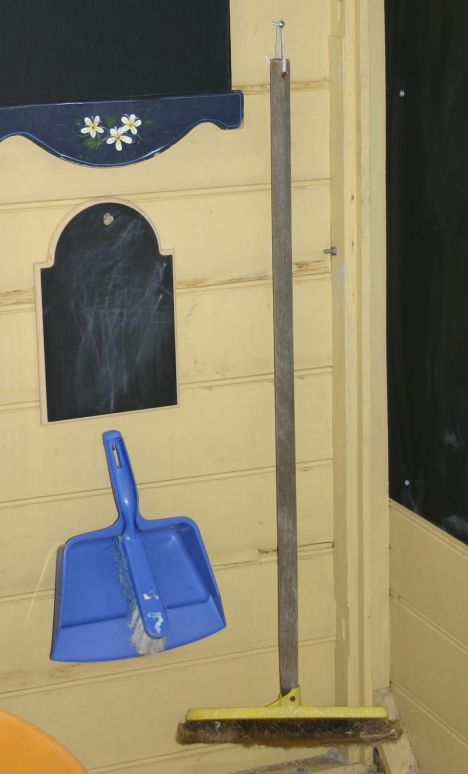
Child-sized broom. Cut the handle off a regular indoor broom to make it child-sized and hang up a dustpan and brush. You will be surprised at how many times the children choose to sweep out their house.

beds IMG_0336

sheets IMG_0338Old sheets, cushions and some kind of bed. We picked up an old cot mattress and a large couch cushion during verge collection in our area that make great bed bases, along with the small decorative cushions for pillows. They are not too big or heavy and can be stored standing up against the cubby wall when not in use. More importantly, there are enough for several children to be “sleeping” at once; very important during hospital play. There is also a very large old-fashioned bassinet that fits the small children very well.

Dress-ups and a mirror. I don’t leave my dress-ups outside, but occasionally pop them into the cubby. Dressing up is enjoyed by all but if the children can see themselves in a mirror, the fun triples. While a couple of princess gowns are nice, a pile of old sheets, scarves, hats, shoes, fabric pieces and other accessories allow children so many more play options. Again, a princess dress will usually be used as a princess dress. A fabulous piece of cloth has endless options.

Themed pretend-play accessories. Set up a few extras for a doctor’s surgery, shop, restaurant, beauty parlour, pet store or more. See this post for heaps of theme ideas.

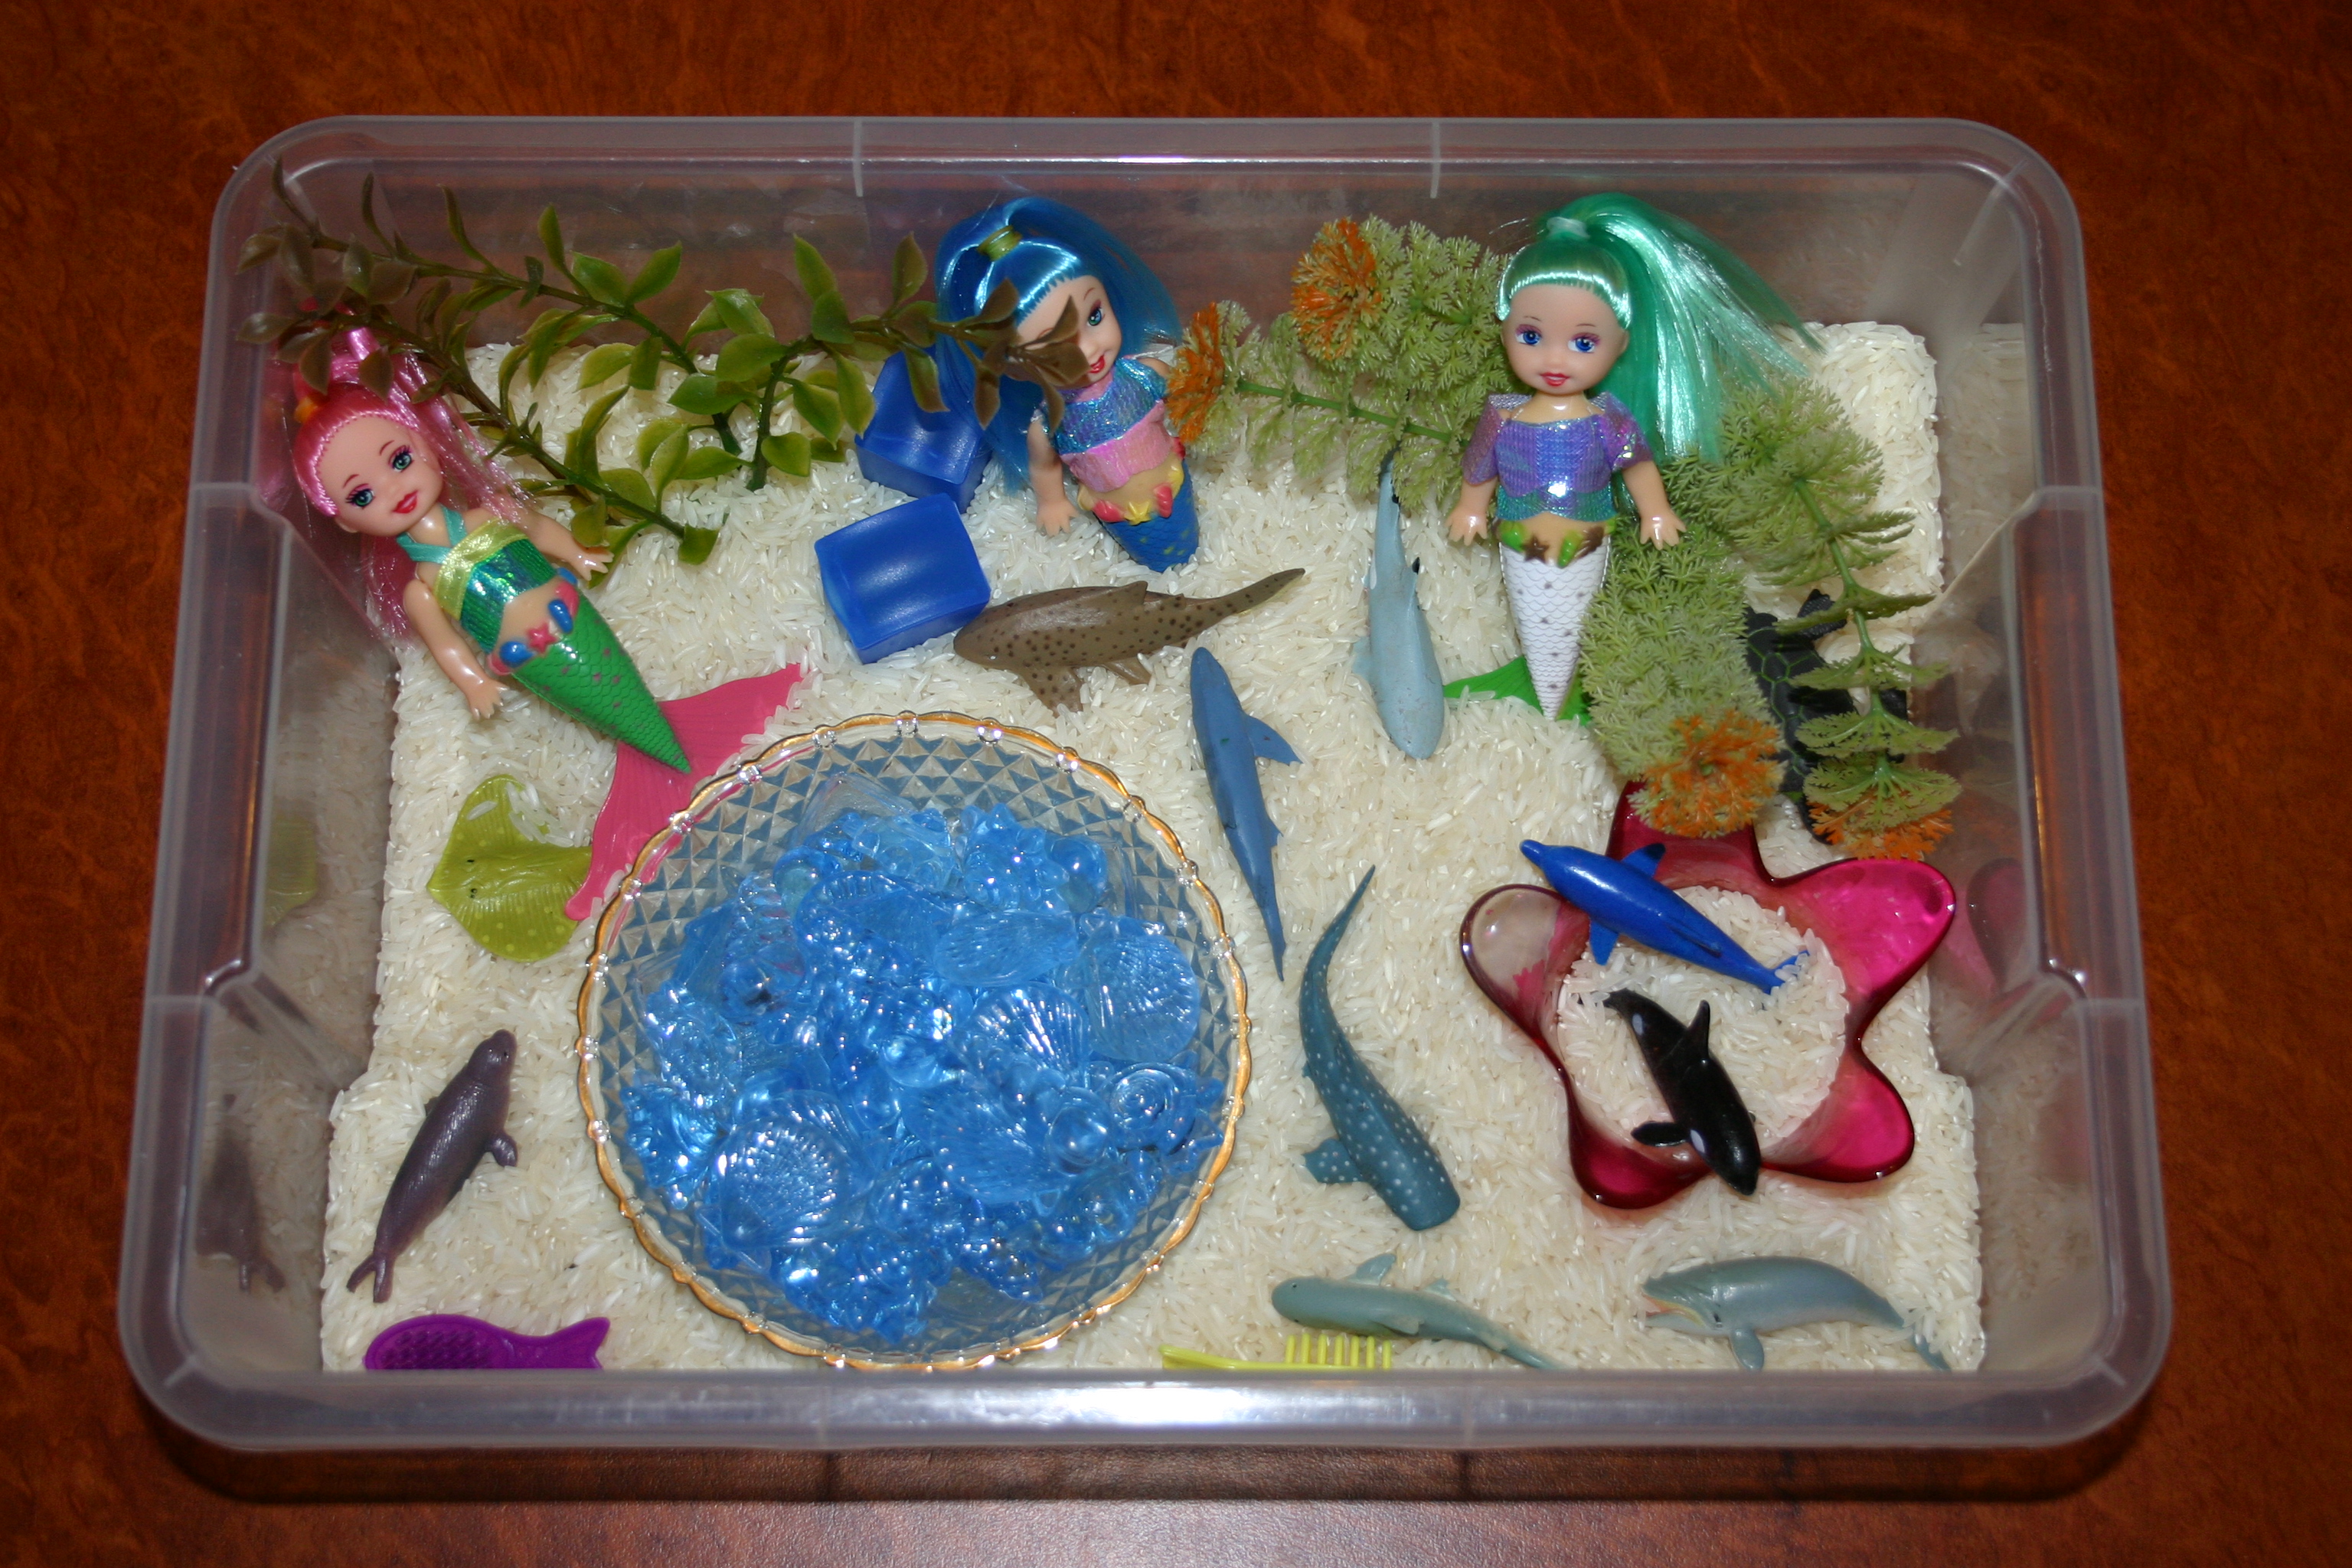
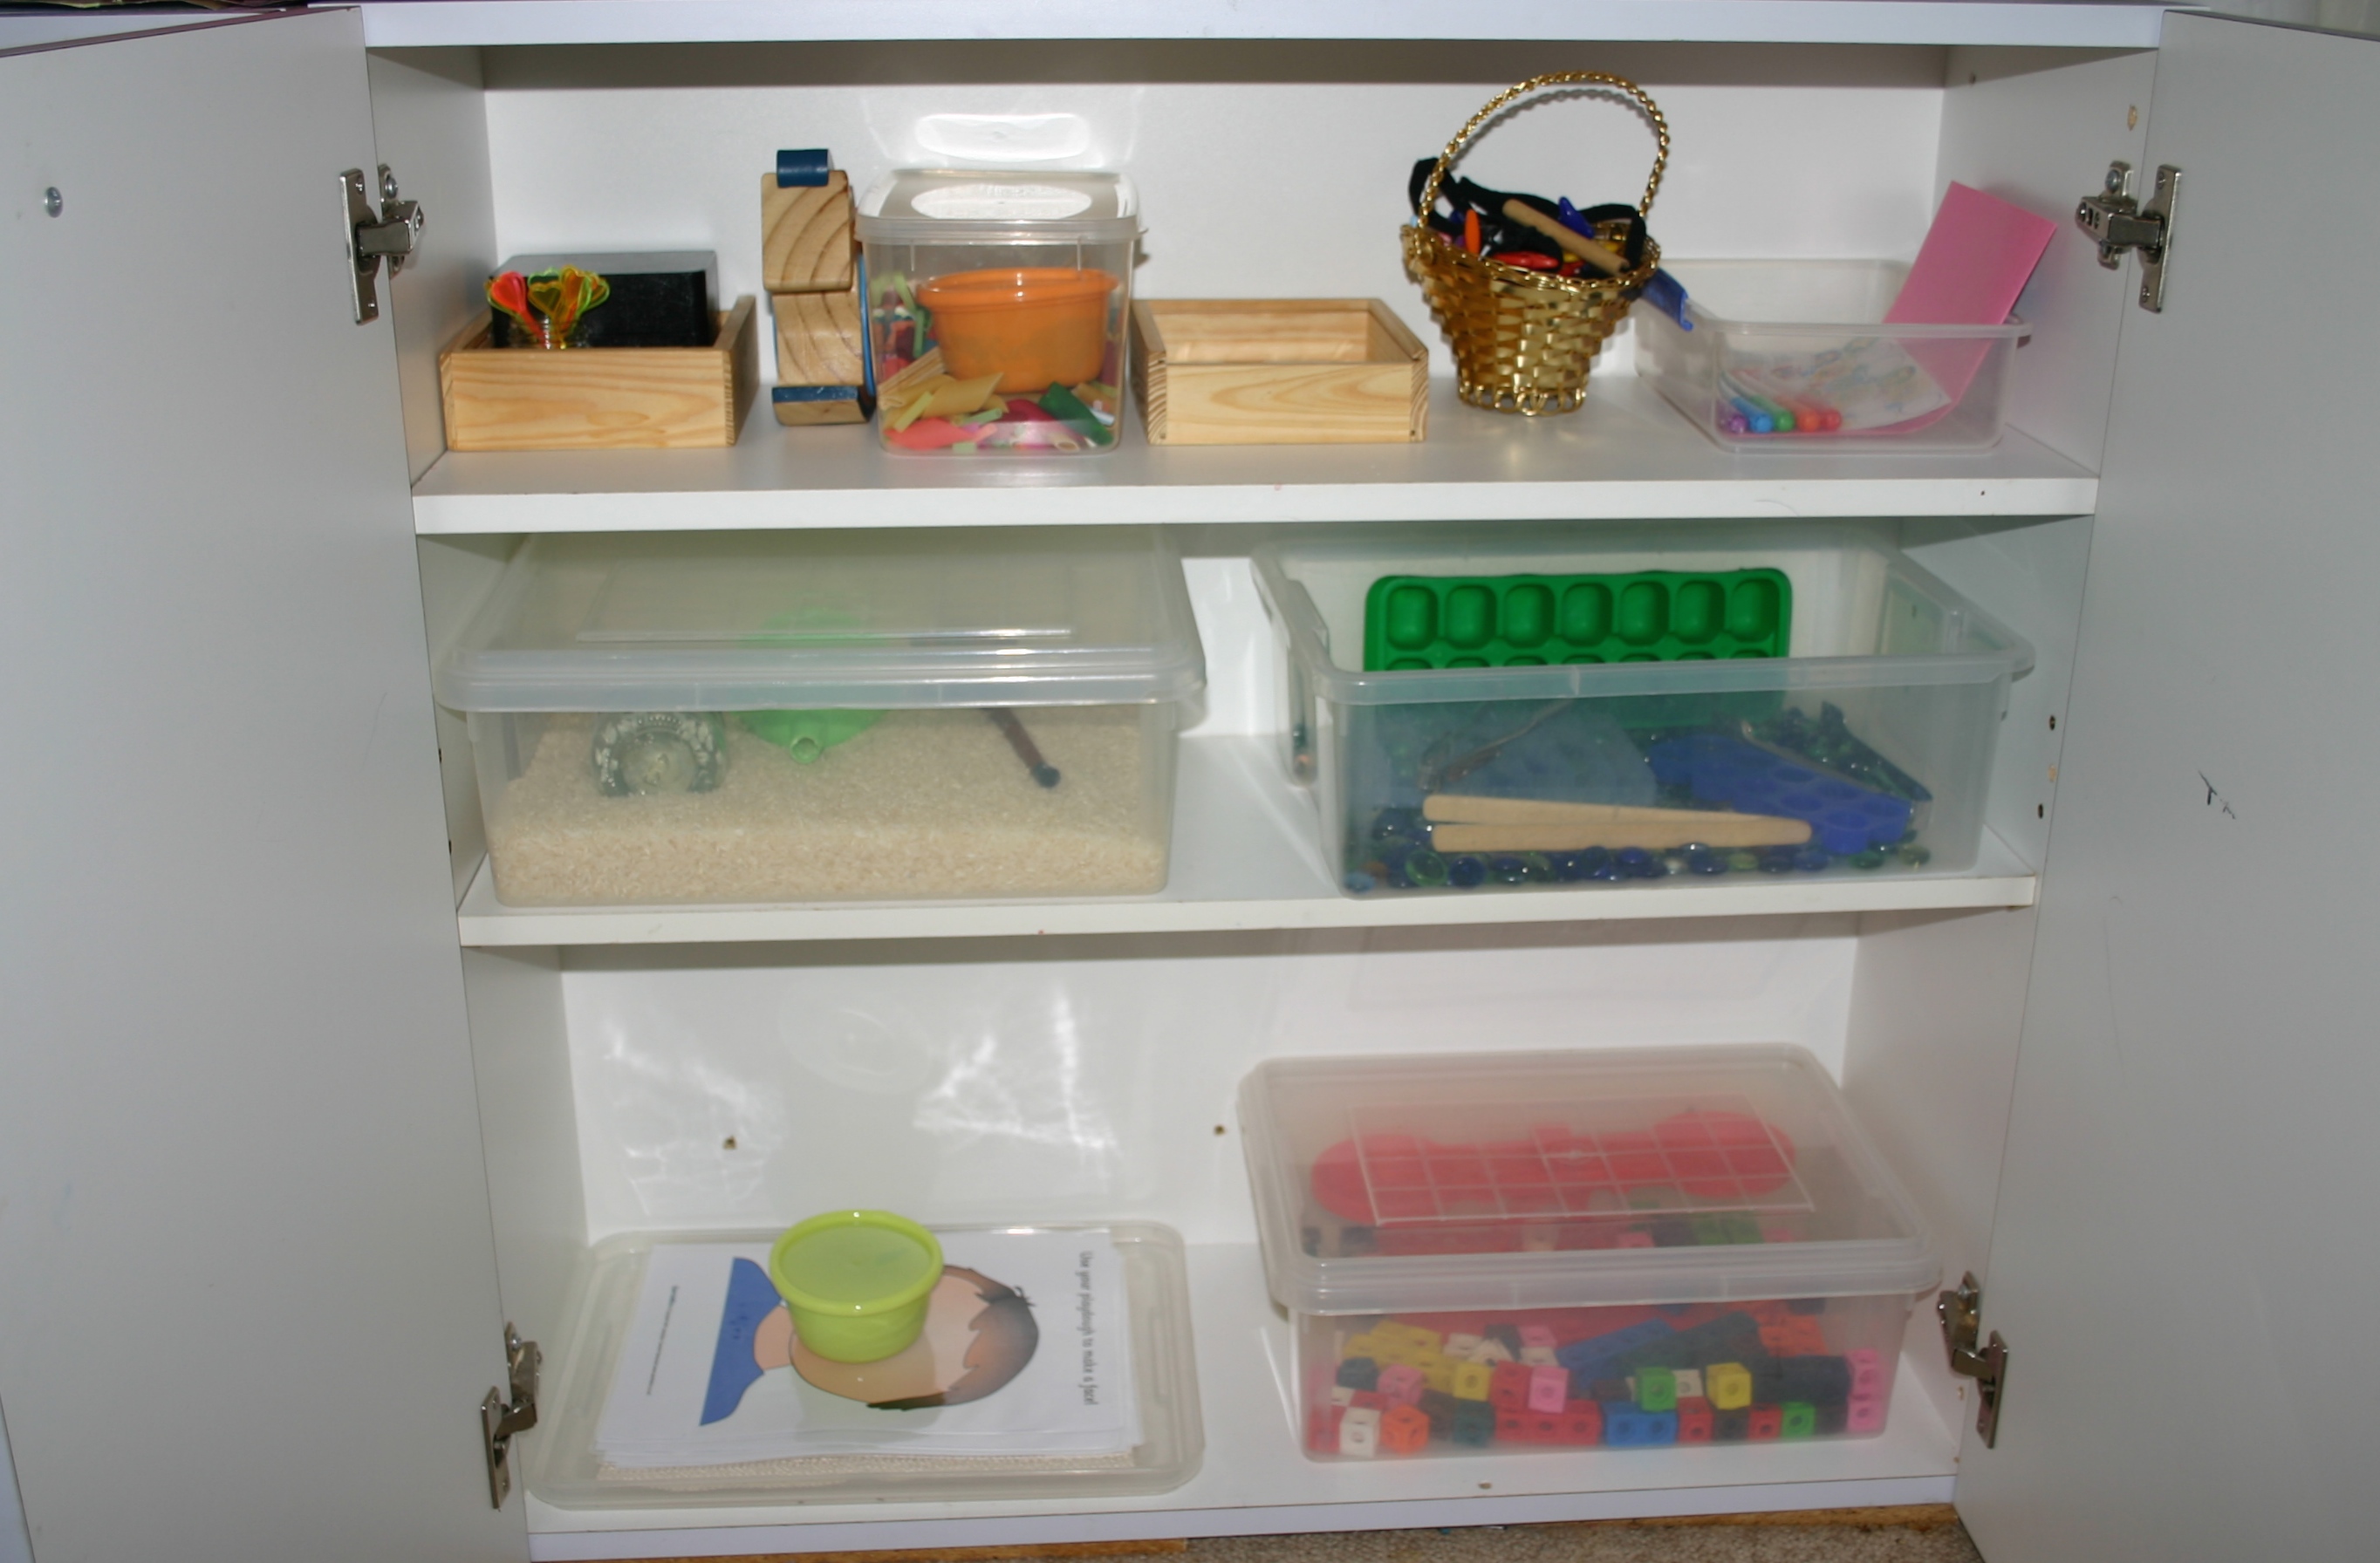
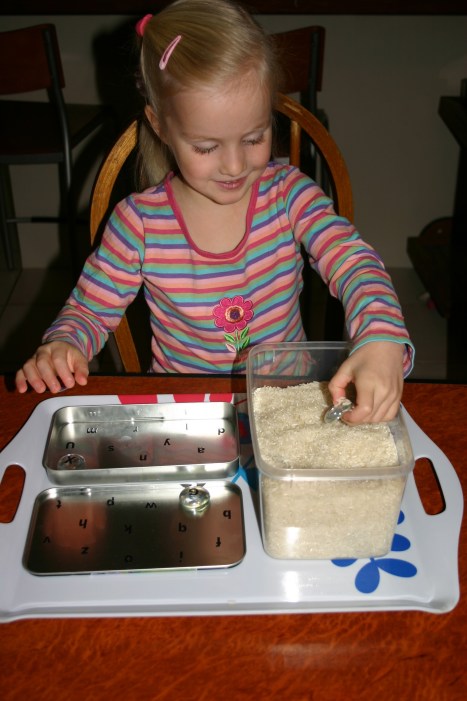
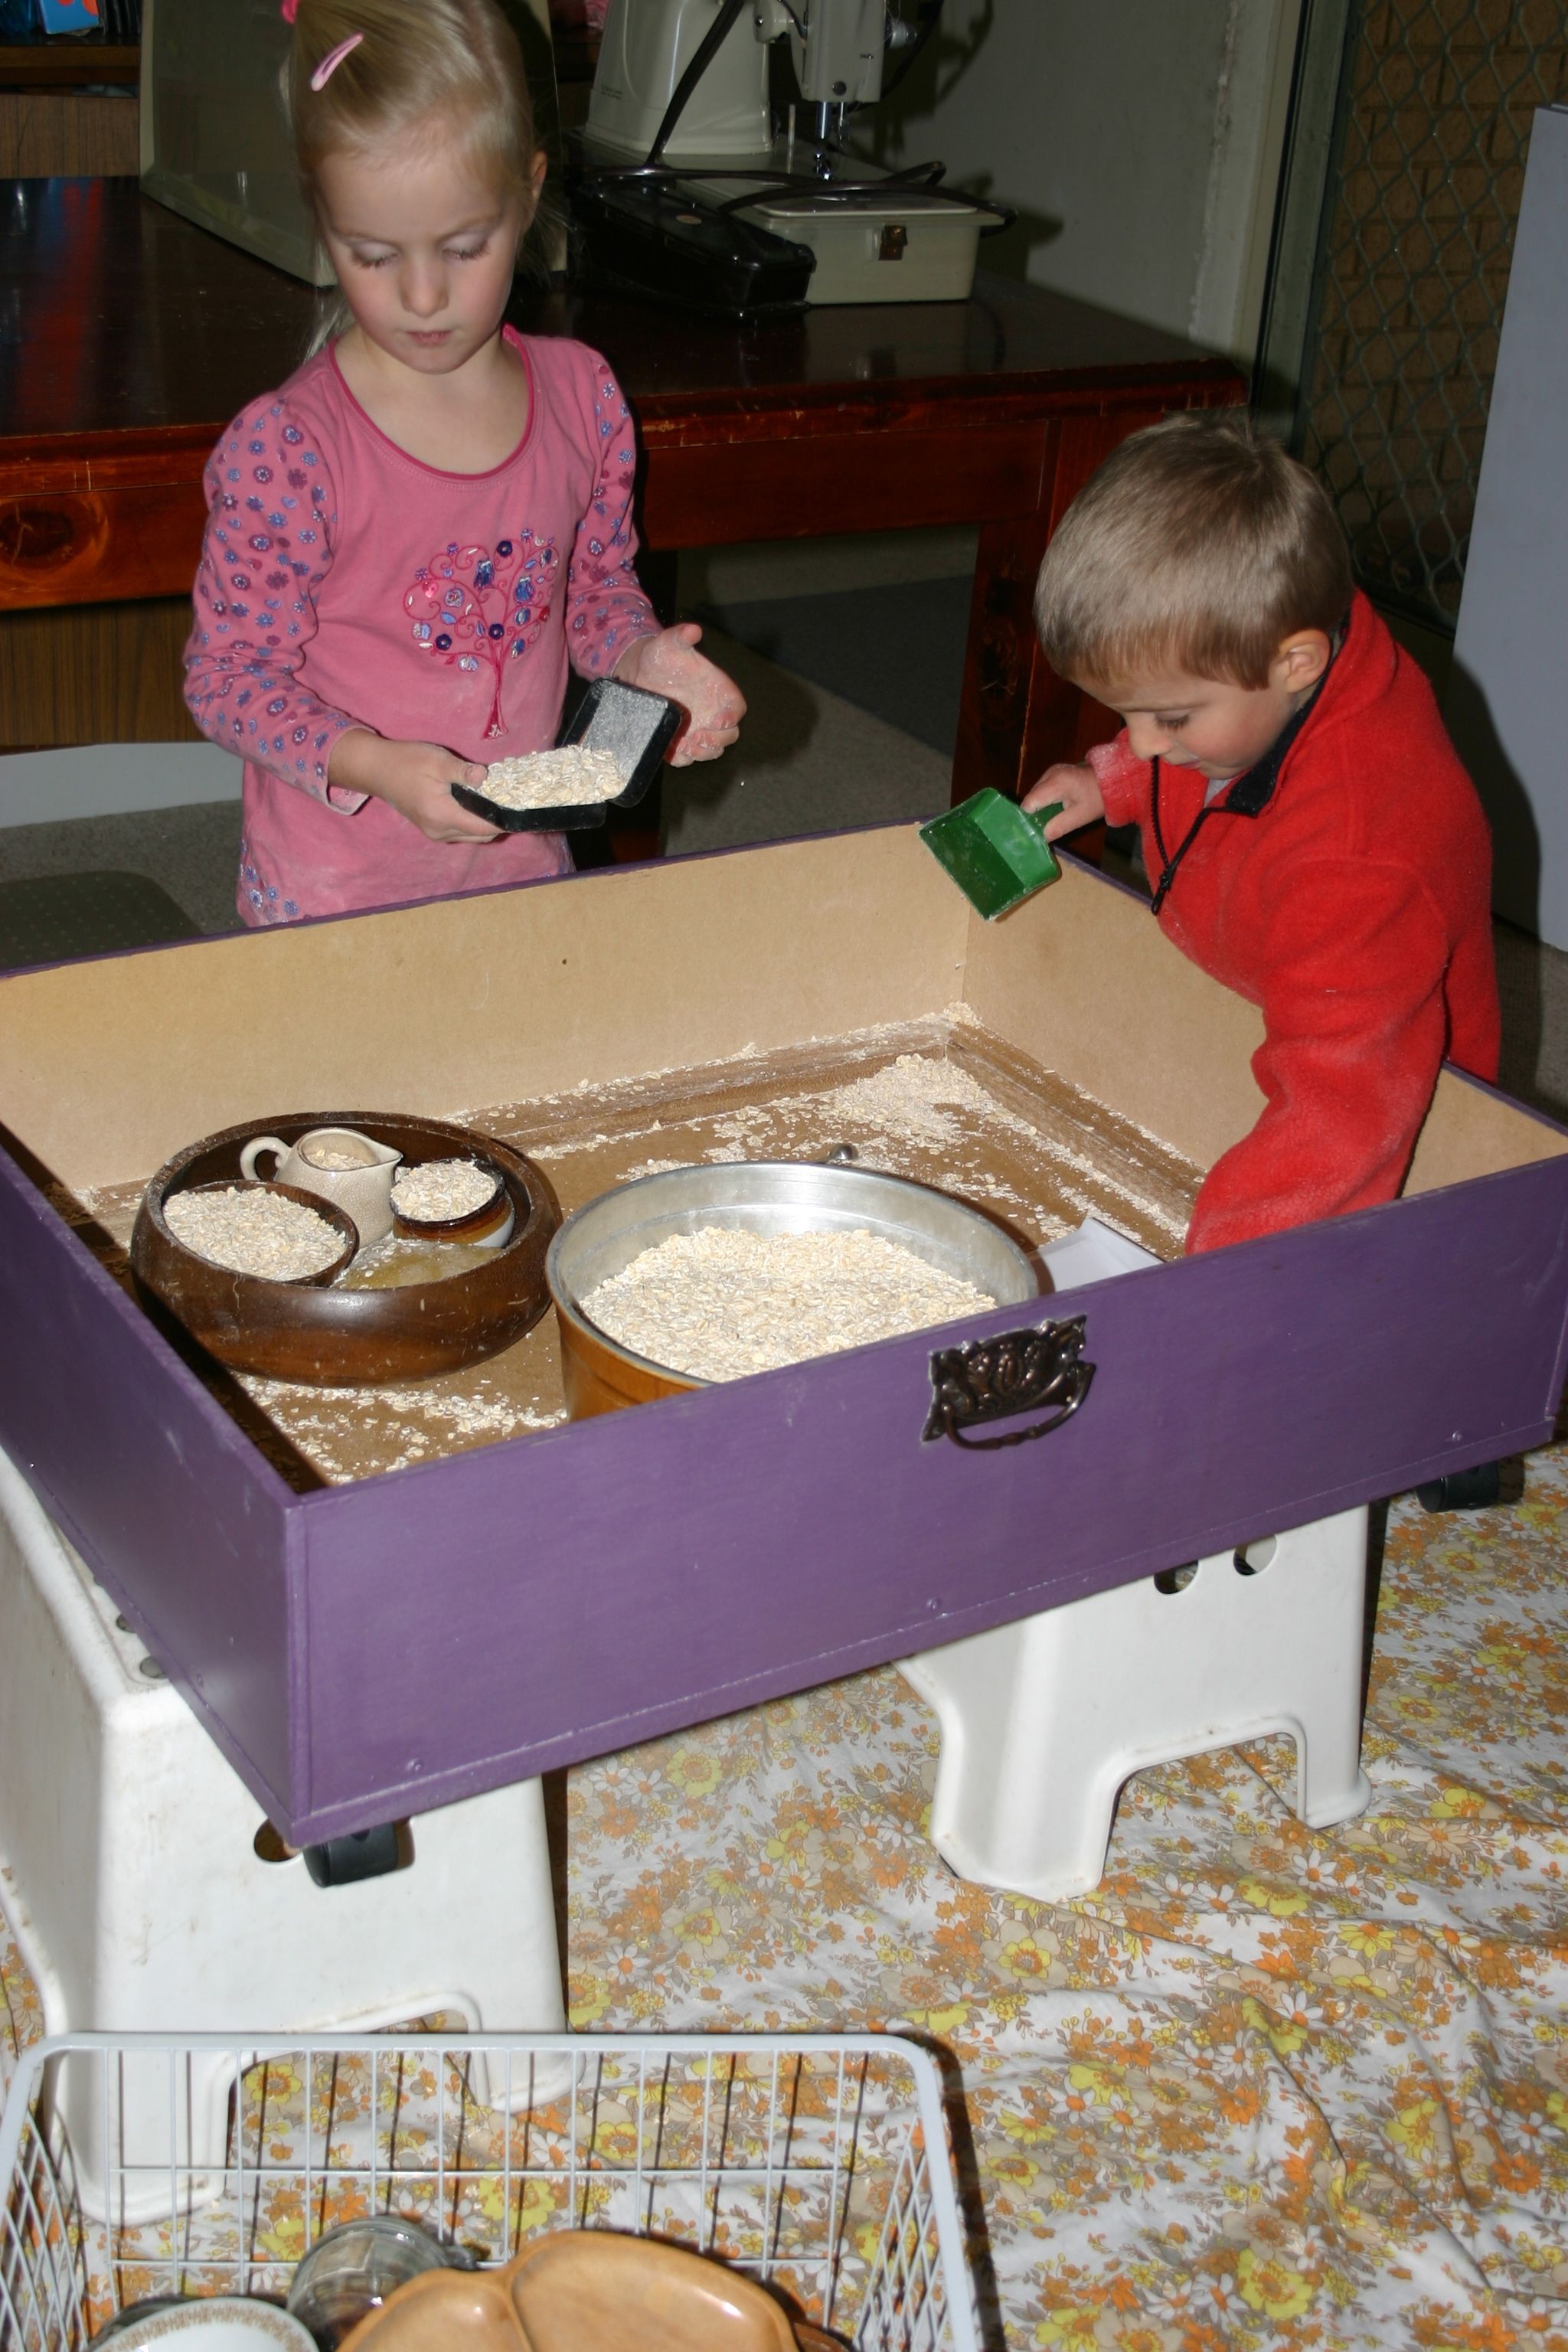
Water table. (Picture of ours here.) During cool weather, this can be filled with sand or rice or wheat or anything really. Add a few accessories and watch the play develop. Sensory tubs as they are often known are great for rainy days. See this post for lots of indoor ideas, or my toddler activities Pinterest page for heaps more. Some of them (the messy ones) lend themselves to outdoor play more than others.

SIX CUBBY HOUSE MISTAKES TO AVOID:

1.Using it as a store-all for all the outdoor toys. You can’t play in a junk pile people!

2. Leaving it empty. A box on legs is still just an empty box and unlike giant cardboard boxes which have endless uses, an empty cubby is just not that much fun.

3. Putting it too far away from the action. Children occasionally like to hide away but as a general rule, they will be far more likely to consistently use a play house if it is located centrally to the rest of your outdoor area or close to the house. Joined on to a sandpit for example is excellent as the sand then becomes part of the play and opens a whole new dimension of pretend play ideas. Mud pies in the cubby oven are good for hours of entertainment.

4. Small, high windows. For much the same reason as above; children like to be able to pop in and shut a curtain etc. to feel like they have a little privacy but most of the time want to be able to see what is going on and not feel too shut in. Having a good, low window at the front to play shops, serve food through etc. is ideal.

5. Getting hung up about keeping the cubby tidy. It’s not your house or the kid’s bedroom! Let them make some mess. Let them bring in sandpit sand, pebbles from the driveway, leaves or whatever else is making for great pretend play that day. That’s why you include a broom and dustpan!

6. Buying a cubby that is too small. It’s handy if an adult can stand inside but not necessary of course. Think ahead though – if 2 little children fit well, what about when they grow or more children are welcomed to the family? Or when visitors arrive? If you are going to have a well-used cubby, there needs to be space for the mini kitchen, the bed, the blackboard and all the other great accessories that make or break a play house. Too small and you will be very limited in what you can do.

While I haven’t added every idea to our cubby as yet, I am done for now. When interest wanes and something new is required,  I’ll get back to the doorbell, letterbox and other items.

What great ideas do you have to make your cubbyhouse a great place to play?