Fingerpainting – 5 minutes of actual finger painting (in the bottom of the tubs) then 45 minutes of cleaning up! First the tubs, then the kids. They did seem to have fun though.
I have been asked a few times recently what I am doing for preschool with my 4-year-old children. There have been no major changes to how we have always done things; we just take the sitting and focussing skills they have already been learning during mat time, playpen time, room time, highchair time and other periods of focussed play and apply them to the next level of hands-on learning.
We have been focussing on basic counting skills, learning our letter names, sounds and identifying initial sounds (moving on to 3 letter words) and other hands on activities that promote fine motor skills. (Plus some other kindergarten style activities that are pretty much just for fun.) I work with just the twins for 20 minutes each morning, which gives them some focussed time with Mummy before I go on to the older children while the twins do independent activities on their mats.
This short period of time I know by experience (coupled with the learning they receive during our daily flexible routine, reading times etc.) is enough to give them a strong start in all the learning areas as they get older. Preschool need not be particularly complicated, formal or arduous to be effective and it does not need to take all day. We do some more formalised work at this age because they are ready for it and enjoy doing “real school” like the big kids. If these two factors were not in place I would back off until they were ready.
Here is a snapshot of the activities we have been doing over the last 2 weeks.

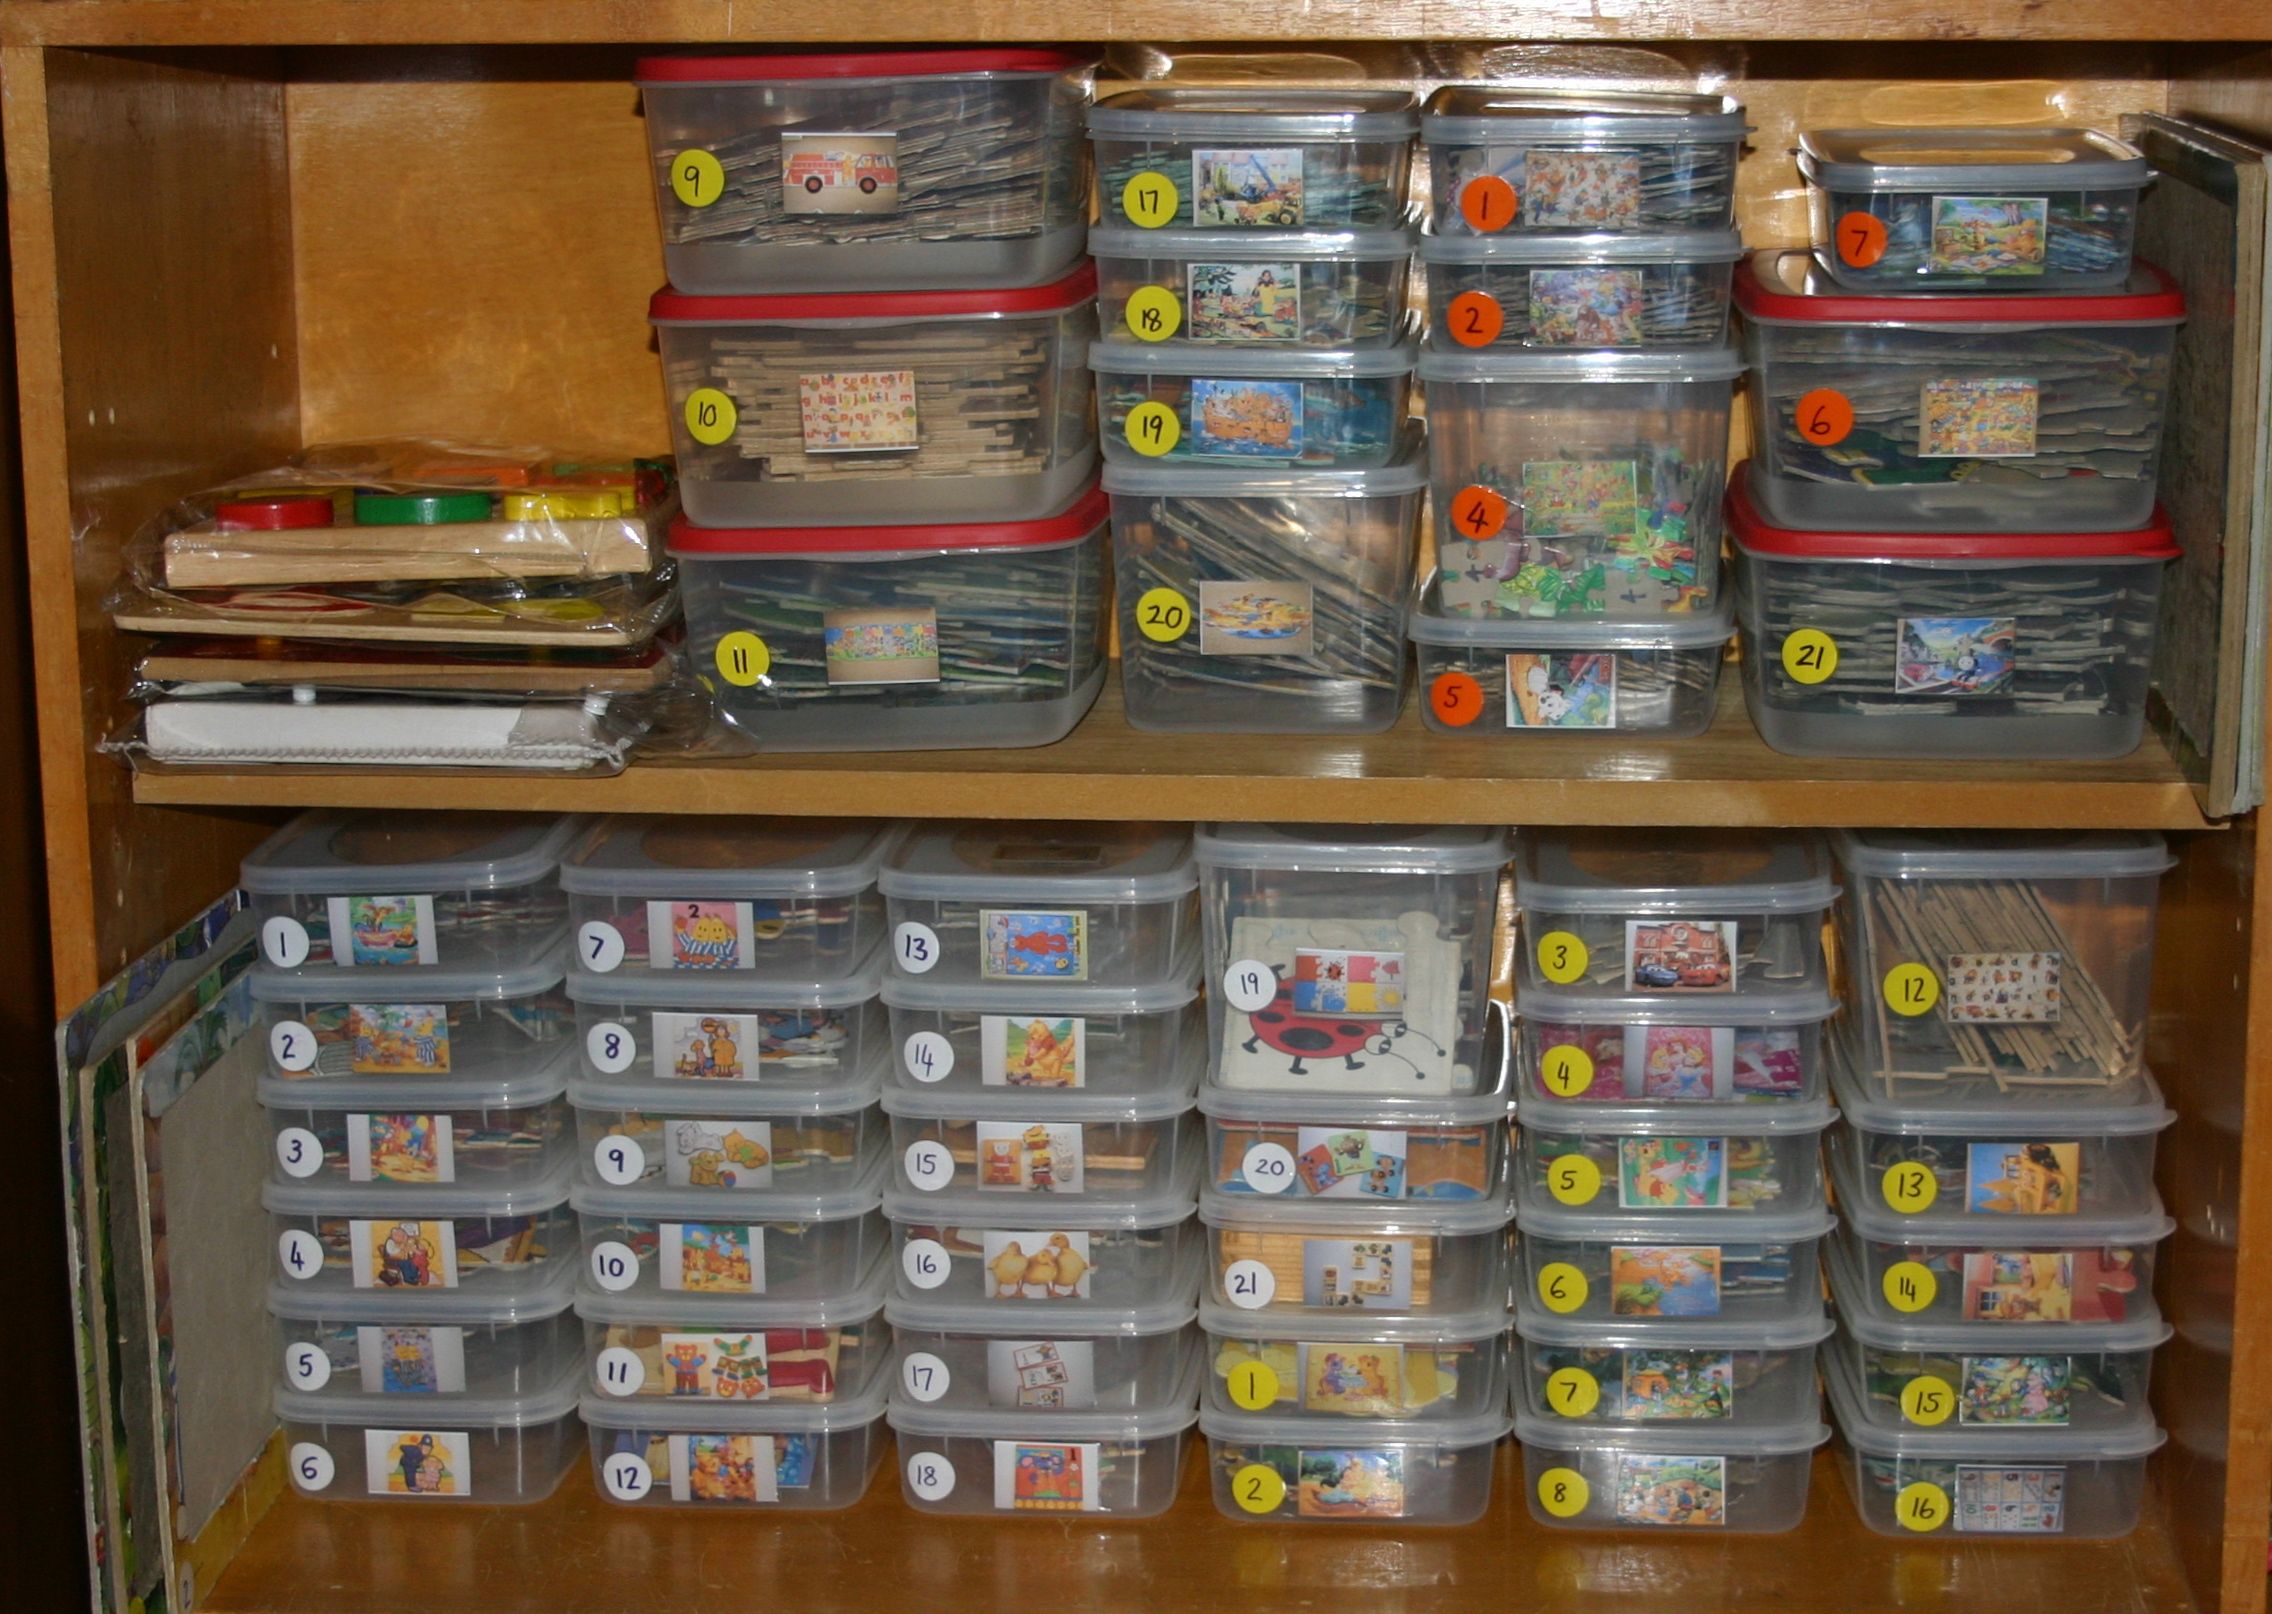
Our preschool activity cupboard for “school with Mummy” time.

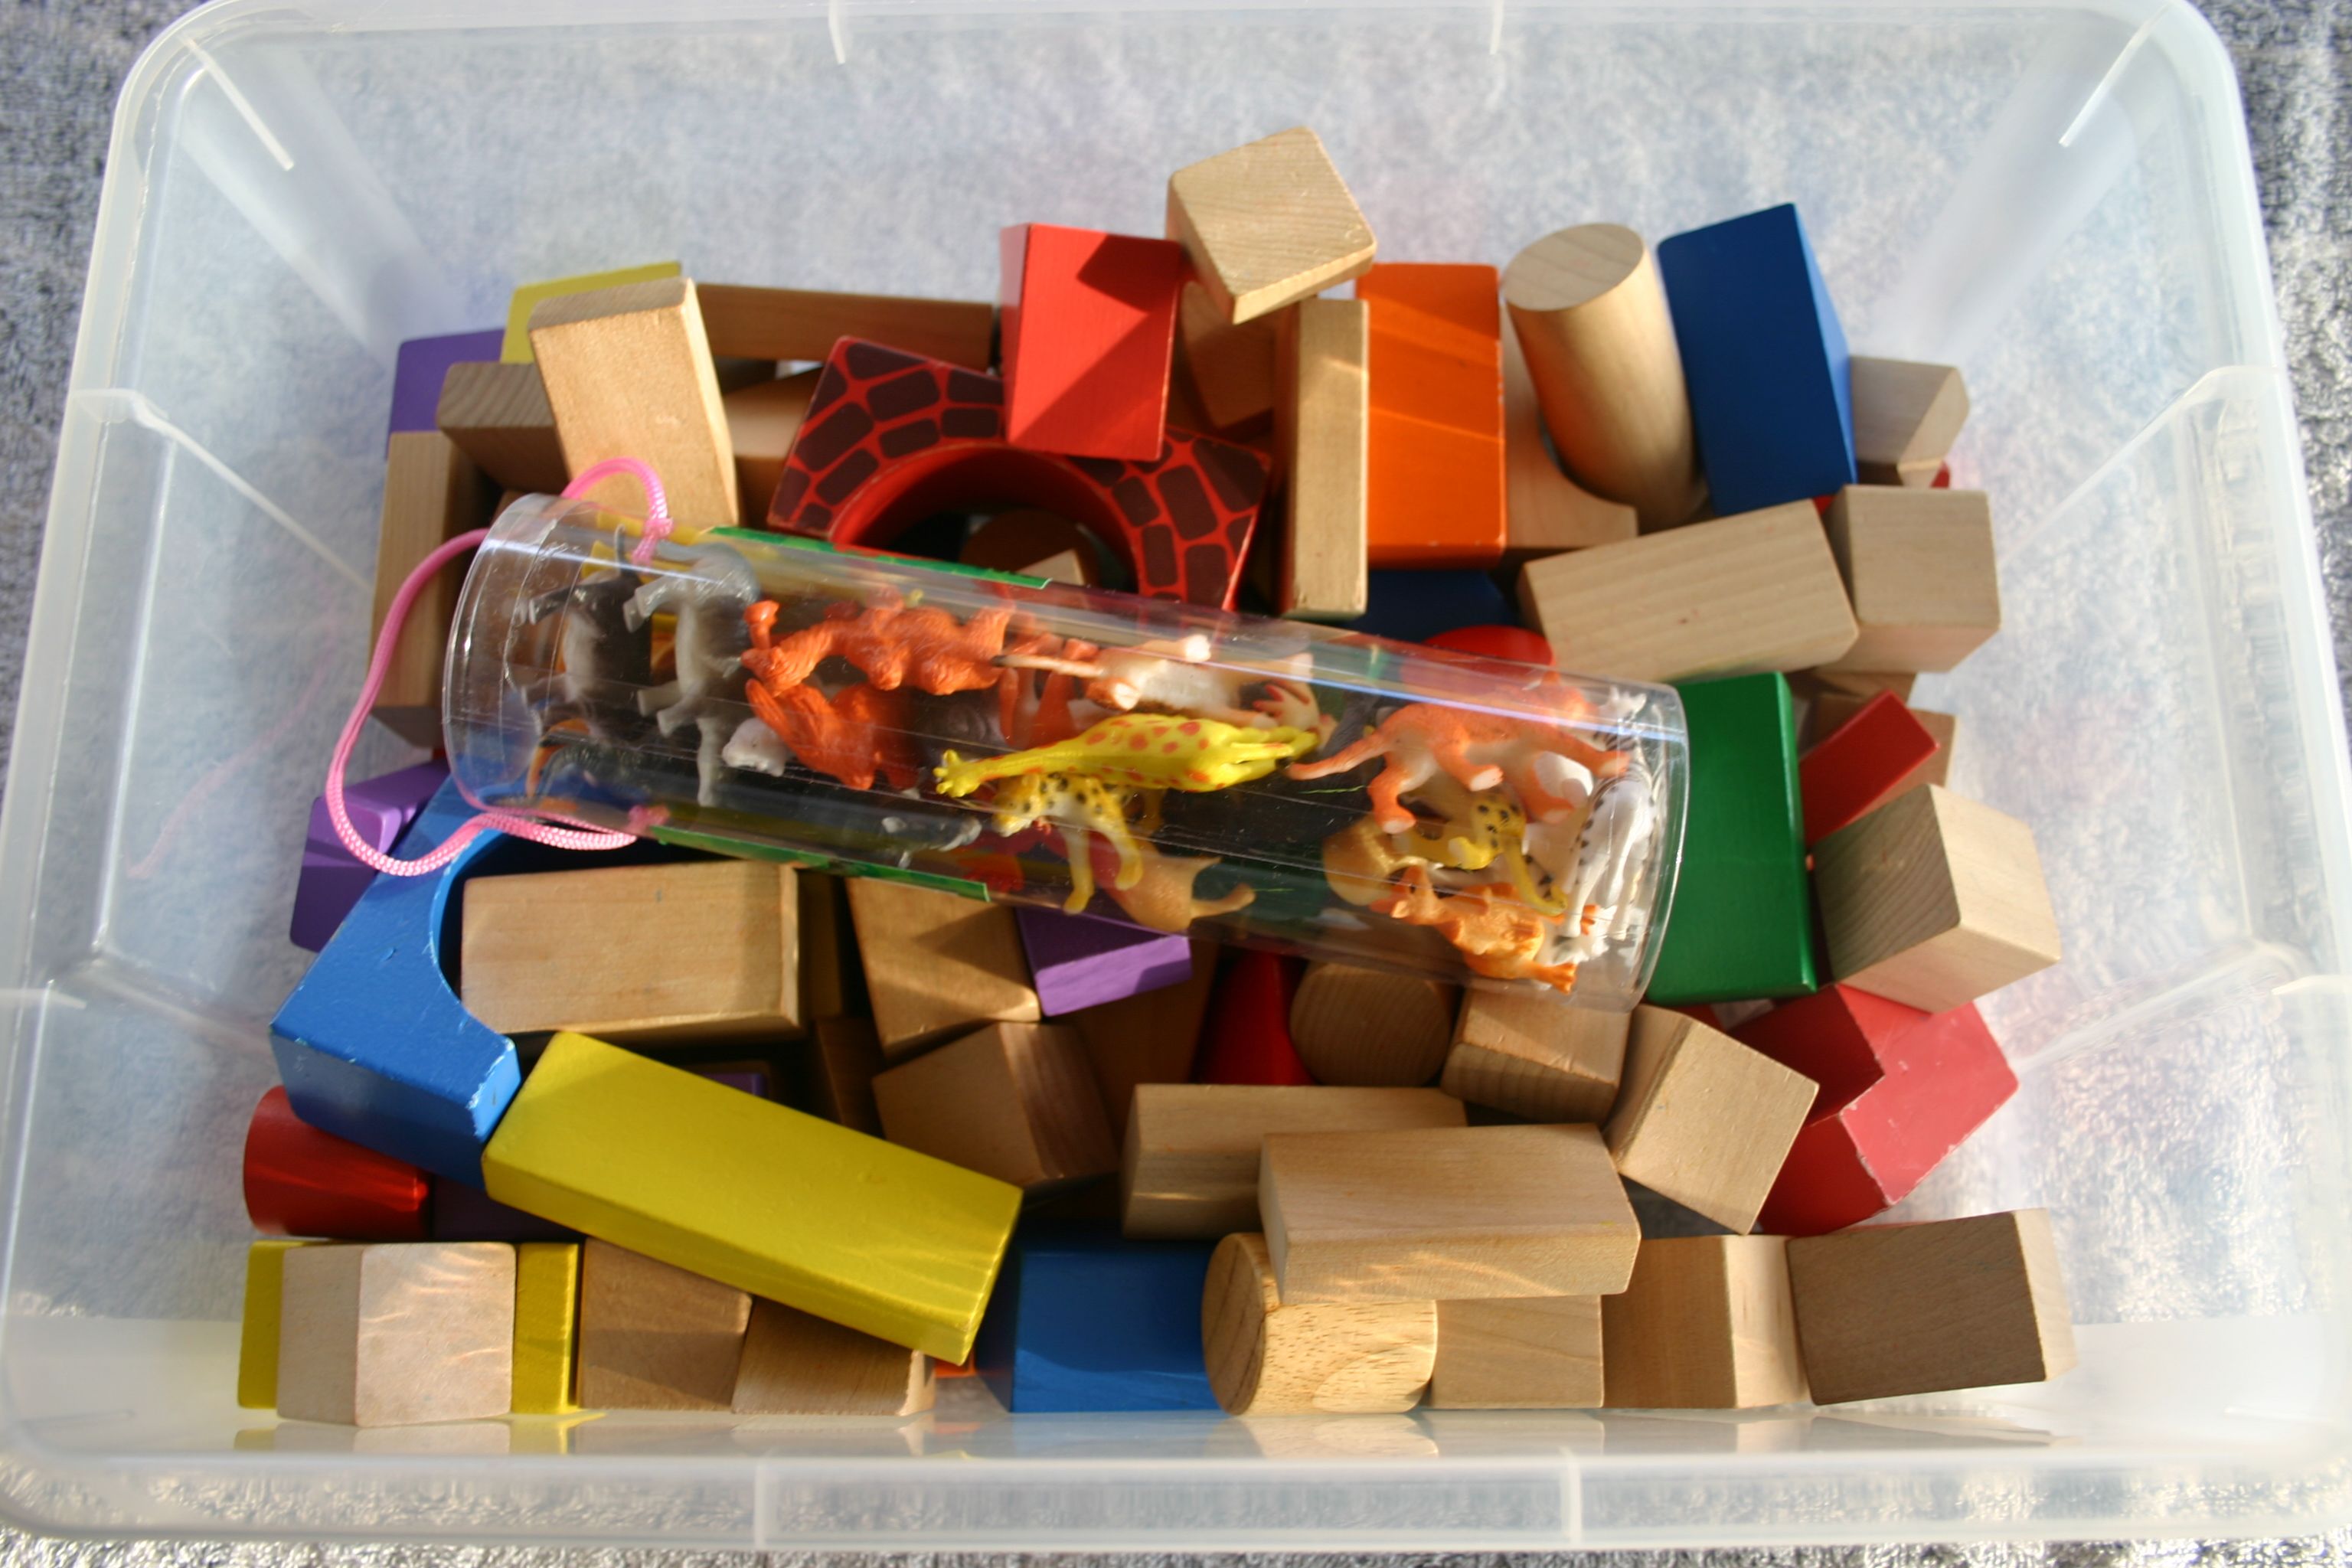
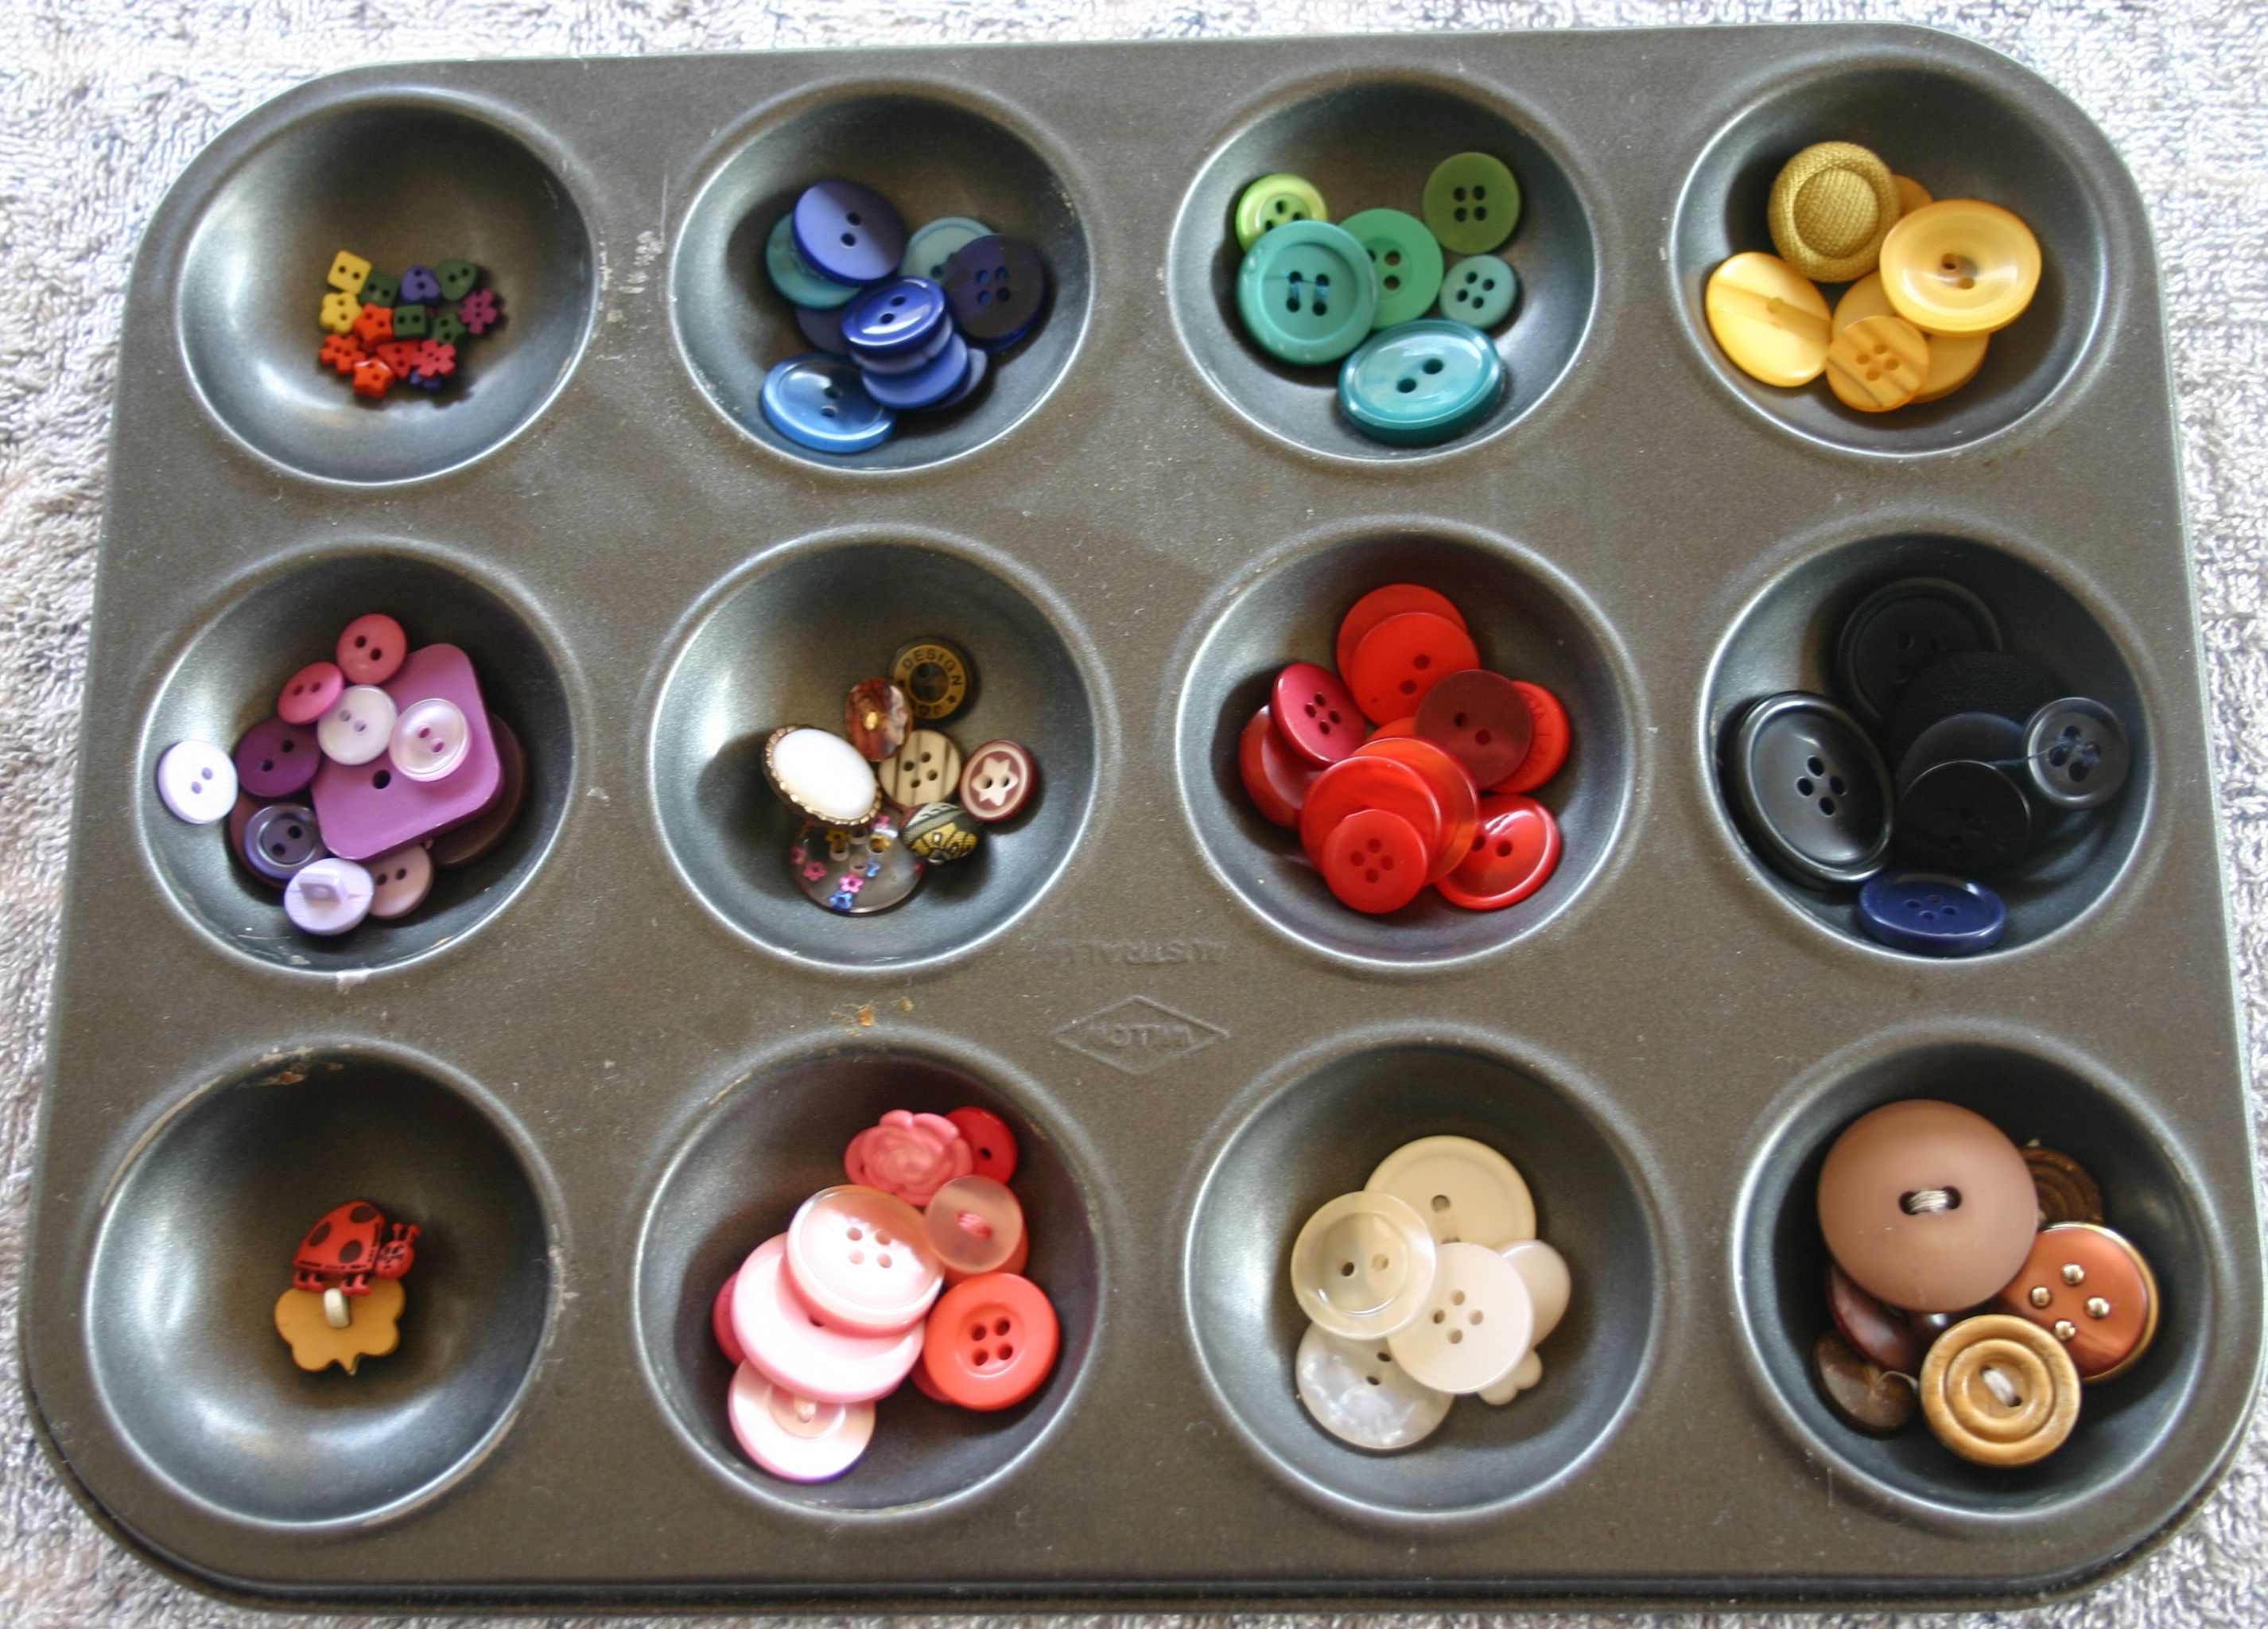
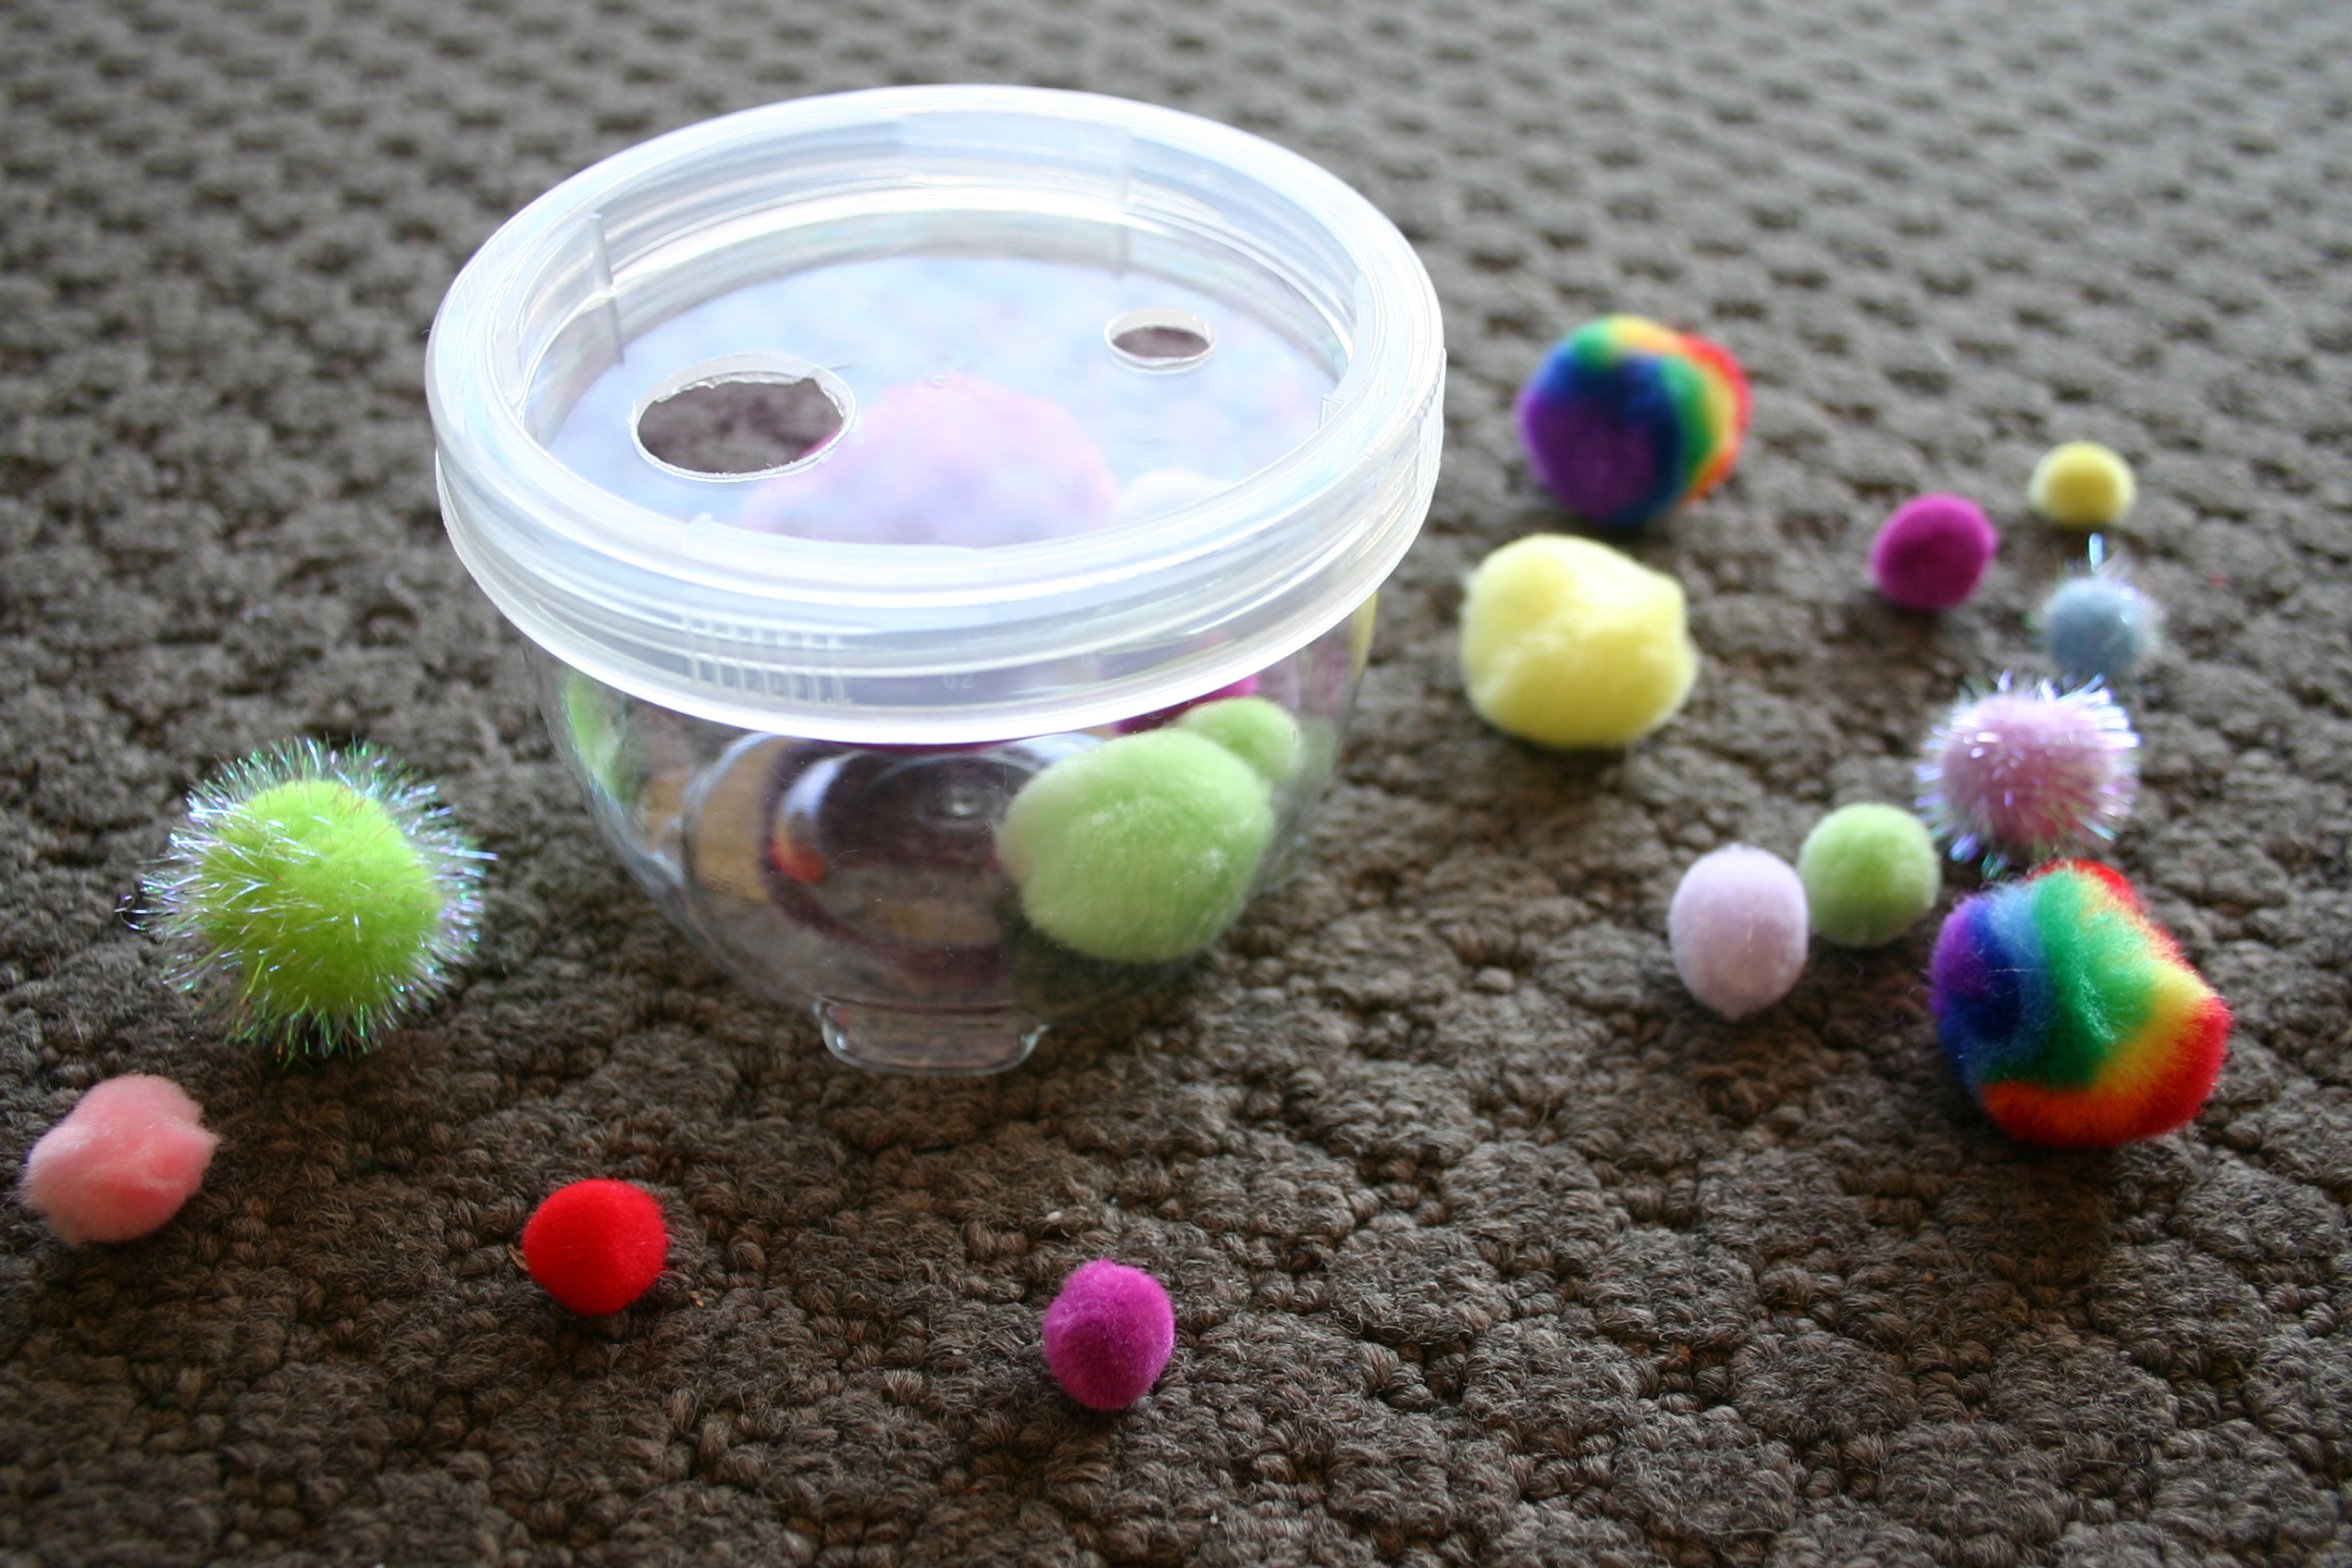
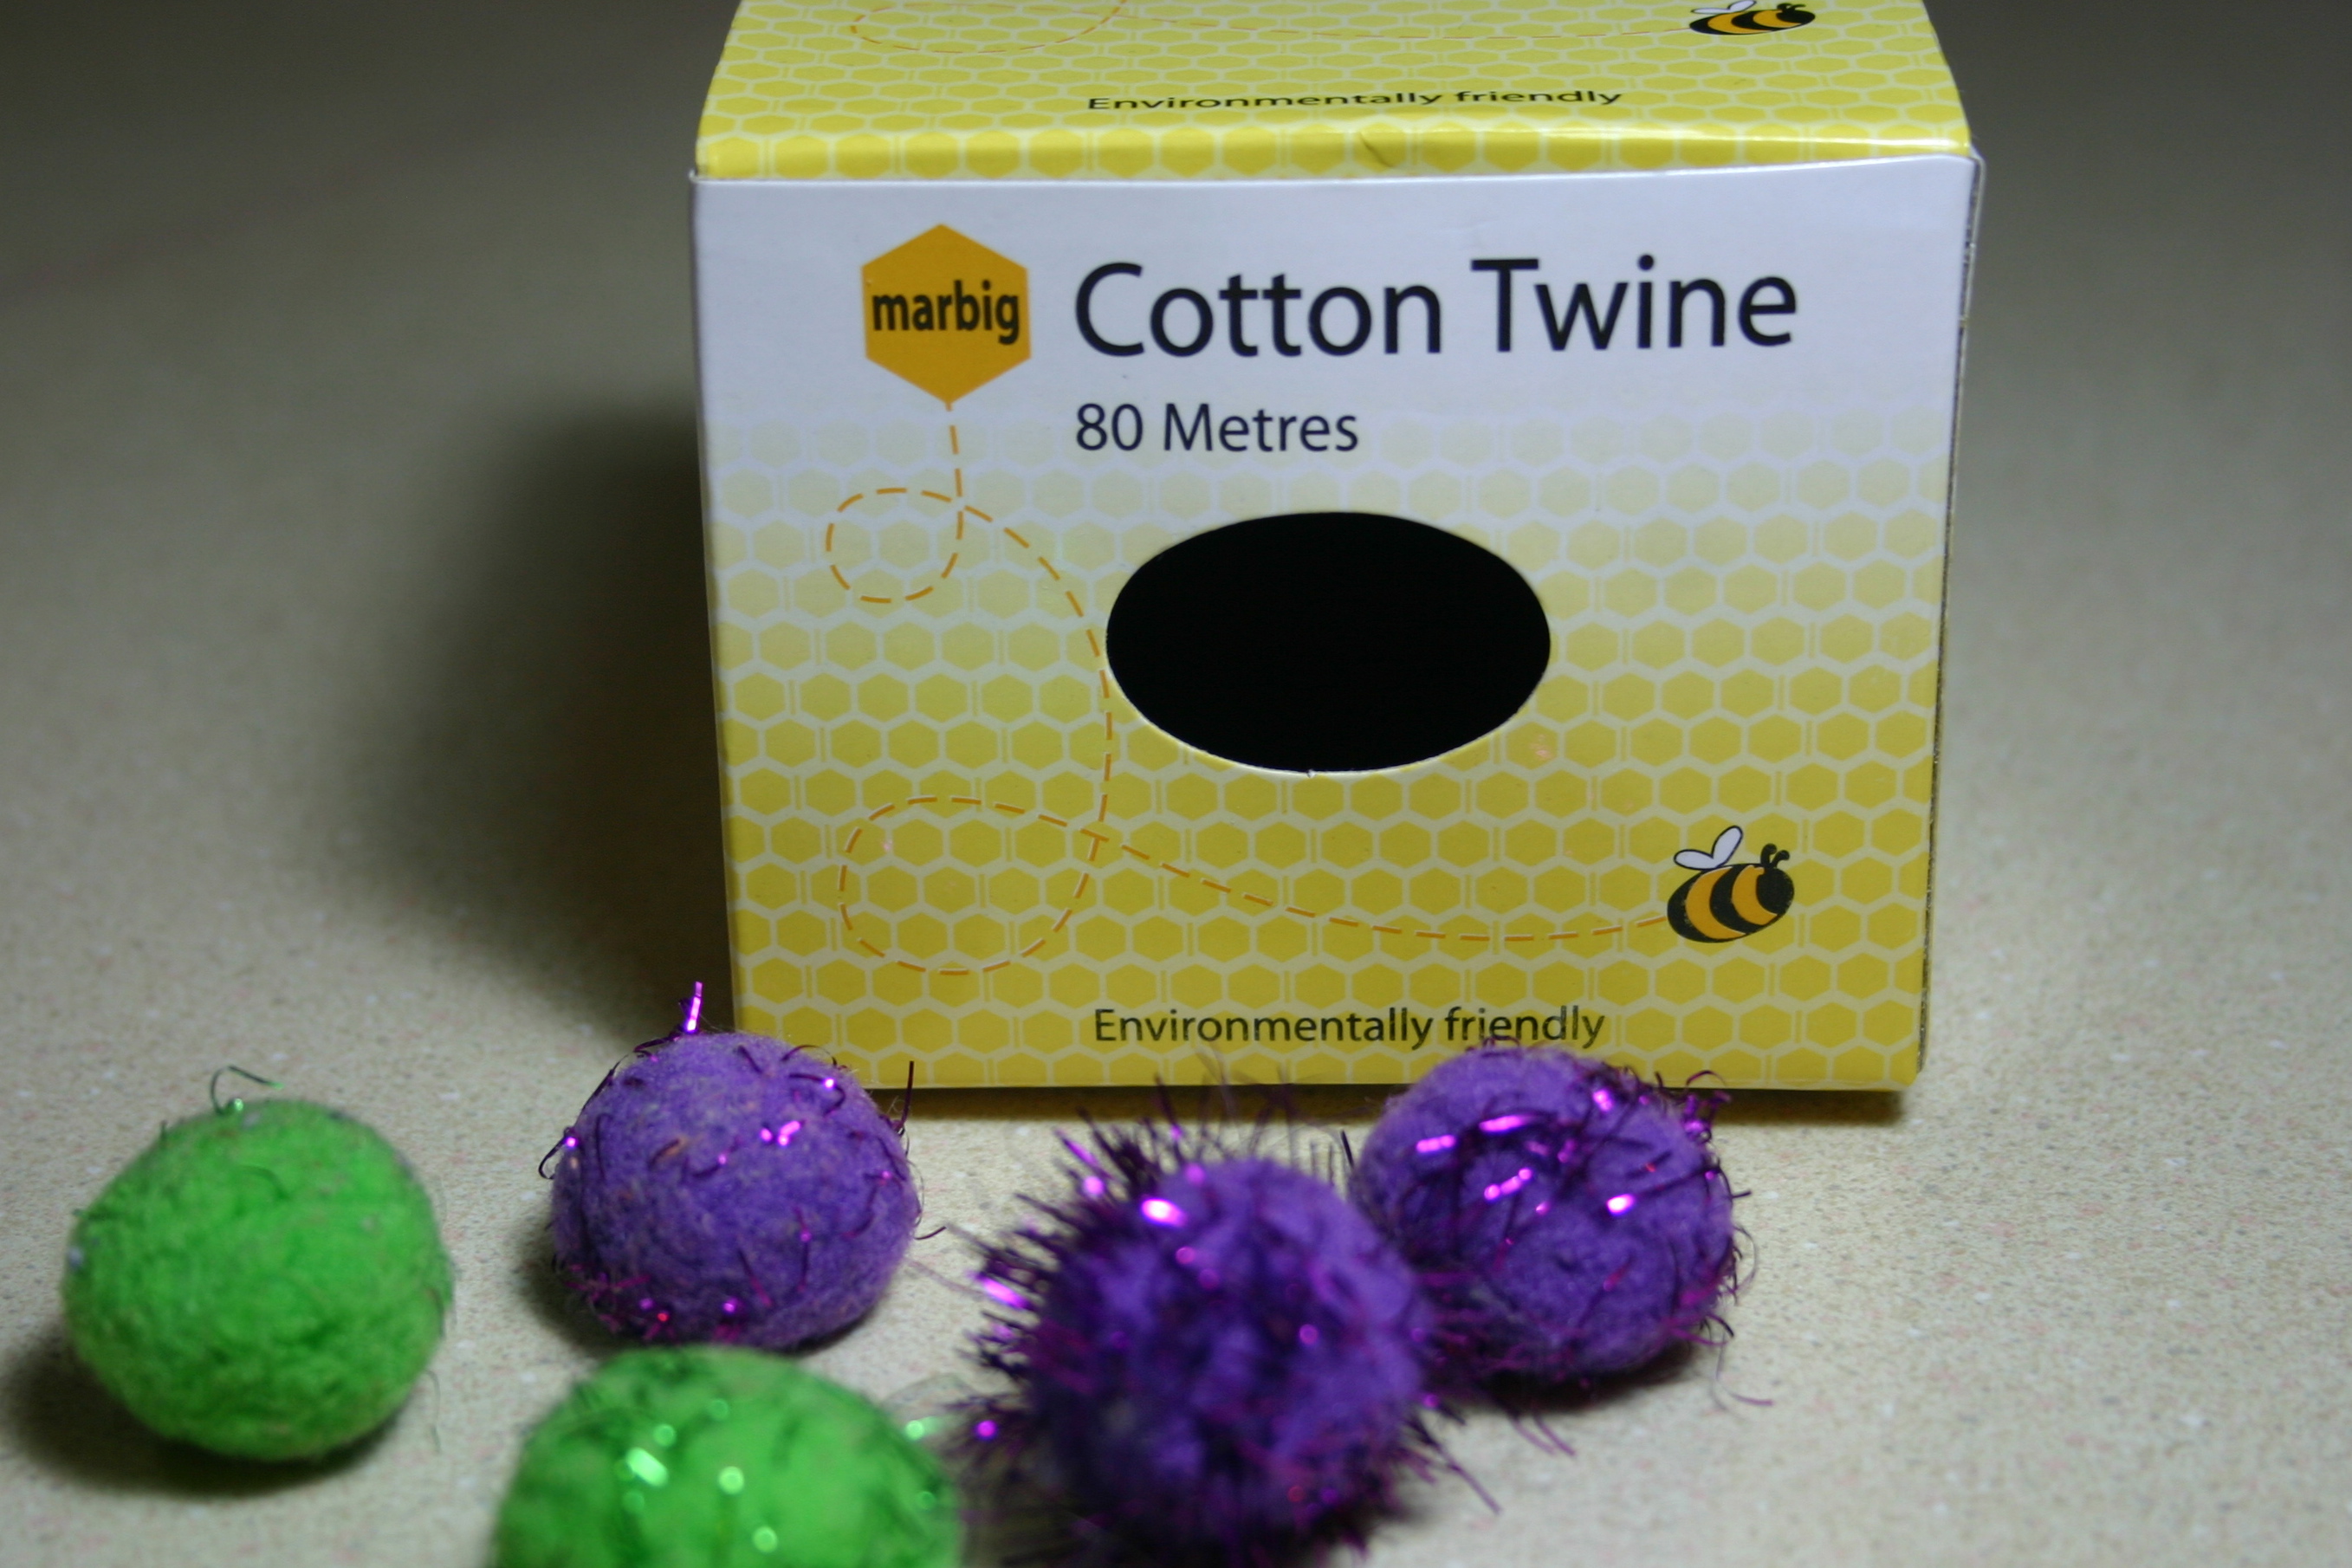
Mat time activities cupboard – Lego, counting button puzzle, pattern blocks and puzzle cards, button sorting, cutting and magnetic pompoms.

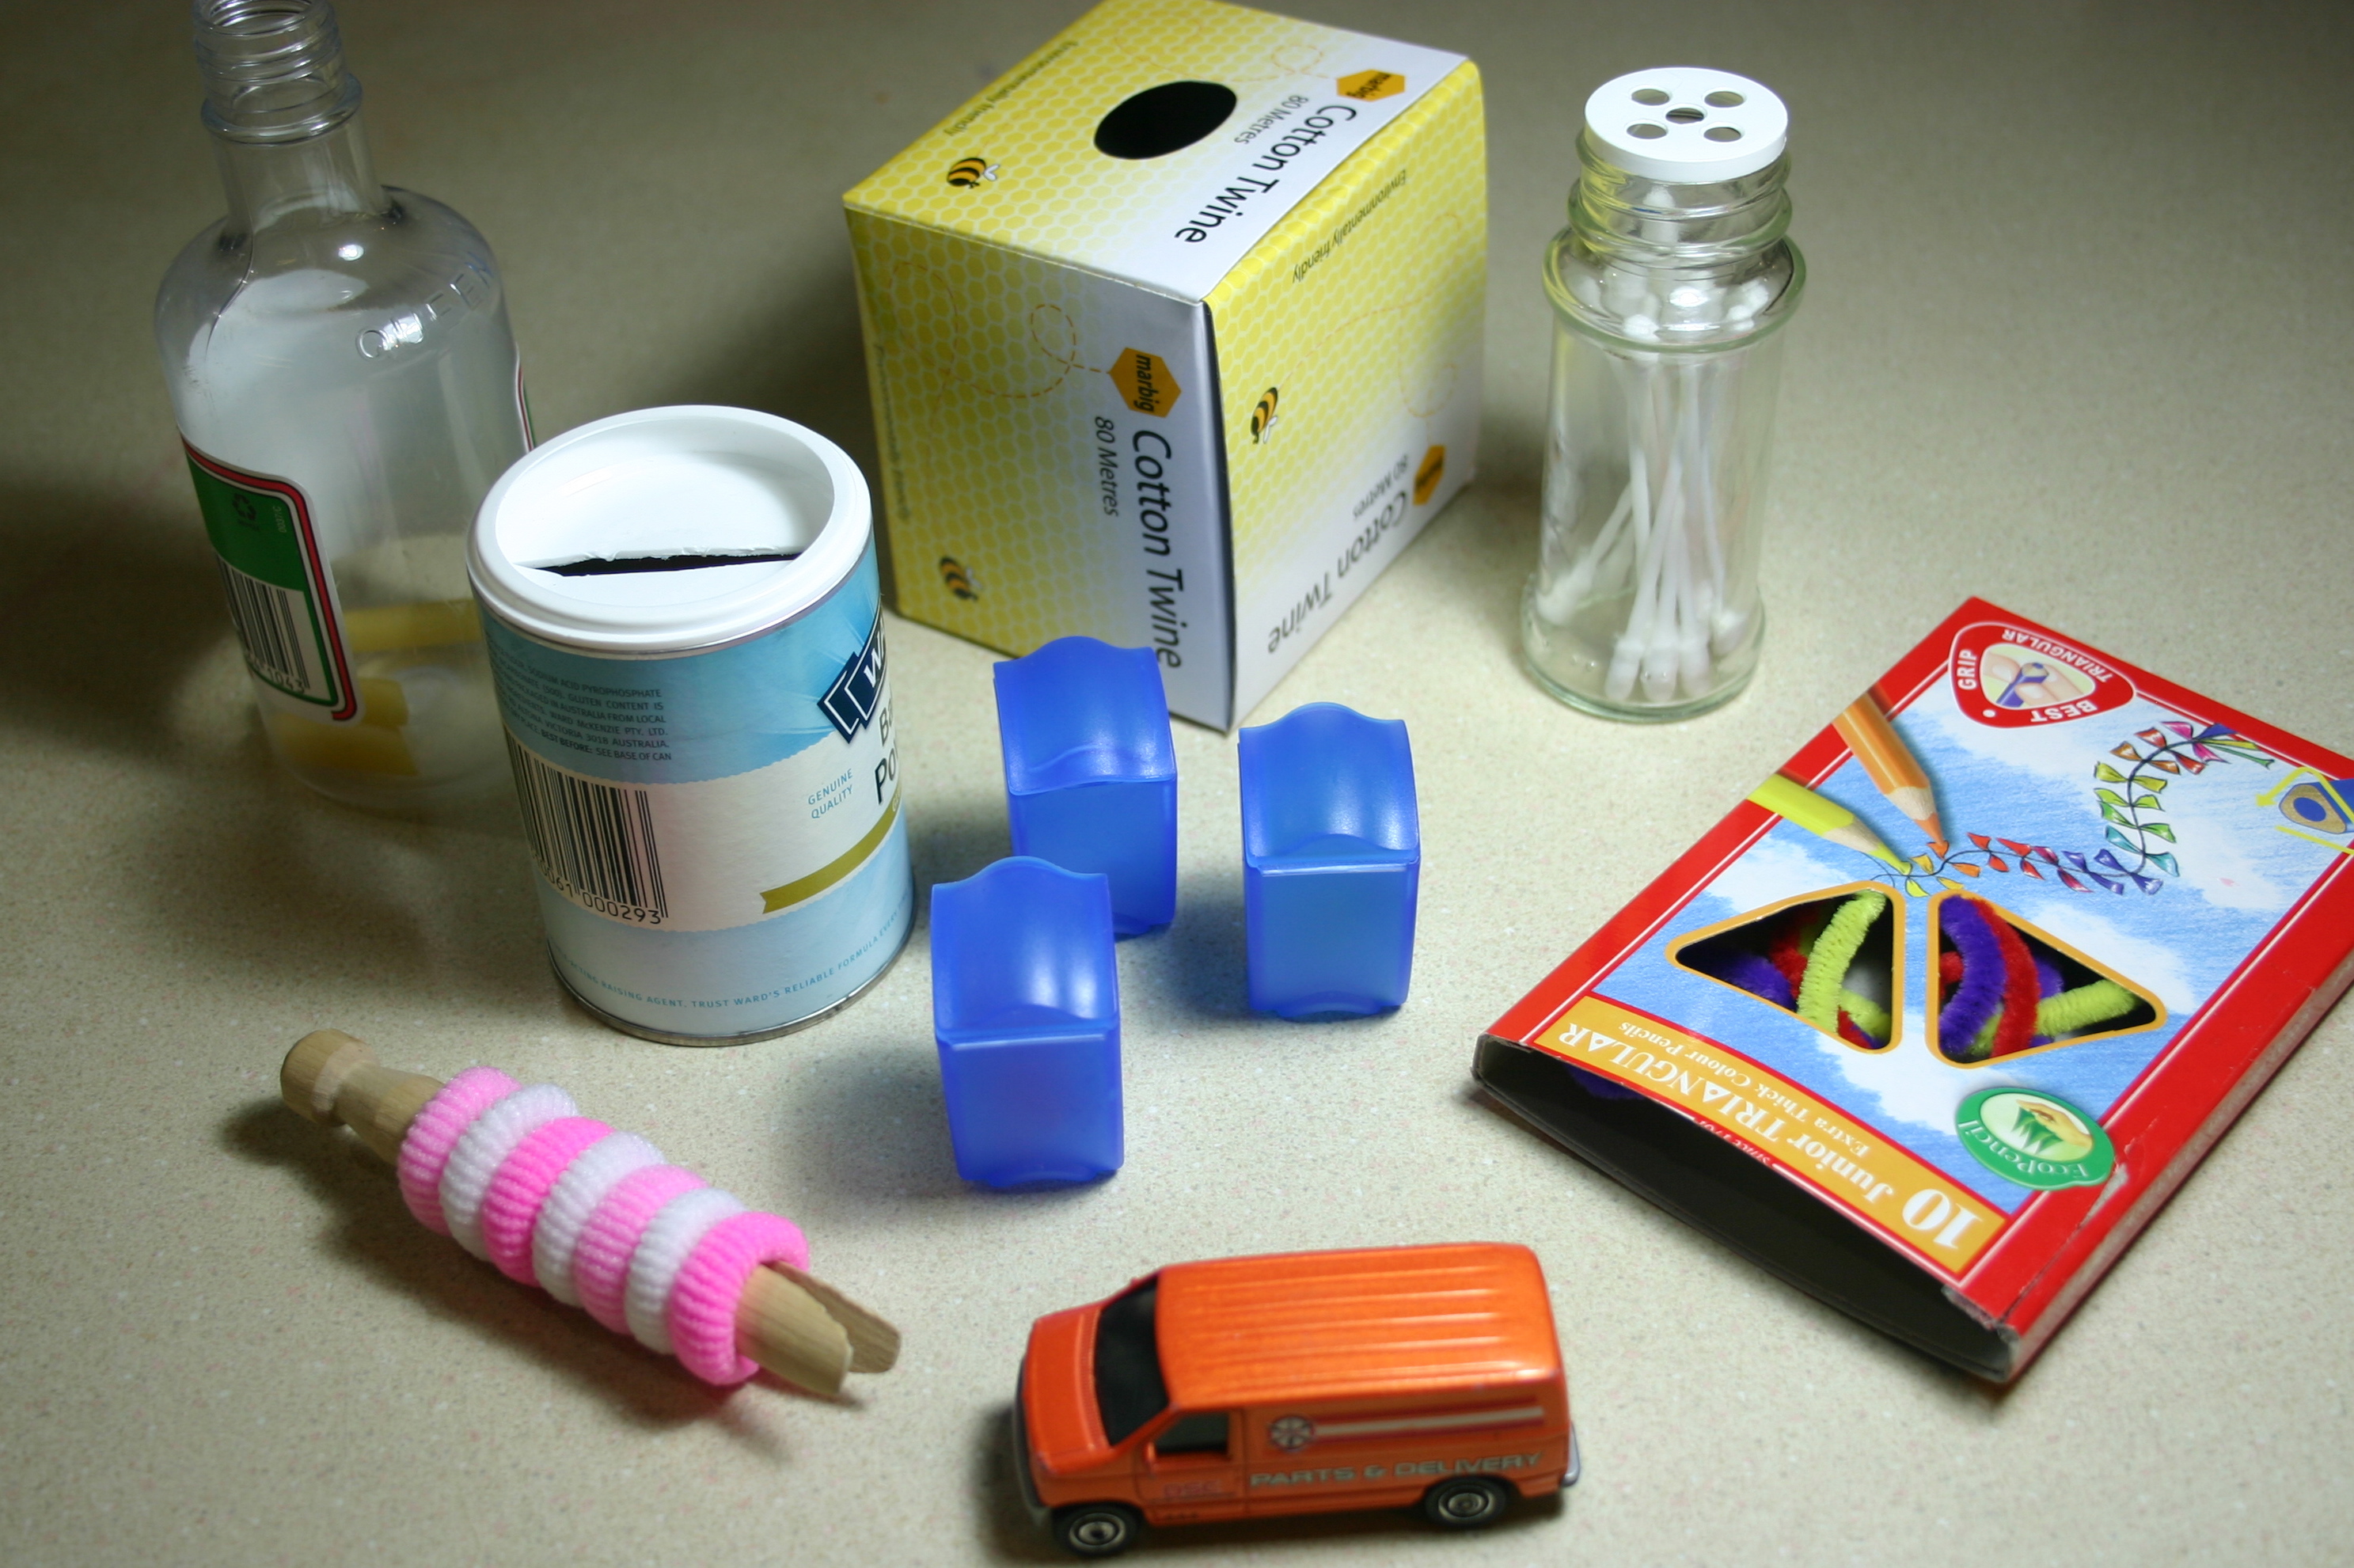
Counting 1 to 10. Spice jar lids marked with metallic pens and some plastic tiles to count.

Hair elastics and swizzle sticks marked 1 to 10. The number strip is to follow until they know the order of the numerals.

Another number sequencing and counting to 10 activity, combined with some tong work for pincer grip strength.

Counting golden rings to match numbered “glass” slippers (wedding favours.)

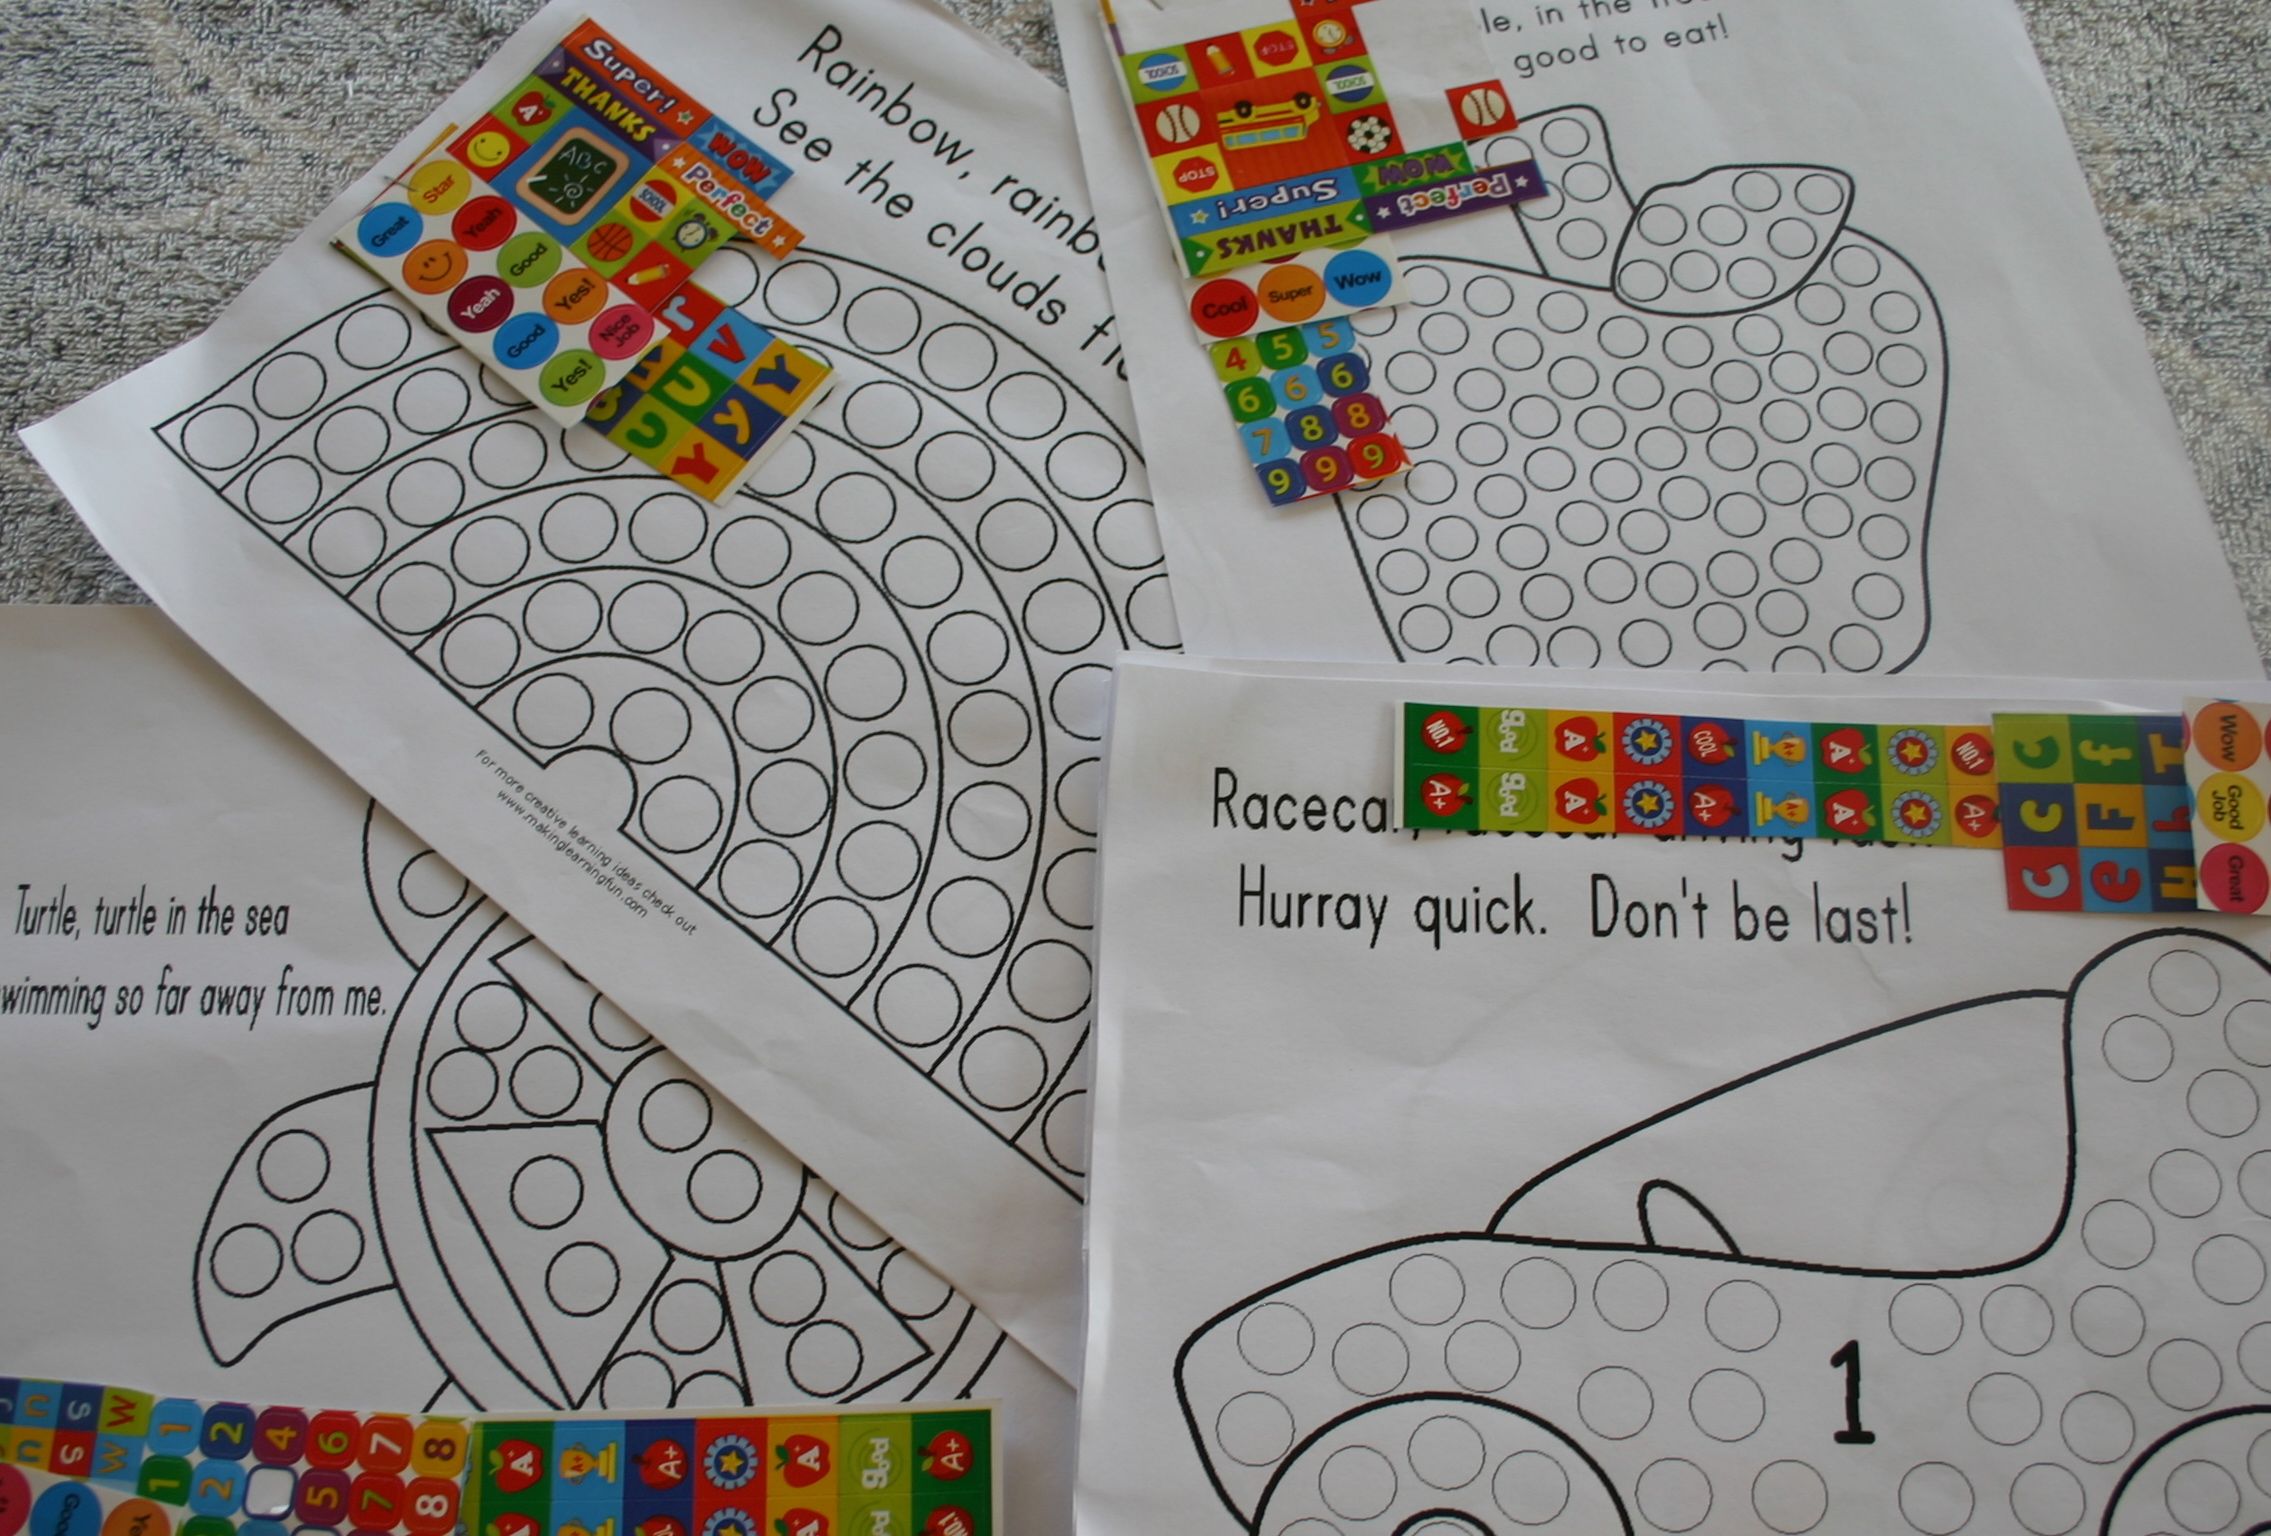
Initial sounds activity sheets. Just a bunch of pictures to decide if they do (circle them) or don’t (cross them out) start with the correct sound. Large letter in centre of page to practise letter formation in. Doing some written work makes them feel like the big kids – they love it! Takes 5 minutes so not at all taxing for me or them.

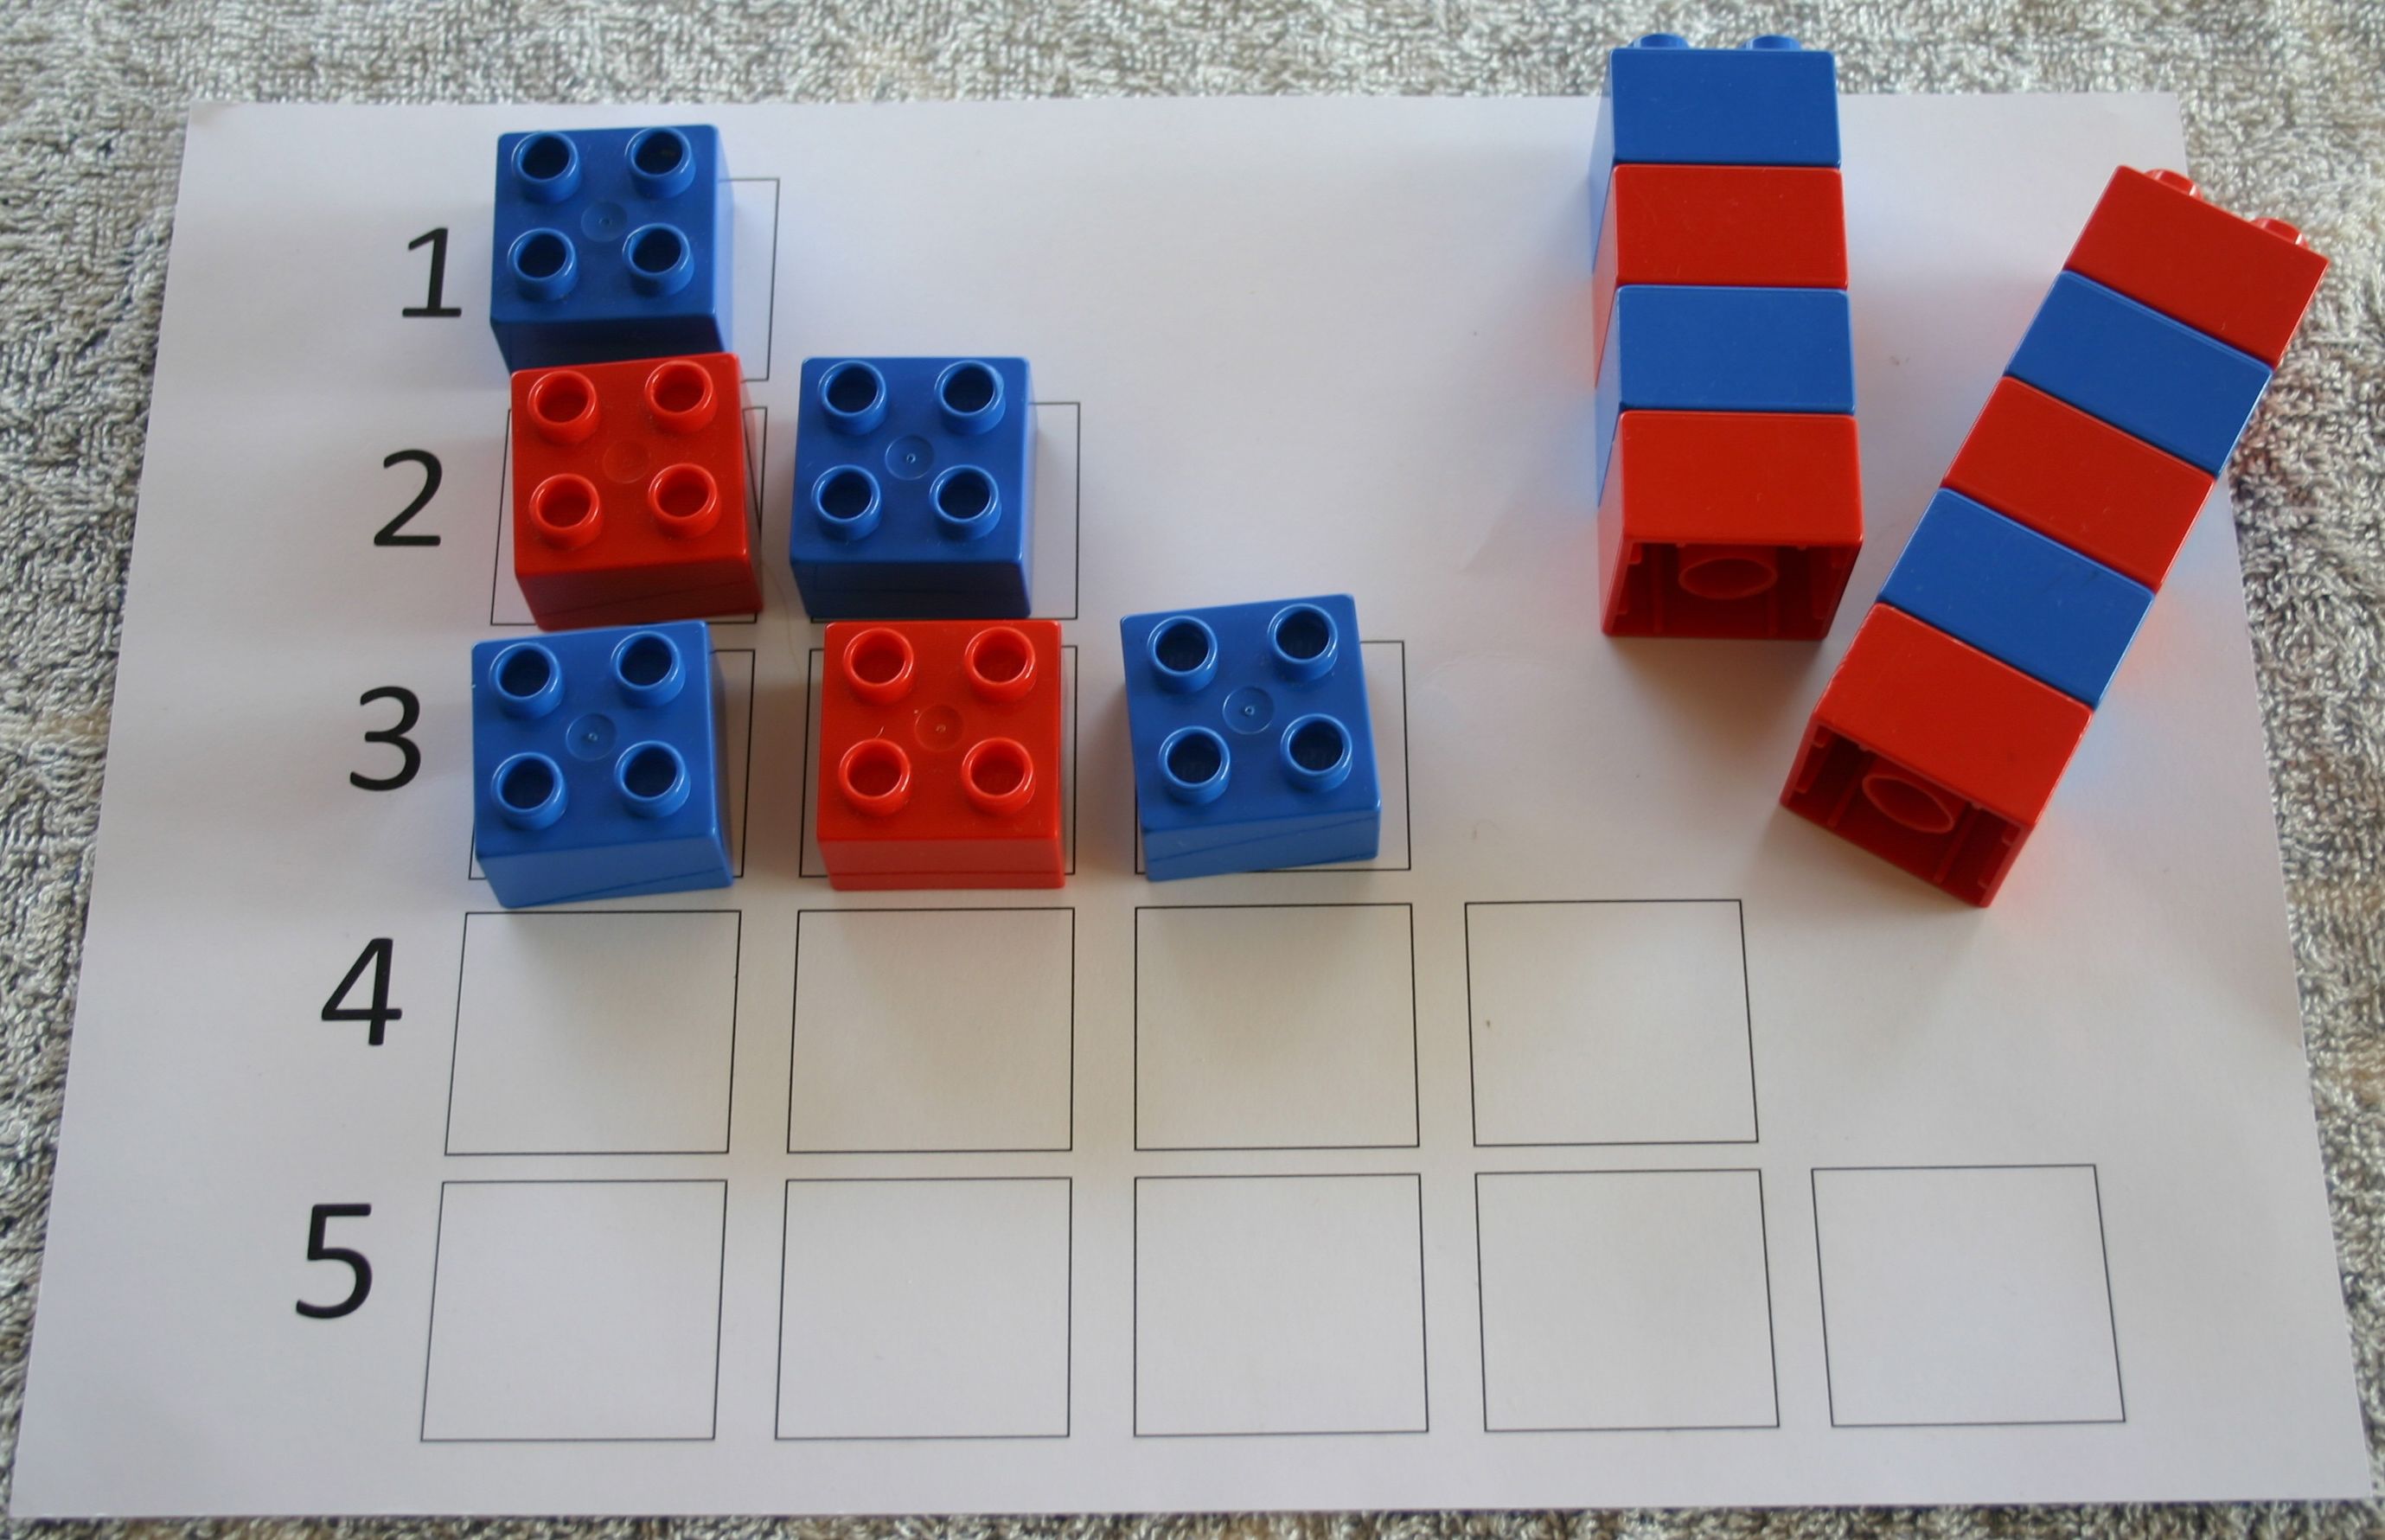
- Addition tray. Now the twins can order numerals to 10 and display reasonable 1-to-1 correspondence we have started basic adding and subtracting activities.

Ideally the plate for the total would be bigger than the other plates! The idea is that the two plates are tipped together into the last plate to find the total. I find however that having the blocks in a line makes it easier for them to count without re-counting the same block repeatedly.

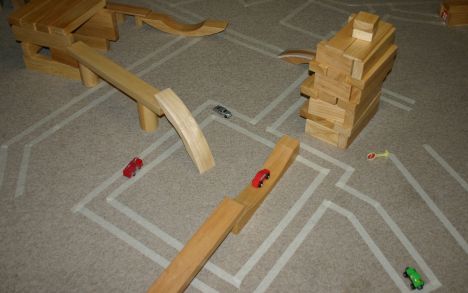
These school activities are definitely not independent as yet. The moment I left to take a couple of photos, my son started building trains with the blocks!

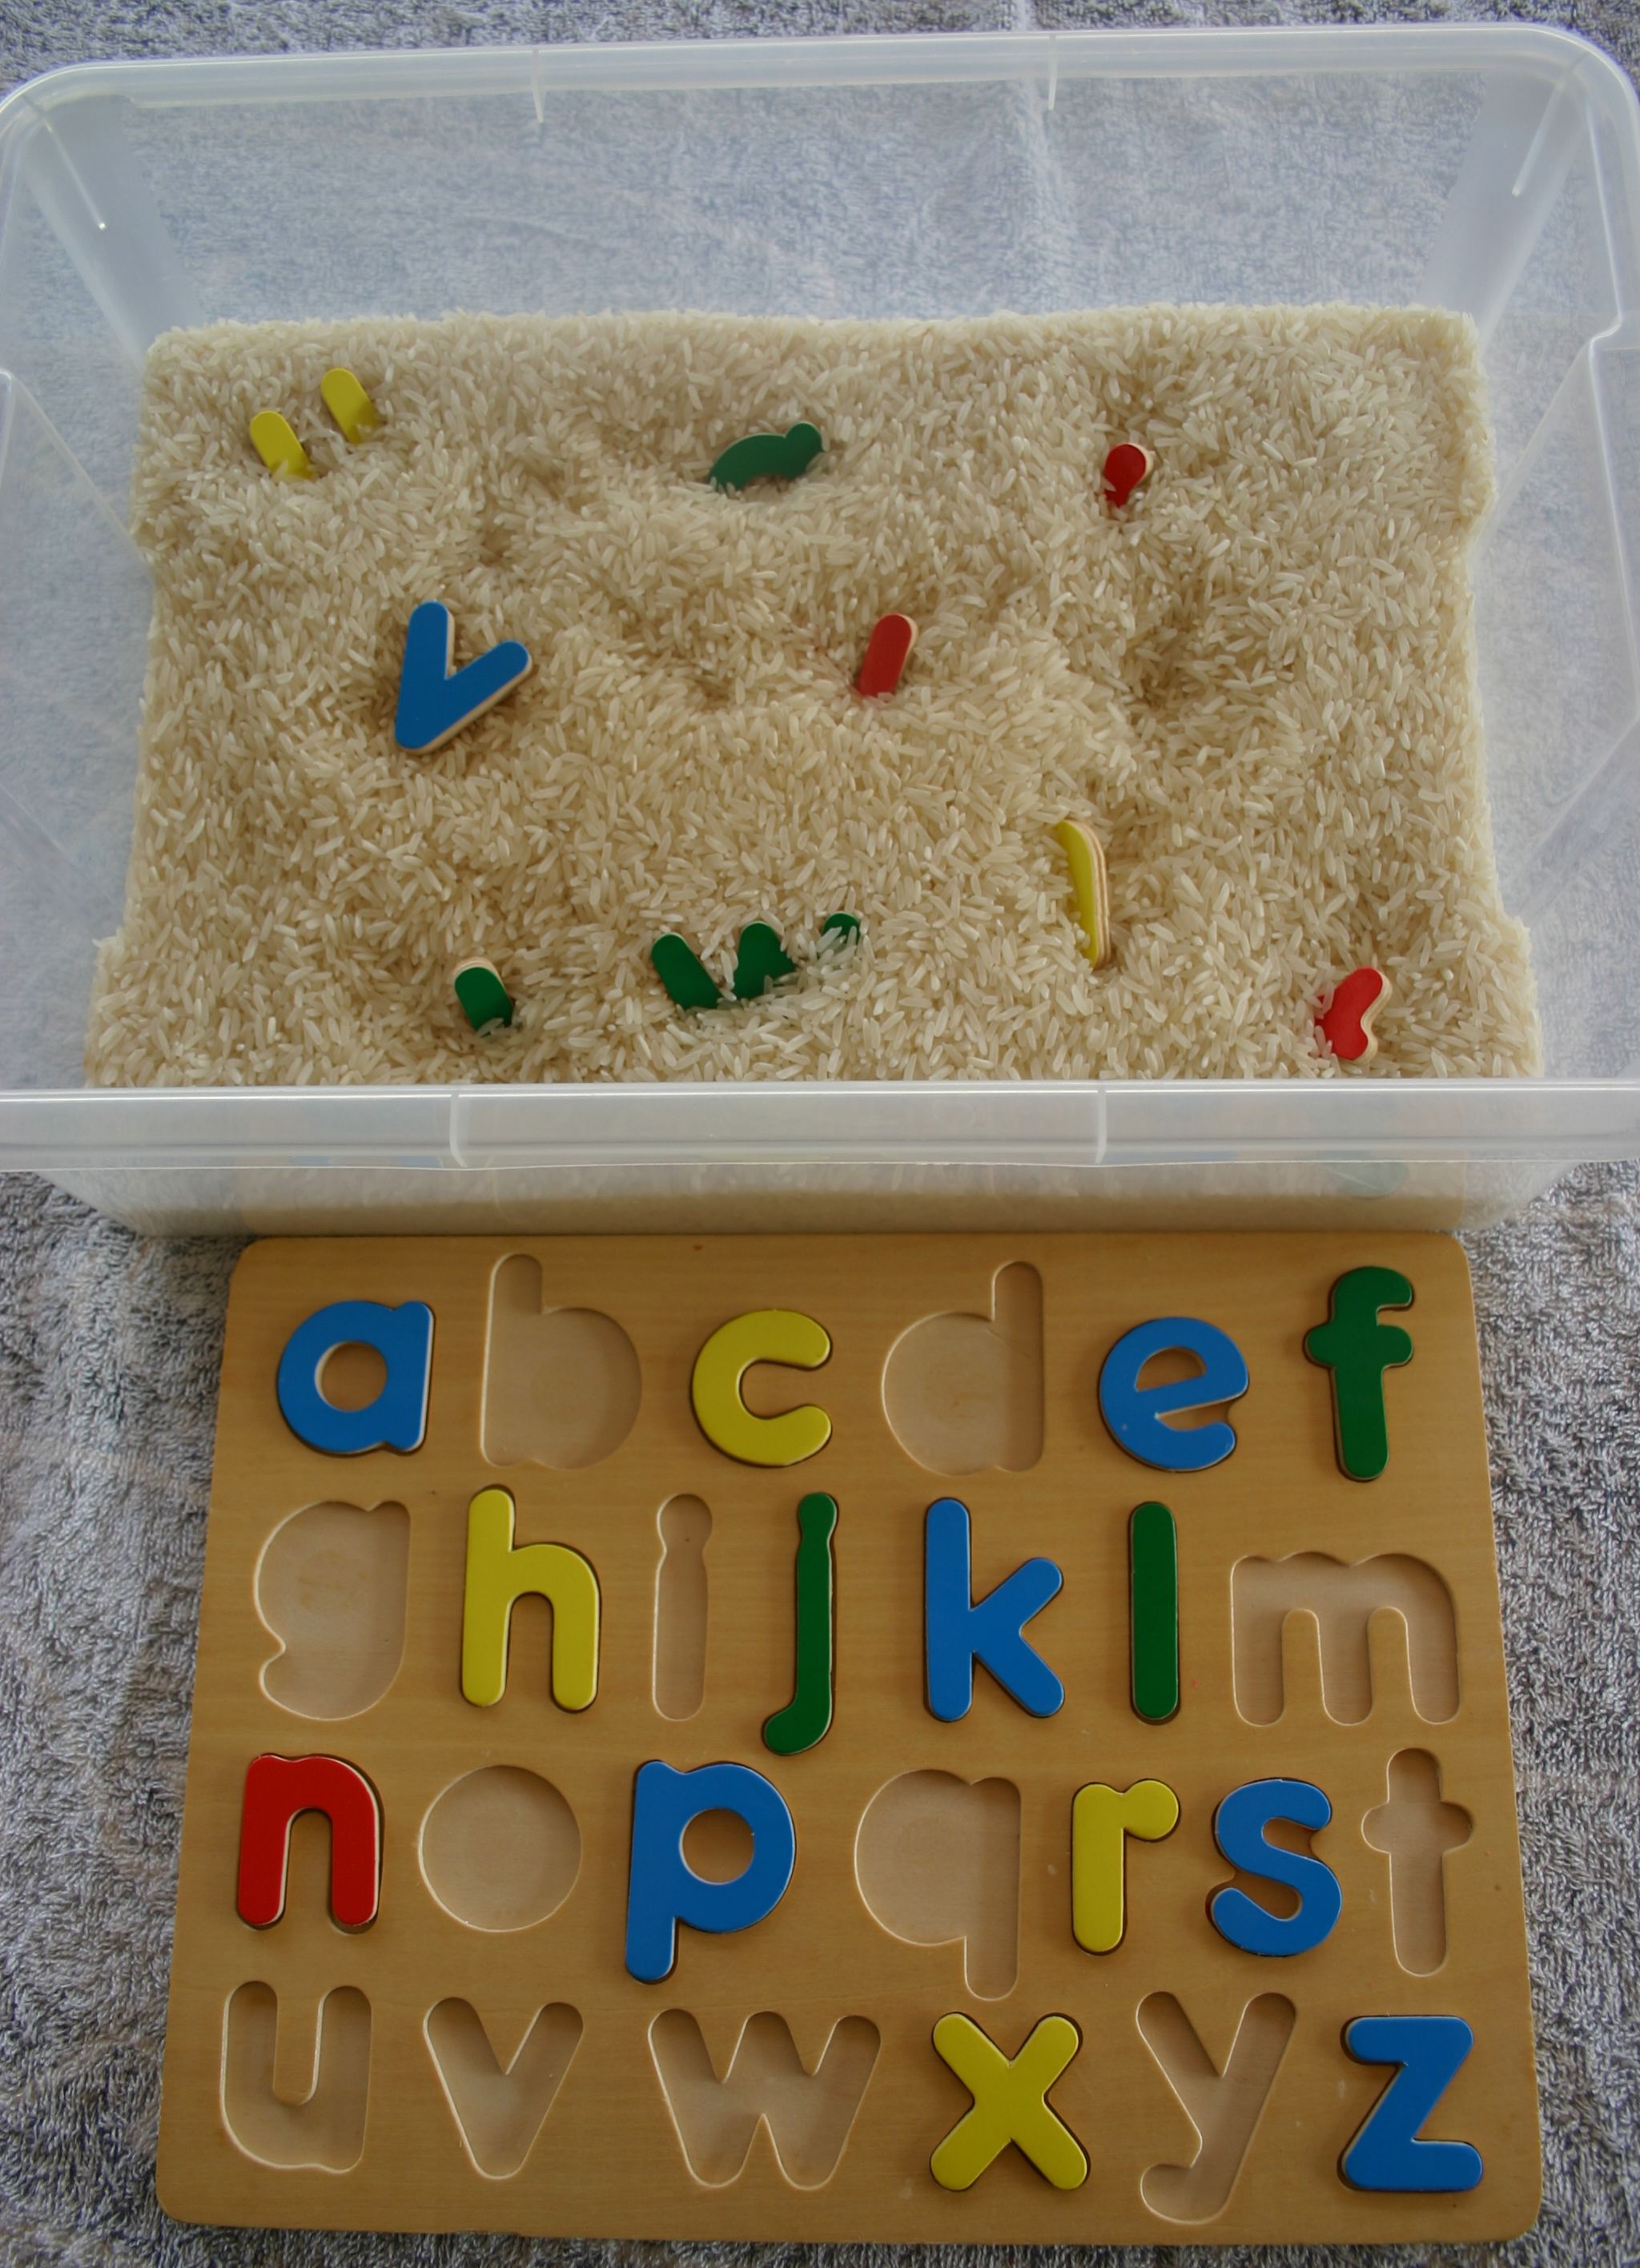
The twins have developed their ability to hear the initial sound in words and we are now working on 3 letter consonant-vowel-consonant (CVC) words. The next sound most children hear is the last sound in the word, followed by the middle sound. These letter tiles are Coko bricks that are compatible with Duplo boards. Good for beginning activities for non-writers or those who find writing tedious.

Art – 4 year old’s version of Van Gogh’s sunflowers. We actually got around to doing a proper picture study. Forgot to take photos of the older children’s work, but some of them were better than mine!

Who cares about sunflowers? I can mix all my colours into a great brown sludge!!

Toddler version of sunflowers. He actually didn’t want to paint anything at all. I practically had to make him do it just for the photo 🙂 Doesn’t like dirty hands!

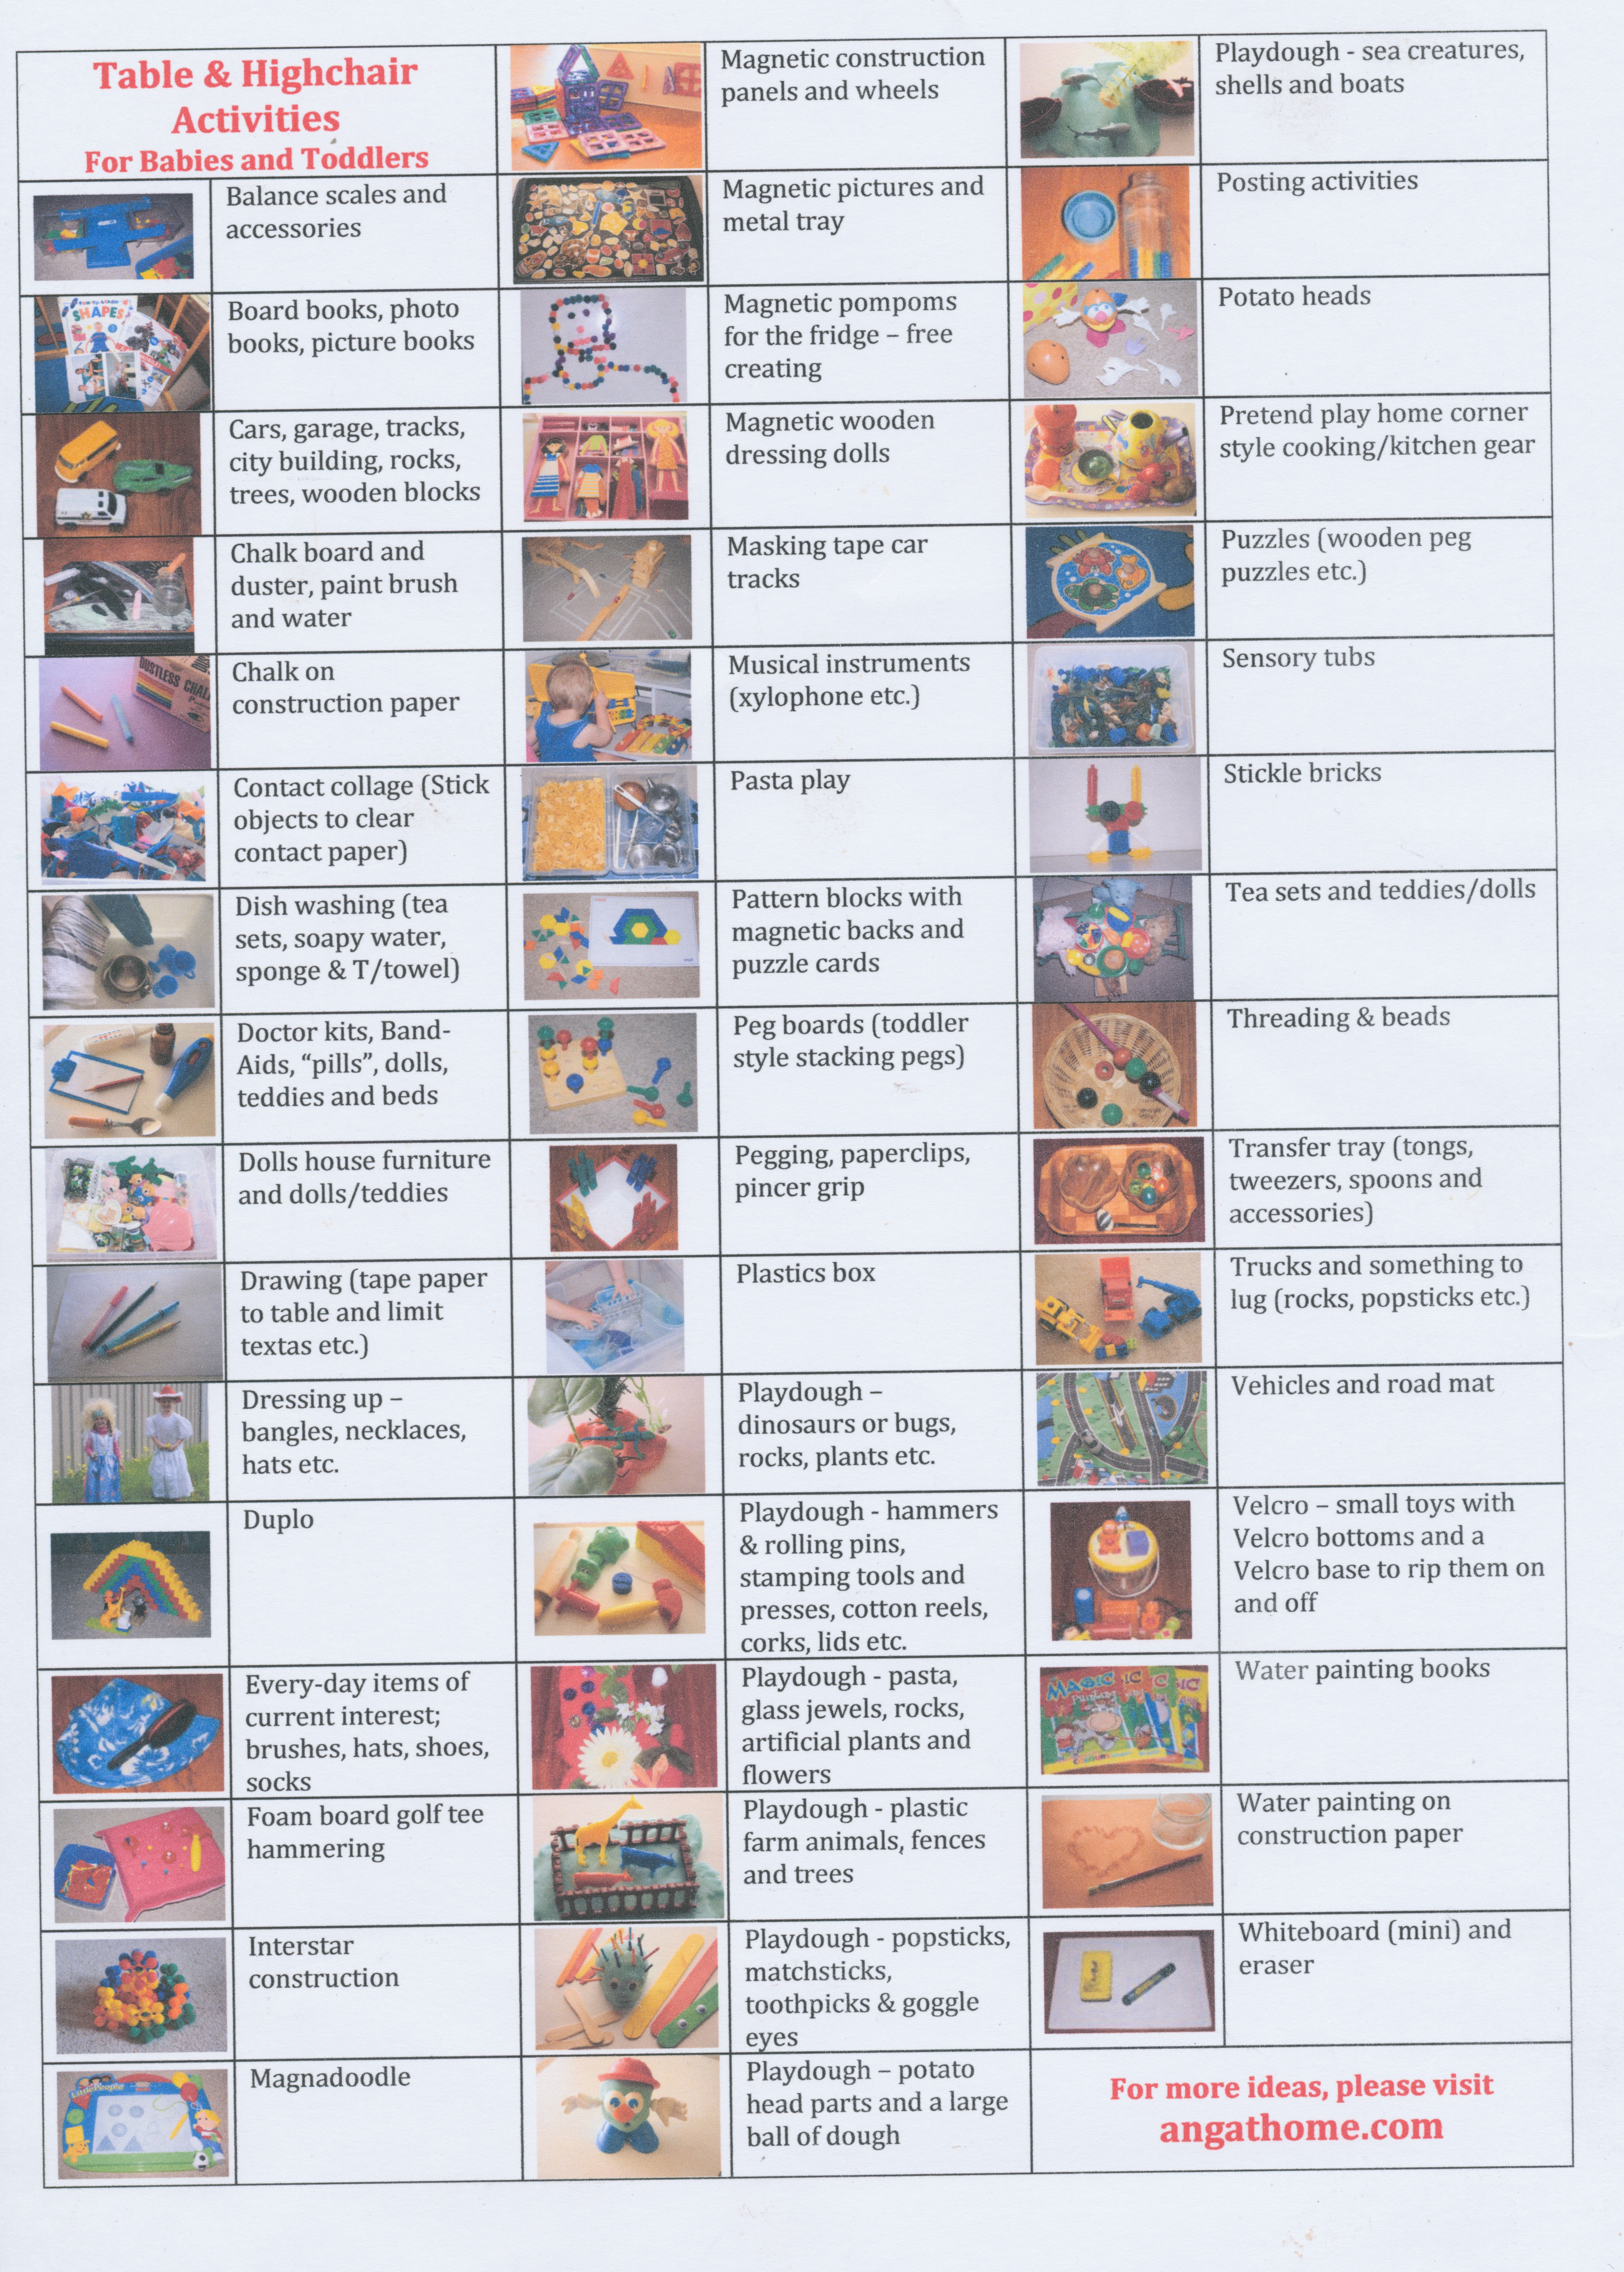
What do you do with a toddler while you homeschool? Heaps of things!! Here are just a few and if you follow my blog at all you know there are many more ideas to be had. Step one – train them to sit and focus. Step 2 – find some engaging activities. Step 3 – pop them in the playpen when they have had enough of highchair time, followed by a good session of running around outside to burn off energy. That’s just the current morning routine while the older children get the bulk of their work done. It has changed many times.
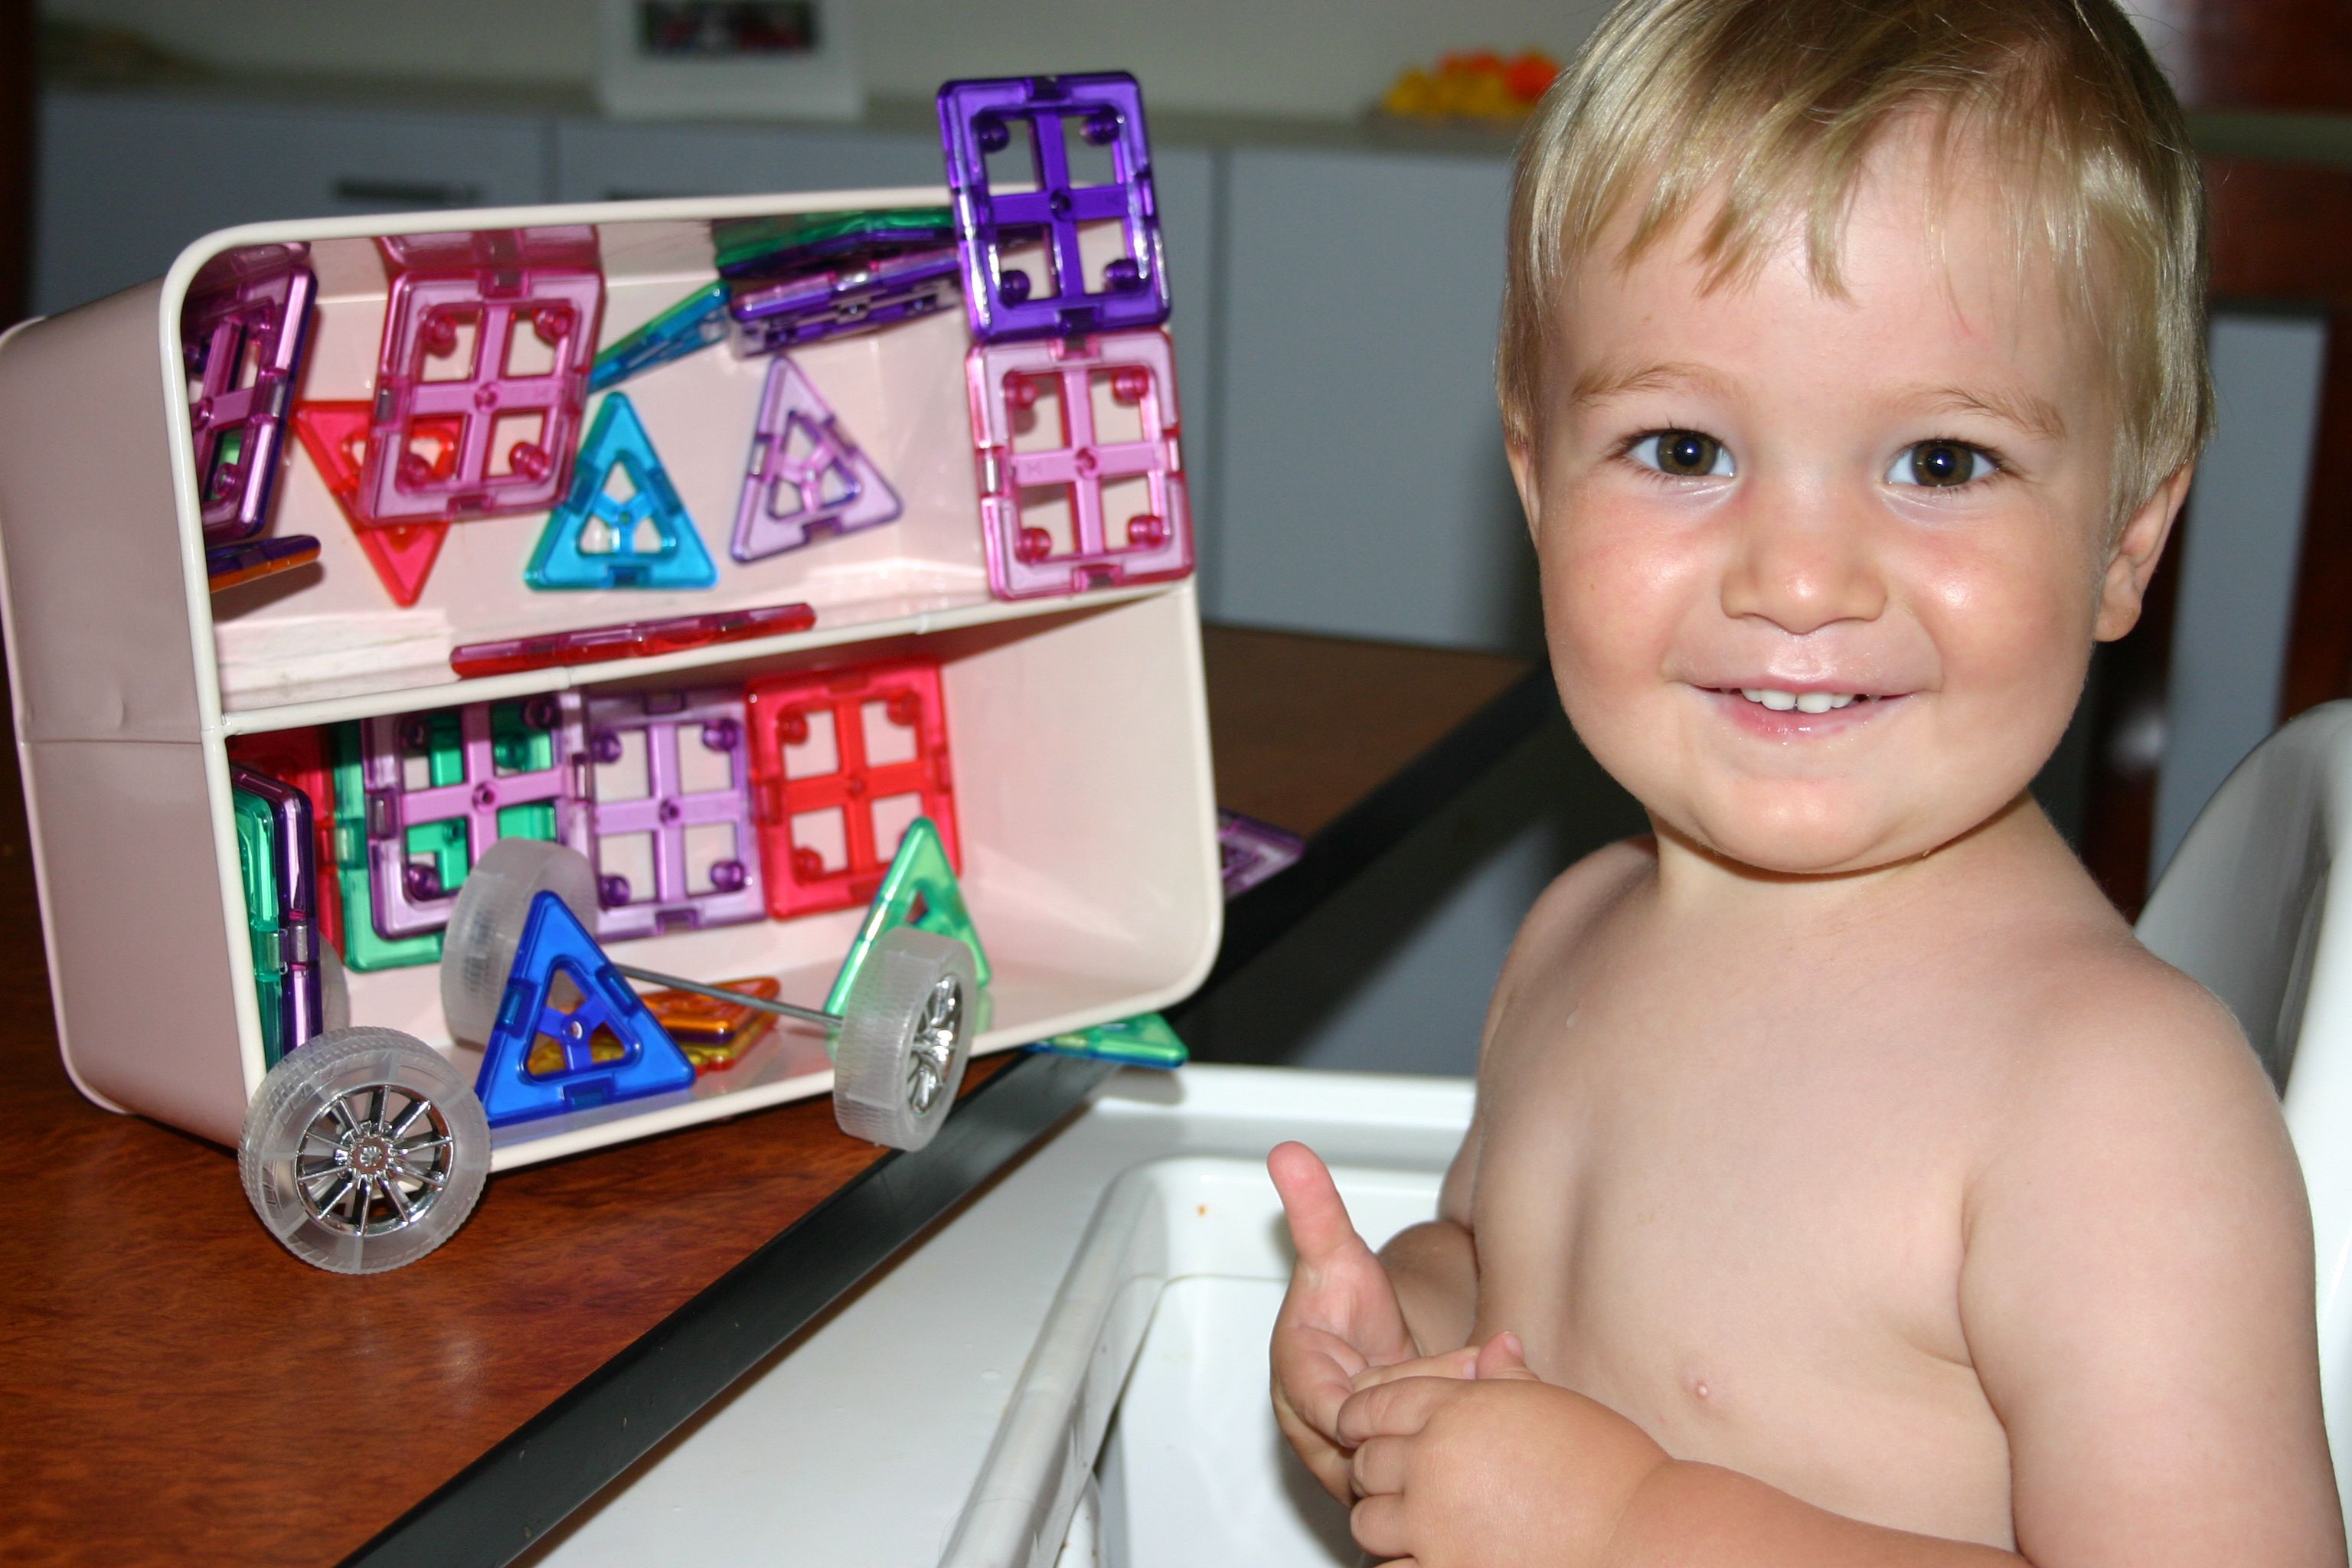
Magnetic blocks in a metal box. Stroke of genius to store them this way – NOT!! This was the only container I had and when I put them in it occurred to me that it would make a great building platform. Pure luck!
What has this got to do with school time? Nothing at all! Just another one of those great embarrassing photos we are storing up for our kid’s 21st birthdays. Plus, he’s so cute! For those who are worried about the girlie outfit, please note that he is carrying 2 trucks!
Filed under: Homeschooling | Tagged: 4 year old, highchair activities, home-made Montessori, homeschooling with toddlers and preschoolers, kindergarten, managing large families, Montessori style tray activities for toddlers, multi-age homeschooling, preschool, routine, table activities, tot school | 5 Comments »


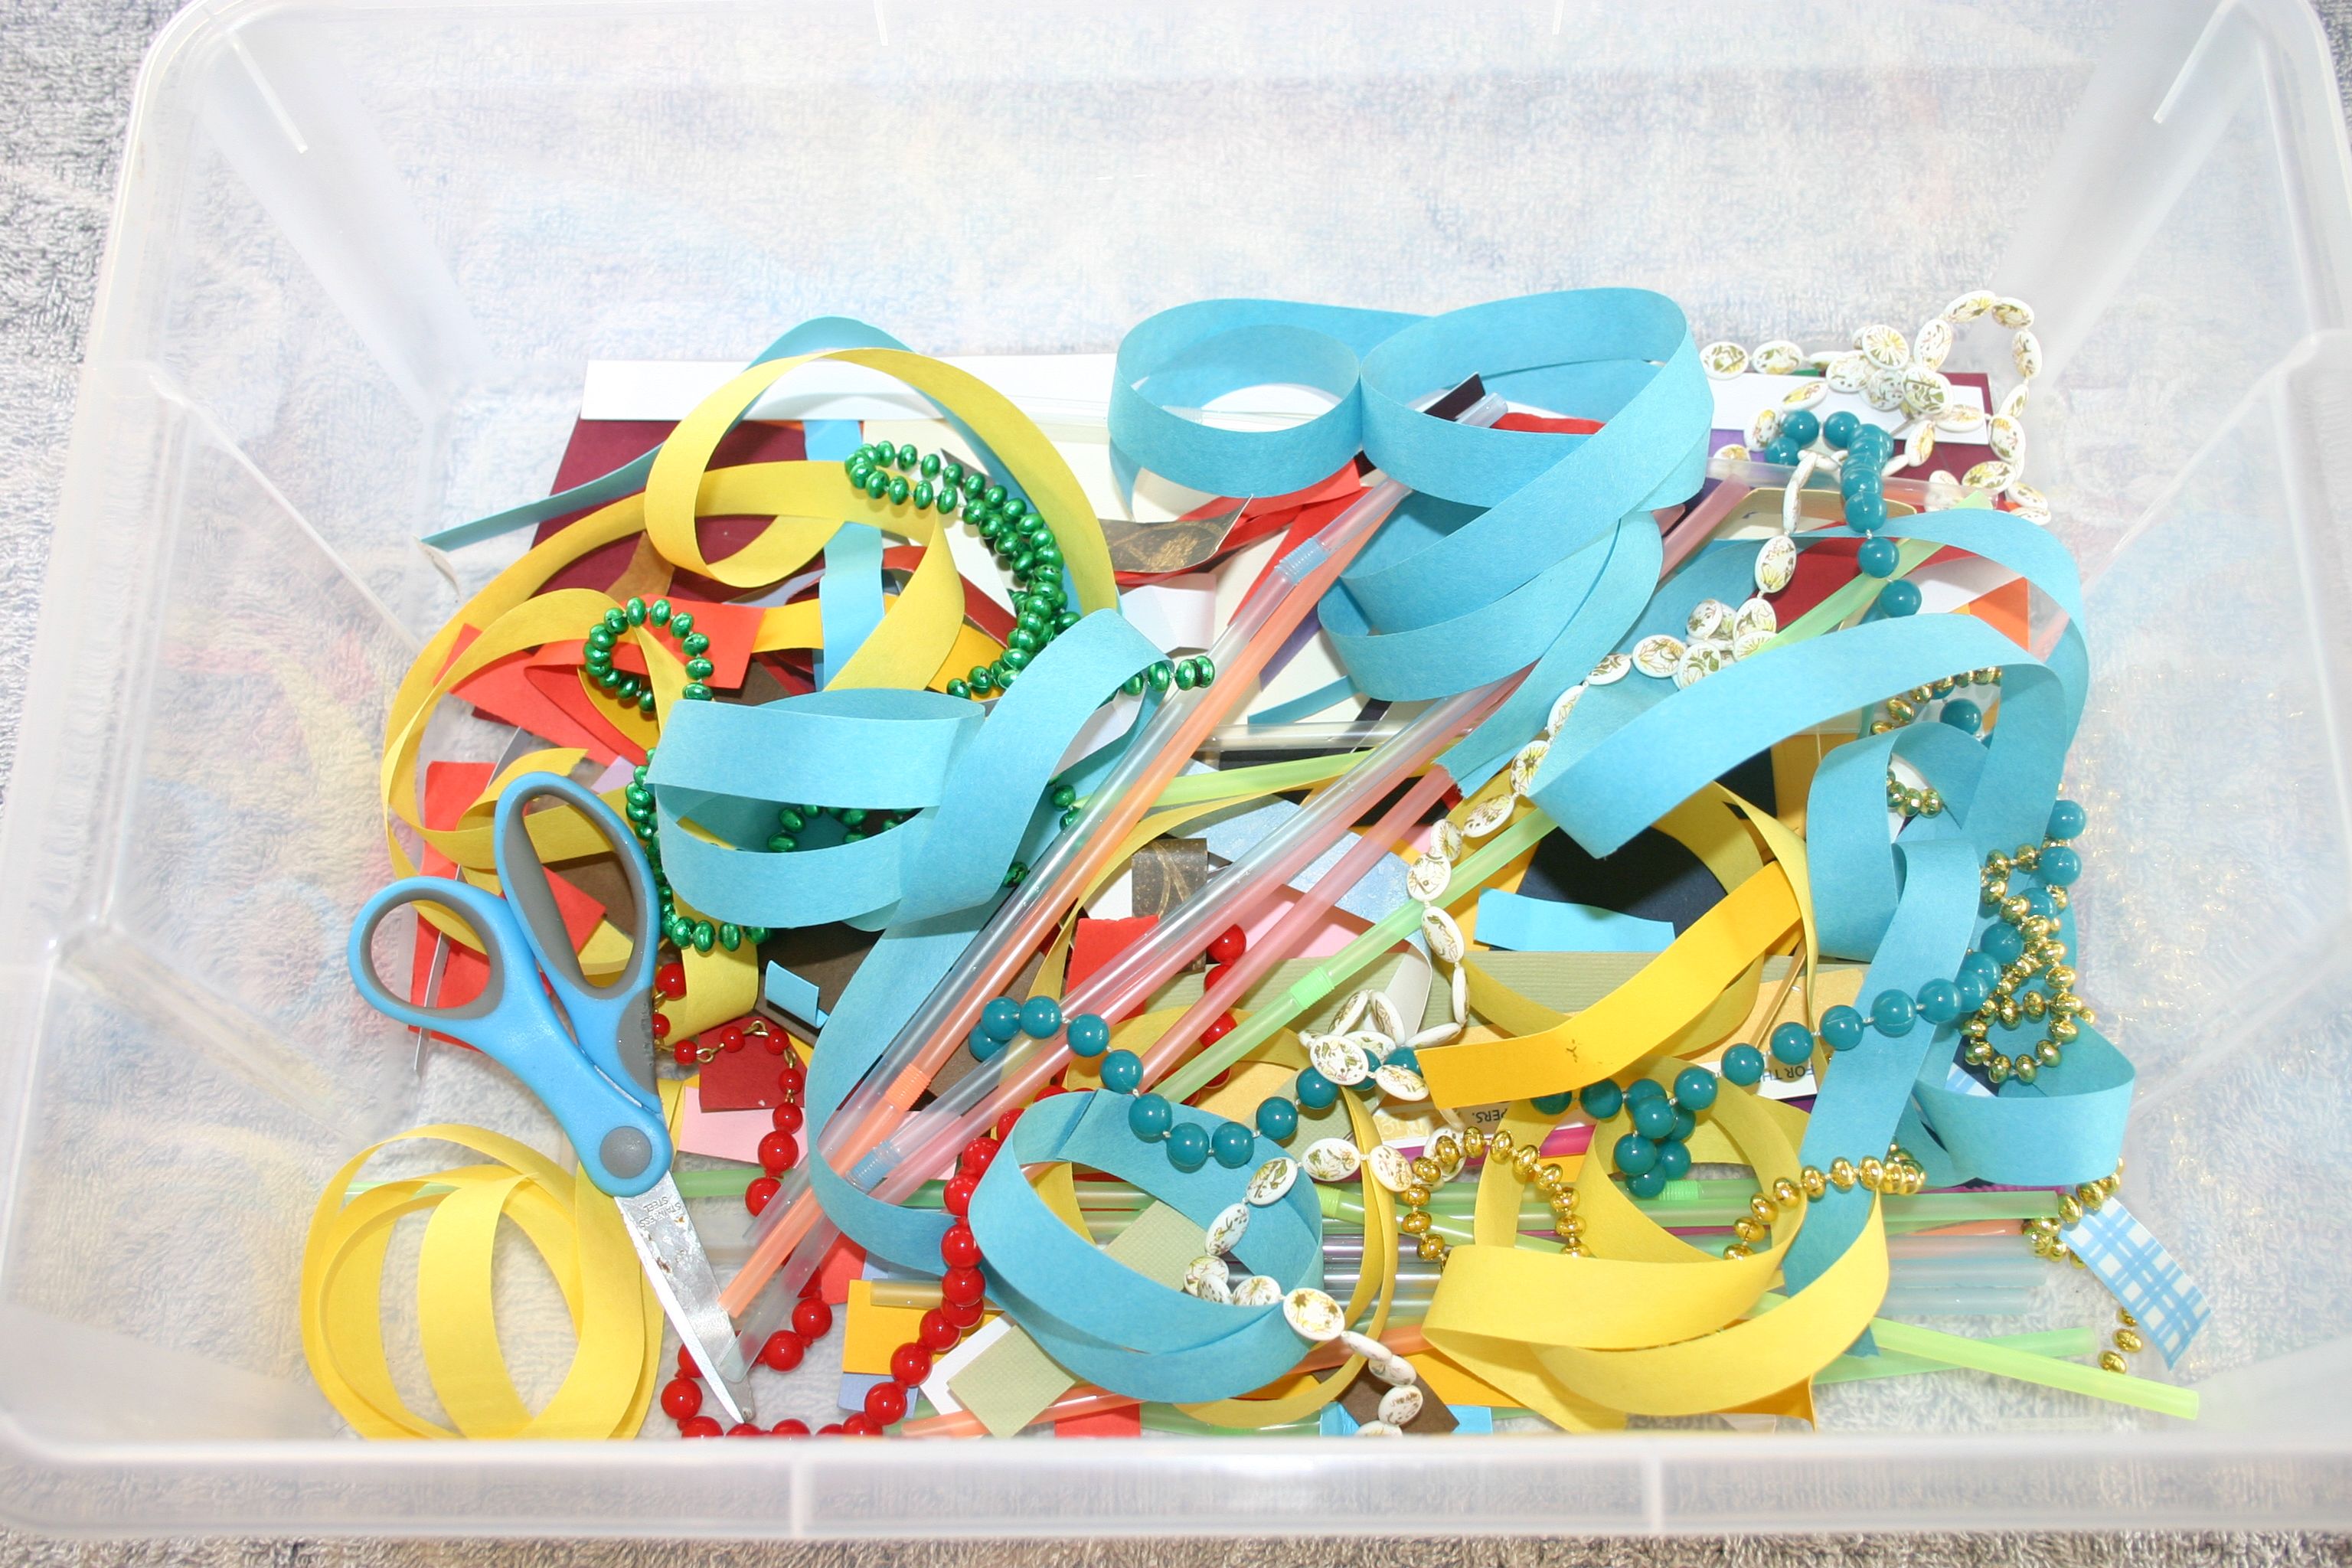
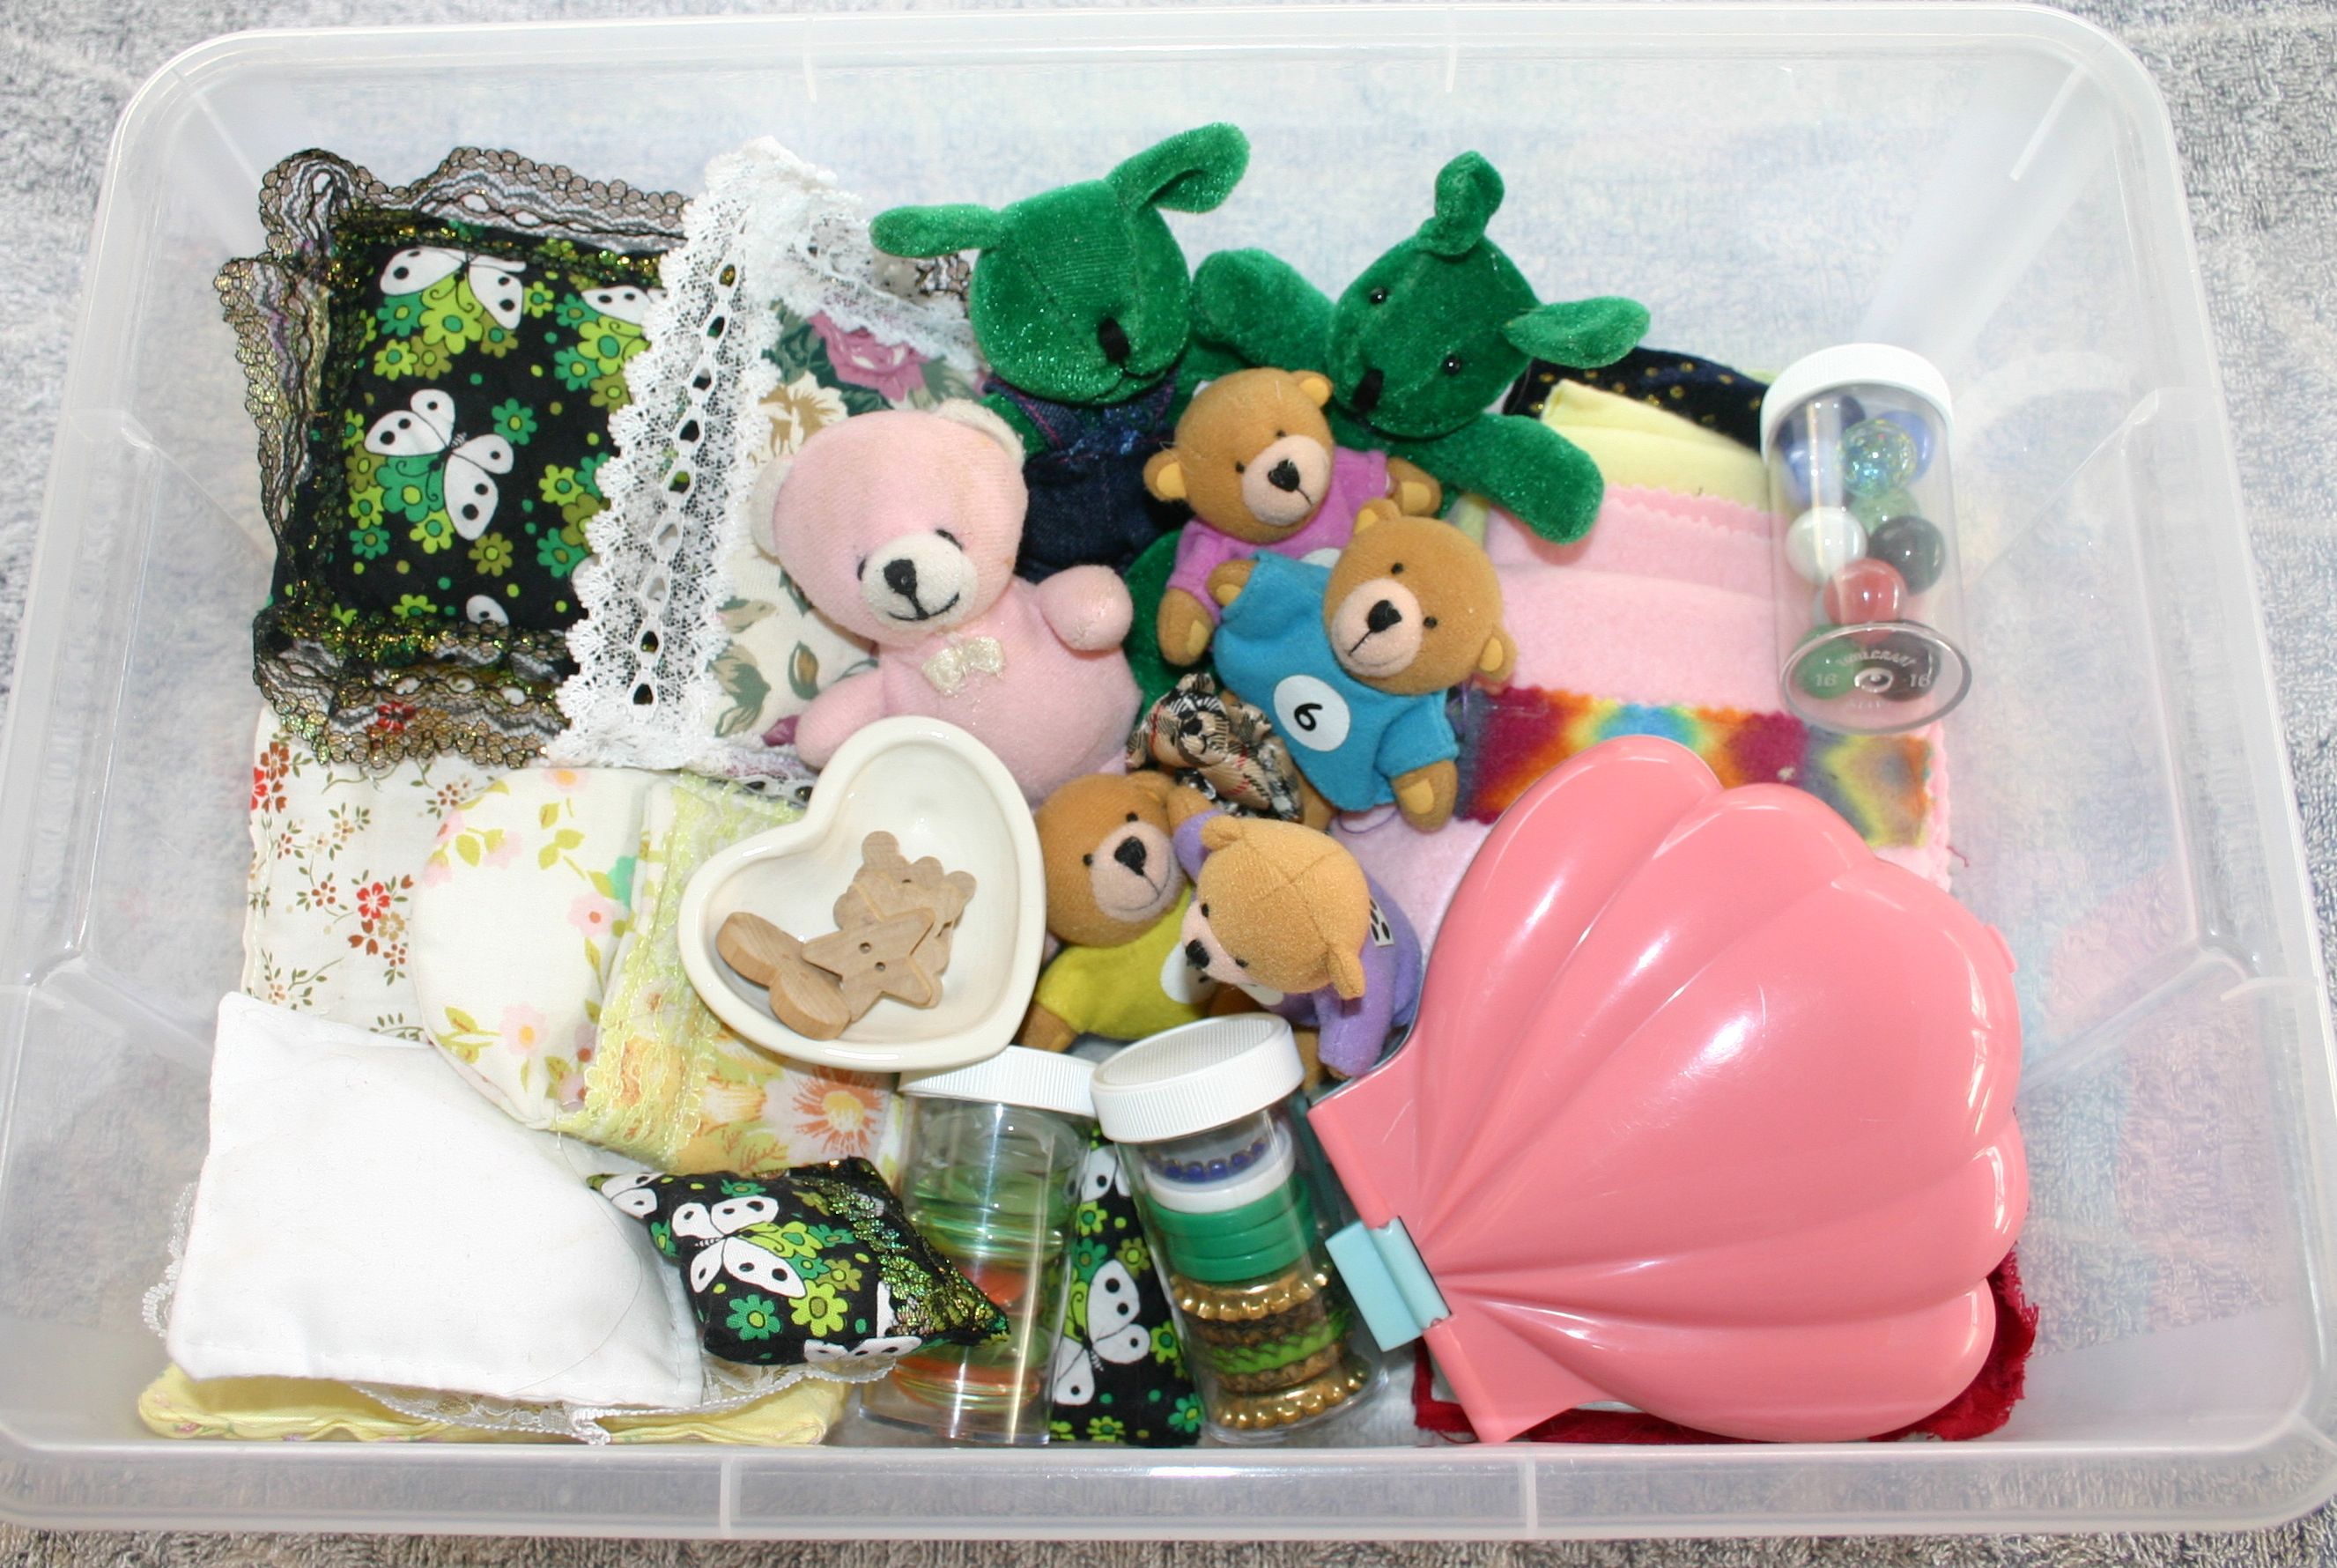
 Our busy boxes (and